Jump to content


Photo
* * * * * 2 votes

Yet another build thread - getting things running

Pinball Wizard DIY Pinball Controls Small Box

  • Please log in to reply
71 replies to this topic

#41 vampirolatino2

vampirolatino2

    Pinball Fan

  • Members
  • PipPipPipPip
  • 1,430 posts

  • Flag: Spain

  • Favorite Pinball: Medieval Madness

Posted 03 June 2014 - 05:53 PM

:D nice progress, love the drama and the redaction of your story/journey lol ... btw, what you didn't like about the leds? there were too bright? you can dim them by changing the resistor if that is the case. ;)


#42 rasm

rasm

    Enthusiast

  • Members
  • PipPipPip
  • 128 posts
  • Location:Hamburg

  • Flag: Germany

  • Favorite Pinball: currently Fish Tales

Posted 03 June 2014 - 07:32 PM

Thx.


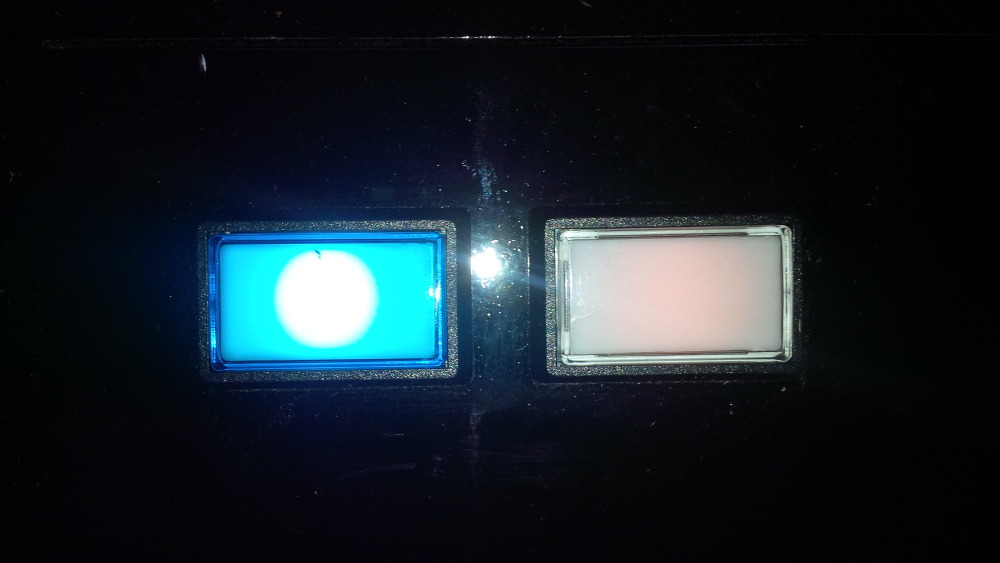
I didn't like a bright white spot on my colored button. Here's another example. (The circular white spot in the middle of the blue button results from the bright LED.)


chapter-20-14-another-led-bulb-compariso


But you're right... A stronger resistor could solve the issue - good idea. But for now I am still disappointed and don't want to solder 7 new resistors. :sorry:

It's a good idea to keep in mind, so that I could work on this task later... or never... depending on the lifetime of my candle light bulbs.


Visit my build: Yet another build thread


#43 wallclck

wallclck

    Hobbyist

  • Members
  • PipPip
  • 27 posts

  • Flag: United States of America

  • Favorite Pinball: pinbott

Posted 04 June 2014 - 12:46 PM

This is a very informative and entertaining thread, I was wondering if you could list part numbers or pertinent info on the parts you used--- mostly interested in breadboard - resistor info - terminal block info etc... Either way I look forward to the next chapter.

#44 rasm

rasm

    Enthusiast

  • Members
  • PipPipPip
  • 128 posts
  • Location:Hamburg

  • Flag: Germany

  • Favorite Pinball: currently Fish Tales

Posted 04 June 2014 - 03:03 PM

This is a very informative and entertaining thread, I was wondering if you could list part numbers or pertinent info on the parts you used--- mostly interested in breadboard - resistor info - terminal block info etc... Either way I look forward to the next chapter.


Thank you very much.


I followed a very pragmatic approach:

  • searching the cheapest breadboard at ebay
  • searching the cheapest way to get a mass of fuse holders (in the end ebay)
  • searching the cheapest matching resistors (got them in a local electronic shop, but not very cheap: 2.40 EUR per resistor)
  • I followed the same approach for terminal blocks, wires, screws, tools like drills, etc.

Here're some links to parts I used:

Hope this helps you.


Edited by rasm, 04 June 2014 - 03:04 PM.

Visit my build: Yet another build thread


#45 rasm

rasm

    Enthusiast

  • Members
  • PipPipPip
  • 128 posts
  • Location:Hamburg

  • Flag: Germany

  • Favorite Pinball: currently Fish Tales

Posted 07 June 2014 - 09:03 PM

Chapter 21 - Next level
 
Ohhhh f**k, new parts arrived - is it too much?!
 
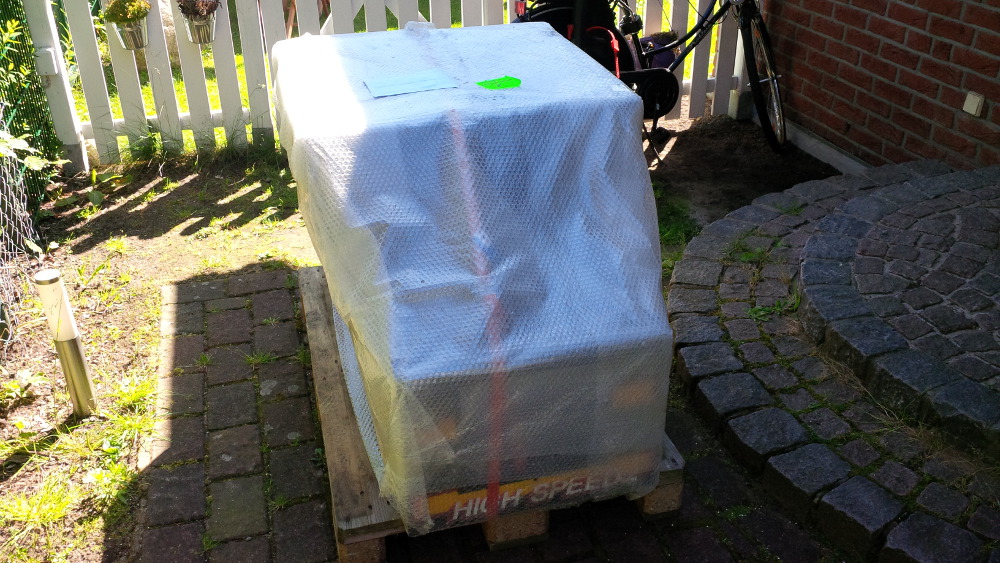
chapter-21-01-high-speed-cab.jpg
 
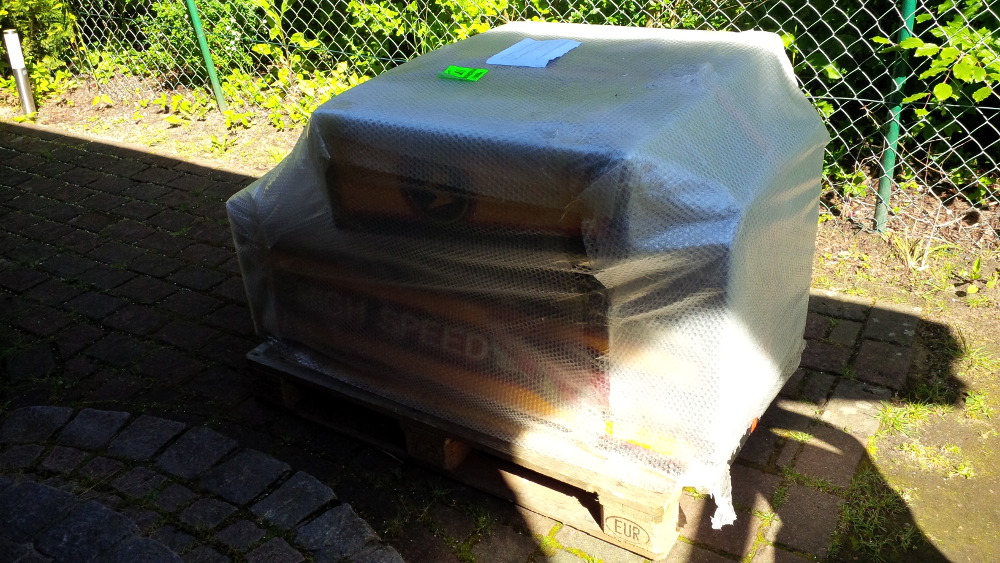
chapter-21-02-high-speed-cab.jpg
 
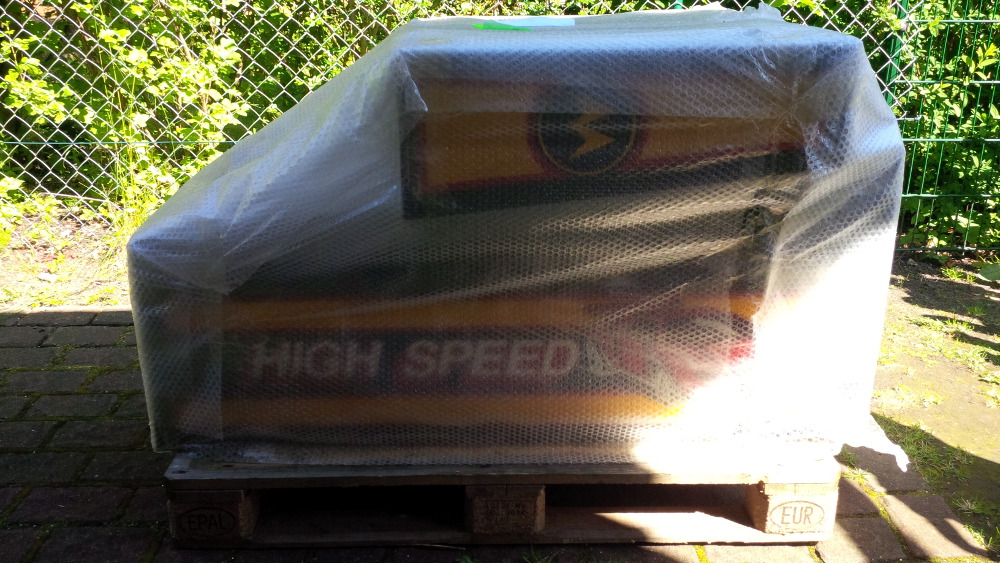
chapter-21-03-high-speed-cab.jpg
 
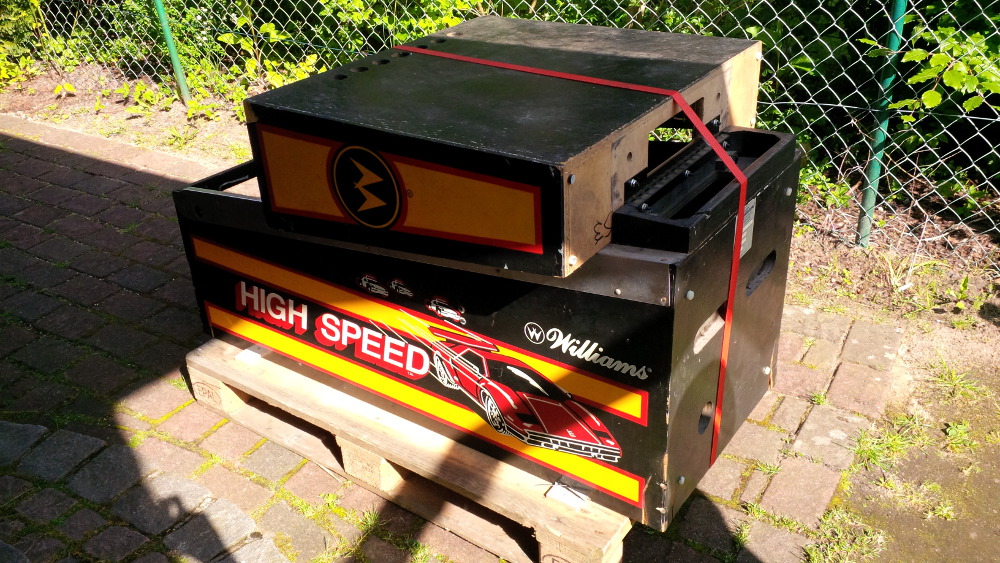
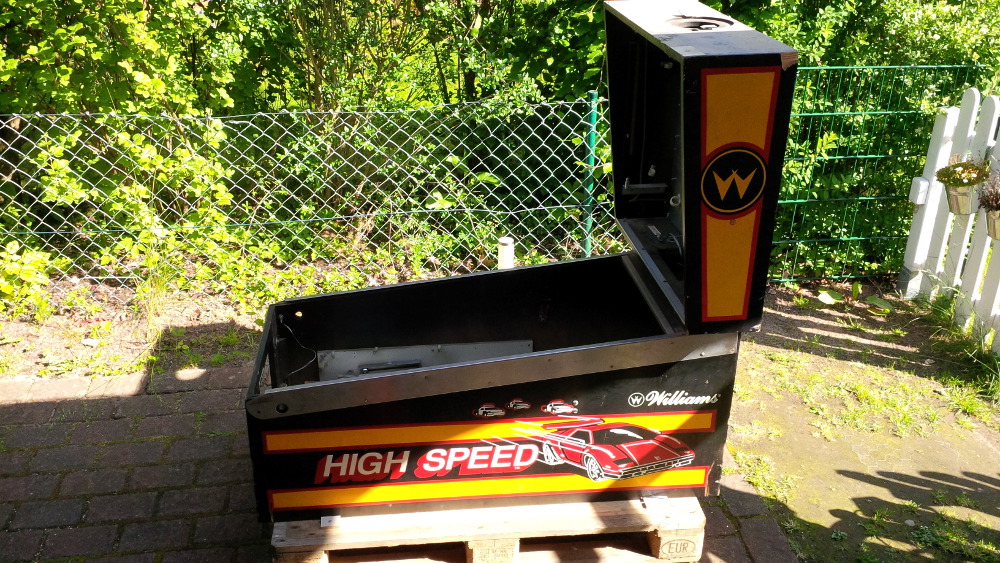
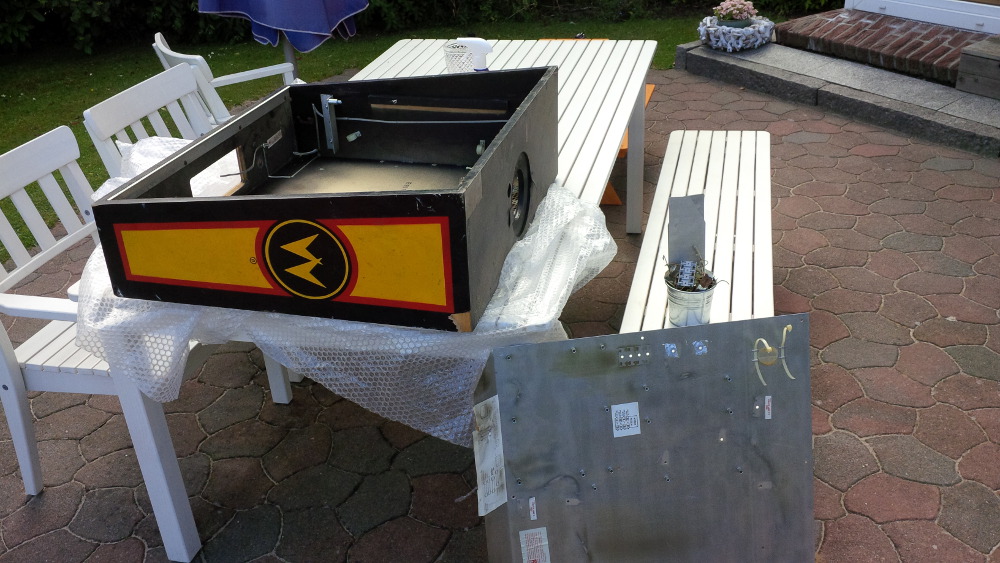
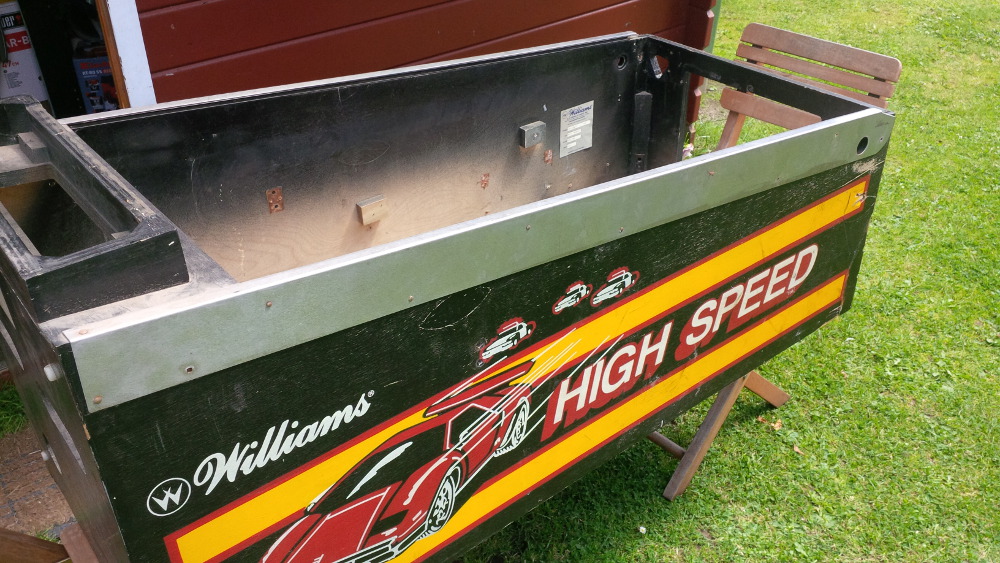
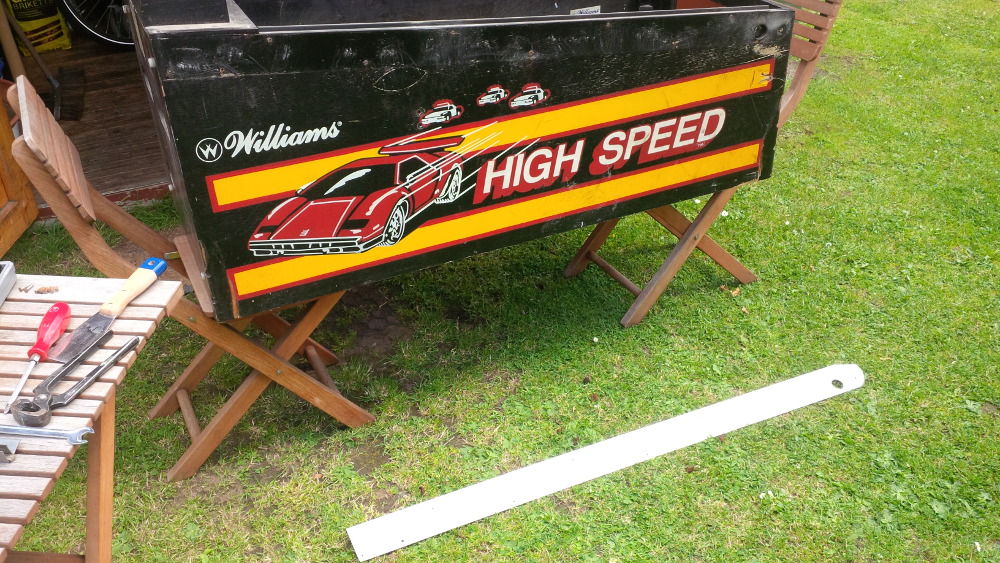
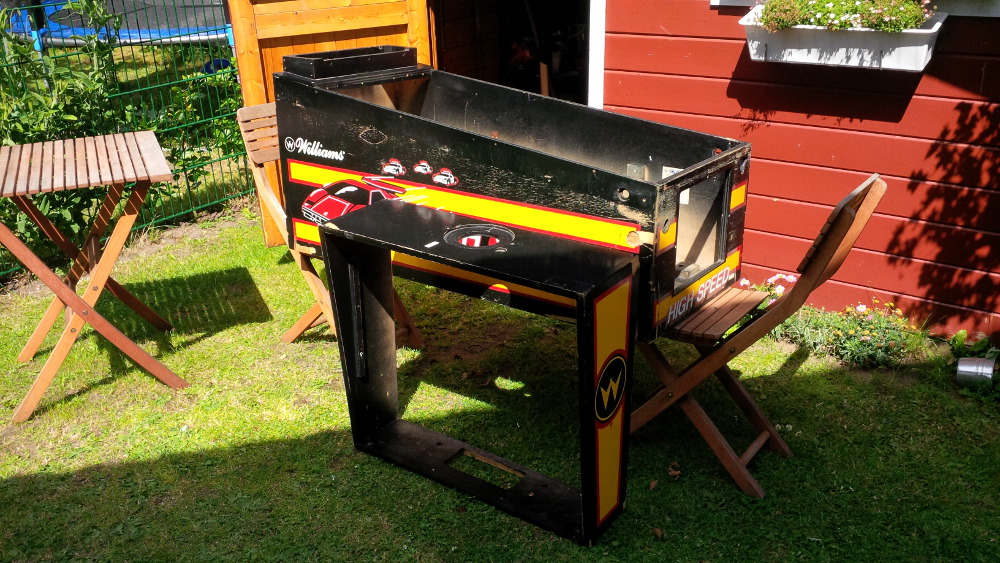
It's true! A real pinball cab is staying in front of my door. Through the double film of air bubbles it looked fantastic, a bit mystic and I felt strange - I couldn't believe...
 
The cab was staying a complete day and a complete night without a touch, before I started to unpack...
 
chapter-21-04-high-speed-cab.jpg
 
chapter-21-05-high-speed-cab.jpg
 
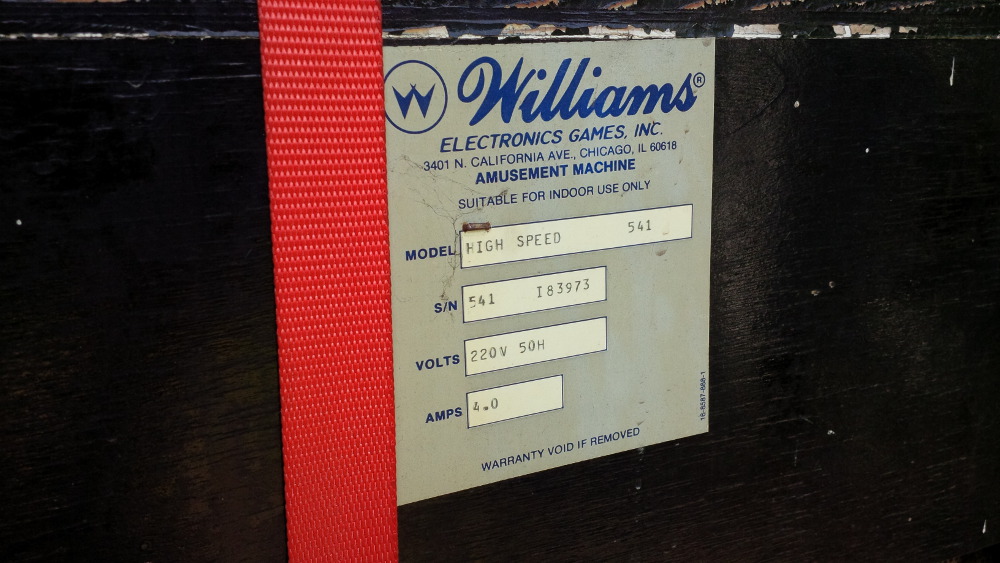
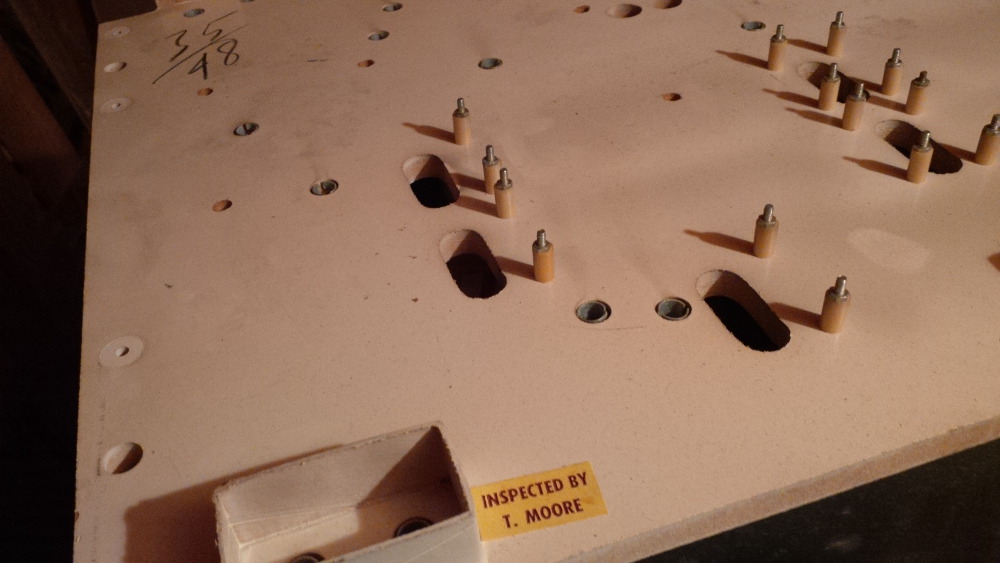
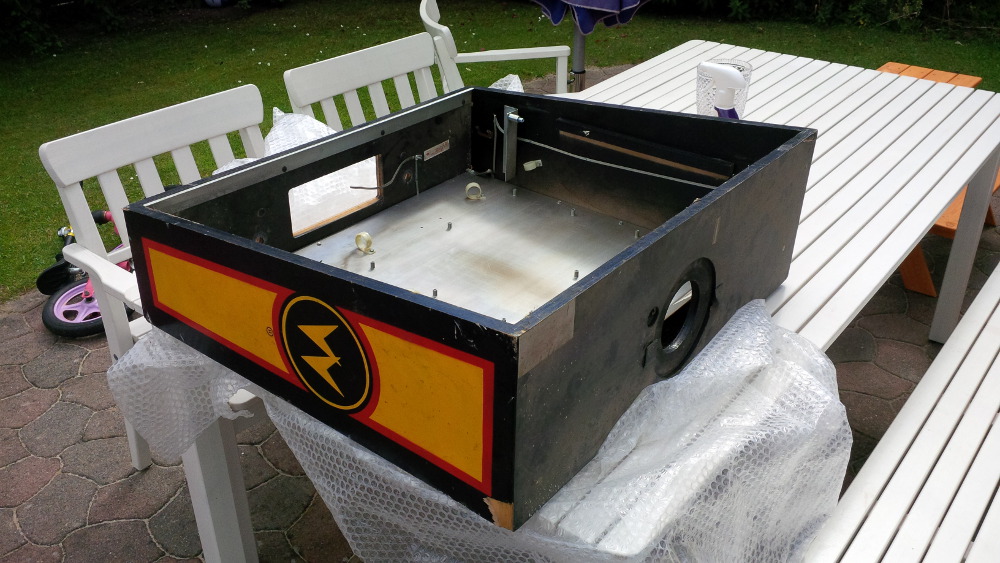
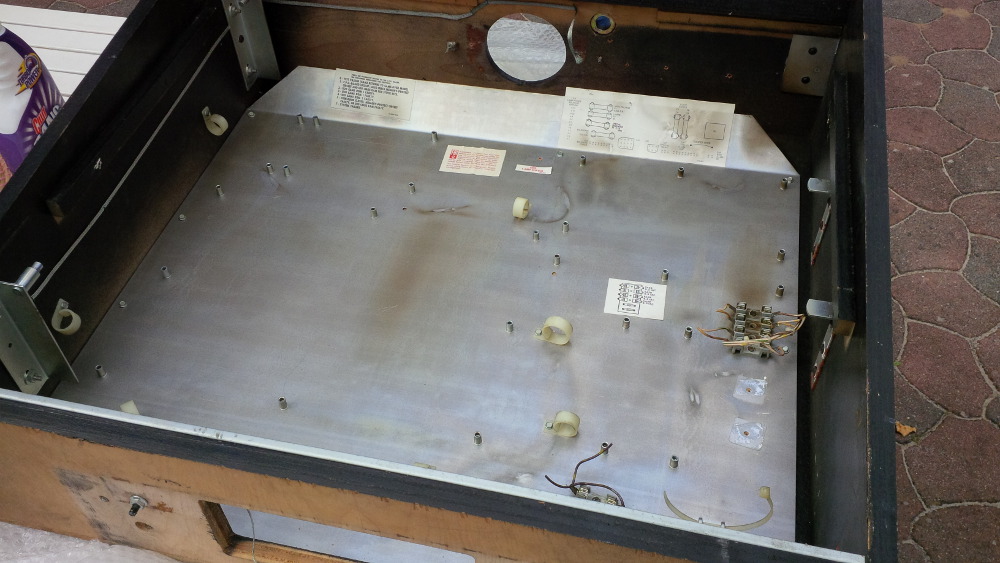
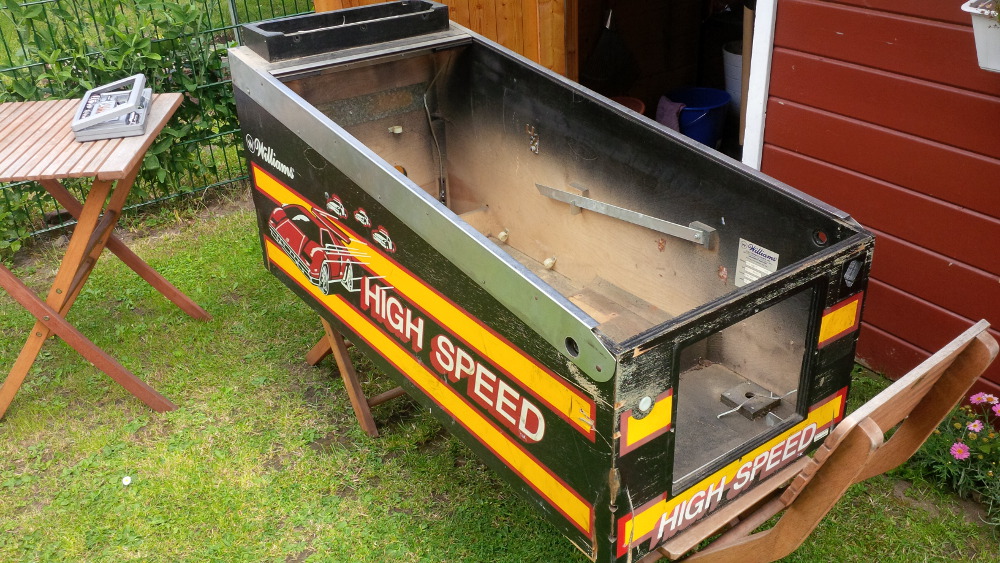
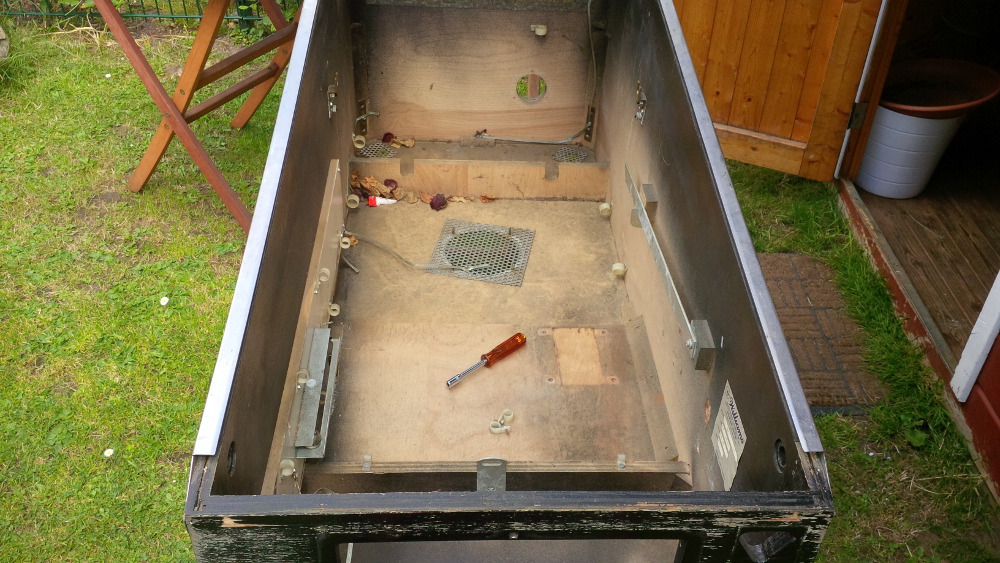
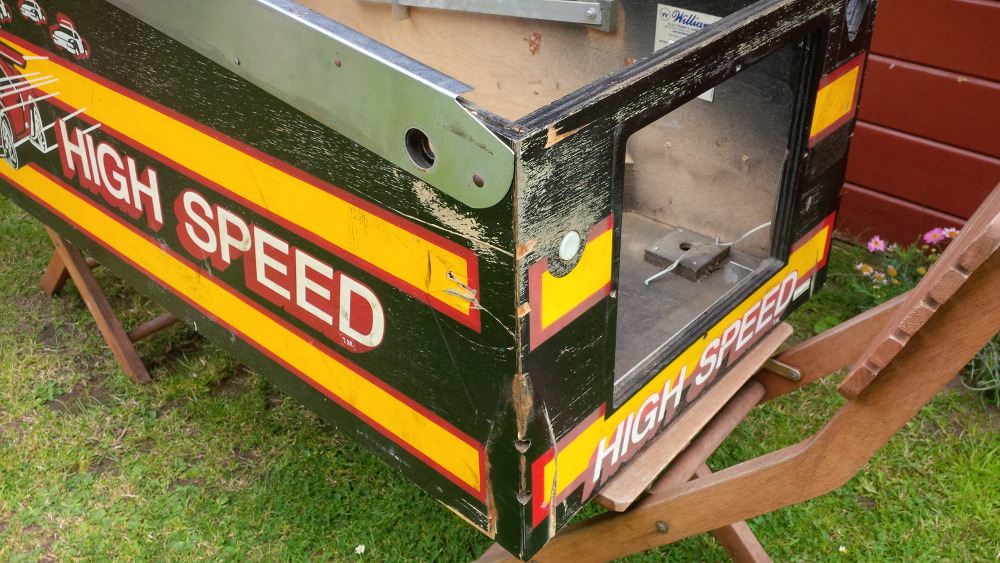
It's a real Williams System 11 cabinet. When I take a look to the model no, to the Williams plate, to all the hand-made details, to written notes on the backbox lightning plate, a sticker that documents "inspected by T. Moore", when I smell the aroma of something old,...
 
...than I get a feeling of finding a historical artefact.
 
High Speed (model no. 541)
  • released in 1986
  • Williams System 11 MPU
  • 4 Players Pin
  • an early Solid State (SS) Pinball
  • about 17,000 units were produced
  • first pinball to play a complete song
  • first Williams pinball game to use alpha-numeric displays
  • first use of Auto Percentaging (for replay scores)
  • first Jackpot available only during multiball
  • first use of broken switch compensation programming
  • first SS game with operator report
  • ...
Am I allowed to use this piece of history as base for something new? Or do I've to refurbish this pin instead of building a VP?
 
Sure, this "High Speed" is already dead and I know that a refurbishment in this case would be an impossible job. I am not murdering a working pin, but anyways I feel respect and a bad flavor by taking my hands on this corpse.
 
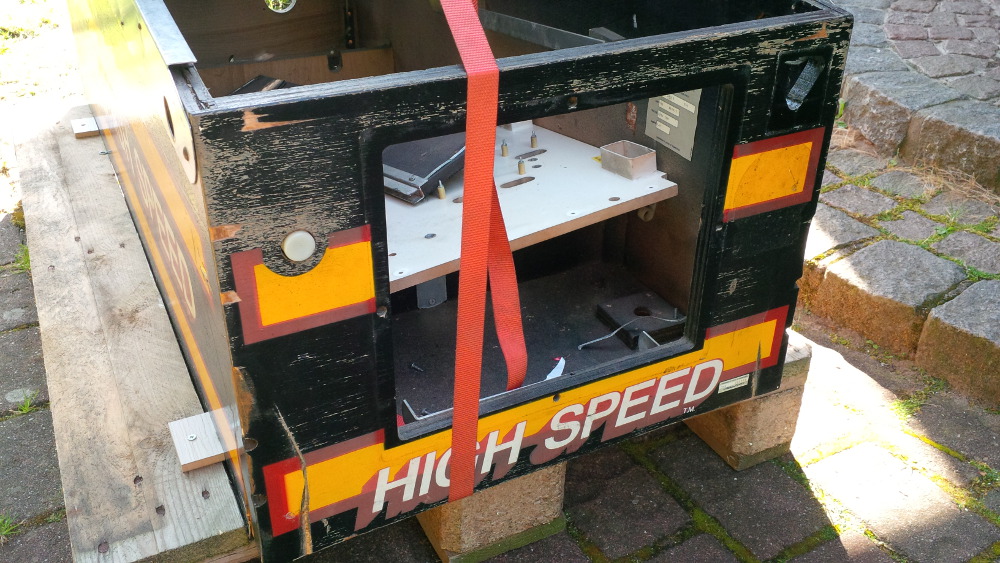
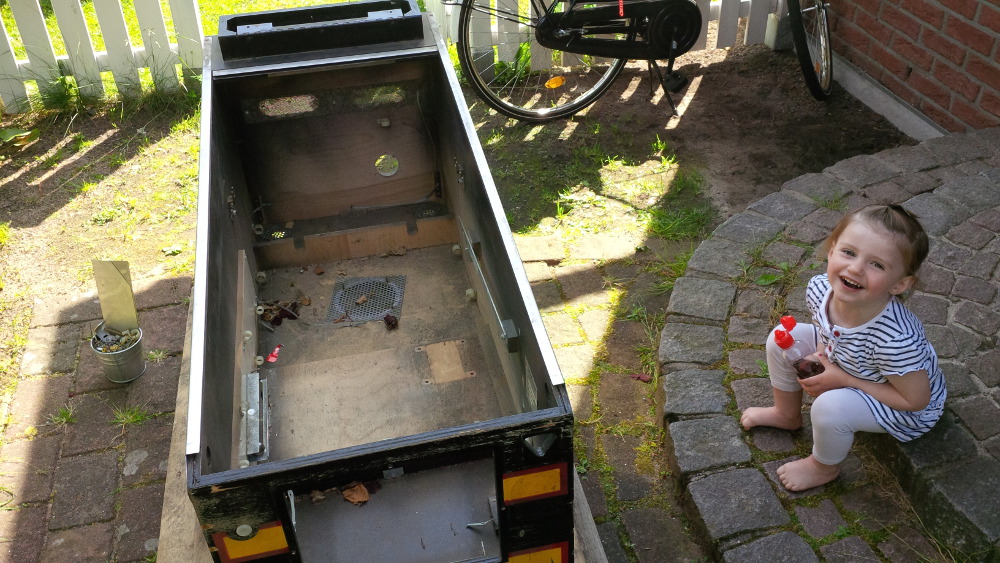
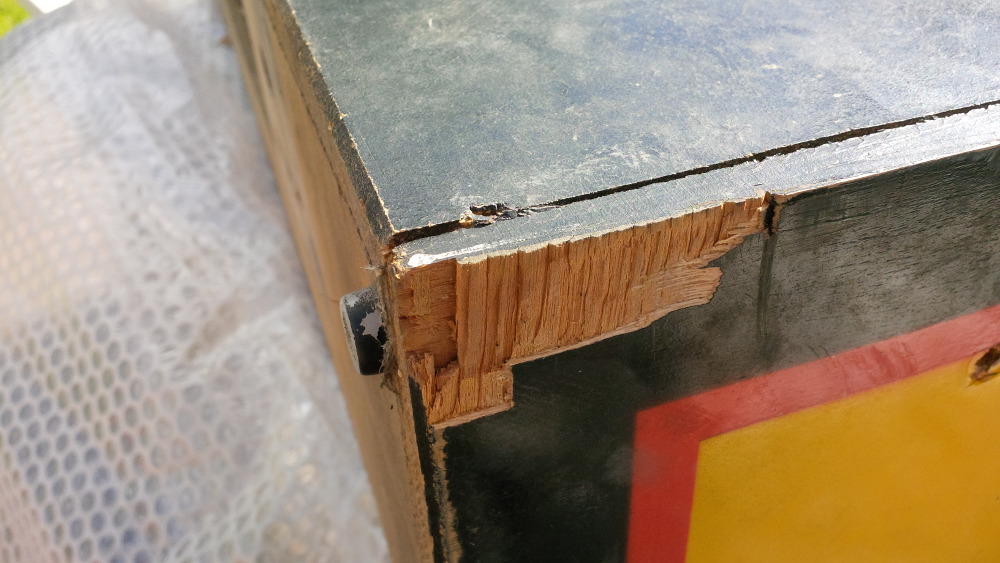
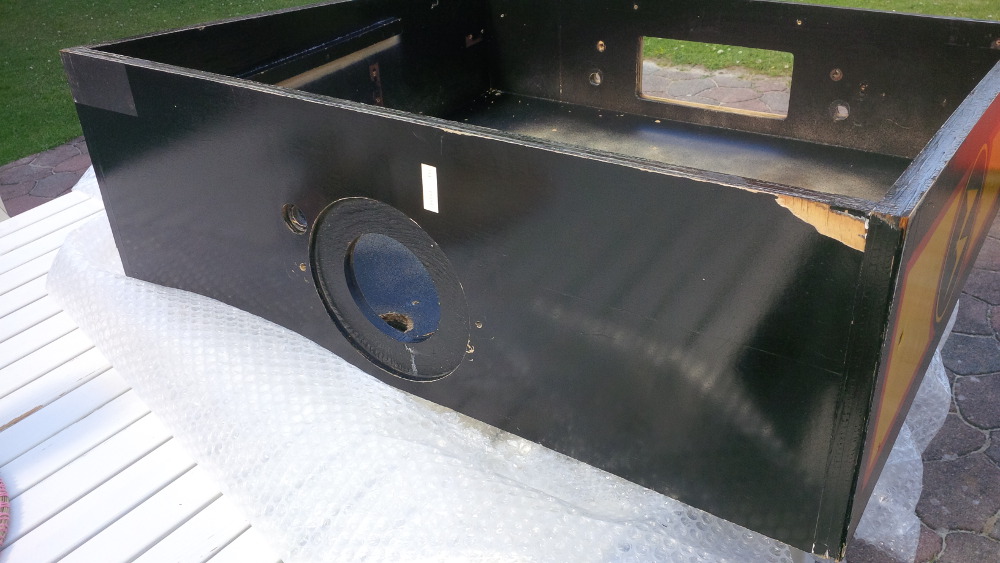
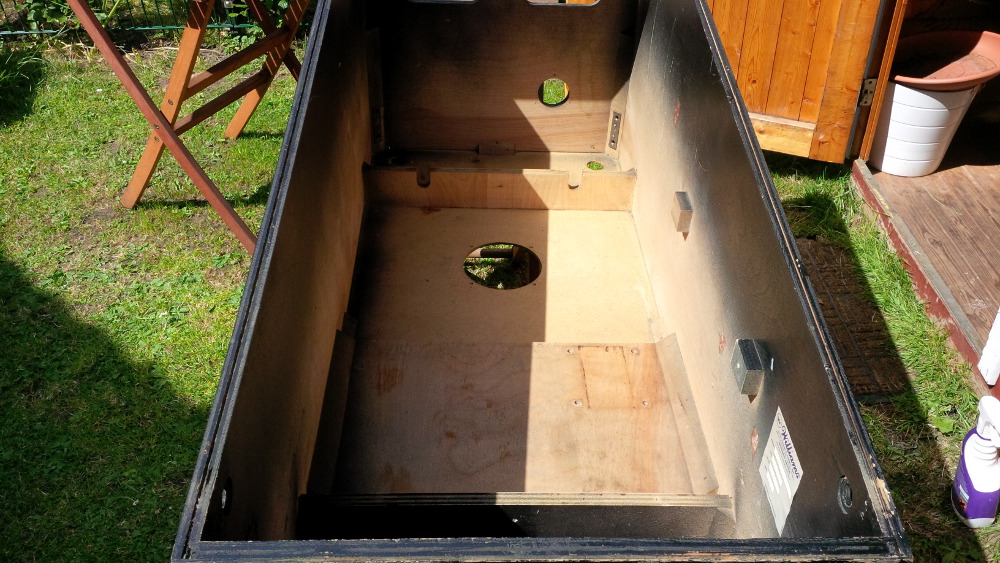
But now I had to stop philosophizing and to start inspecting some details. The cab is in a bad condition.    
 
chapter-21-06-high-speed-cab.jpg
 
chapter-21-07-high-speed-cab.jpg
 
chapter-21-12-high-speed-cab.jpg
 
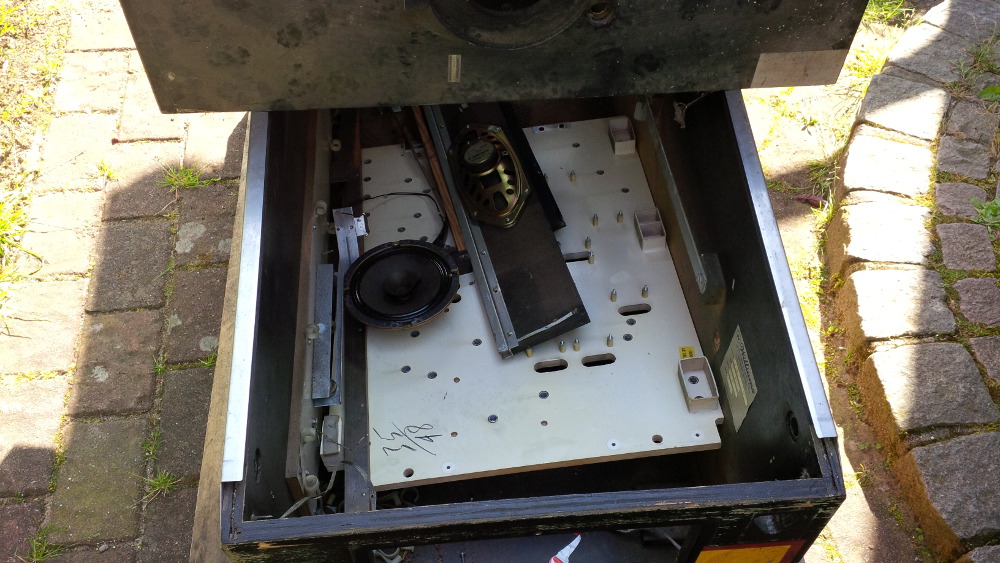
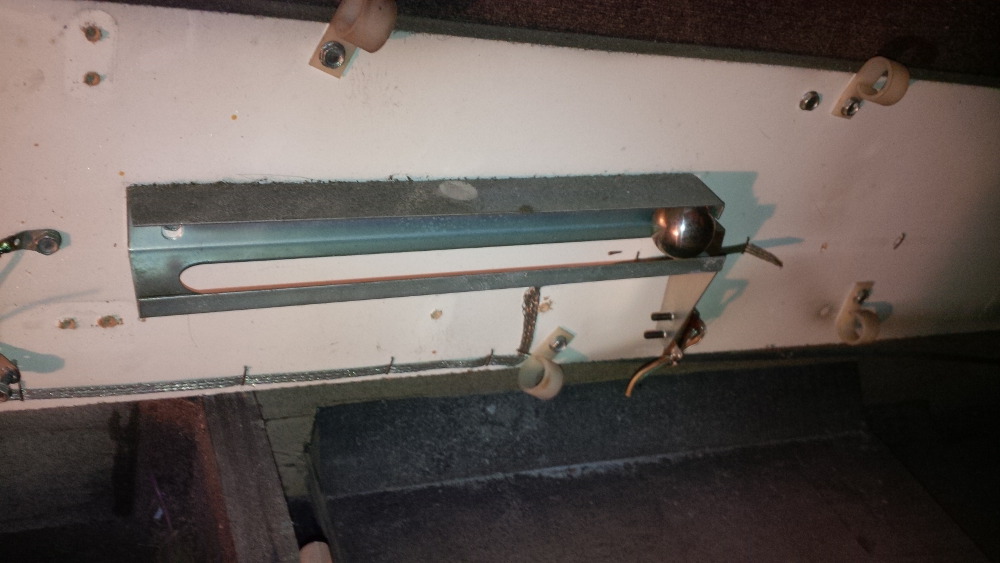
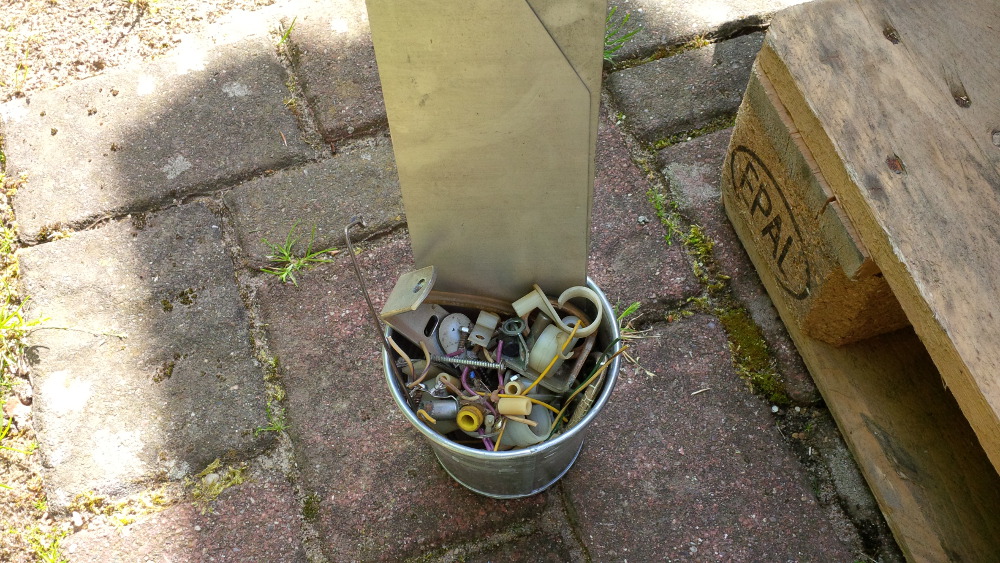
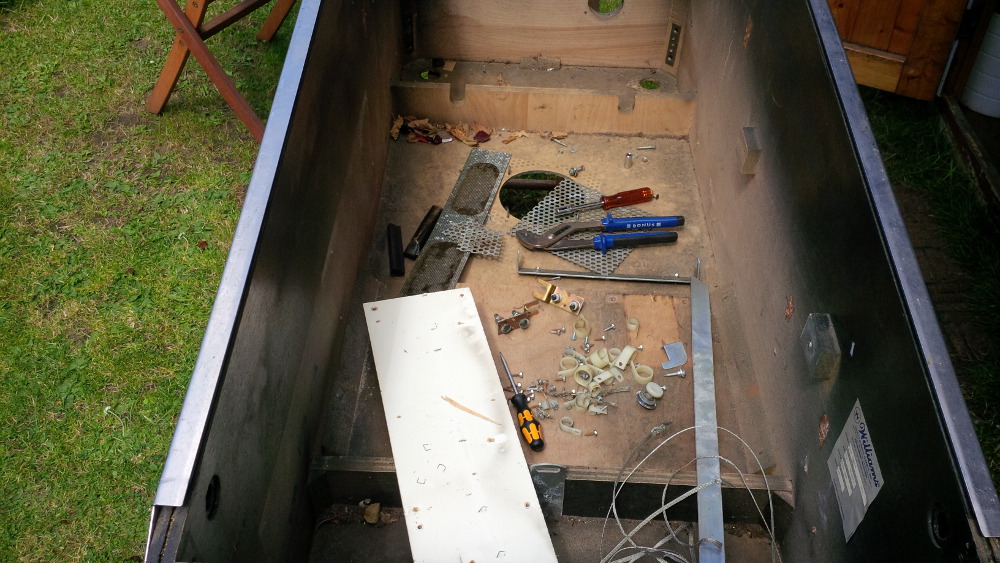
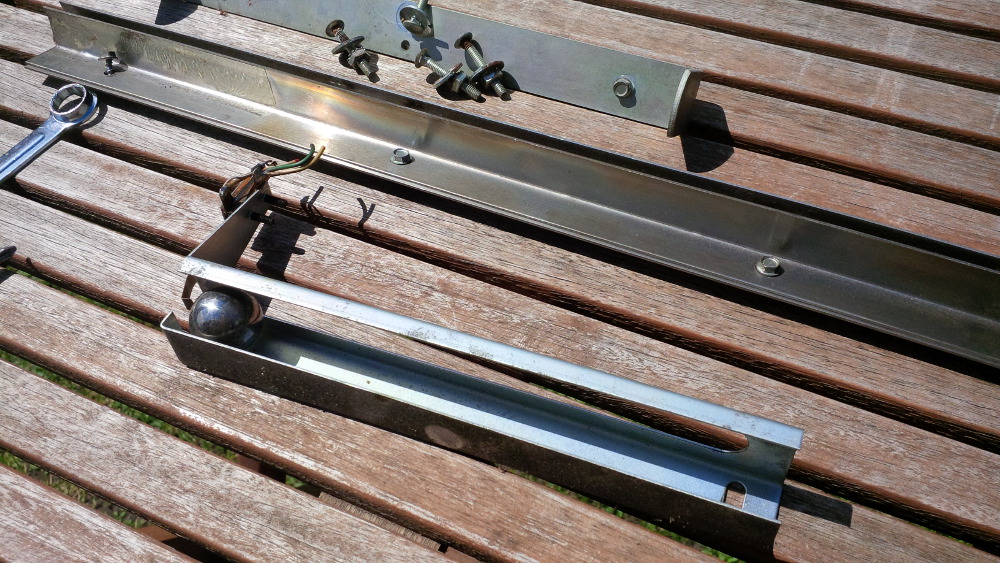
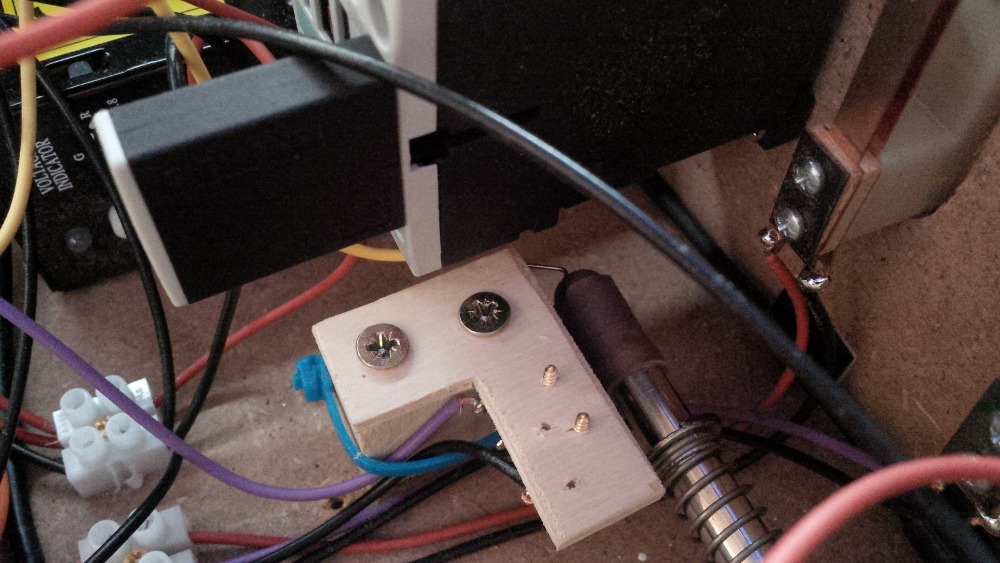
There were a lot of small parts like screws and plates within the cab. As a highlight the speaker panel is included, another speaker, the inside backbox plate and an assembly to detect liftings of the front. I don't know if I need such parts, but I like them :-).
 
chapter-21-13-high-speed-cab.jpg
 
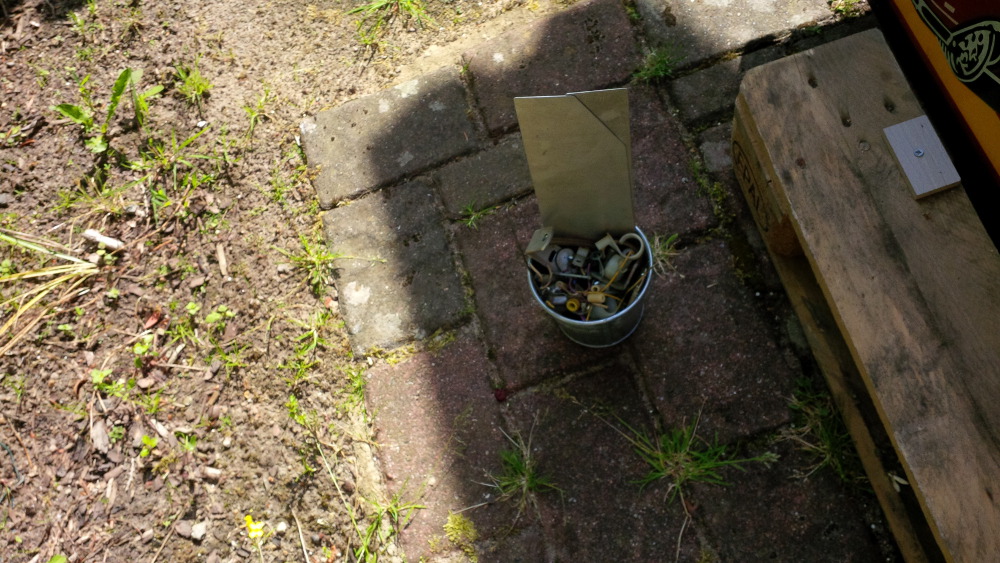
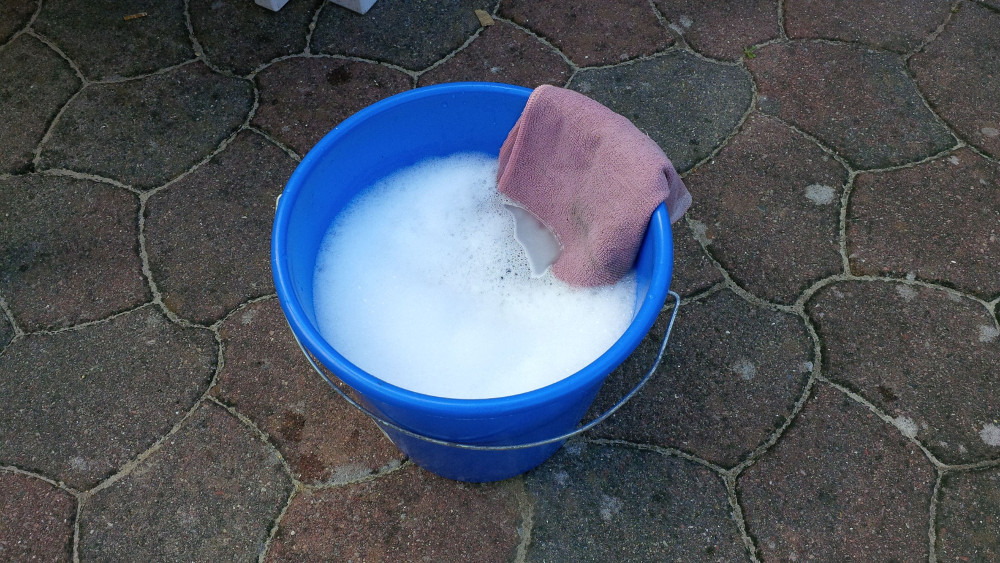
I cleaned up the cab roughly and got a small bucket of anything in total.
 
chapter-21-09-high-speed-cab.jpg
 
chapter-21-10-high-speed-cab.jpg
 
chapter-21-11-high-speed-cab.jpg
 
Yea, here it is. This cab could be the begin of a next level.   
 
chapter-21-08-high-speed-cab.jpg
 
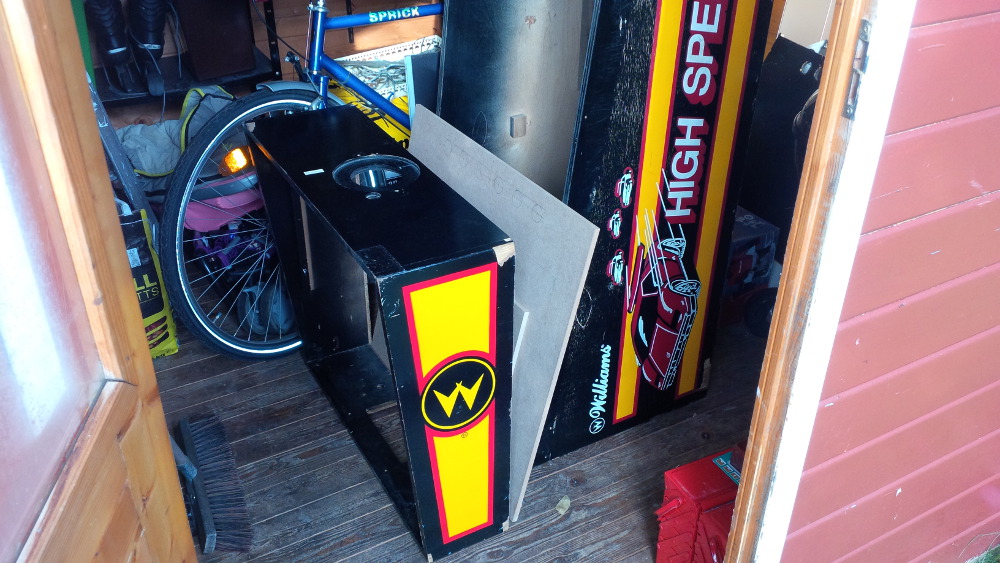
Currently I've no idea how to start. I demounted the backbox and put everything into my small warehouse in the garden.

Edited by rasm, 07 June 2014 - 09:16 PM.

Visit my build: Yet another build thread


#46 rasm

rasm

    Enthusiast

  • Members
  • PipPipPip
  • 128 posts
  • Location:Hamburg

  • Flag: Germany

  • Favorite Pinball: currently Fish Tales

Posted 08 June 2014 - 08:09 PM

I am frustrated!


To get my cab in shape I would need so much expensive parts:

  • Legs + levelers + screws
  • Lockbar + receiver
  • Coin door (+ in best case mechanisms)
  • Glass
  • Ball shooter
  • and I am sure that I need some channels too

In total I am writing about an investment of 500-600 EUR. From a financial perspective it would make more sense to buy an complete old and defected full pin. But in this case it would not suitable for me to murder the pin.


I am not sure, if it was a good idea to buy this empty - really empty - High Speed cab. Damn!  :wimper:


Visit my build: Yet another build thread


#47 Noah Fentz

Noah Fentz

    'Rasslin' Fan

  • VPF Administrator
  • 12,280 posts
  • Location:South Lyon, MI

  • Flag: United States of America

  • Favorite Pinball: Whitewater

  • PS3 Gamer Tag: noahfentz


Contributor
Posted 08 June 2014 - 08:26 PM

Lol. There's nothing cheap about this hobby, that's why I laugh when I see posts claiming to have built one for less than $2,000.

It's also why I've done my best to make everything 'more' affordable on the VirtuaPin site.

Email me a list of what you need, and I'll see what I can do for you.

IdleReel.gif RumbleDMD.jpg HS2-DMD.jpg SBM.jpg ww_logo.jpg EK.jpg

 
T2.jpg Sorcerer.jpg Breakshot.jpg Firepower.jpg GorGar.jpg StarTrek.jpg


My Photobucket Resources
Whether You Believe You Can, Or You Can't, You Are Right." - Henry Ford
The future of pinball lives, it just needs to be nurtured!
If you're here to stab me in the back, you're going to have to get in line.


#48 rasm

rasm

    Enthusiast

  • Members
  • PipPipPip
  • 128 posts
  • Location:Hamburg

  • Flag: Germany

  • Favorite Pinball: currently Fish Tales

Posted 08 June 2014 - 11:29 PM

Ahhhh, Noah... You're so right.  :mellow:


Lol. There's nothing cheap about this hobby, that's why I laugh when I see posts claiming to have built one for less than $2,000.
...


When I started this hobby I already recognized it is an expensive one. All my shopping carts went clearly behind ya 2.000 bucks mark. Nice screens, a real DMD and hardware would cost more. And on the other hand it's so inexpensive in comparison to a real pinball collection.
 
I chose a step-by-step approach to stretch costs to a wider time frame while enjoying runnable results. It hurts a bit to accept that I am back at my origin. Sure, with much more knowledge and a good feeling that I could achieve more than my little sweet box. A next level depends on bigger dimensions in costs, time and needed space...


...
It's also why I've done my best to make everything 'more' affordable on the VirtuaPin site.
...


Yea, VirtuaPin is a great source for people like me. Ah and your offers are unbeatable in comparison with other stores. For example your Ultimate Cab-Builder's Kit (Standard Body) looks excatly what I am looking for (with a coin door upgrade). Nobody else is providing a set like this.


UltimCabKit.jpg


Unfortunately I've to respect tax and shipping costs which damage potential savings. Today a Williams Startdust was sold for only 160 EUR on ebay and I would have got all needed parts. Sure, used and partly in bad condition but it would be a suitable starting point. I am sad about the fact that it's cheaper to canibalize a (almost) working pin than to buy only a set of cabinet parts.


...
Email me a list of what you need, and I'll see what I can do for you.


Thx, I will do so.


Visit my build: Yet another build thread


#49 rasm

rasm

    Enthusiast

  • Members
  • PipPipPip
  • 128 posts
  • Location:Hamburg

  • Flag: Germany

  • Favorite Pinball: currently Fish Tales

Posted 09 June 2014 - 09:03 PM

Yea, I got an approval from my family to make an investment in brand new parts for my cab restoration.  :dblthumb:
 
VirtuaPin provides the greatest offer in my case (a set price: see Ultimate Cab-Builder's Kit + upgrades). Unfortunately shipping and tax costs spoil the party. Maybe I can save some research time for other German cab builders.
  1. Tax will be also applied to shipping costs. Follow this formula: 
    ((valueOfGoods + shippingCosts) * customsDuties) * tax = yourTotalPrice
  2. UPS shipping costs for a Cab-Builder's Kit to Germany are about 140 EUR.
  3. Customs duties will only be applied for a value of goods greater than 150 EUR and the rate depends on the kind of goods. It isn't funny to search for the right goods category, but for me it looks like 0% for steal parts from US.
  4. You know that tax rate is 19%.
From my point of view this means that it's probably cheaper to order more expensive parts within Europe, but I've to verify this by checking prices and availability in a lot of shops.  :coffee1:
 
In best case you know somebody that will import such parts for you from a holiday or business trip to Germany (tax could be added anyways, but shipping costs should be calculated with zero).

Edited by rasm, 09 June 2014 - 09:04 PM.

Visit my build: Yet another build thread


#50 mkl66

mkl66

    Hobbyist

  • Members
  • PipPip
  • 42 posts
  • Location:Germany

  • Flag: Germany

  • Favorite Pinball: Scared Stiff, Alien Poker

Posted 16 June 2014 - 01:39 PM

Hi rasm,


I'm also living in Germany and am nearly at completing my first cabinet build.

What I've done to cut down the costs is:

1. Use spare parts ( all computer parts are already available)

2. Use MDF instead of plywood

3. Order all parts in Germany ( there are some real good sites to order pinball parts)

4. build my own lockbar out of wood and leather

5. bought a used 42" TV for just 200€

6. no expensive force feedback ( contactors) at the moment.


This helps me to build my cab for about 700€


#51 Nemo

Nemo

    Pinball Fan

  • Platinum Supporter
  • 1,283 posts
  • Location:Netherlands

  • Flag: Netherlands

  • Favorite Pinball: Monster Bash

Posted 16 June 2014 - 03:45 PM

Ohh wow ! That highspeed is condition-wise similar to my F14 cab when i received it (and also system 11)

so check my buildlog and if you have questions, well ASK ! Got tons of photo's !


Mine's also 1986, those cab's are near perfect for a VP transplant, so extremely good find ! And it looks like

it is in a great shape, mind you, these are 28 years old !


Dang ! Loving it already !!


BTW where in Germany are you located ? I live in Brunssum, Netherlands, that's real close to the Aachen area.

If you are looking for second hand parts, i know a few people in the coin-op business and i myself have also got

a spare stash pinball parts (including a lockbar, i did see yours missing)


Just FYI


Gone fishin', no really.......

My F14 Cab http://www.vpforums....showtopic=21820

My Coffee Table http://www.vpforums....topic=25407&hl=

My Jukebox WIP http://www.vpforums....topic=23825&hl=


#52 zany

zany

    3D Beer Drinker

  • VIP
  • 1,644 posts

  • Flag: Sweden

  • Favorite Pinball: Medieval Madness


Posted 16 June 2014 - 03:59 PM

Really nice thread....good job!
Cant wait to see the rest! :D


#53 rasm

rasm

    Enthusiast

  • Members
  • PipPipPip
  • 128 posts
  • Location:Hamburg

  • Flag: Germany

  • Favorite Pinball: currently Fish Tales

Posted 16 August 2014 - 11:39 PM

Chapter 22 - A clean up
 
While I am still waiting for my package from China with some solenoids and a relay board, I could use the time to prepare my good old cab base. Firstly let's clean it up, so that it hopefully loose the smell of about 30 years smoked amusemant halls, bars, barns, basements, etc. Currently it smells like years of fun, but my wife would never agree to introduce this aroma profile inside our home.
 
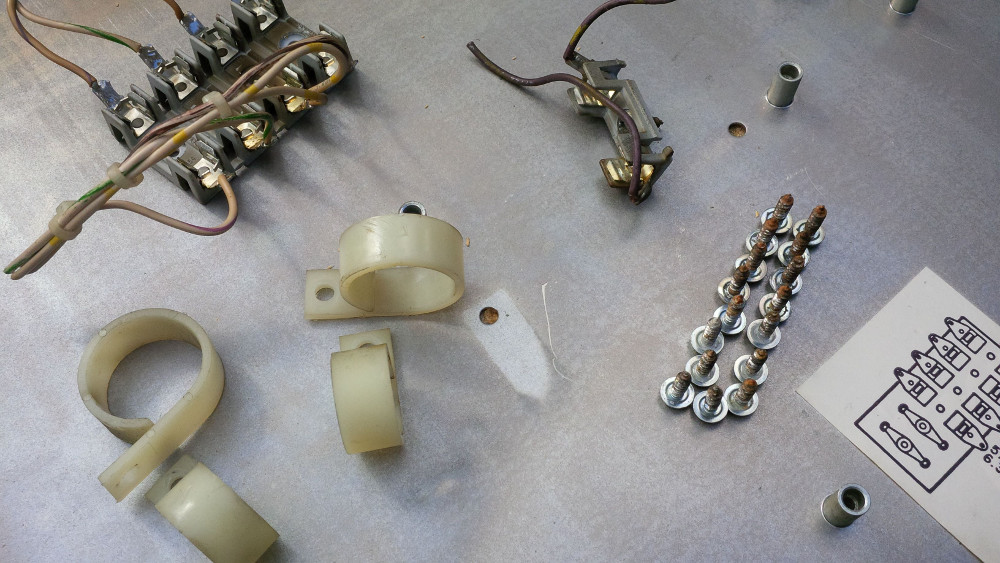
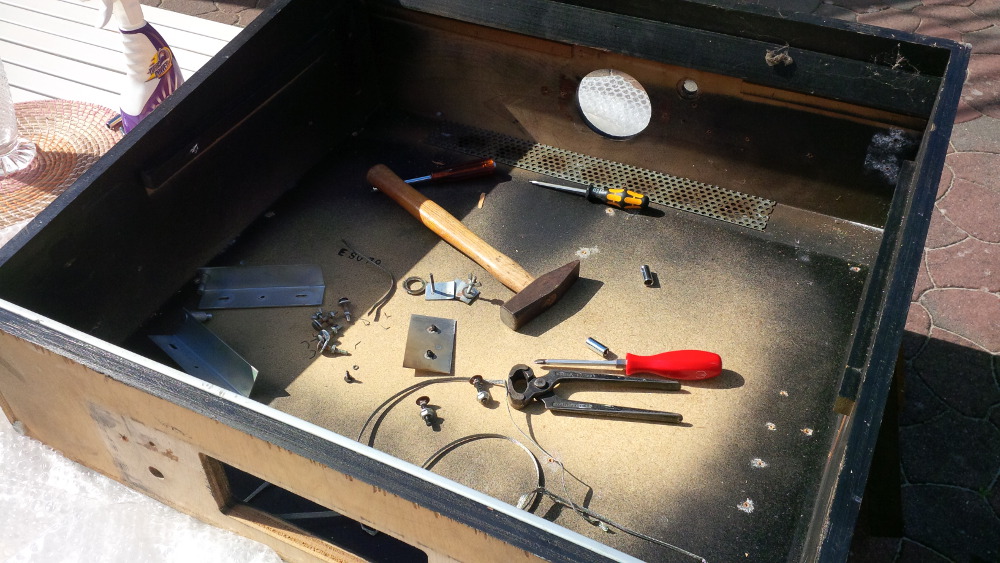
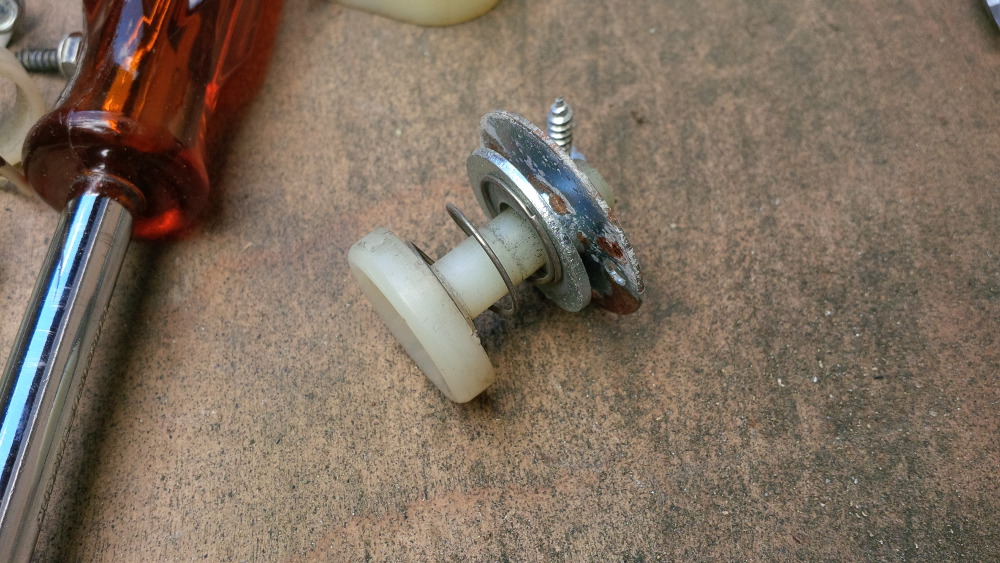
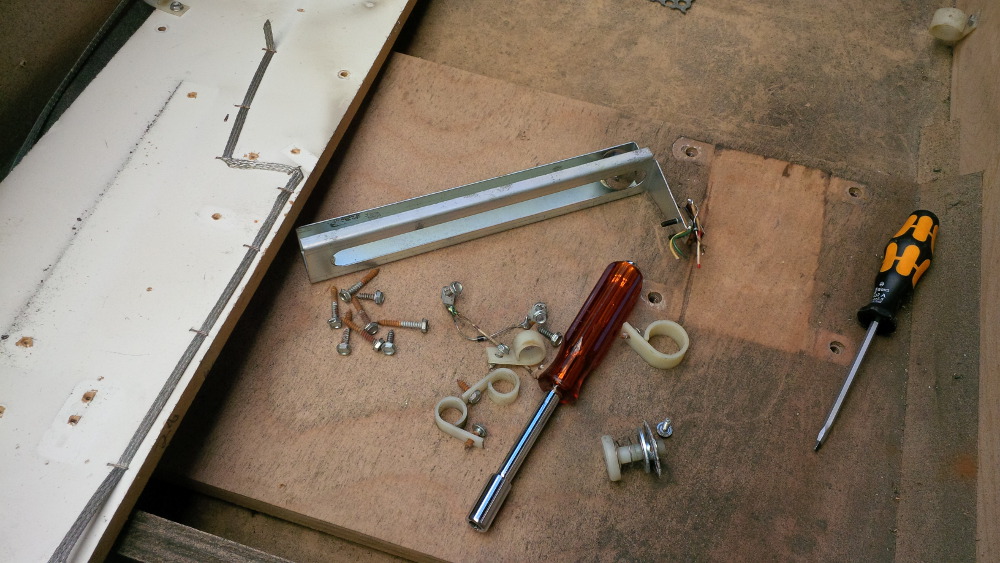
Because I don't like cleaning jobs let's start with the smaller task - called backbox. Firstly I want to remove all small left parts...
 
chapter-22-01-cleanup-backbox.jpg
 
chapter-22-02-cleanup-backbox.jpg
 
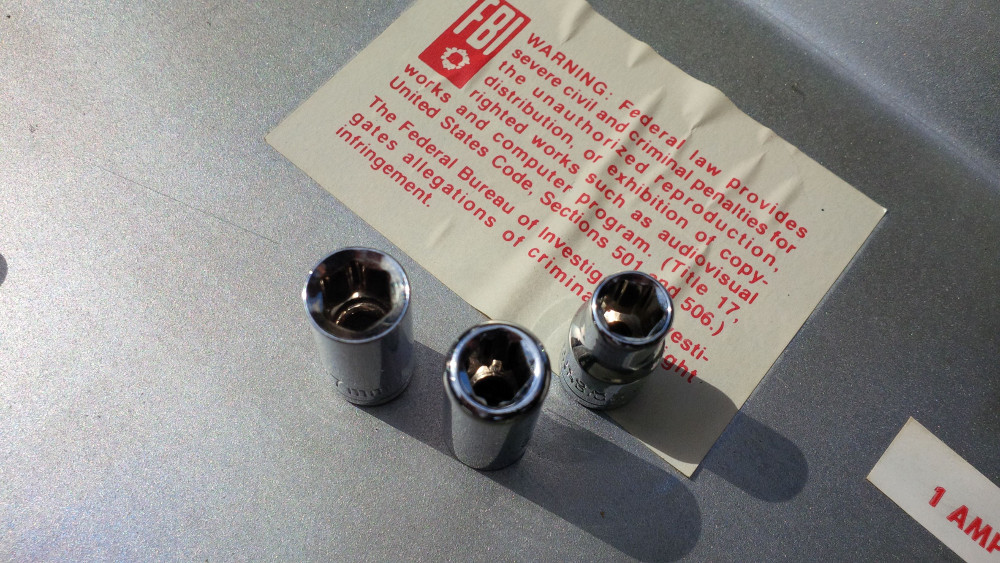
Sure, I've a collection of tools, but in my region we don't use inch base metrics that were used for all screws within the box. My 7mm nut is too small, 8mm to big... But don't worry - I am a so awesome lucky guy. One of my special nuts that is originally an adapter for screwing bits perfactly matches the standard size of all these US pinball screws - yes!
 
chapter-22-03-tool-metrics.jpg
 
Step-by-step, screw-by-screw I cleaned up the backbox.
 
chapter-22-04-cleanup-backbox.jpg
 
chapter-22-05-cleanup-backbox.jpg
 
chapter-22-06-cleanup-backbox.jpg
 
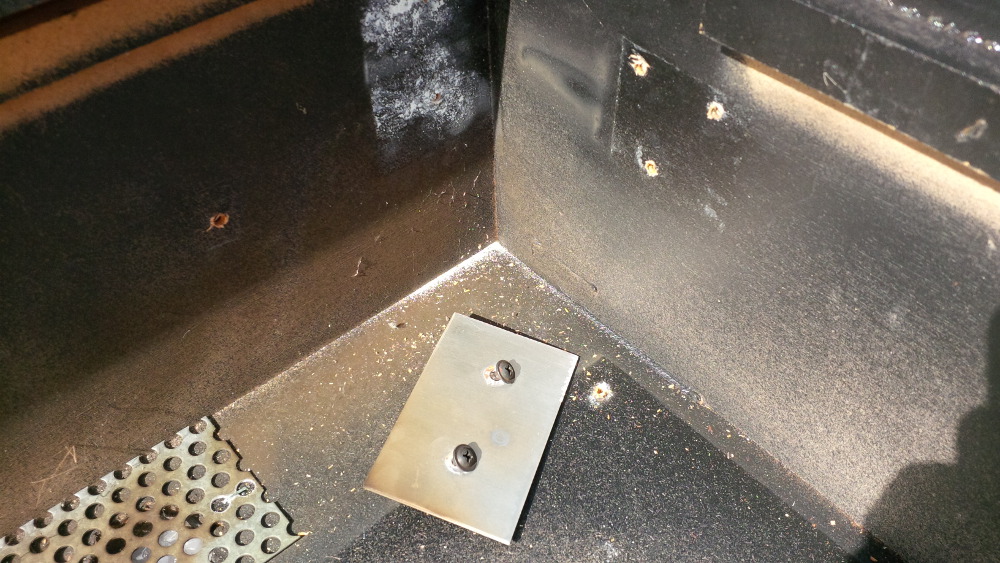
Ohhh, this must be a strike plate. I plan to use it later for a knocker.
 
chapter-22-07-strike-plate.jpg
 
Almost done...
 
chapter-22-08-cleanup-backbox-almost-don
 
Hmmmm, I don't like what I found behind the punched sheet. The rear panel of the backbox is MDF and not plywood and in extremly bad condition - baaah.
 
chapter-22-09-ugly-rear-panel.jpg
 
chapter-22-10-ugly-rear-panel.jpg
 
chapter-22-11-ugly-rear-panel.jpg
 
Okay, there're also some damages plywood parts, but I will accept the challenge to repair them.
 
chapter-22-12-damaged-ply-wood.jpg
 
The MDF rear panel looks simply dead without any chance for rescue. Should I replace it? Yes - I think so. But now let's get rid of this mass of smelling sticky dust first.
 
chapter-22-13-cleaning.jpg
 
Ahhhhhhhhh...
 
chapter-22-14-cleaned.jpg
 
Yet it's time to remove the ugly rear panel - wow, the used wood glue was a good one!
 
chapter-22-14-remove-rear-panel.jpg
 
chapter-22-15-remove-rear-panel.jpg
 
chapter-22-16-remove-rear-panel.jpg
 
So... a bigger task is the cab itself (coming soon).

Edited by rasm, 16 August 2014 - 11:39 PM.

Visit my build: Yet another build thread


#54 Nemo

Nemo

    Pinball Fan

  • Platinum Supporter
  • 1,283 posts
  • Location:Netherlands

  • Flag: Netherlands

  • Favorite Pinball: Monster Bash

Posted 17 August 2014 - 01:59 PM

Yeah it still live's ! Thought this thread was abandoned........  :pokey:


Yup, you have to clean those cabs inside out, wait, and repeat, so did it twice ! First run with some 

bacteria killing agent like Dettol, after all it does sit in your home !


Good thing you're going to replace that roached backplate !


Gone fishin', no really.......

My F14 Cab http://www.vpforums....showtopic=21820

My Coffee Table http://www.vpforums....topic=25407&hl=

My Jukebox WIP http://www.vpforums....topic=23825&hl=


#55 rasm

rasm

    Enthusiast

  • Members
  • PipPipPip
  • 128 posts
  • Location:Hamburg

  • Flag: Germany

  • Favorite Pinball: currently Fish Tales

Posted 17 August 2014 - 05:05 PM

Yeah it still live's ! Thought this thread was abandoned........  :pokey:

...


Yea, some progress is back!  :dblthumb:

On the other hand I've a strong suspicion that I will end up in a never ending story... maybe that's not a bad thing.


Visit my build: Yet another build thread


#56 rasm

rasm

    Enthusiast

  • Members
  • PipPipPip
  • 128 posts
  • Location:Hamburg

  • Flag: Germany

  • Favorite Pinball: currently Fish Tales

Posted 17 August 2014 - 06:28 PM

So, here comes the second part of my cabinet clean up. I know, it's a boring topic, but it's part my build...
 
Boa - cleaning is no fun. My passion is to build something, instead of using a flannel as main tool. It cost me quite an effort to start this task, but I need progress.
 
chapter-22-17-clean-a-cab.jpg
 
chapter-22-18-clean-a-cab.jpg
 
chapter-22-19-clean-a-cab.jpg
 
Every single part that I removed let me feel in creative ideas about their history. For example there was a very old dried rose in the cab... maybe part of a marriage proposal...
 
The start button looks awesome oldskool, how many games were started by pressing it?!
 
chapter-22-20-oldskool-button.jpg
 
I like these tilt sensor, that contains my first own ball. It feels good and a bit magic to touch a real pinball.
 
chapter-22-21-my-first-own-ball.jpg
 
A lot of trash...
 
chapter-22-22-a-lot-of-trash.jpg
 
...and some parts that will definetly reused.
 
chapter-22-23-some-parts-can-be-reused.j

Visit my build: Yet another build thread


#57 rasm

rasm

    Enthusiast

  • Members
  • PipPipPip
  • 128 posts
  • Location:Hamburg

  • Flag: Germany

  • Favorite Pinball: currently Fish Tales

Posted 17 August 2014 - 06:47 PM

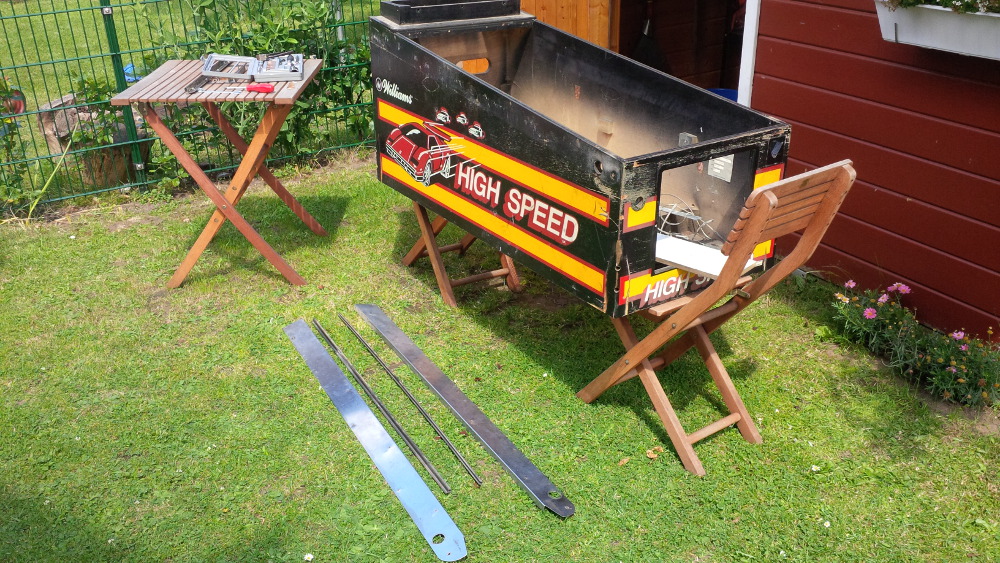
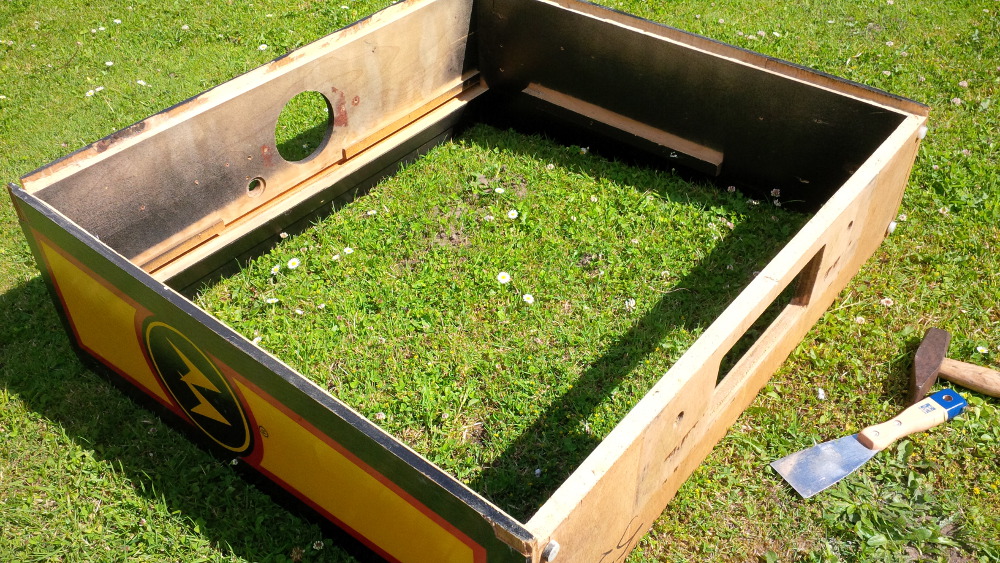
Now I will demount the good old Williams side rails.
 
chapter-22-24-siderails.jpg
 
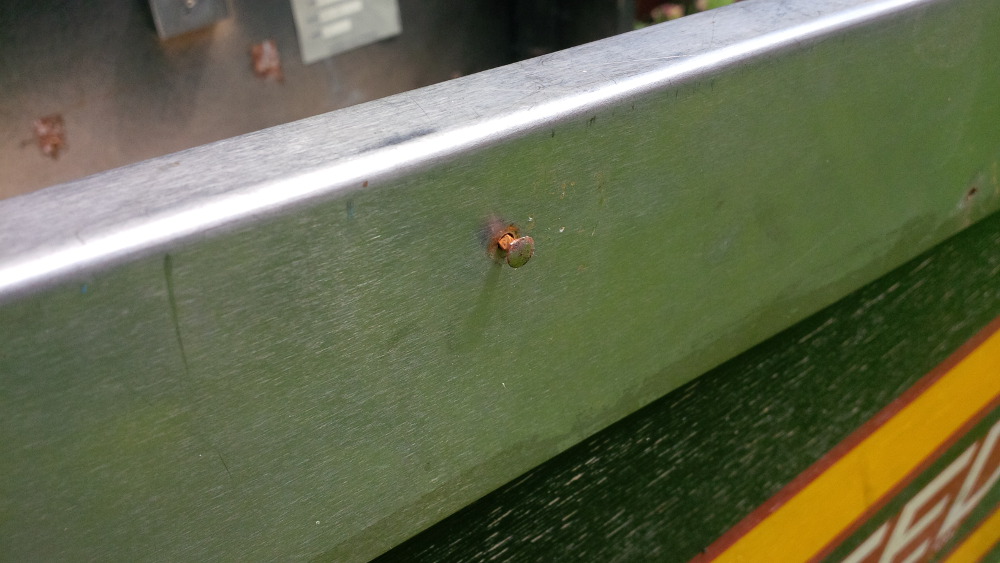
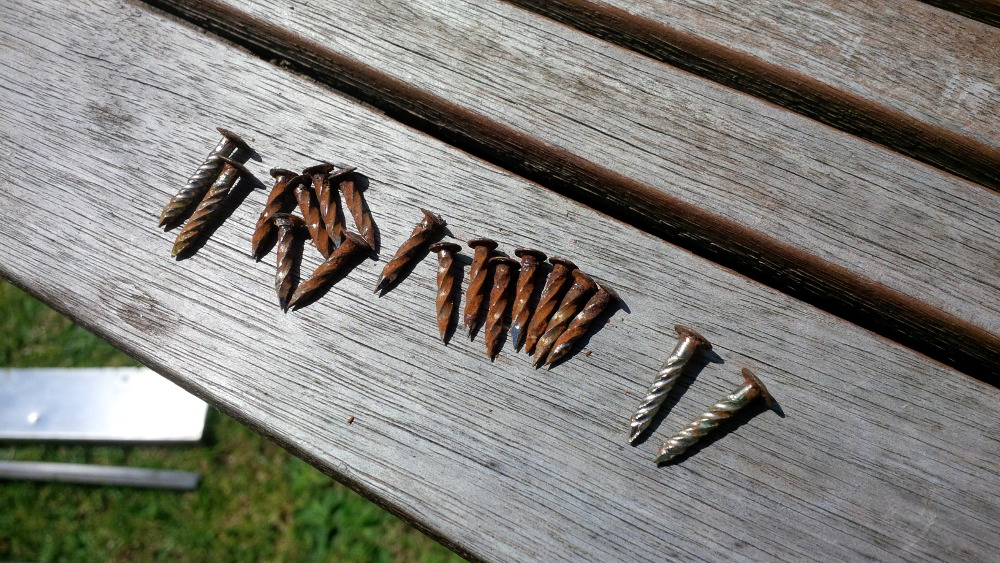
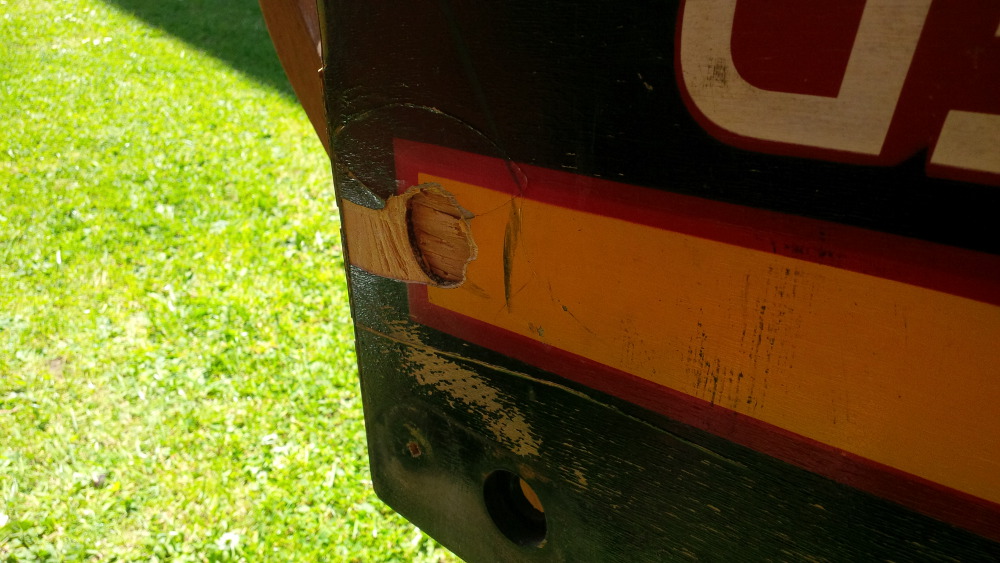
The side rails are mounted with twisted nails. I used a scraper to carefully loose the nails a bit. Than it's easy to pull them out with a pair of nippers. If you're doing something similar please be careful to not damage the rails.
 
chapter-22-25-siderails.jpg
 
These rusty nails hold my rails since almost three decades.
 
chapter-22-26-sidebar-nails.jpg
 
The left side rail is removed...
 
chapter-22-27-siderails.jpg
 
...and a bit later also the right side.
 
chapter-22-28-siderails.jpg
 
I assume the black plastic parts under the side rails must be the t-moldings to keep the glass tight in place - these should also be reusable.
 
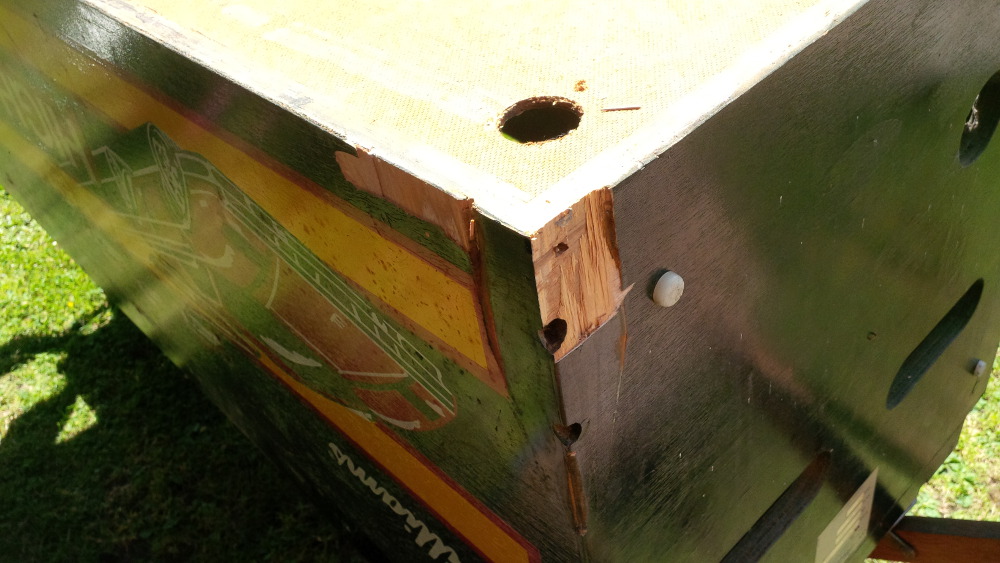
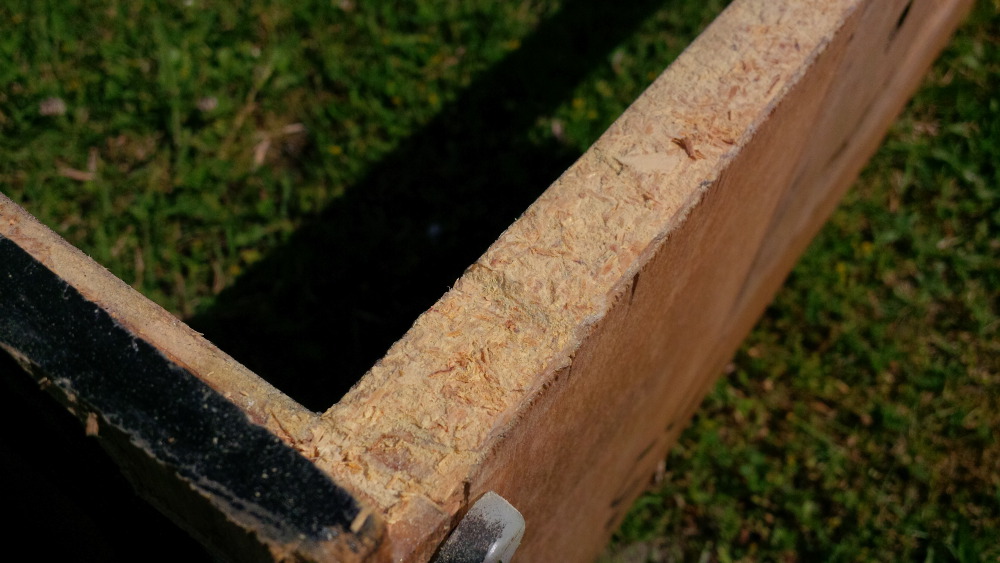
While working on the cab I found so much damaged wood pieces that I shortly thought about building a new one, but it'S too late I want to awaken exactly this High Speed.
 
chapter-22-29-a-lot-of-work.jpg
 
chapter-22-30-a-lot-of-work.jpg
 
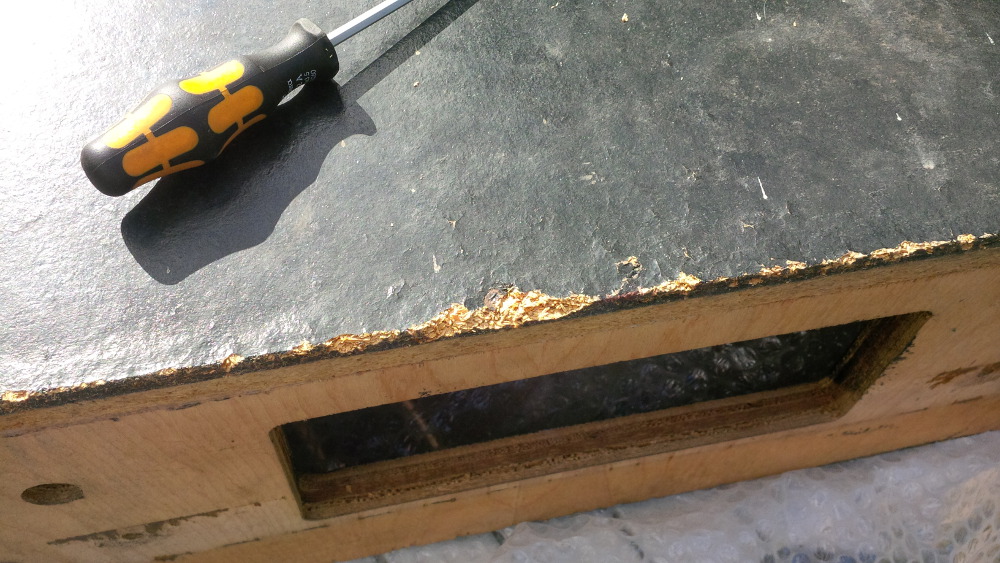
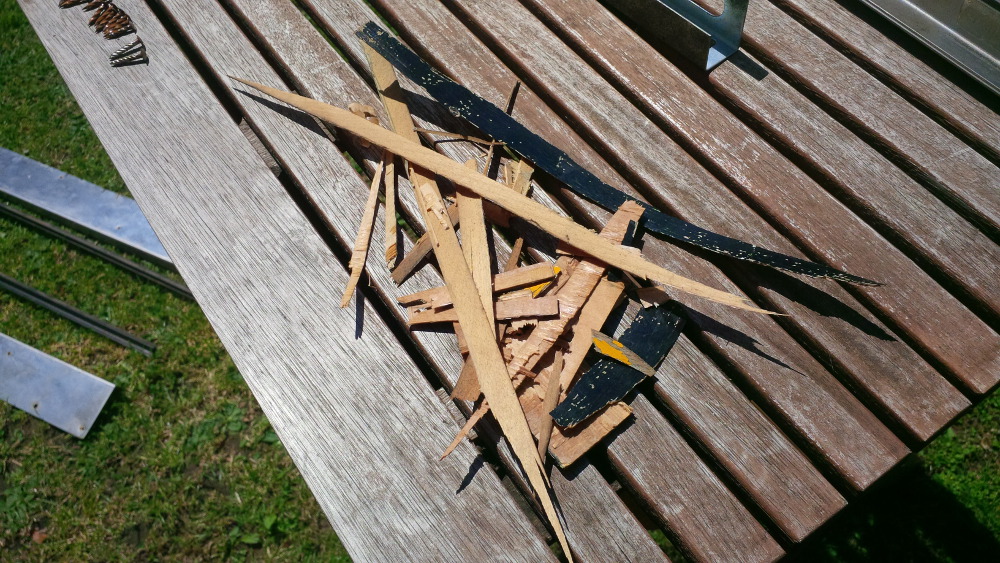
Before starting the raw cleaning job, I removed obviously detached parts of the old play wood.
 
chapter-22-31-cab-splints.jpg
 
I also mentioned that the High Speed design looks a bit German.  :pinnochio:
 
chapter-22-32-germany.jpg

Visit my build: Yet another build thread


#58 rasm

rasm

    Enthusiast

  • Members
  • PipPipPip
  • 128 posts
  • Location:Hamburg

  • Flag: Germany

  • Favorite Pinball: currently Fish Tales

Posted 17 August 2014 - 07:04 PM

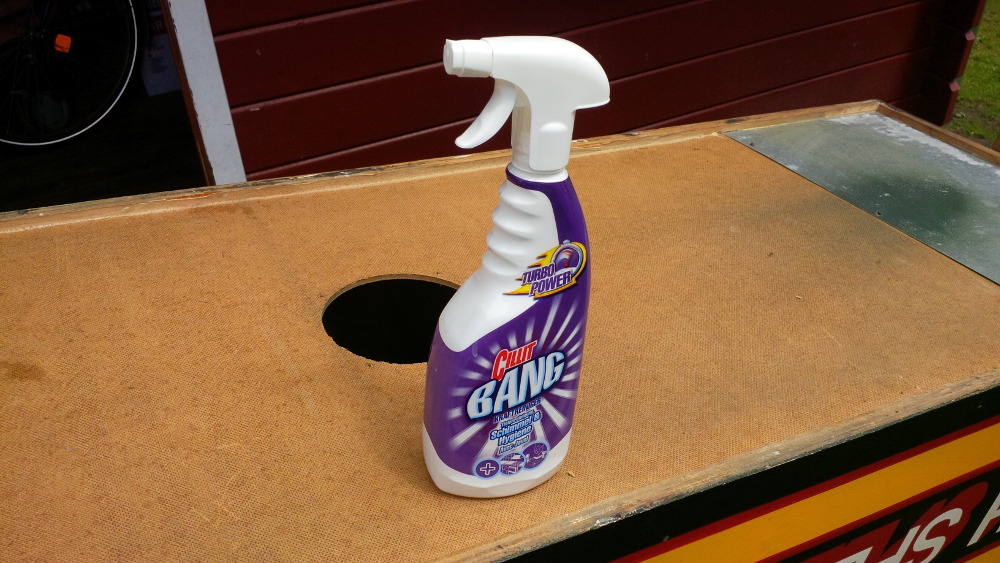
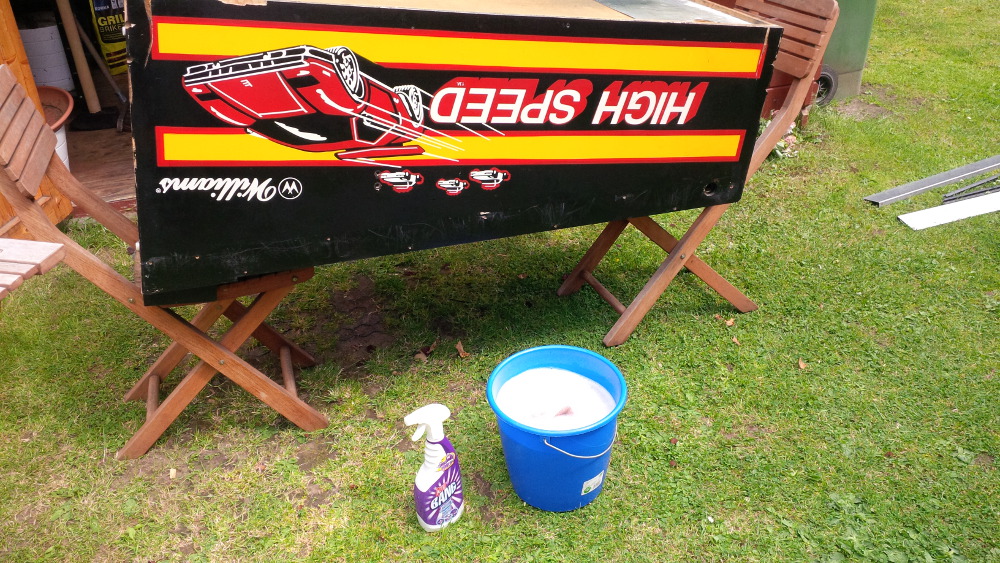
It's cleaning time. I used the strongest drugstore chemical fungicide and let them react for some time (>5min) on the cab. It's not very healthy to use such stuff, but bacilli of so many years are not better. Please do not repeat this on paper like wood such as the rough ground plate. Now I created a lot of bright spots on the bottom side, but luckily nobody will notice these under the cab.
 
chapter-22-33-strong-drugstore-chemicals
 
Cleaning, cleaning, cleaning...
 
chapter-22-34-raw-cleaning.jpg
 
And here's the result.
 
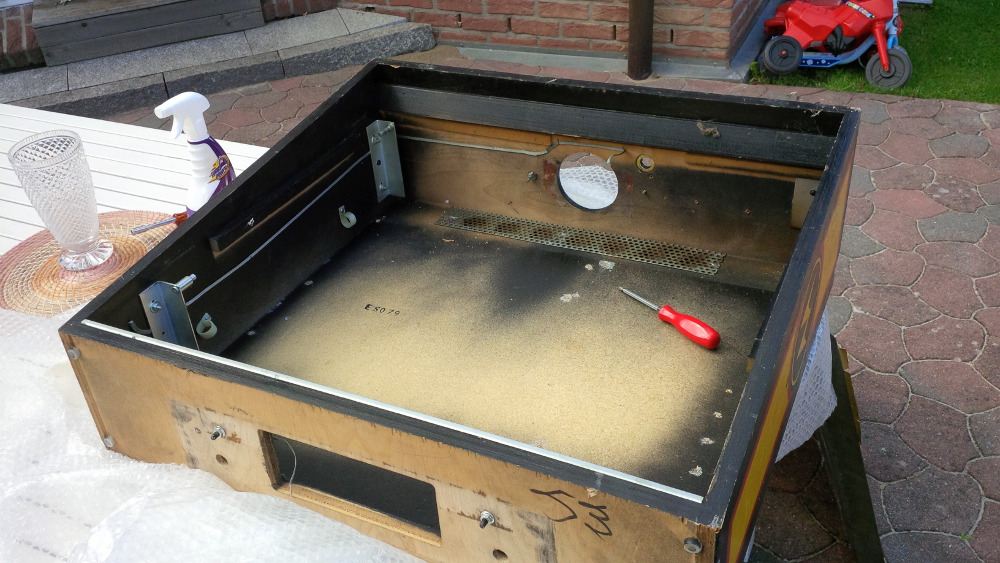
chapter-22-35-clean-cab.jpg
 
chapter-22-36-clean-cab.jpg
 
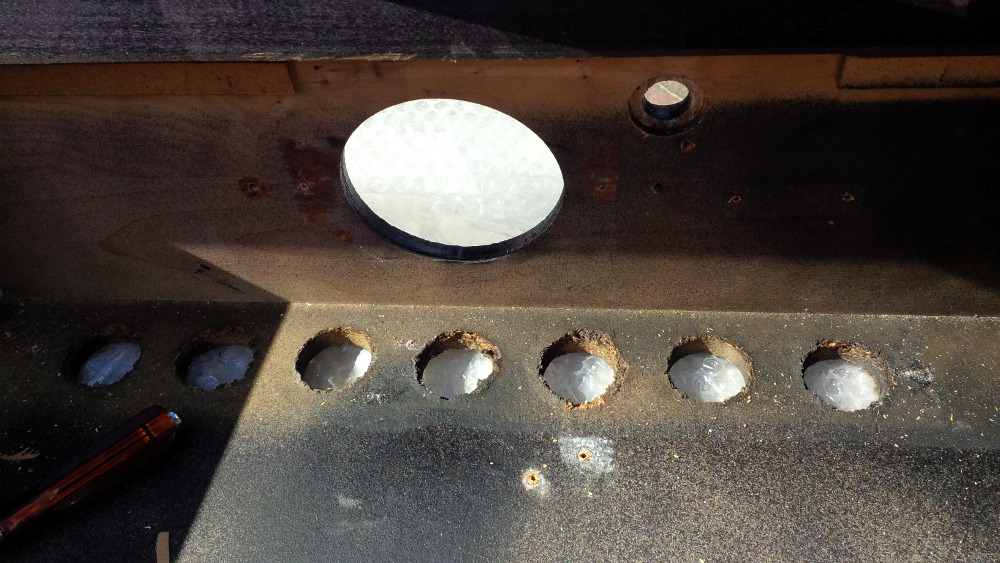
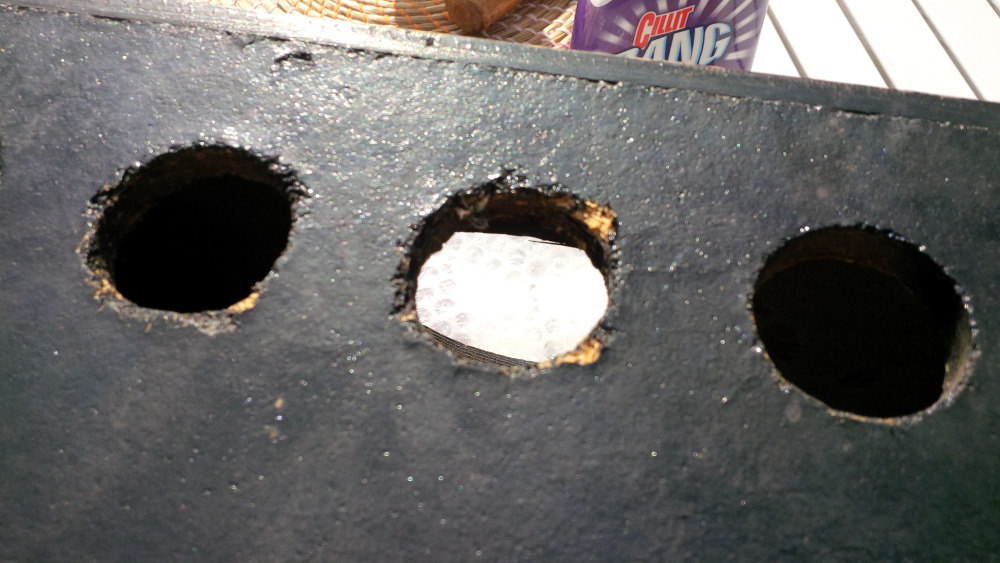
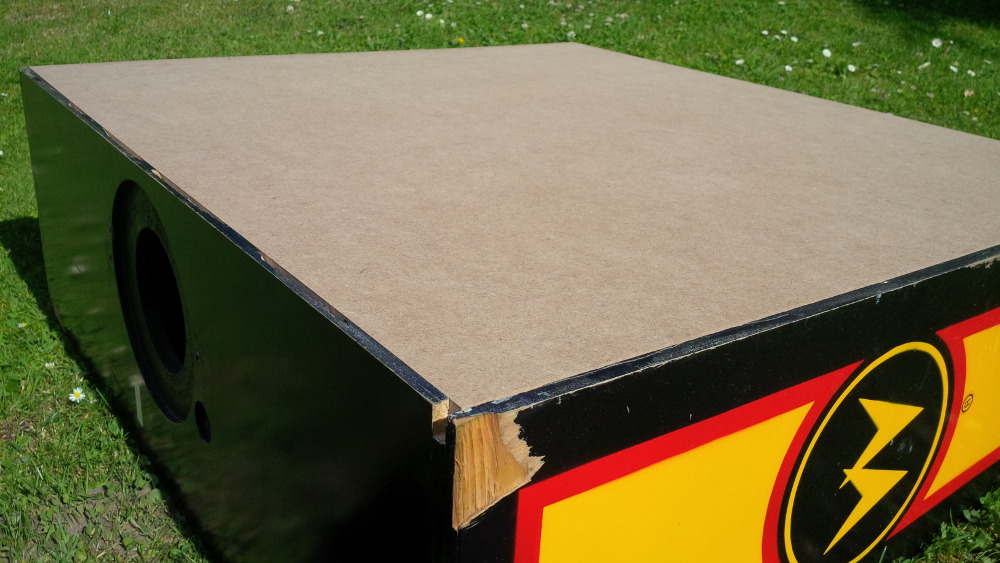
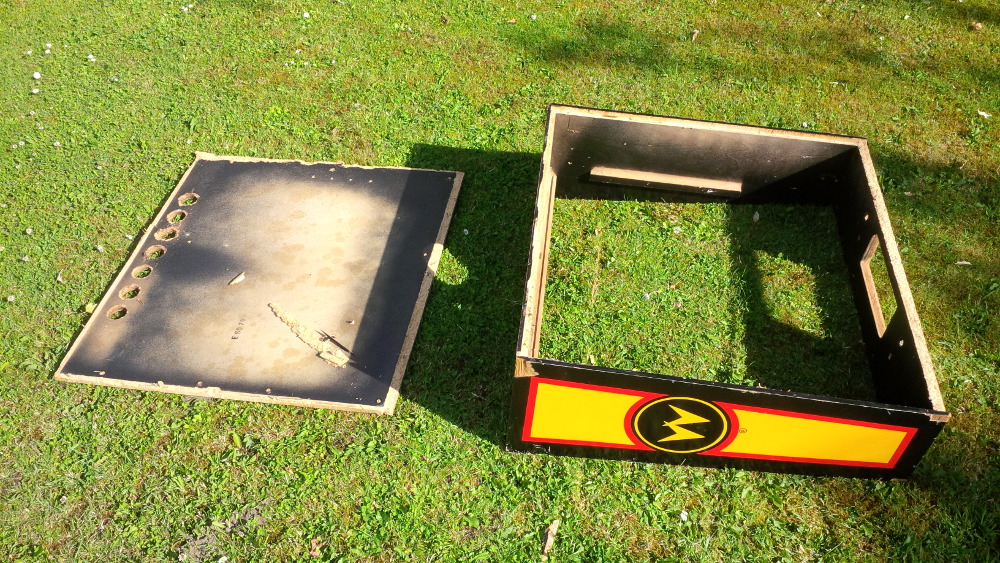
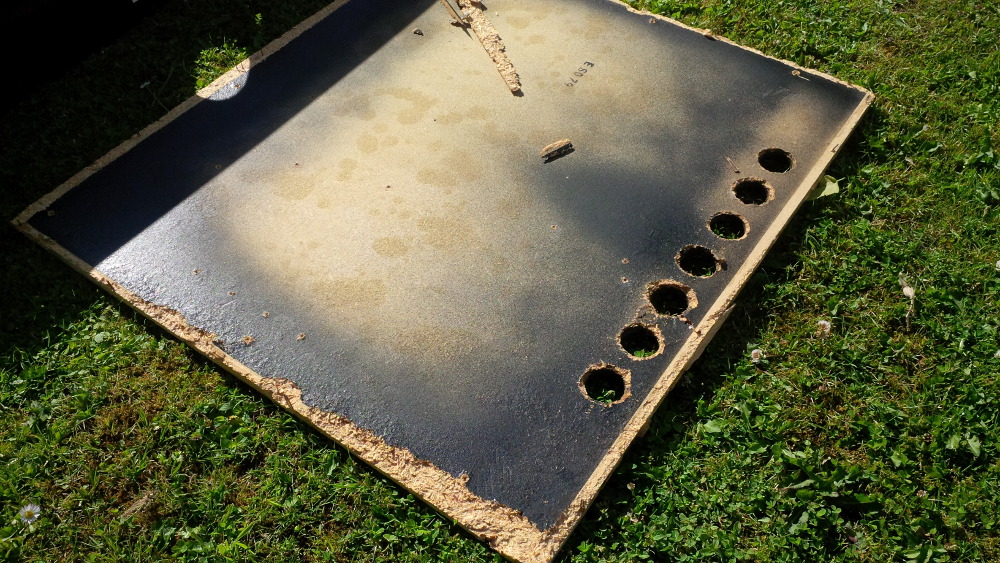
To close this topic I spent much effort on removing remaining wood of the backbox back plate. A job that really got on my nerves! But now a new 13mm MDF plate fits perfectly and I planned some holes for the air flow and a door.
 
chapter-22-37-back-plate-replacement.jpg
 
chapter-22-38-back-plate-replacement.jpg
 
chapter-22-39-back-plate-replacement.jpg
 
chapter-22-40-back-plate-replacement.jpg
 
So, the cab is cleaned! Time to relax a bit...
 
chapter-22-41-done-for-now.jpg

Visit my build: Yet another build thread


#59 rasm

rasm

    Enthusiast

  • Members
  • PipPipPip
  • 128 posts
  • Location:Hamburg

  • Flag: Germany

  • Favorite Pinball: currently Fish Tales

Posted 17 August 2014 - 07:44 PM

Chapter 23 - New parts arrived, an important cab builder tool
 
So, chapter 22 was a long one, chapter 23 will be short but sensational. New parts arrived - two small ones and a big one. Are you already excited? Let's start with the smallest one:
 
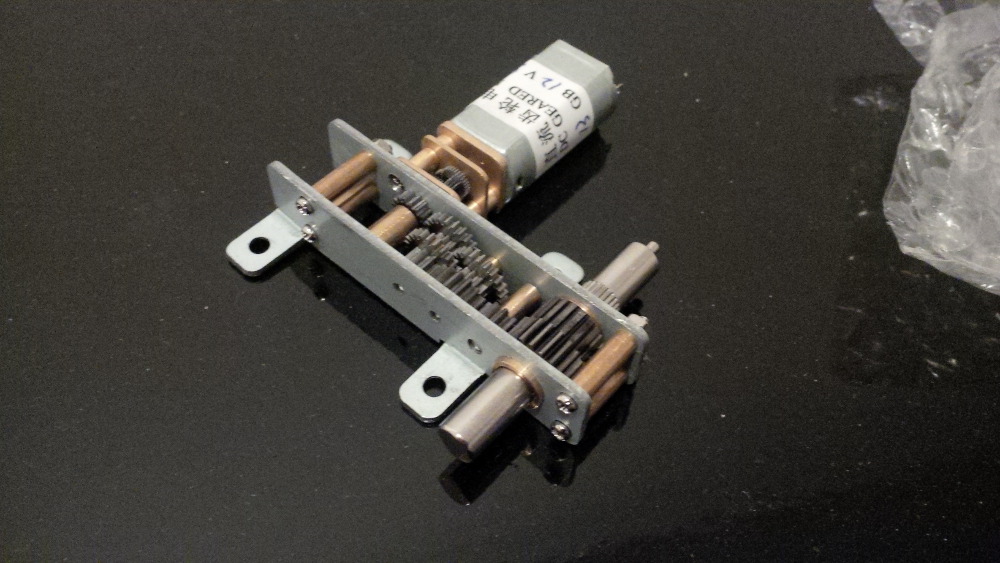
A gear motor arrived from China. Unfortunately I cannot use it without a bigger bundle that I ordered that contains my relay board. In the meanwhile I opened an ebay support issue and the seller send the package again, because it didn't arrived (it's obviously better to order small slim packages from Shenzen). The good think is, that I have at least a gear motor now. I chose a model that I saw in different builds of our community, so that I am sure it will create an acceptable effect.
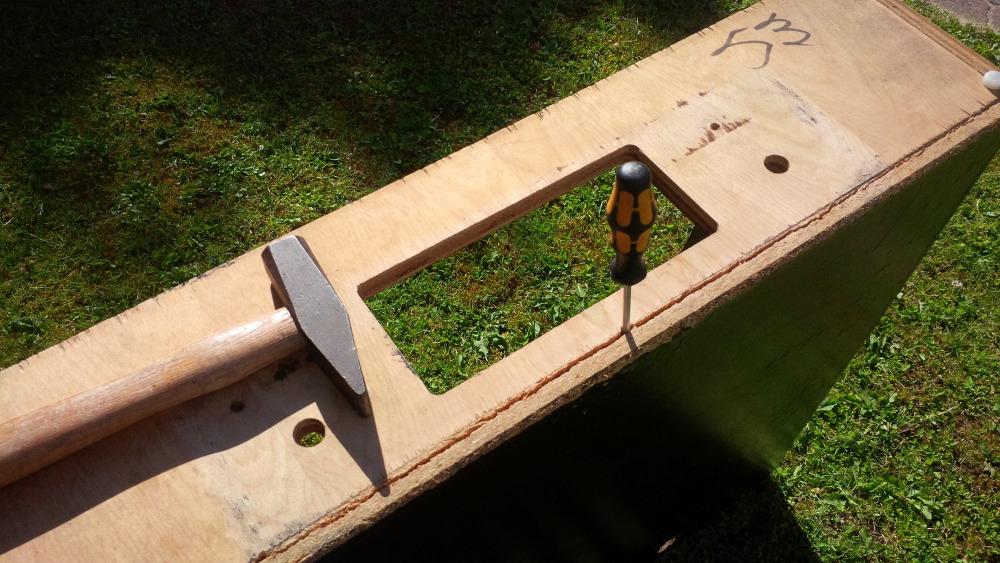
 
chapter-23-01-gear-motor.jpg
 
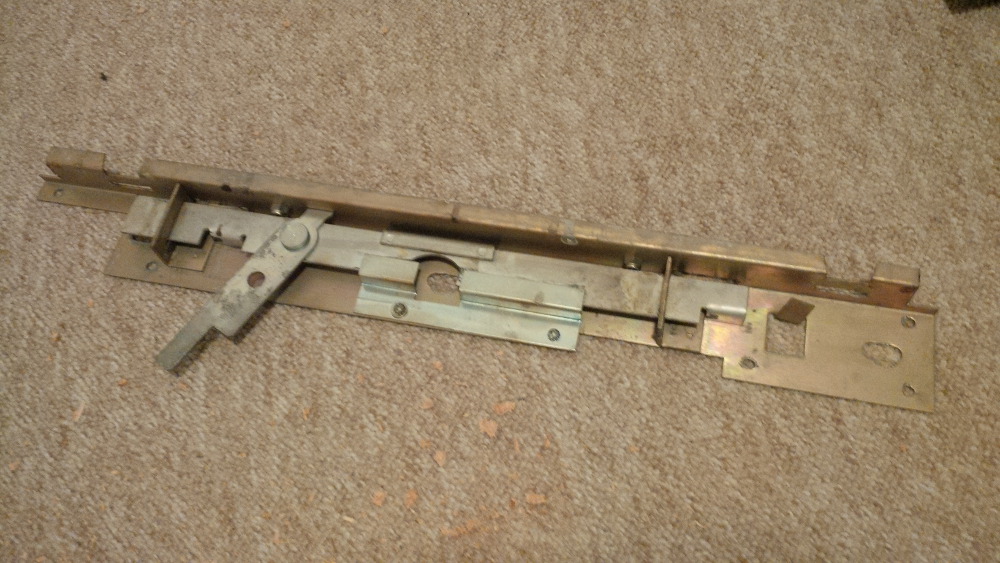
Ladies and gentlemen now I am proud to announce the next bigger part that I received. I got an used lock-down-bar-receiver for only 12€ plus shipping. So I save some money for all the needed screens.
 
chapter-23-02-lockbar-receiver.jpg
 
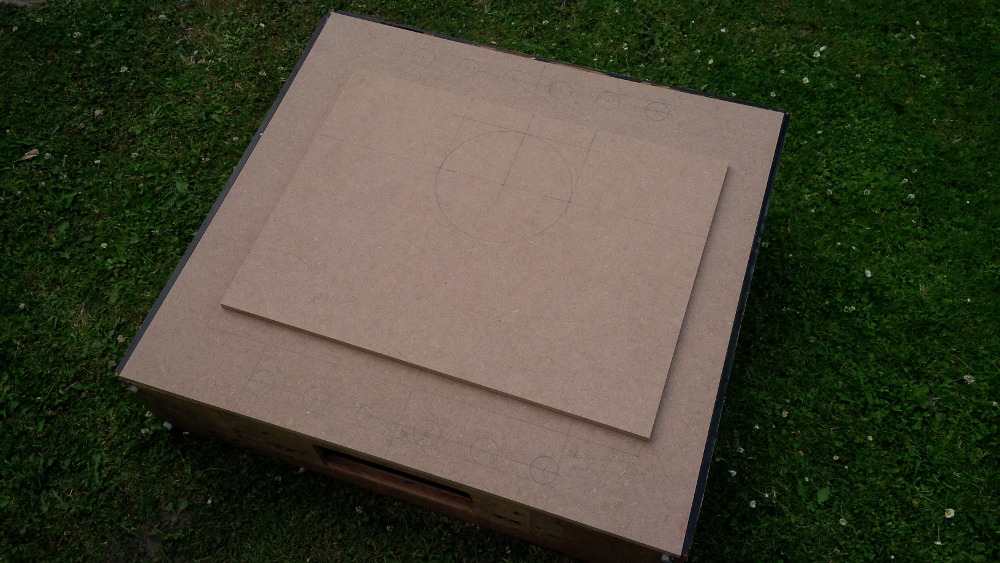
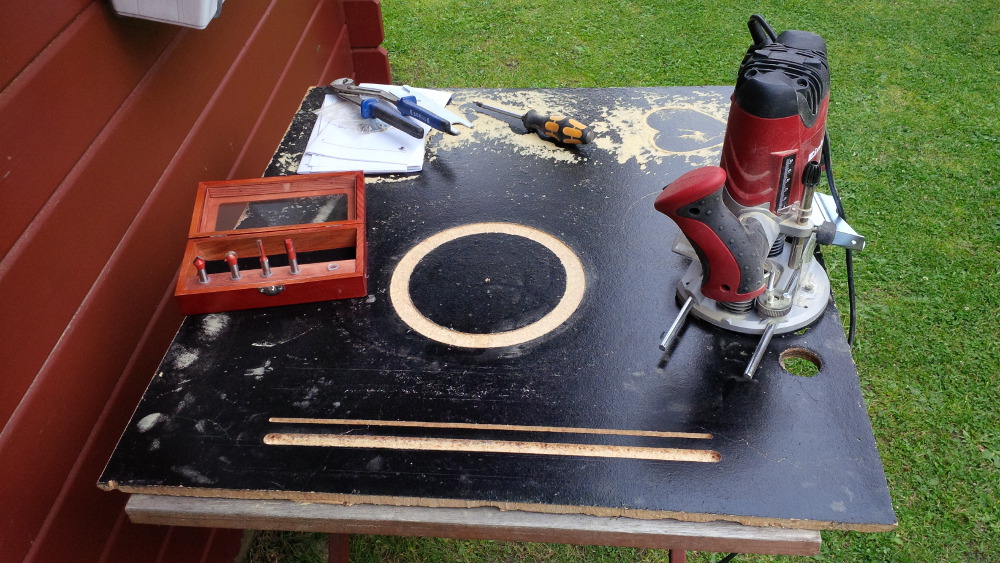
And now... last but not least... I am smiling... and I know it is the right time to invest in a new tool. I read so many about fantastic builds in this forum and it's clear for me yet that I miss mandatory tool. I got it... Yes, it's true... I got a brand new router! Ahhhh yea! It's time to find a new era of wood work quality. I'd to wait a week for sunshine and a free Saturday to make some noise, but my first routes looks fine for me.  :bar2:
 
chapter-23-03-router.jpg
 
A small step for the most of you, but a big one for me.    

Edited by rasm, 26 August 2015 - 08:59 PM.

Visit my build: Yet another build thread


#60 MTPPC

MTPPC

    Enthusiast

  • Members
  • PipPipPip
  • 352 posts
  • Location:Big Sky, Montana USA

  • Flag: ---------

  • Favorite Pinball: Mata Hari .directB2S

Posted 20 August 2014 - 05:33 PM

Today my first task was to check your answers to my question how to solve my plunger issue, but my notebook didn't react as expected. I had trouble in editing an adress in my browser bar and my touch pad stops working and special keys didn't work as expected and and and... After 30 minutes I found the issue  :facepalm:... My IPac was still connected and in case of my slammed bend plunger switch I fired continously enter key events - another lessons learned.


...

Please help me with some ideas what to do to create a reliable setup.

...


Ohhh yea, I really like this community. While I thought about wild ideas how to get a reliable and simple plunger setup I got a couple of great answers. Did you ever heard something about a "Tubular Inductive Proximity Sensor Approach Switch"? Hehe, yea... sounds like ninja or rocket science.  :ph34r: But it's a serios plunger switch solution. But the most genius idea came from BigBoss, thank you so much... It's so simple... I could simply mount my switch perpendicular instead of slamming directly into my switch and instead of creating a more creative solution. Could it be so simple? I tried it asap...
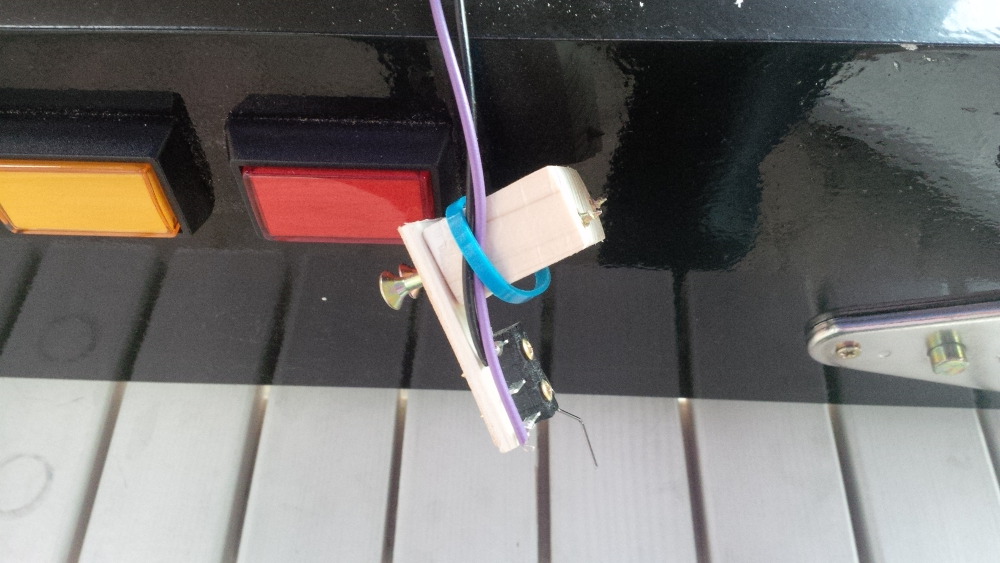
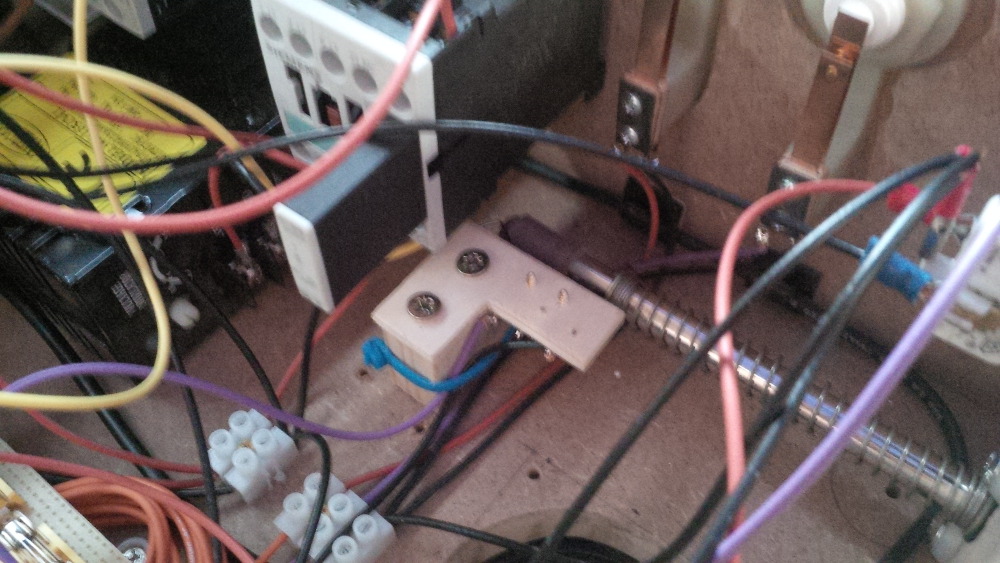
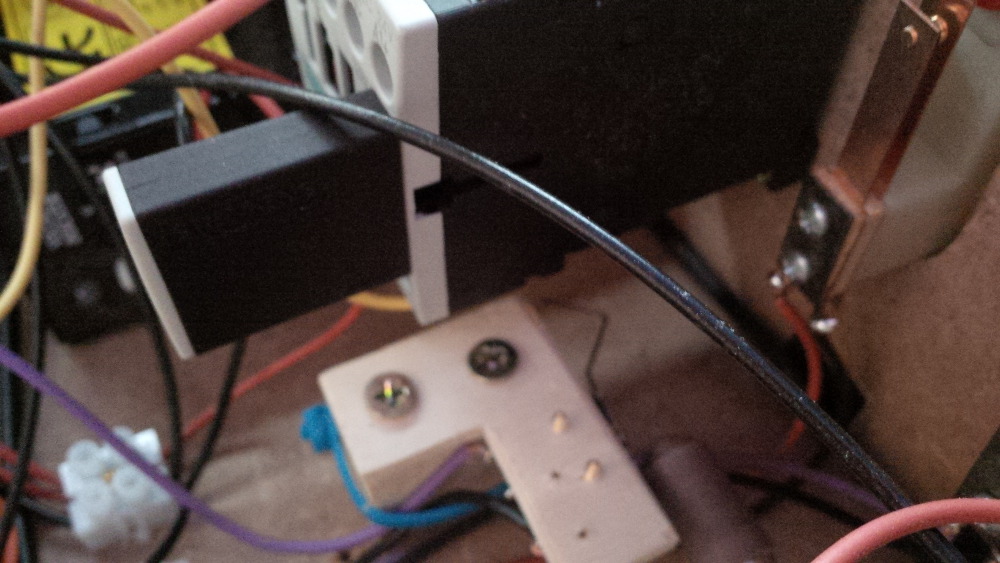
 

Firstly demounting my current switch assembly...


chapter-19-23-plunger-switch-demount.jpg


I had to re-adjust the assembly a bit and remounted it perpendicular.


chapter-19-24-plunger-switch-remount.jpg


And it works like a charm! Yipee!


Pull...


chapter-19-26-plunger-switch-remount.jpg


...and SLAM... BAAAAAM... and again and again!


chapter-19-25-plunger-switch-remount.jpg


Fantastic - my plunger is working!


Coming soon: Chapter 20 - A disappointing bulb replacement

I found I got bounceback with the plunger until I mounted the switch so it was closed until you pulled the plunger back.


Then in my next build, I used the hall effect sensor found here: http://www.vpforums....showtopic=25742


Also tagged with one or more of these keywords: Pinball Wizard, DIY, Pinball Controls, Small, Box