


Hi there,
I'm RubiiZ and I have started building my own virtual pinball cab back in 2019, together with my husband. Progress is very, very slow, since we became parents in 2020! This week we finally made some new progress and decided to make a build topic here. My original plan was to document each and every step on my personal website, but that requires much more spare time than we have right now 
So in this topic we would like to show you an overview of all of our work, design choices and considerations. I hope you like the photo spread.
I would like to thank mjr for the unbelievable work he put in his guide. We love to read it and use it a lot for reference!! It's almost like a bible 
-------------------------------------------------------------------------------
LIST OF COMPUTER AND ELECTRONIC COMPONENTS
-------------------------------------------------------------------------------
- Graphics card: Gigabyte GeForce RTX 2060 Super Windforce OC 8G
- CPU: AMD Ryzen 5 3600
- Motherboard: MSI B450 Tomahawk Max
- RAM: Crucial Ballistix DDR4 Sport LT 2x8GB 3600
- Memory: Intel 660p 512GB SSD
- Power supply: BitFenix Formula Gold 550W
- Case: Cooler Master MasterBox Q500L
- Playfield monitor: LG 43UD79 4K monitor
- Backbox monitor: second hand HP ZR30w monitor (16:10)
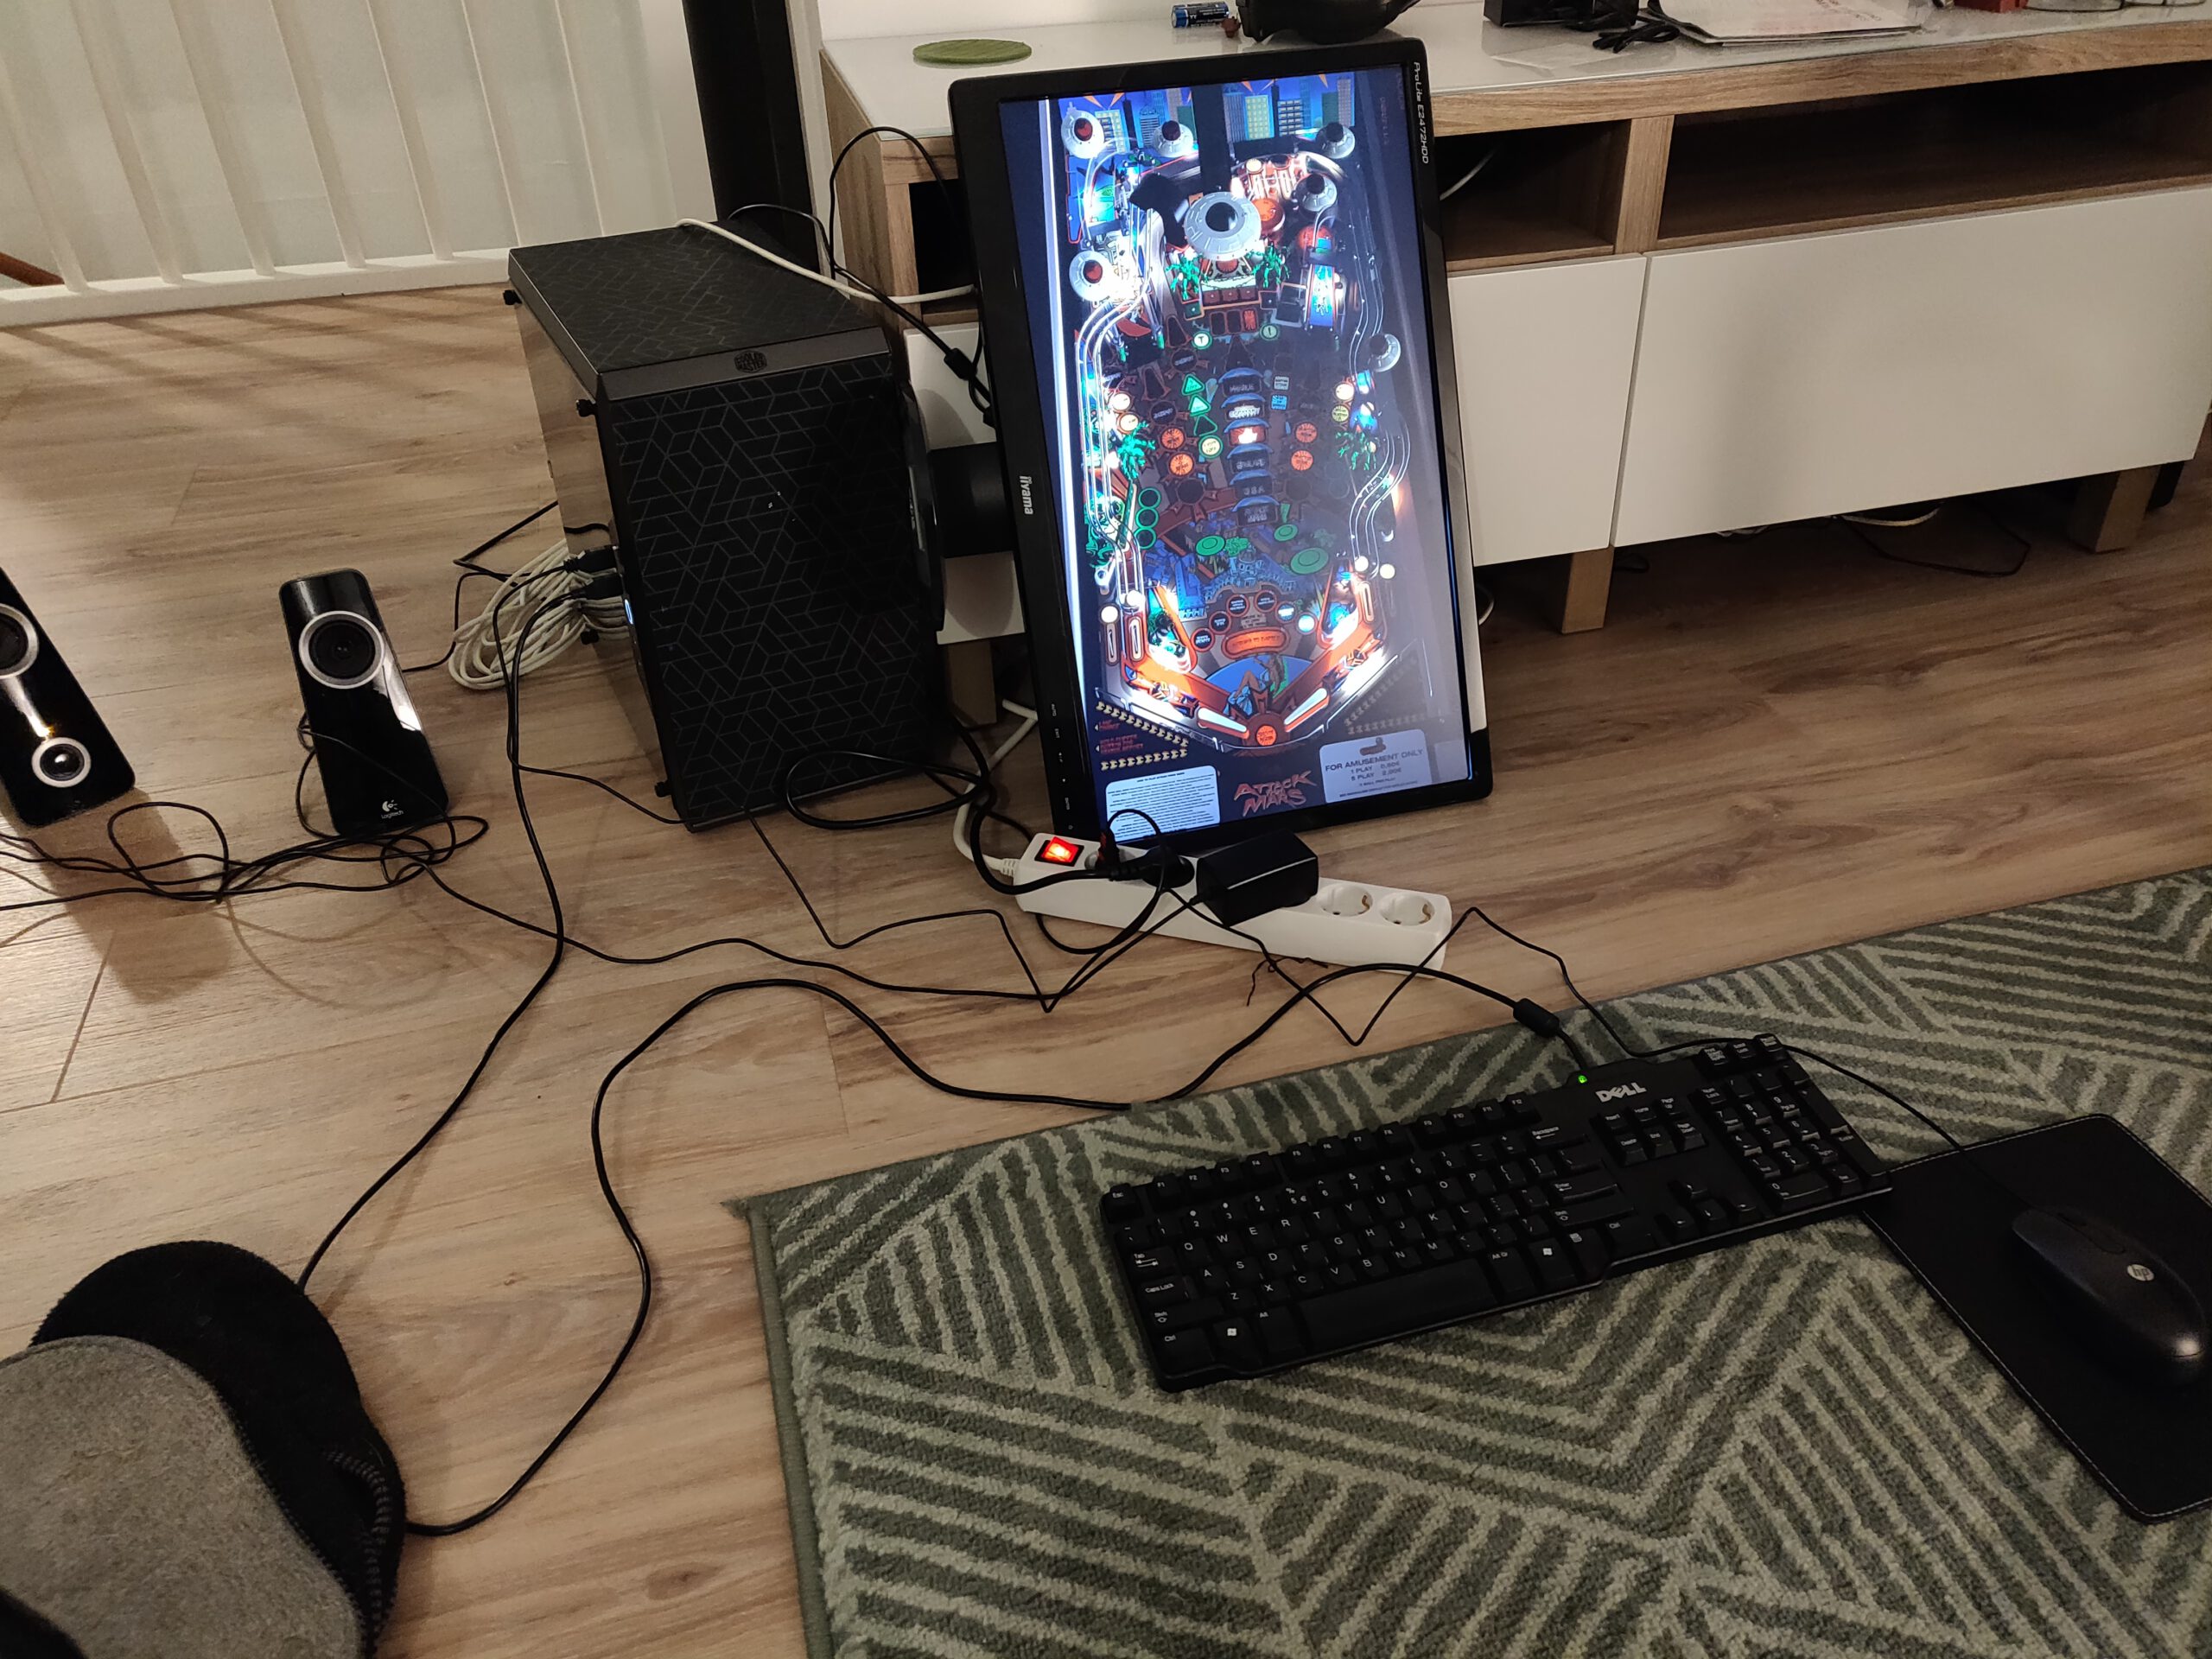
Running a test:
-----------------------------------
BUILDING THE CABINET
-----------------------------------
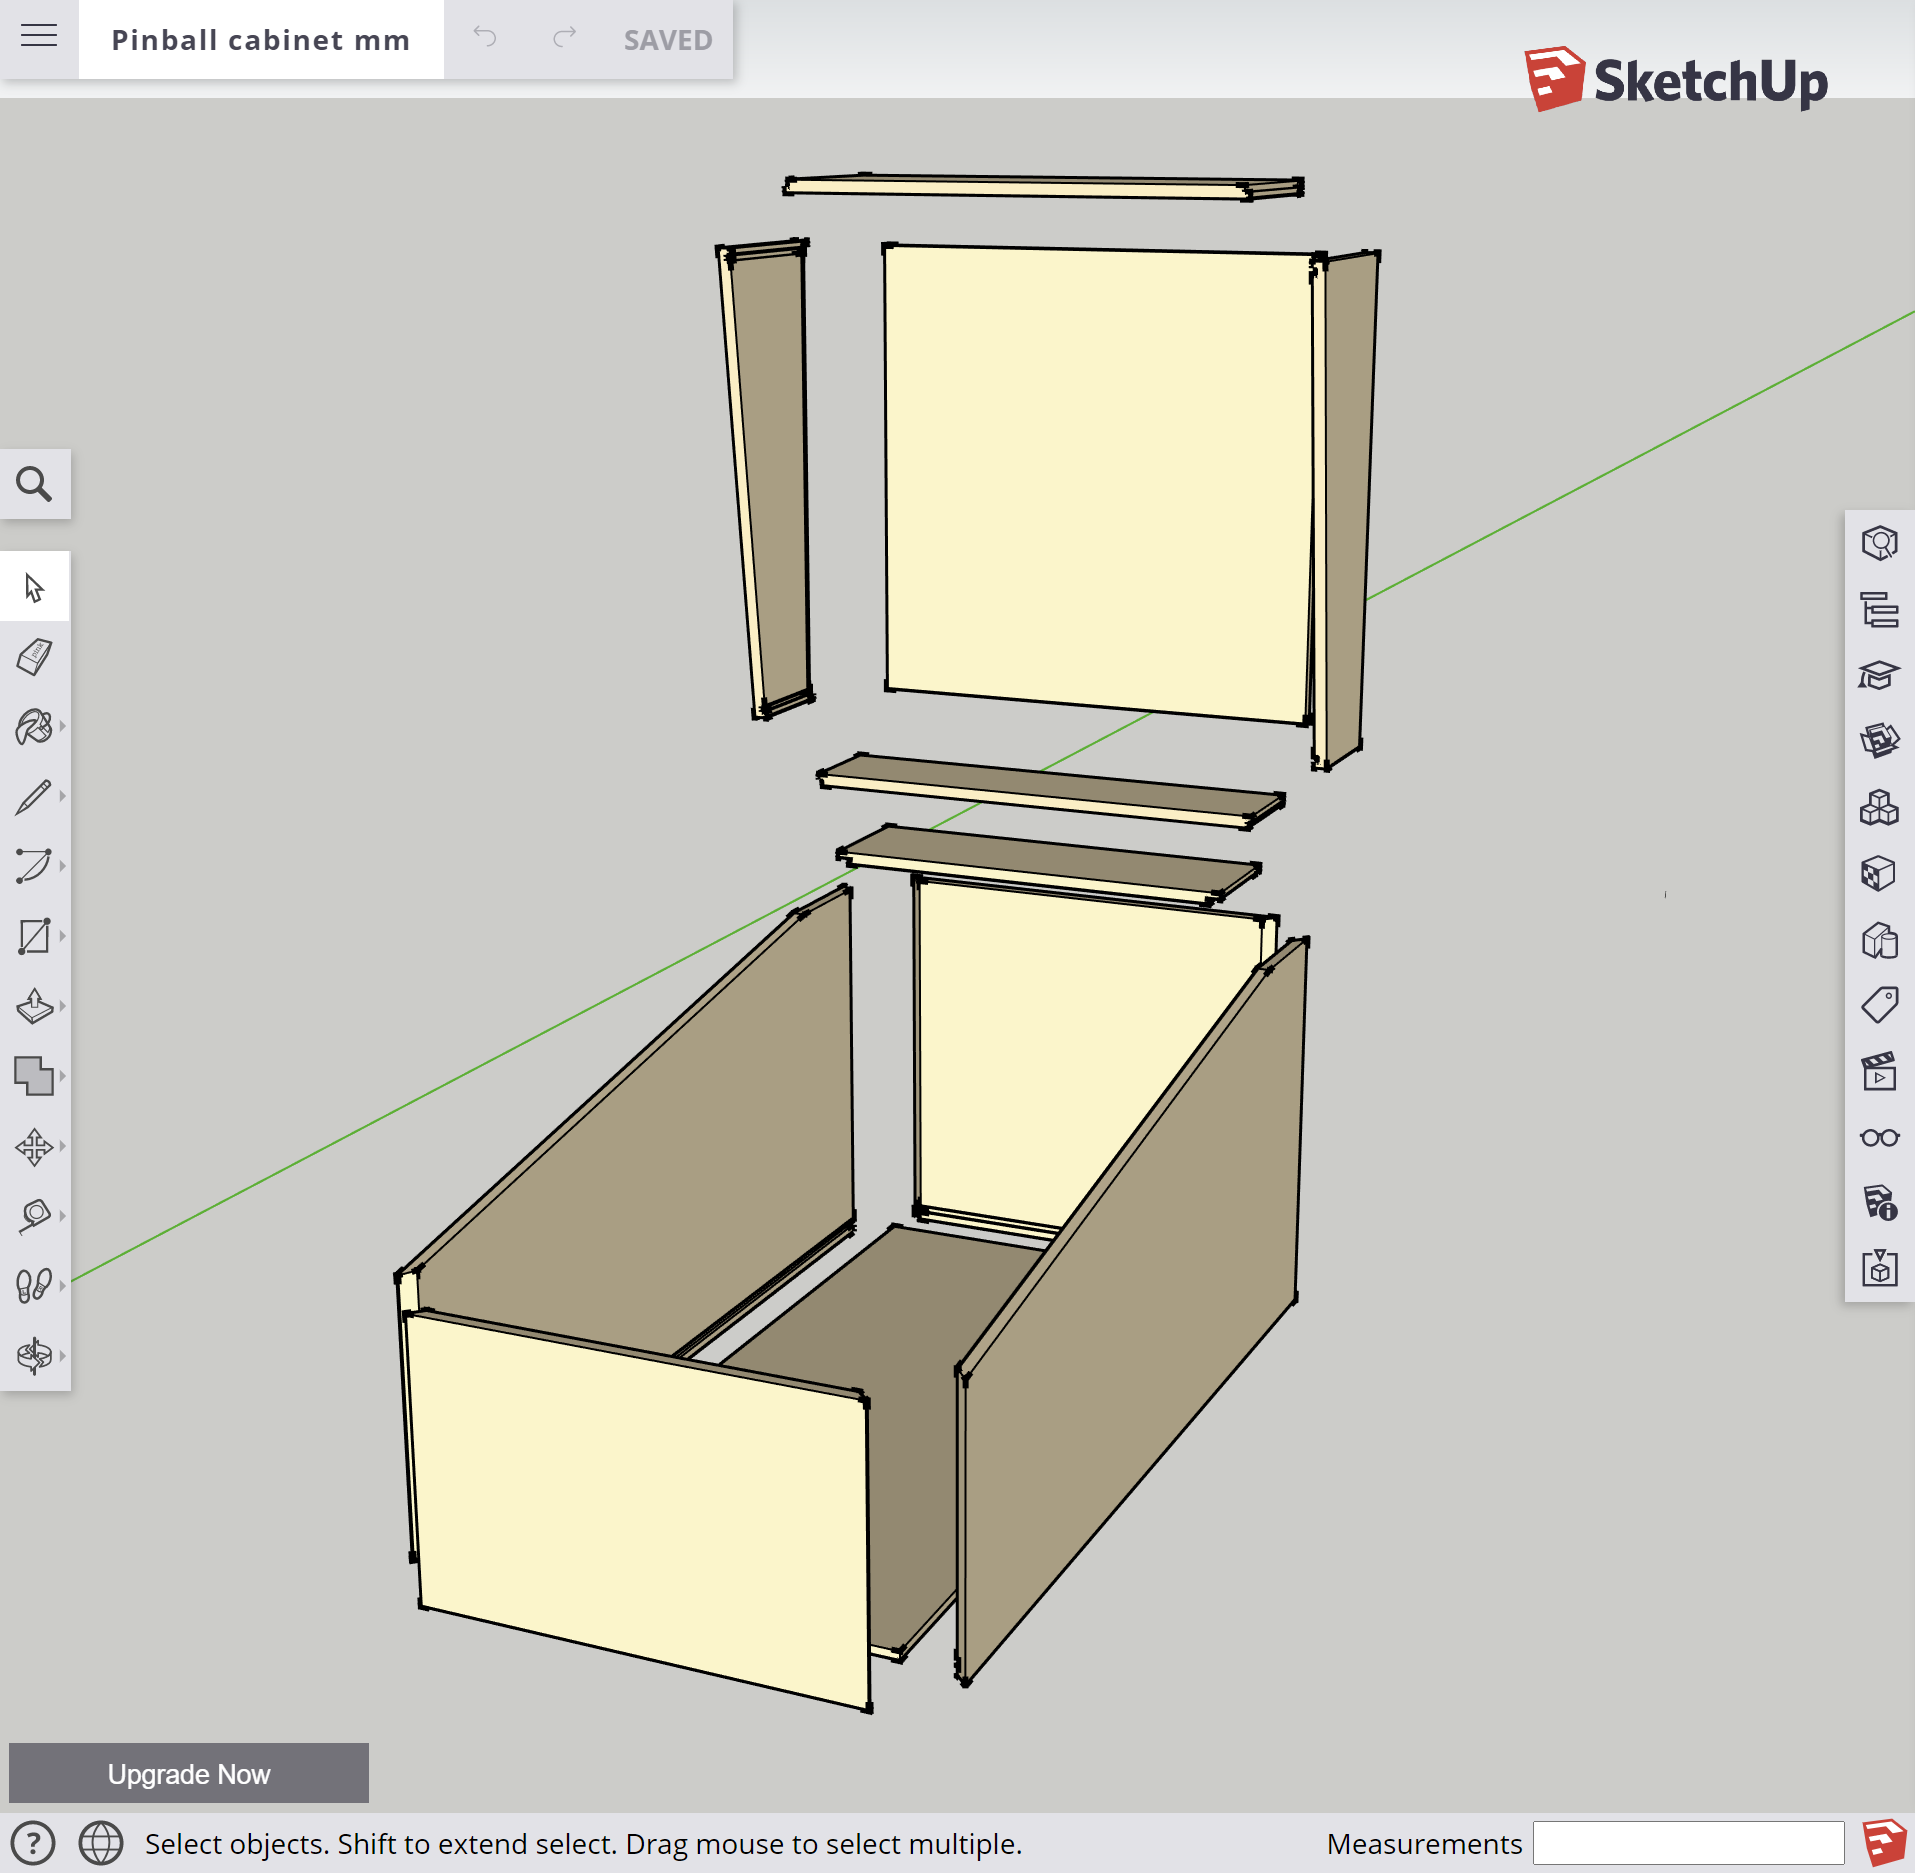
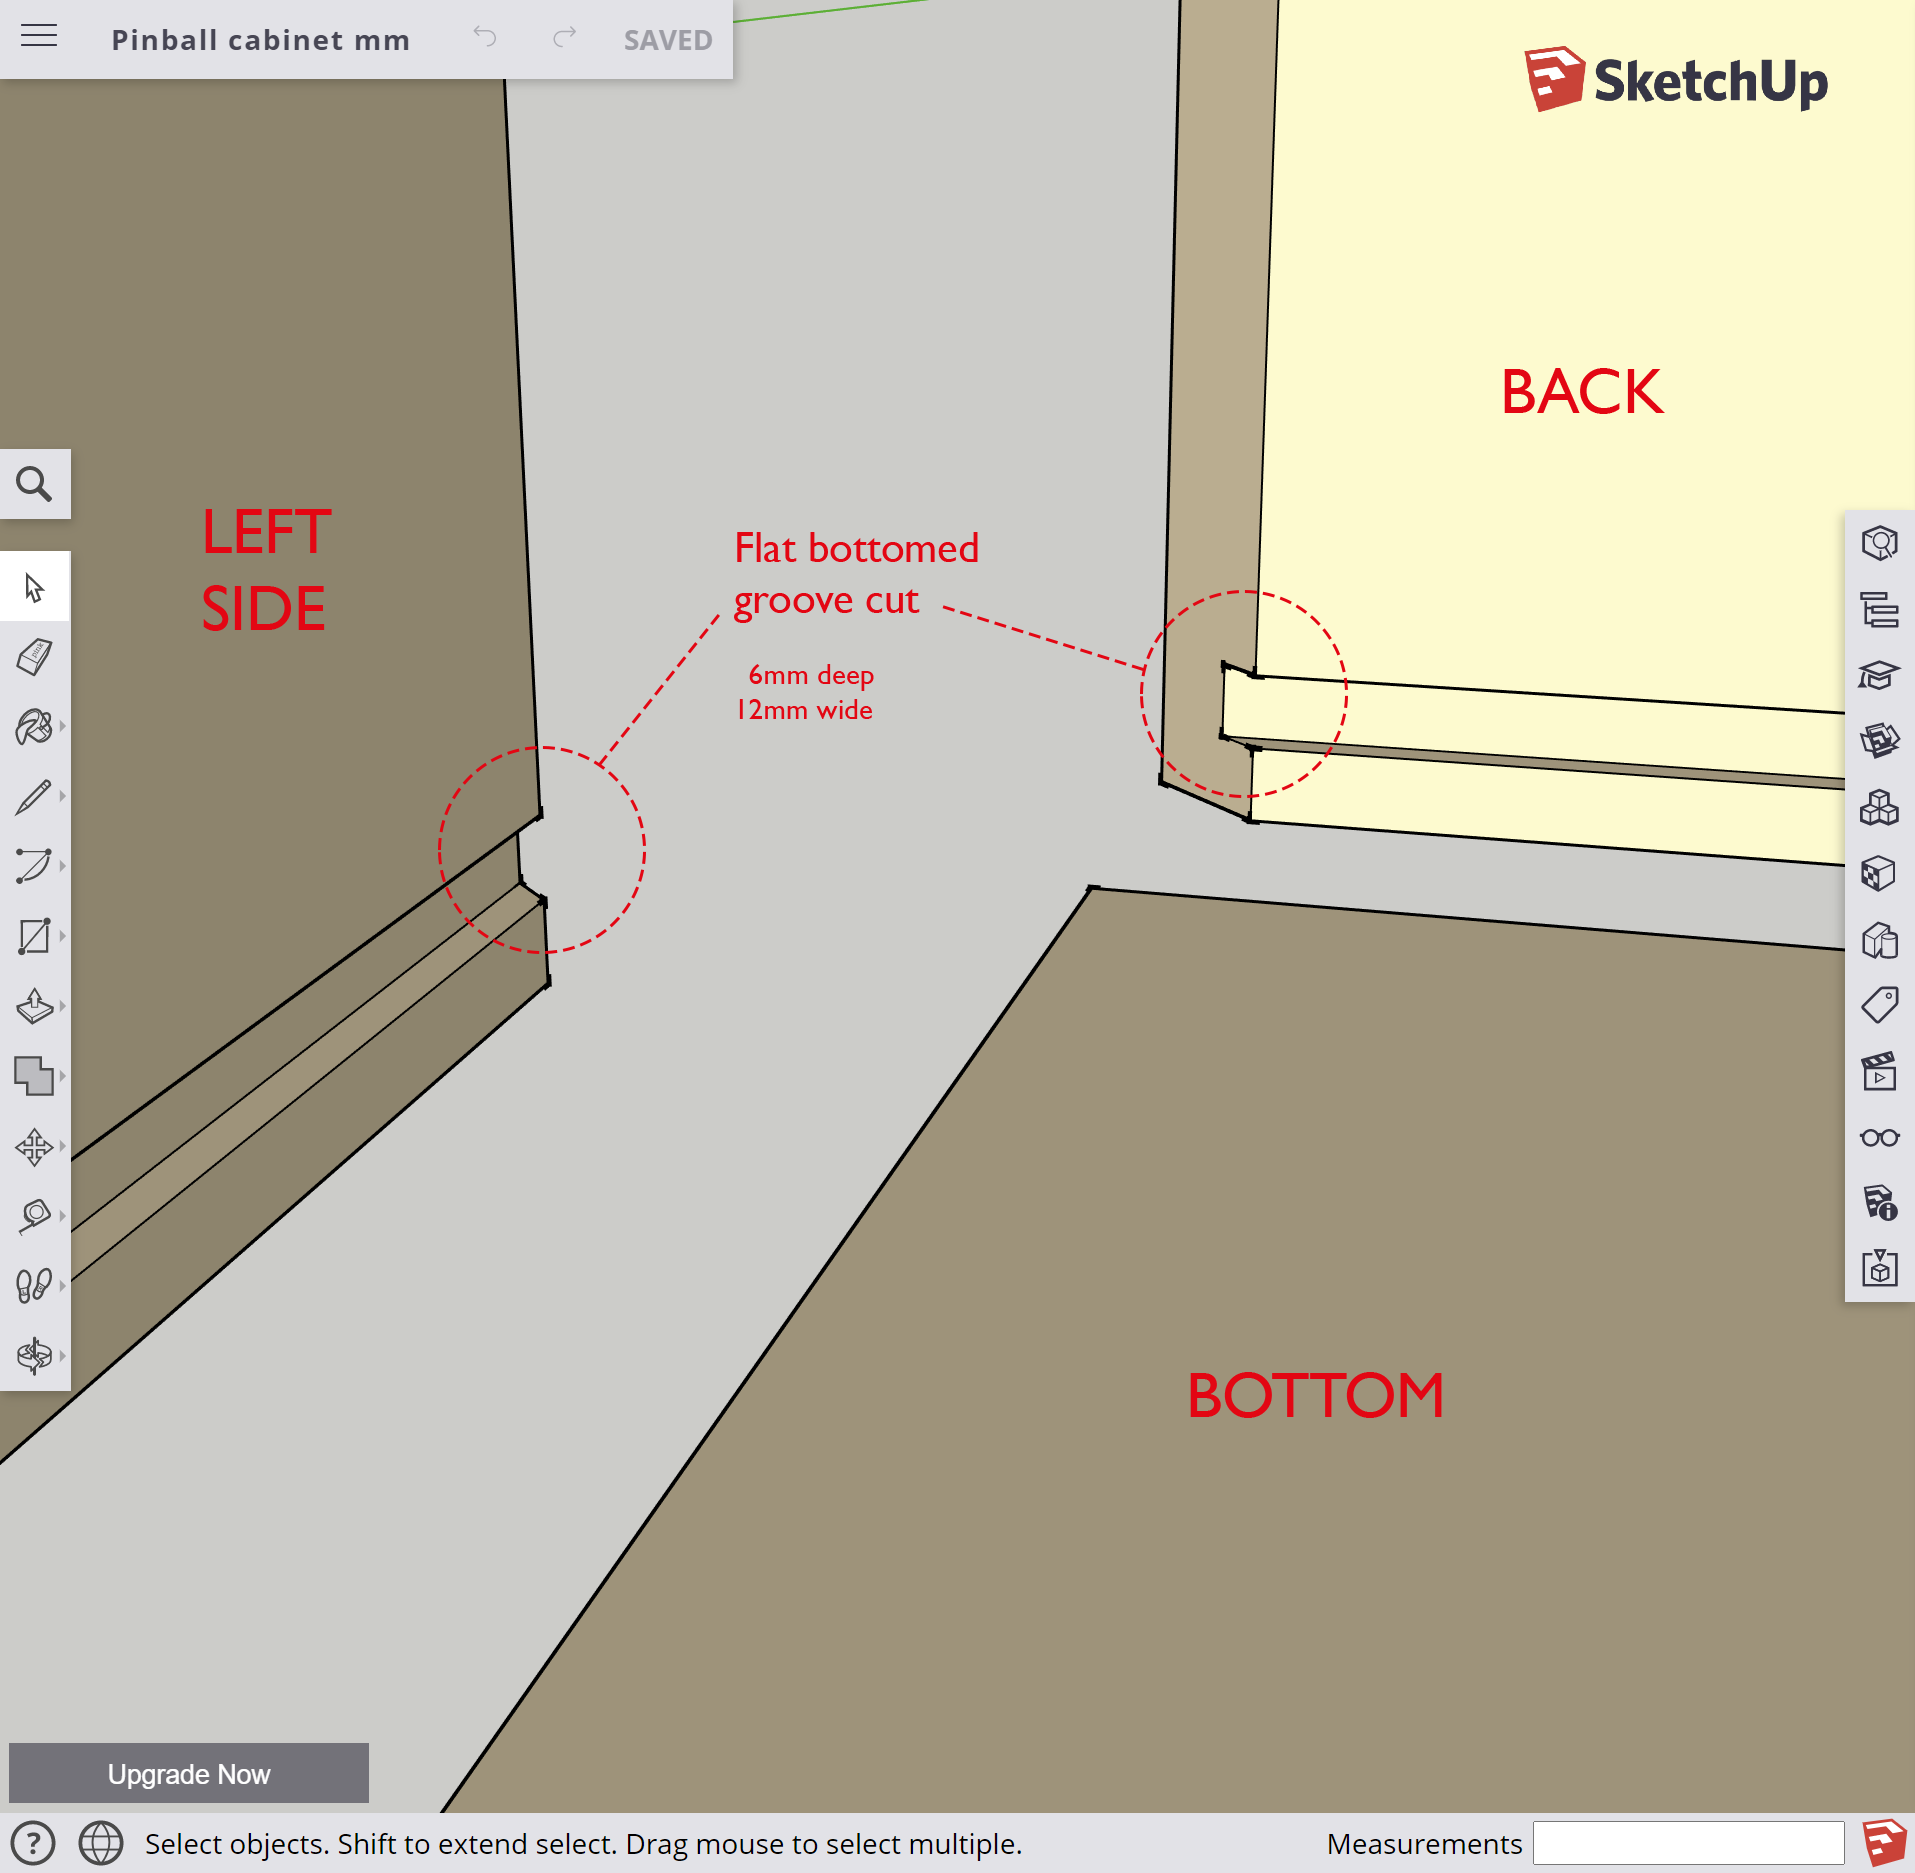
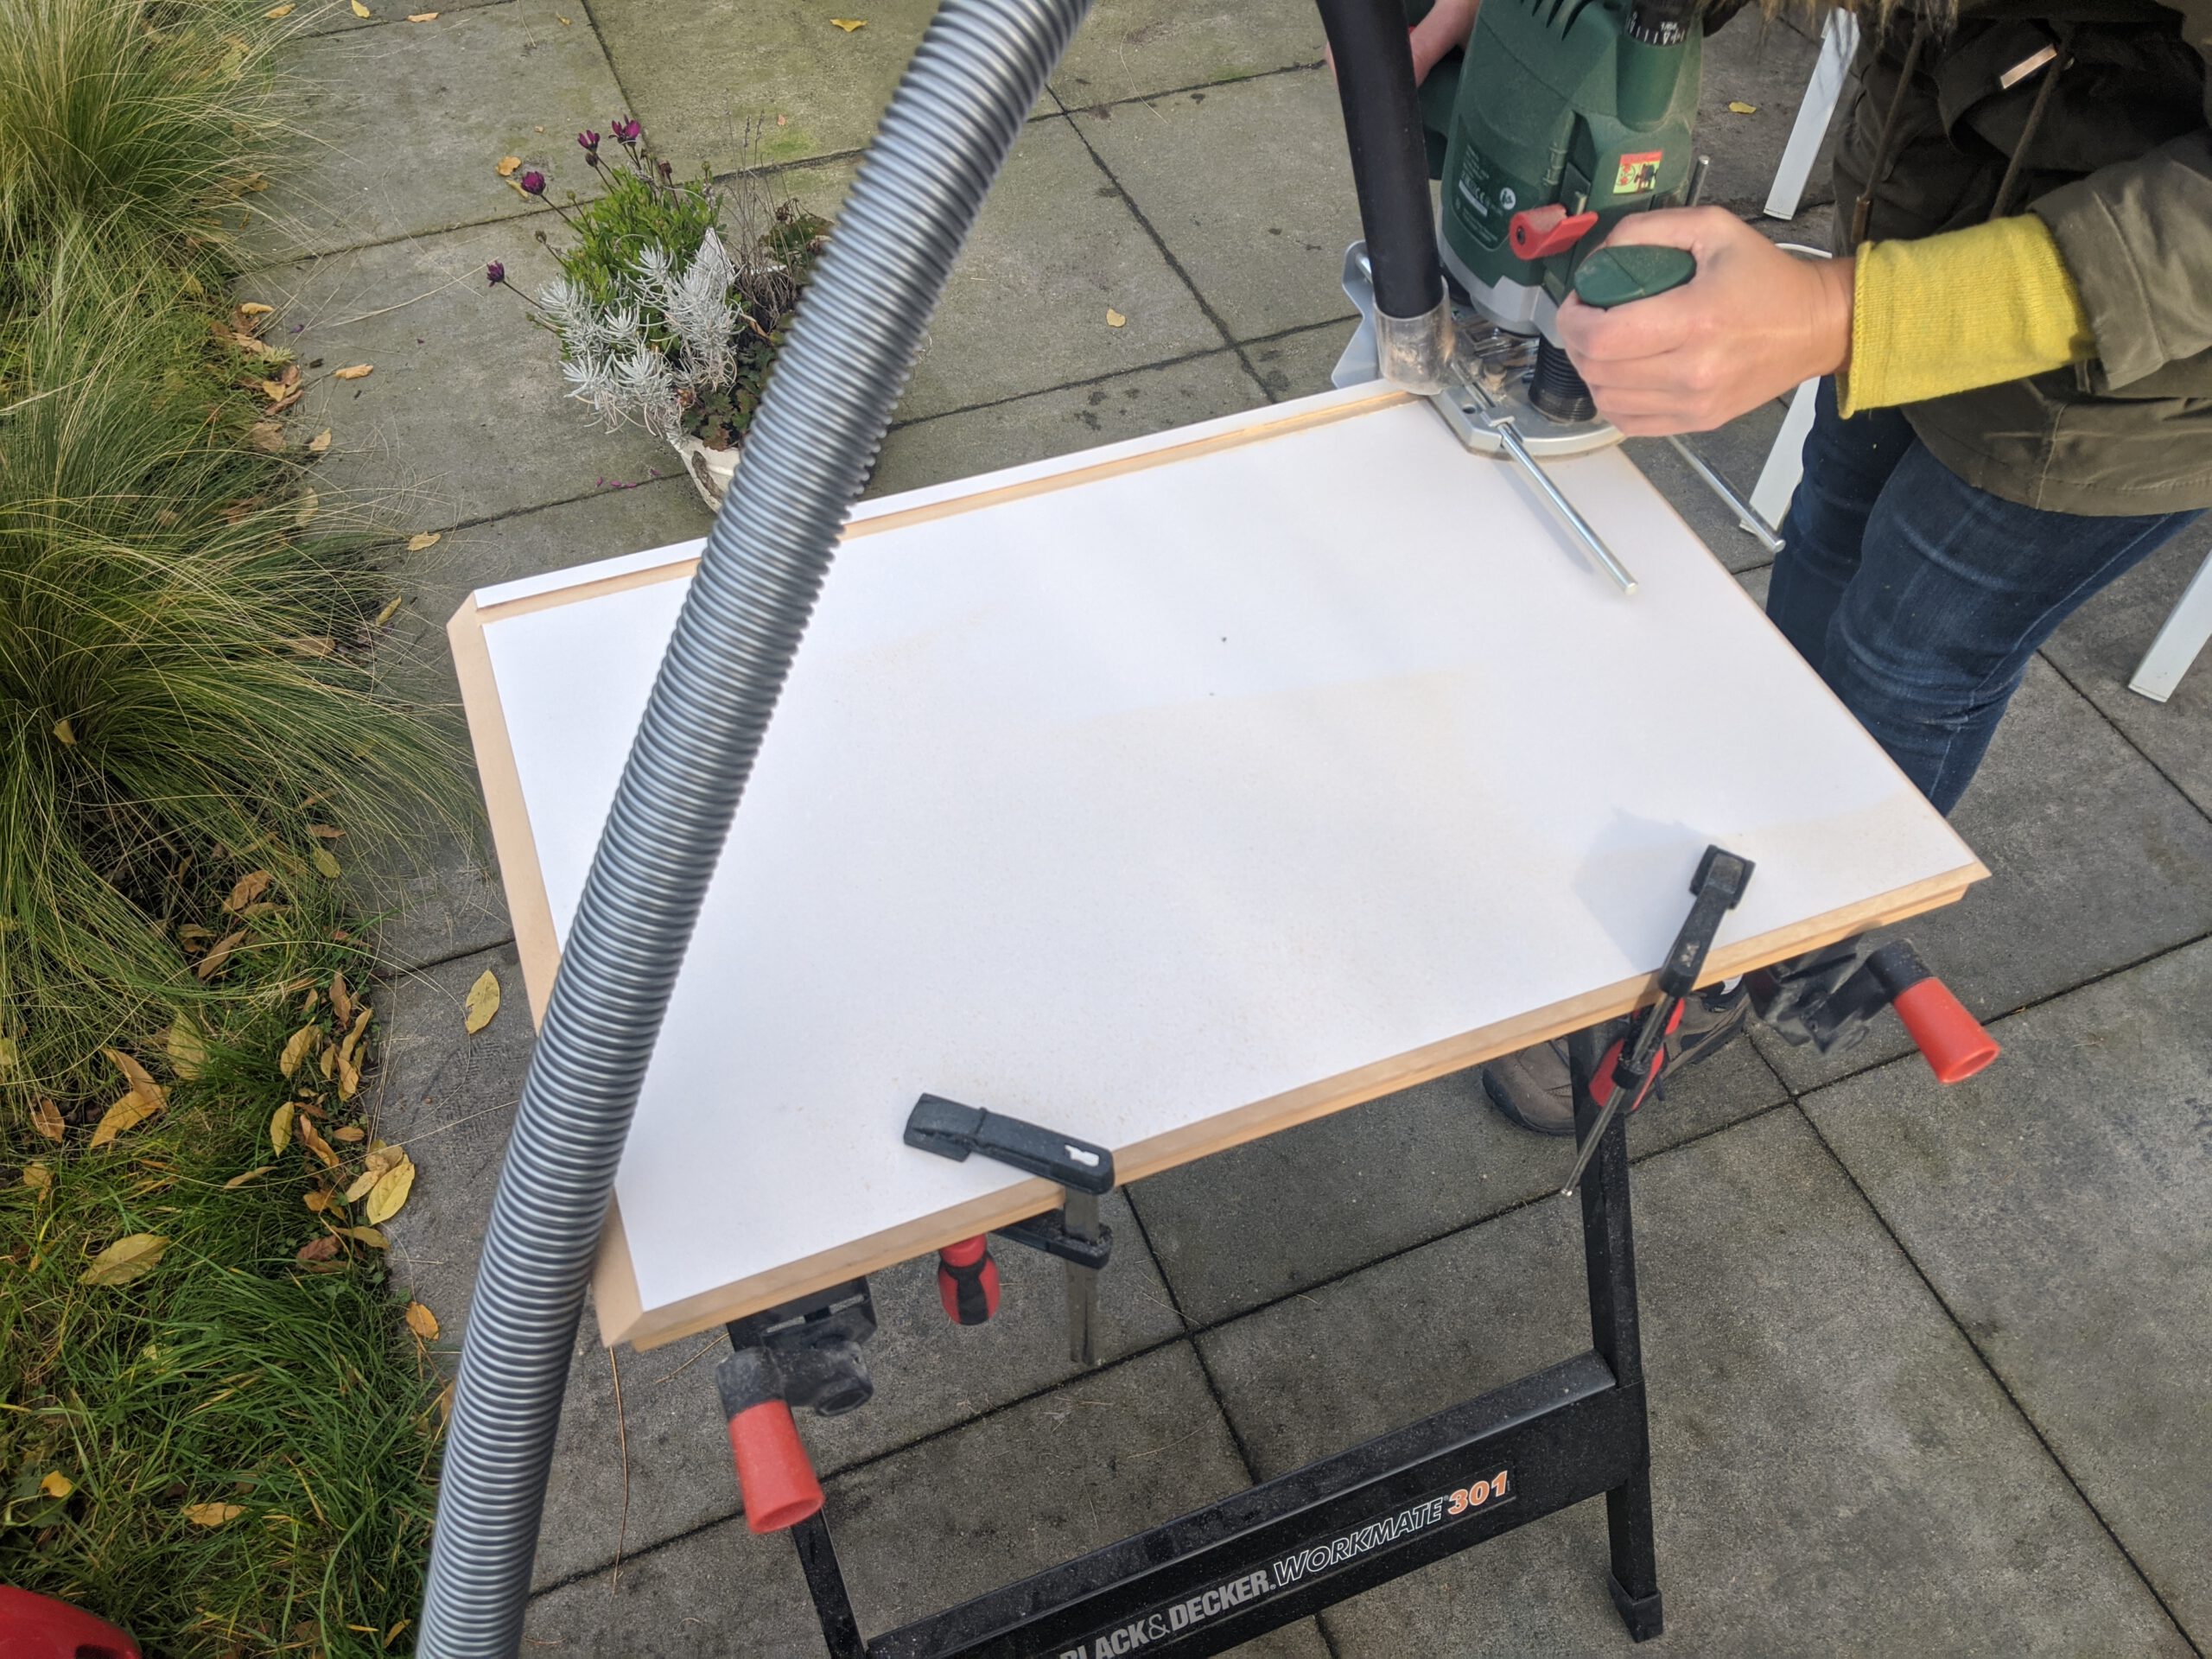
We chose 18 mm MDF for our cabinet. I made a quick SketchUp model and was able to buy the MDF pre-cut to the given dimensions. This costed us €155. Of course we still have to make all of the "cut-outs" ourselves, but in my opinion that's part of the fun! 
Next: putting the cabinet together!


After assembling, we used a filler to fill up all the screw holes. After a lot (and I mean A LOT) of sanding, we "Paint it Black" 


And the most tricky step of it all: applying the decals (which I drew myself in Illustrator, partly a recreation of shadbase's artwork)... 


And last Wednesday we finally installed the side rails and lockdown bar. It's beginning to look like a real cab now!

The next step will be to mount the playfield TV. I'm working it out in SketchUp. My plan is to make a sort of wooden rack which can also accommodate solenoids in the future. The TV will be mounted using the VESA screw holes.
Also, we still have to install the plunger. All in good time...

Edited by RubiiZ, 12 July 2021 - 08:34 AM.


 Contributor


 Luckily (according to our planning) we still have some time. Let's finish the main cab first!


 are all trademarks of VPFORUMS.