


Hello everyone,
I'm almost finished with my project. I wanted to post it once it was 100% finished, but I know myself it won't probably the case as I will always be tweaking stuff here and there.
It all started last year when a friend asked me if I wanted to get two LCD monitors he was throwing away. As he told me they were respectively 4:3 and 16:9 I immediately remembered Visual Pinball cabinet I've stumbled a few years ago.
Eventually they were two 4:3 monitors, so I've put the project on hold for a short time. But luck was on my side; 10 days later, a friend was selling his old 24" 16:9 monitor for 25 €.
That's when my project really took off.
Budget so far: 25 €
I now have one 24" 16:9 and one 21" 4:3 monitors. After a quick search it seems I can use more ore less standard dimensions and divide them by two to get a plan to the scale of my monitors.
I still had some plywood from an aborted desk project from a friend, enough to build the frame and the back box. In the mean time I get two old computers from the girlfriend of a friend, her company were throwing them away. They are Pentium 4 HT with 512 MB of RAM and one them will find home in my Mini Pinball.
So it begins:

The first fist test with the monitors in the frame and the back box.

Another angle where you can see that I hadn't enough plywood to have the sides of the frame in one piece, so I've glued two pieces together.
Then it was time to think about putting the computer parts inside:

After a few tries I decide to go for the setup from this picture. By the way, this graphic card (GeForce 7600 GT was another donation from a friend when he upgraded his computer  )
)
My idea was to use the fan from the PSU to extract air from the box, but I have a problem: the connector for the power is located where the back door will be.

So I need to move the plug connector to the side of the PSU.

After opening it, good news! There is enough room in the PSU to relocate the connector.

Here is the new hole...

And here it is with the electronics back in place.
After a few searches about controls it seems a SideWinder Freestyle Pro would be the cheapest way to be able to nudge my pinball.
So I found a cheap one on eBay, 7.60 €. Including shipping.
Budget so far: 32.60 €

Here is the PCB of the controller, prepared for soldering.

Here is a picture of the first test of the hacked controller.
The next step was to had several other elements:

The 12cm fan comes from an old dead PSU and the power strips is an old one I found in the basement when I moved in my current home. But I had to buy the 2.1 audio kit, and I needed a small one. I found a very small one, which was also the cheapest on Amazon: 14.90 €.
Budget so far: 47.50 €

Another test fit, with another graphic card donated by an upgrader (GeForce 8800 GT). You can spot the hole for the power plug on the left too.

A view of the bottom of the main box, with holes for the ventilation, the power plug, the power switch and the subwoofer.

And now from the inside of the box.
At this point I kept on forgetting to take pictures for a lot of steps:
- The building of the legs, using the frame an Ikea glass coffee table found in the trash.
- The building of the hinges, using the metal case of the computer.
- The building of the whole wiring. For this I bought wires and connectors, total price: 17.27 €
- The buying of the buttons and switches. 26.70 € including shipping.
Total budget so far: 91.47 €
Now we reached the part where I paint the frame. I'm using my compressor and leftover paint from the building of my arcade cabinet.

Here is a shot of the box painted.

The paint was a bit old and some hard bits blocked the spray of paint, resulting this strange coloring. But as it mainly underneath and behind the box, I don't mind. And to be honest, I quite like the accidental result. 

The first shot with the legs attached.  And with the art on the side, it's just a laser print with a clear coating afterwards.

Time to put all the parts together!

Same parts, bottom view.

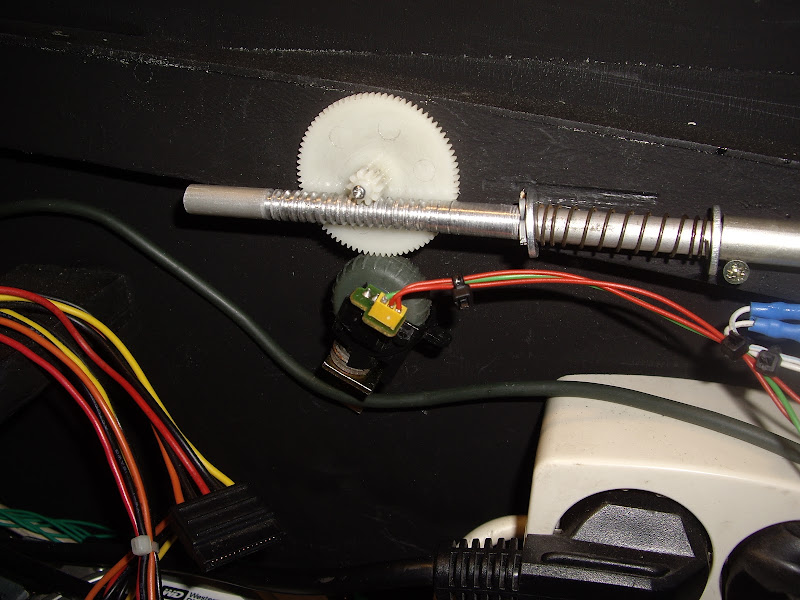
A close picture from the power strips modified to be switchable.

The same with the cover on.
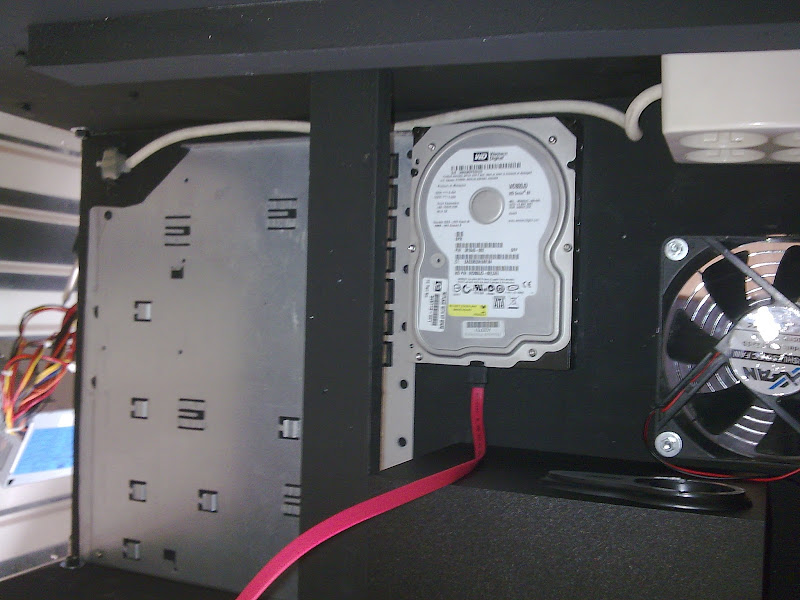
The bottom plate is in place, with hard drive attached.
And it seems I cannot post any image anymore... 
 Top
Top









 But, really I wanted to have a plain orange color for the body. I guess luck was on my side for this one.


 are all trademarks of VPFORUMS.