Part II-
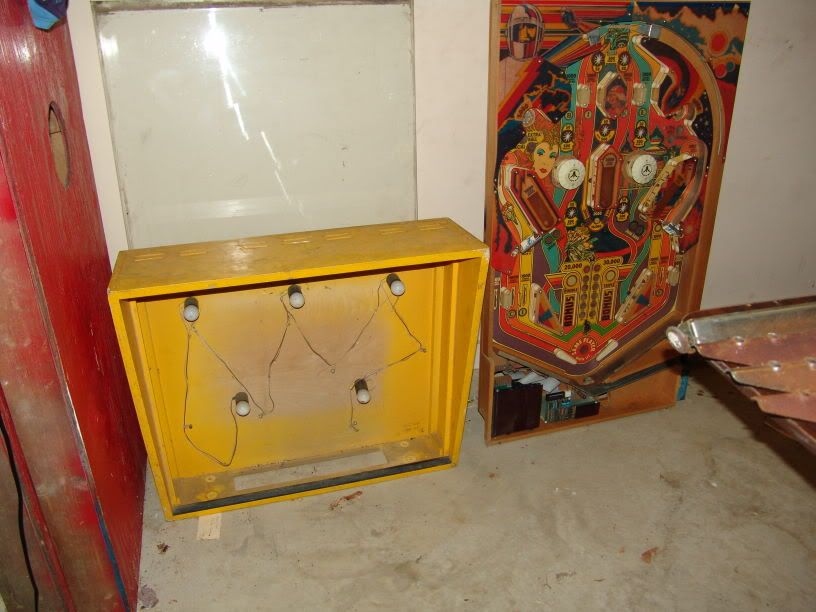
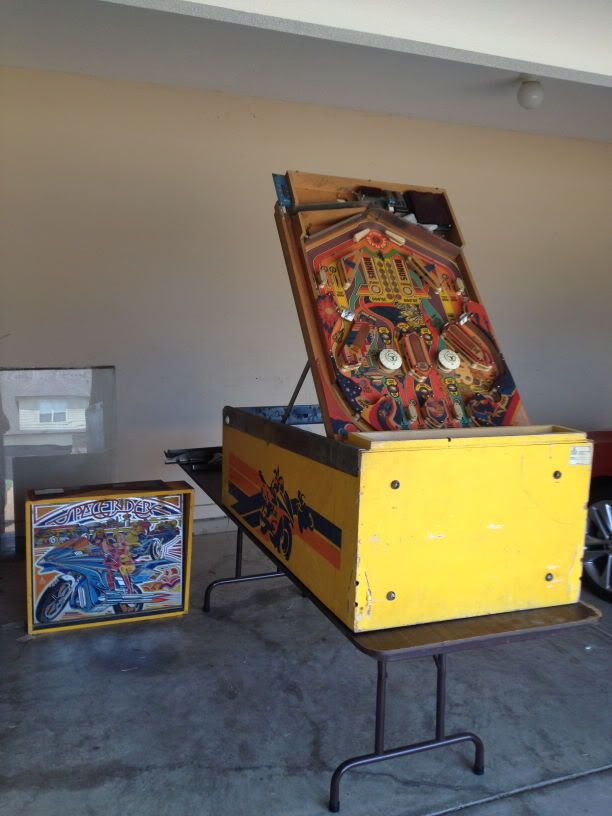
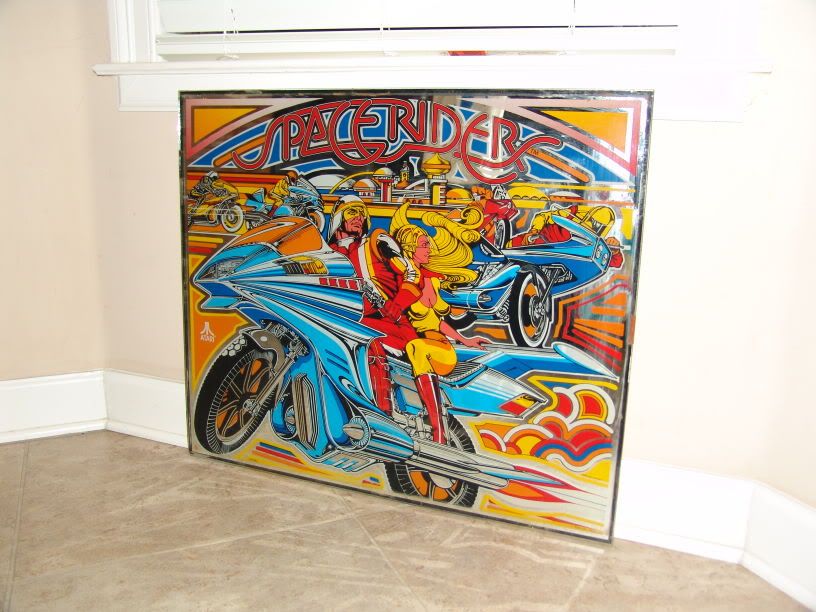
Not much to the back box in these old Atari pins. An empty box a translite and a few incandescent bulbs.
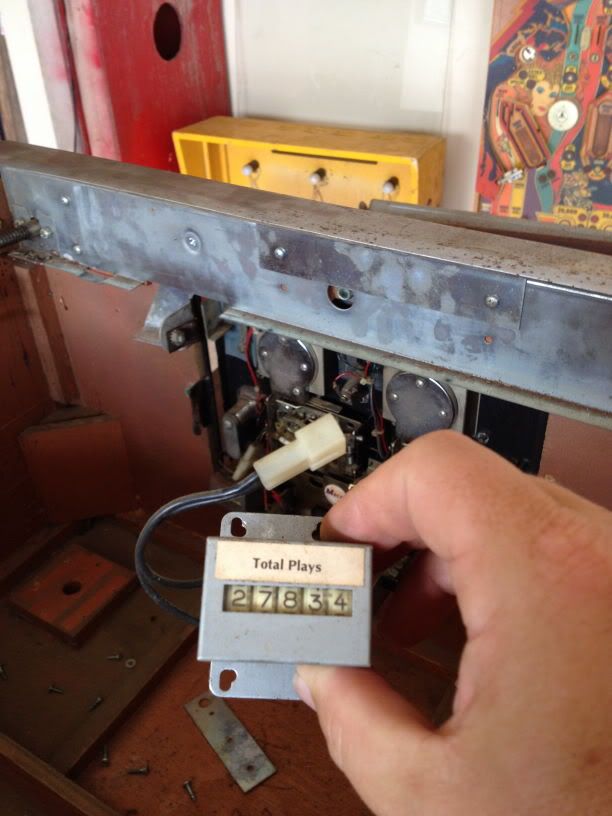
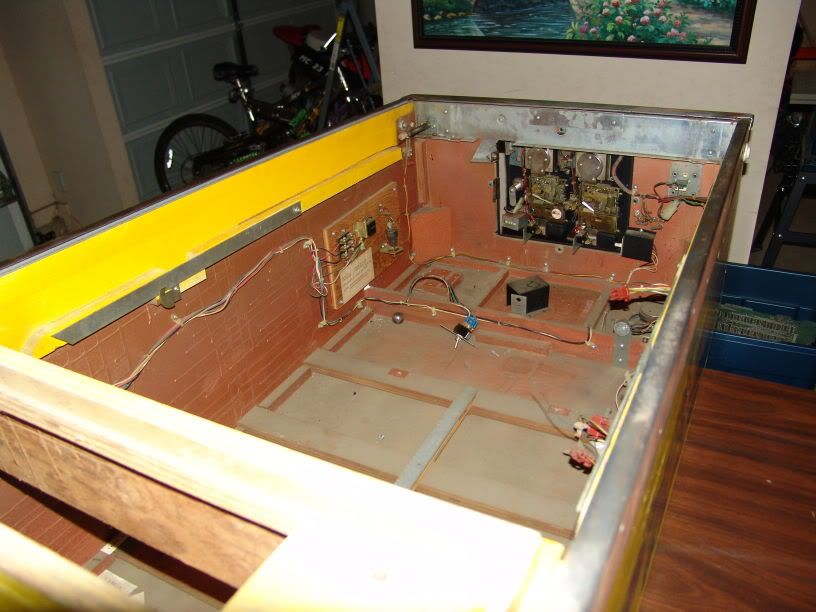
The original play counter. Anyone aware of a way to incorporate this into the new Vpin?
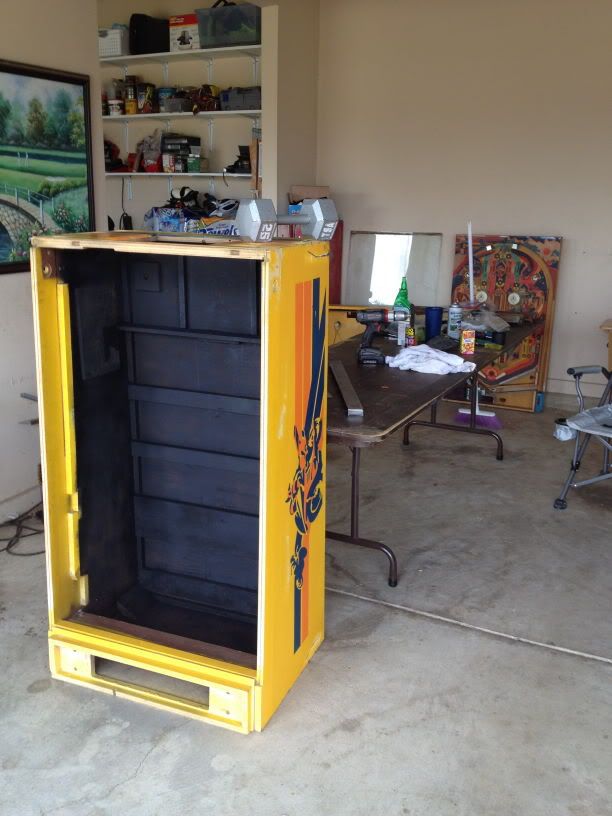
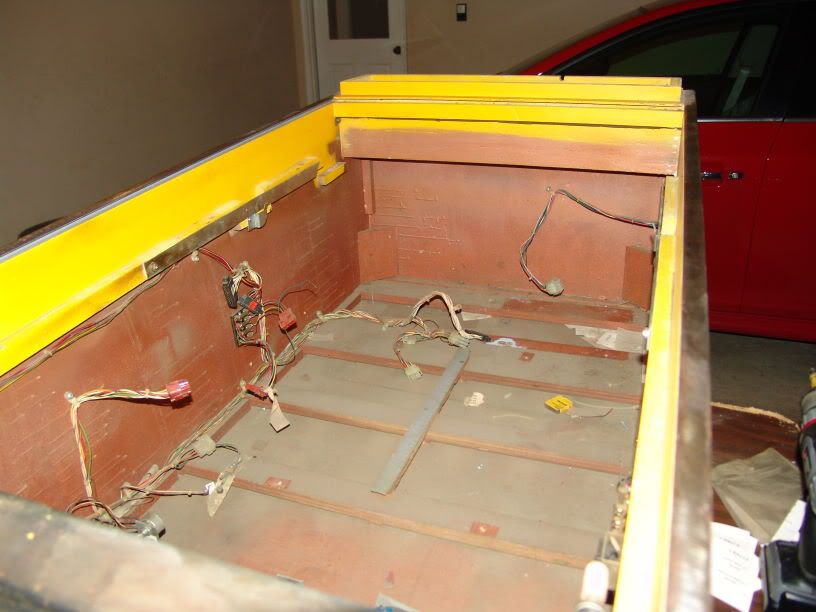
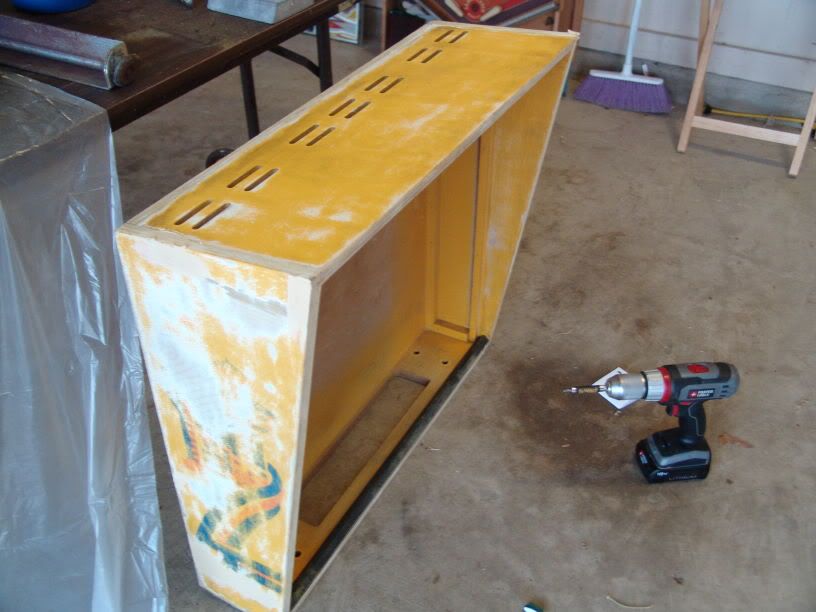
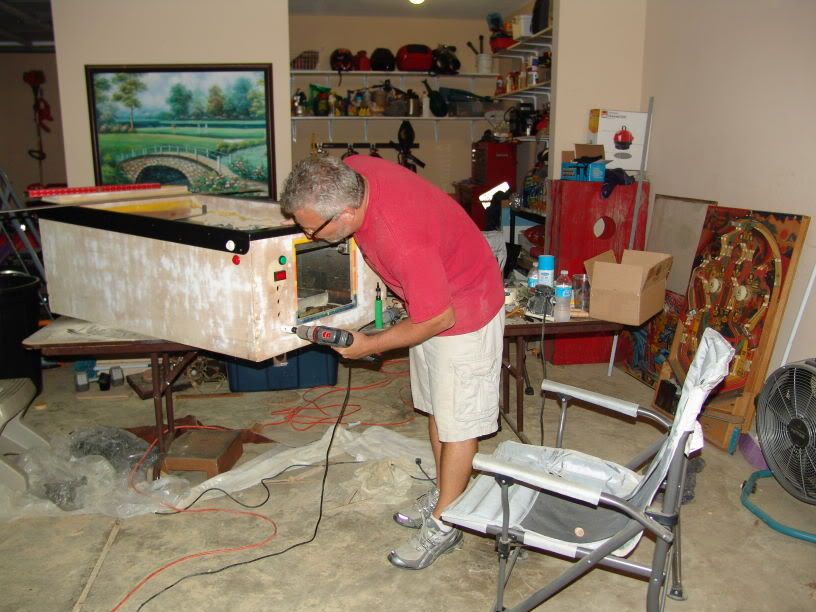
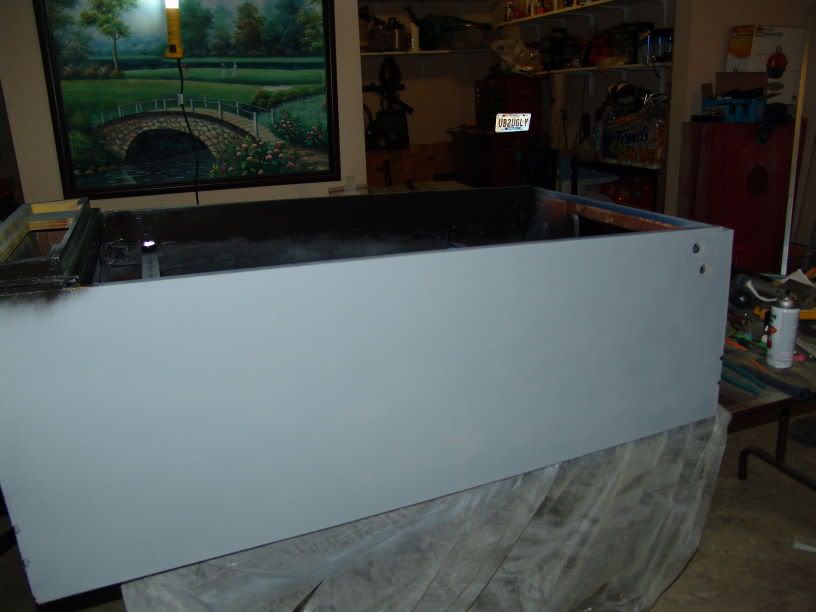
Cab gutted and a quick coat of flat black to knock down some of the 'musty.'
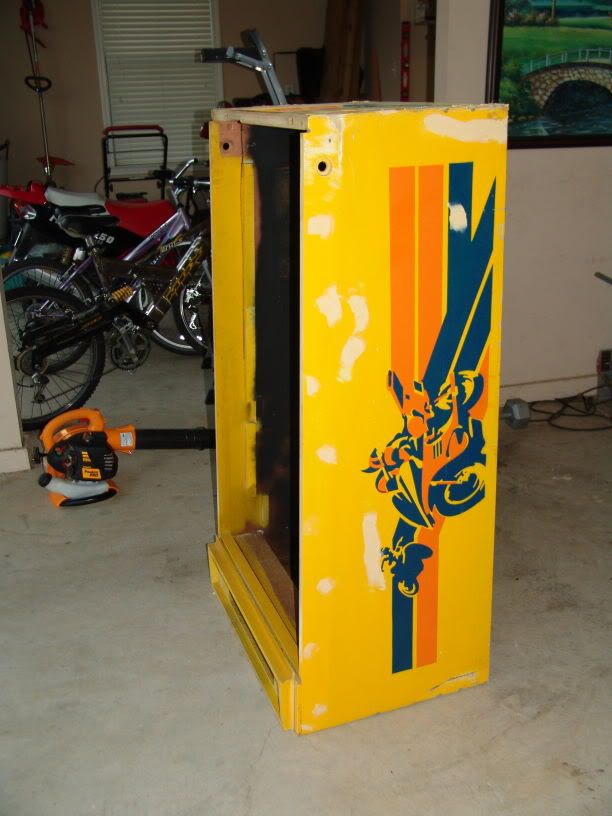
Wood filler in the dents and scratches.
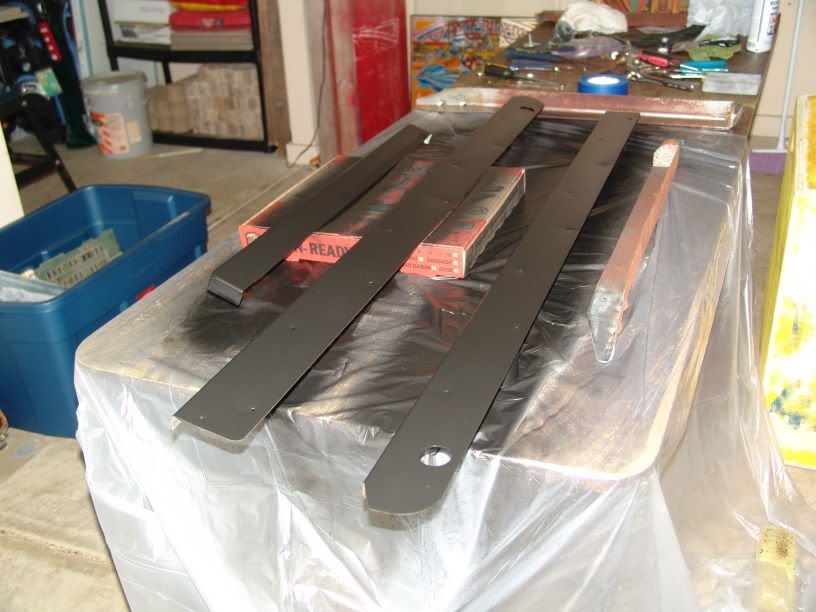
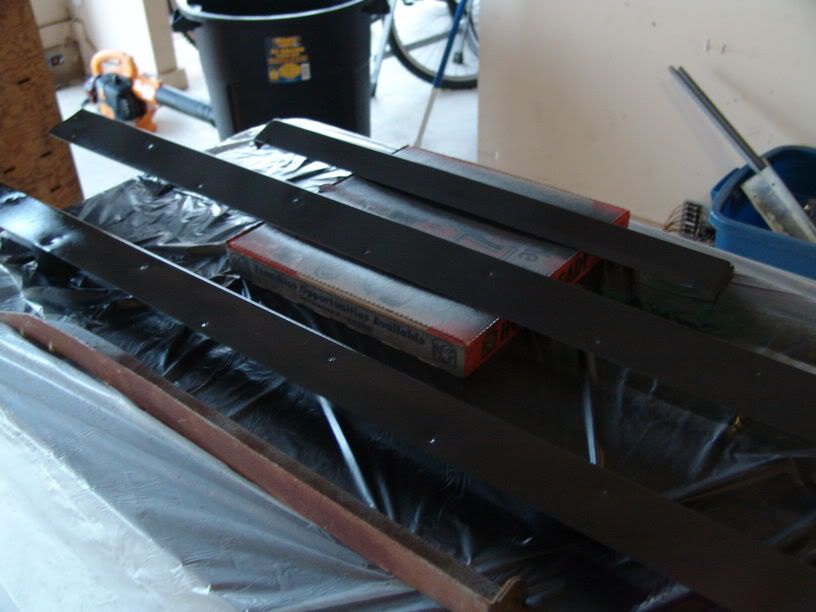
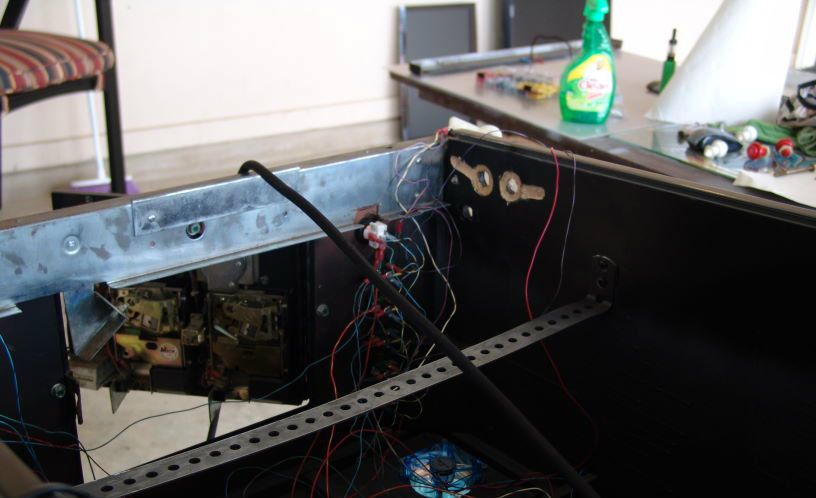
Used a wire brush to knock the rust off the rails and lock-down bar. First few coats of hammered black paint applied.
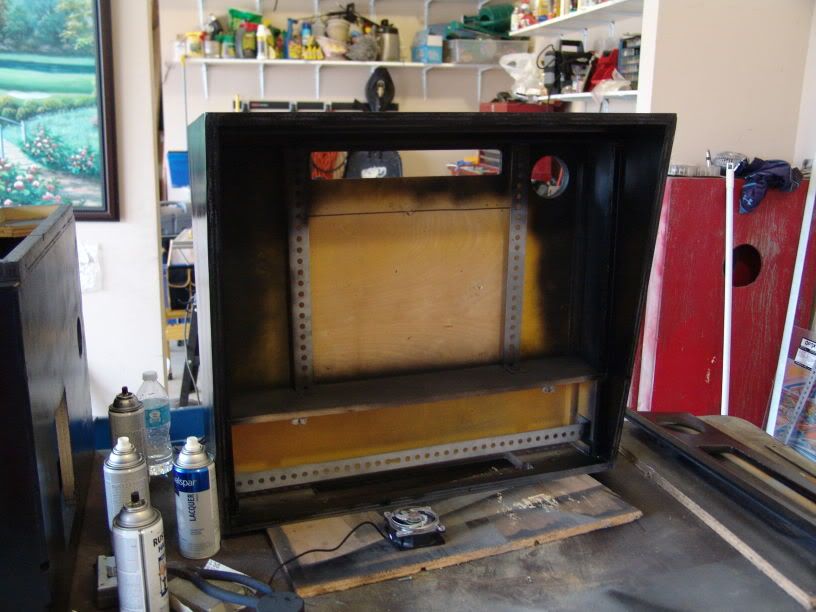
Back box gutted and partially sanded.
\
Rails and lock-down finished.
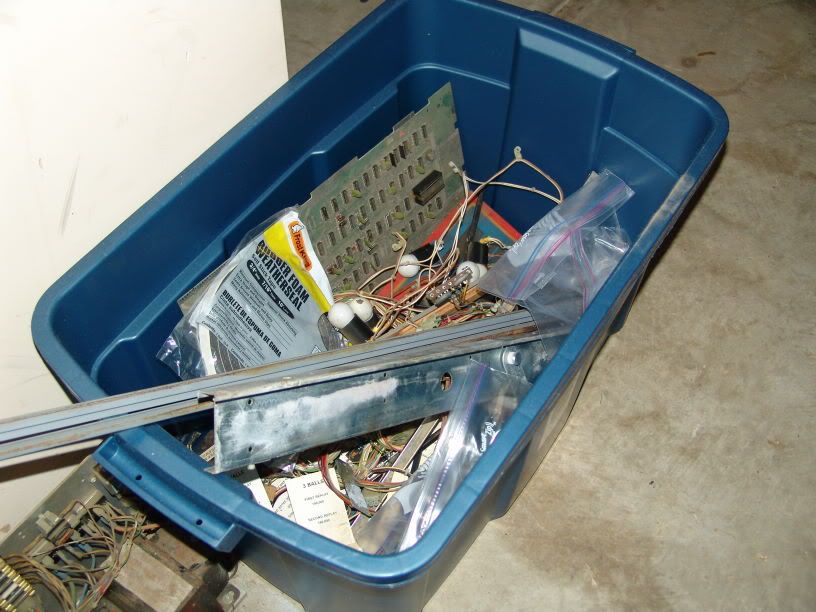
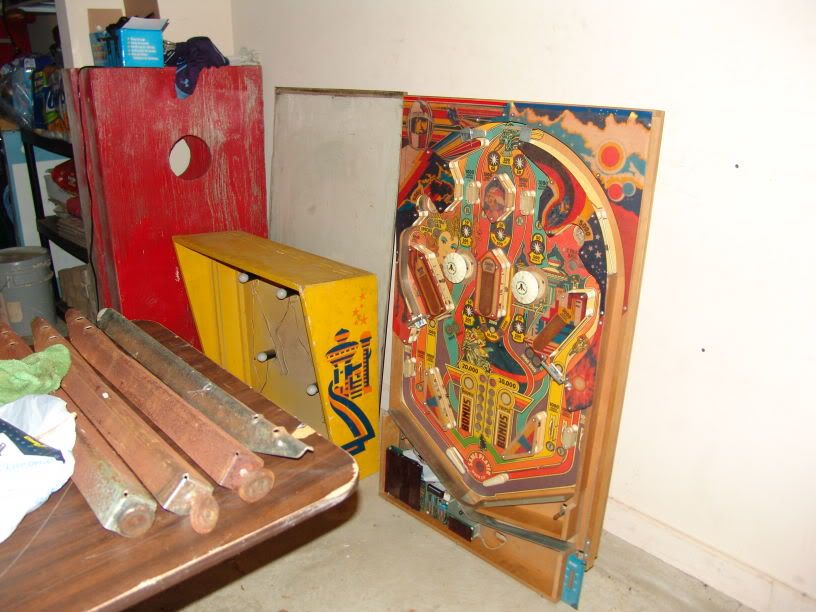
The 'junk' bucket. Many of these parts I would end up re-using.
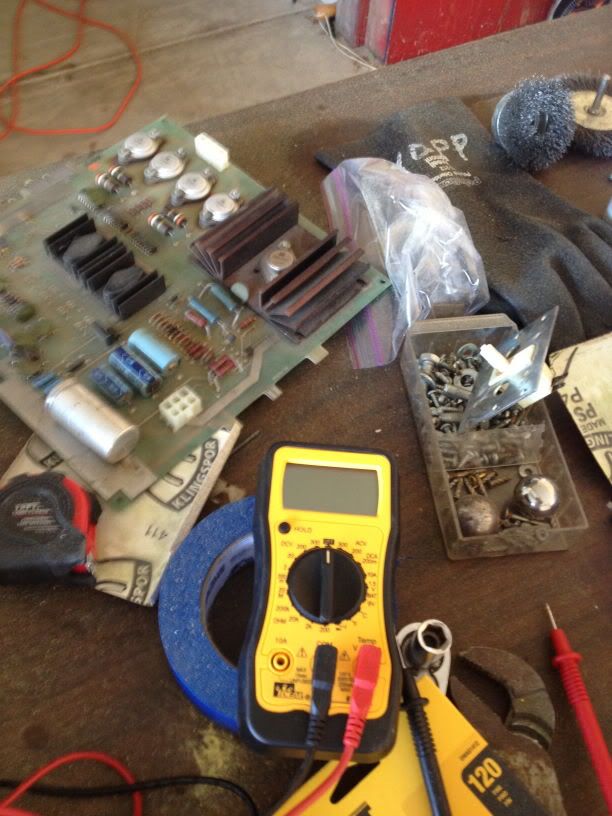
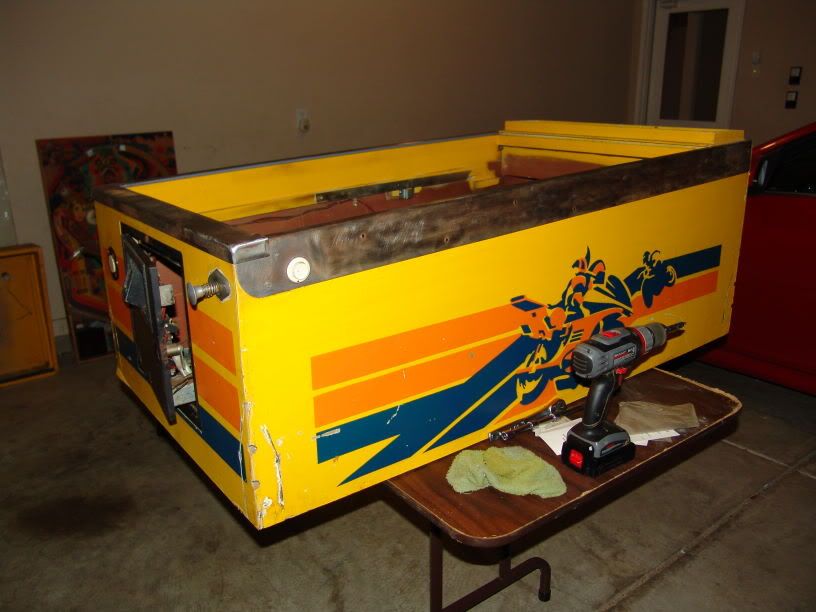
I always place a multi-meter among the mess to give the appearance I have everything under control. This always puts the wife at ease. Notice how clean and un-handled it looks.
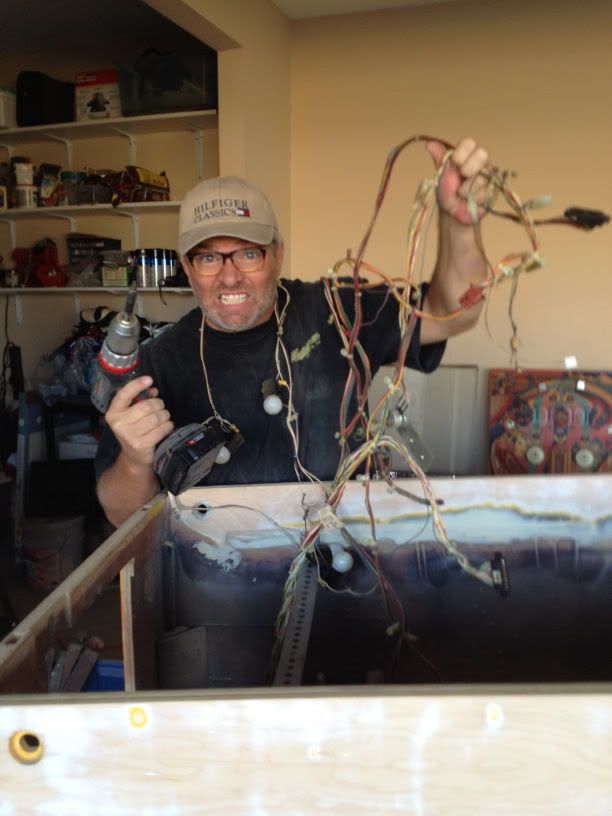
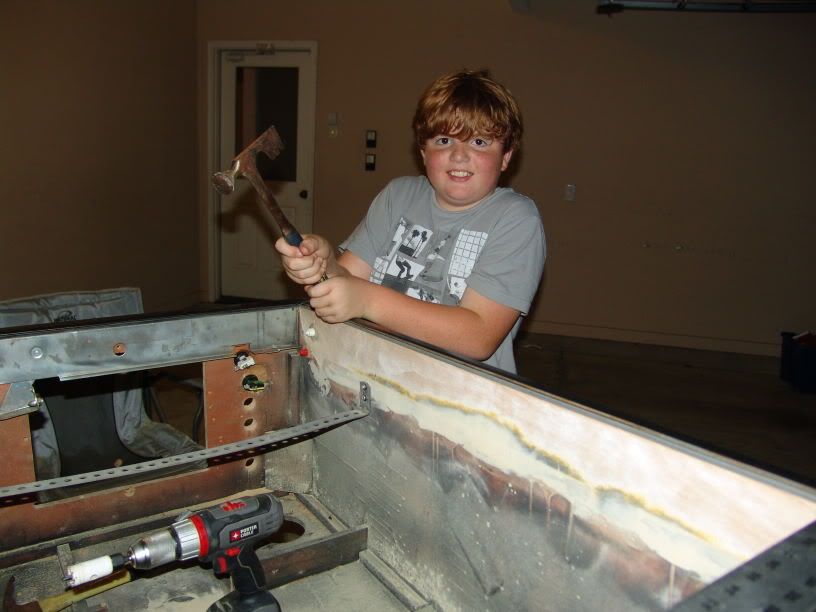
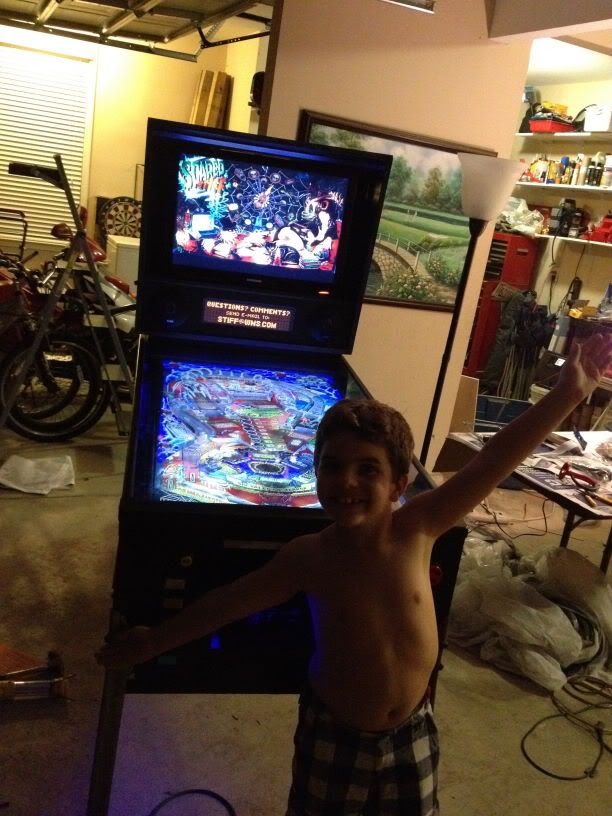
Posterity photo op.
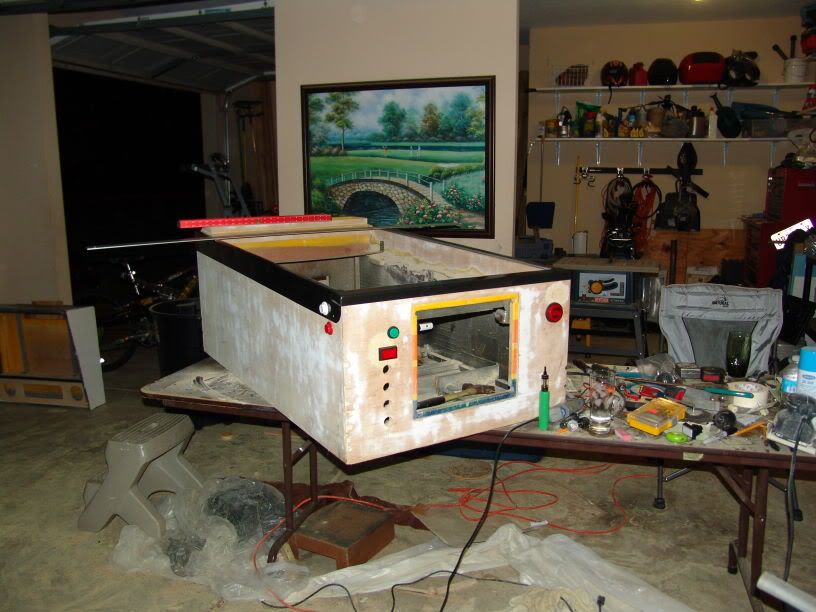
The fun stuff begins!
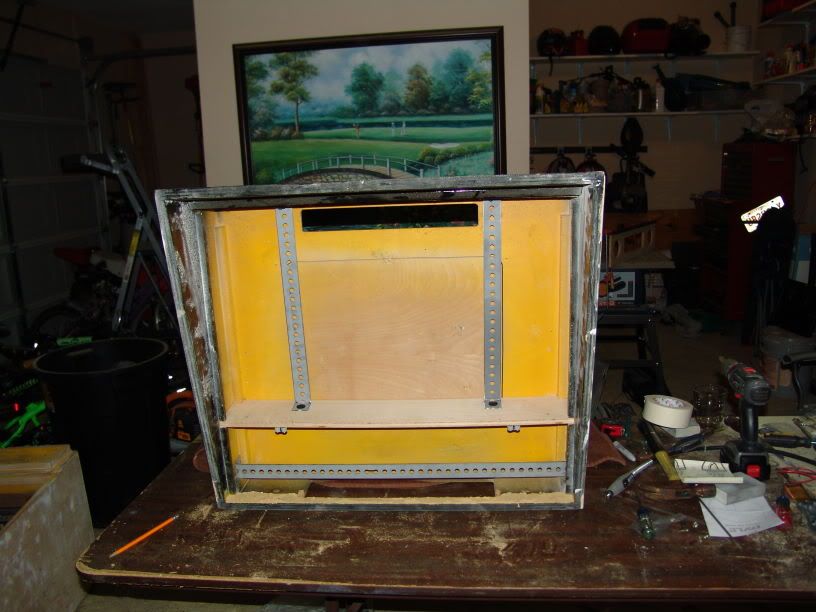
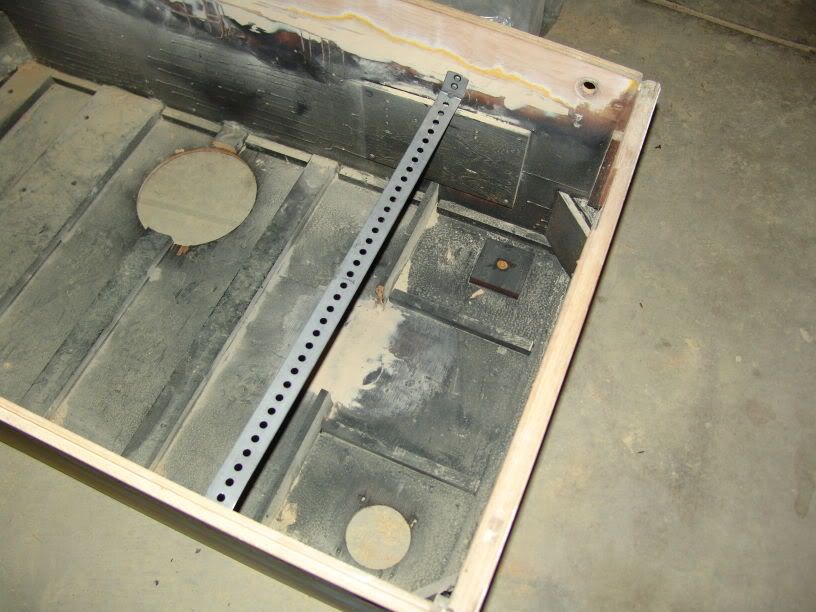
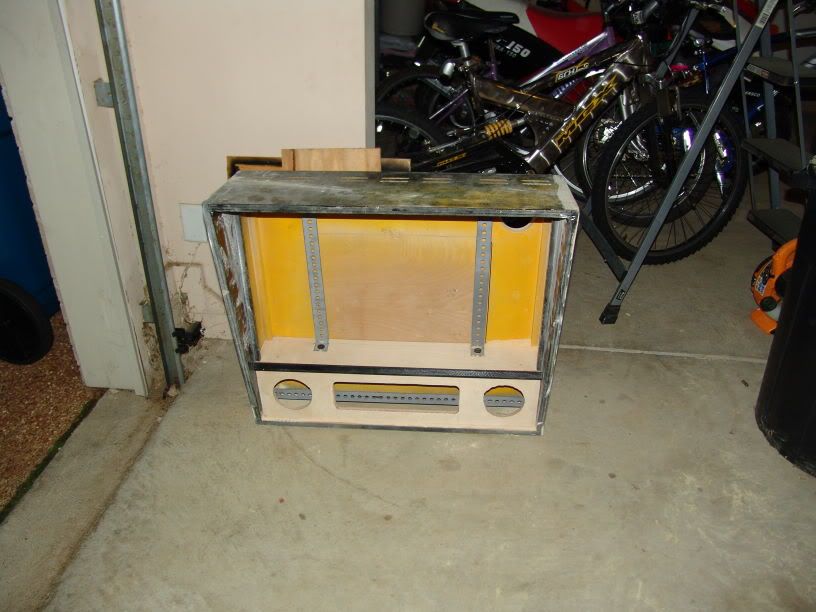
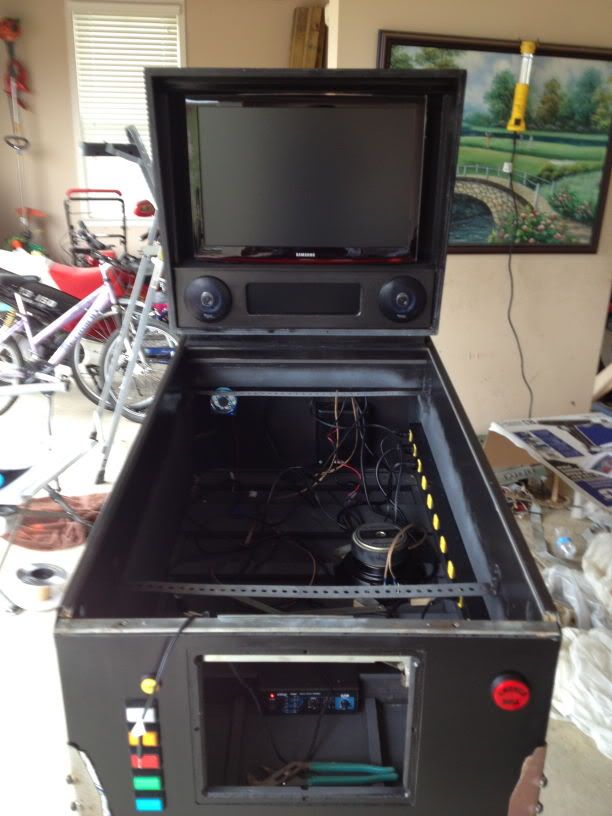
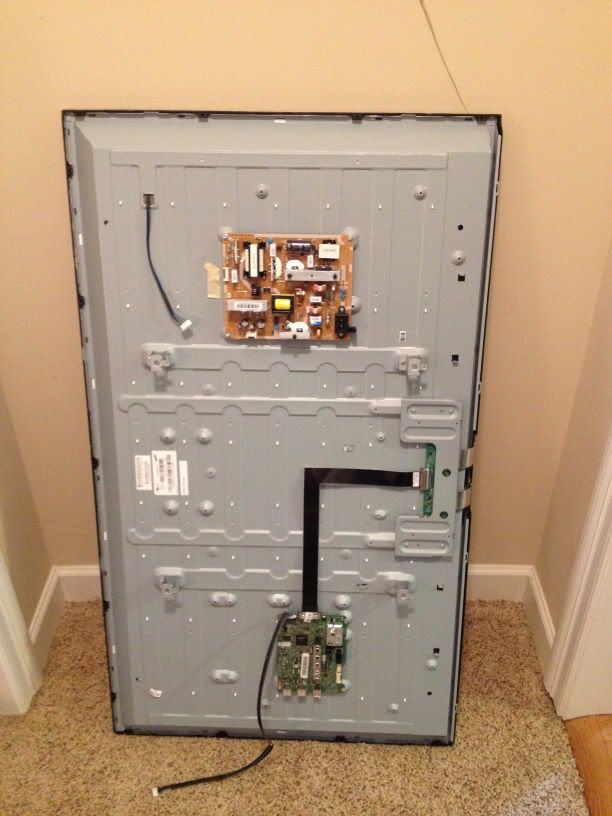
Putting braces in place to hold 50" LED. I placed them far enough apart to not interfere with the power and connection ports on the back of the TV.
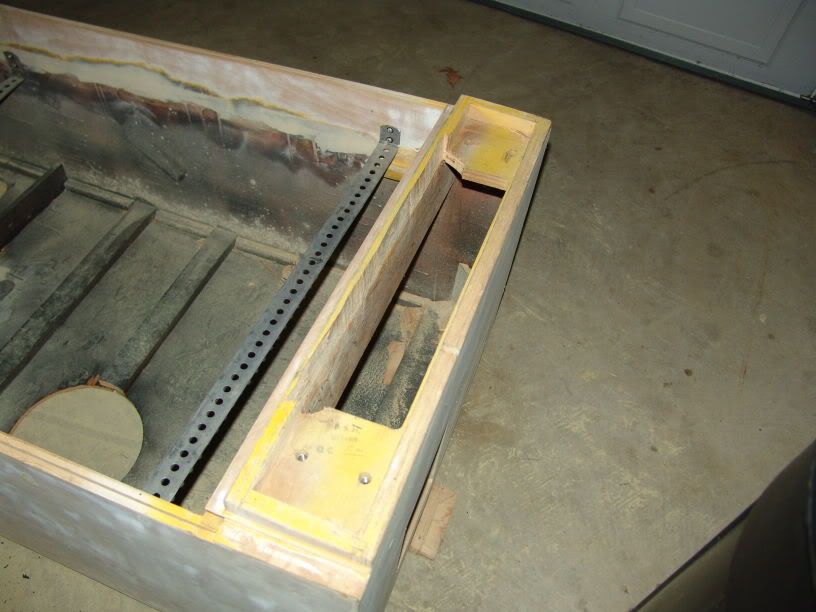
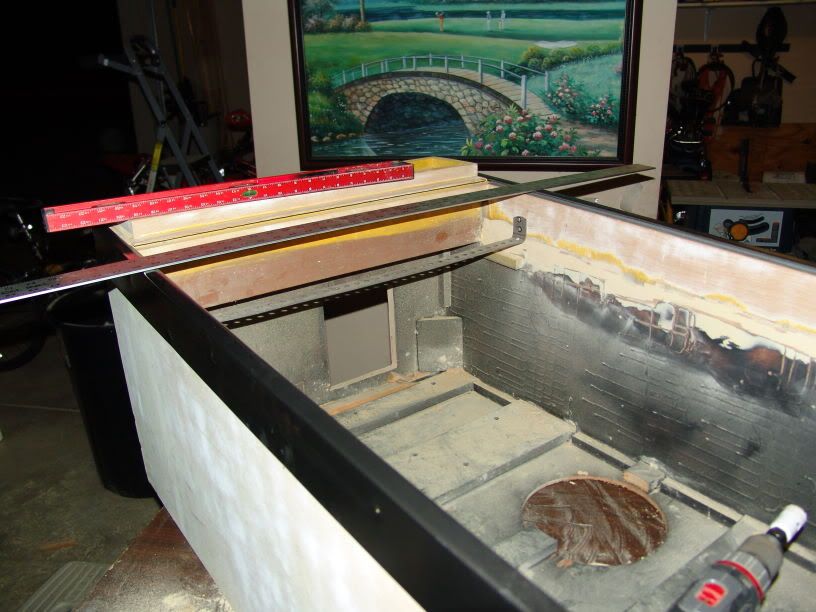
Putting the divider between the
DMD and back glass monitor space. I have also cut an access door into the back of box although it's not readily apparent in this photo.
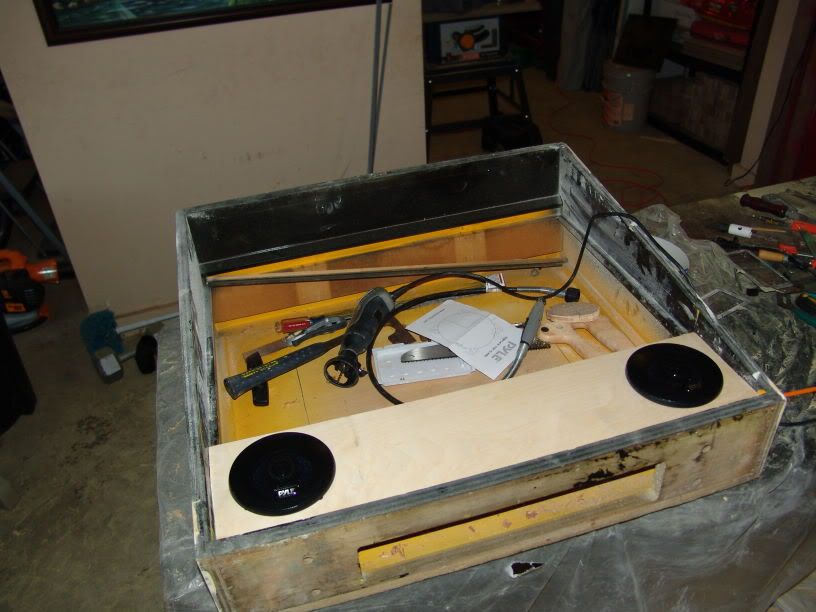
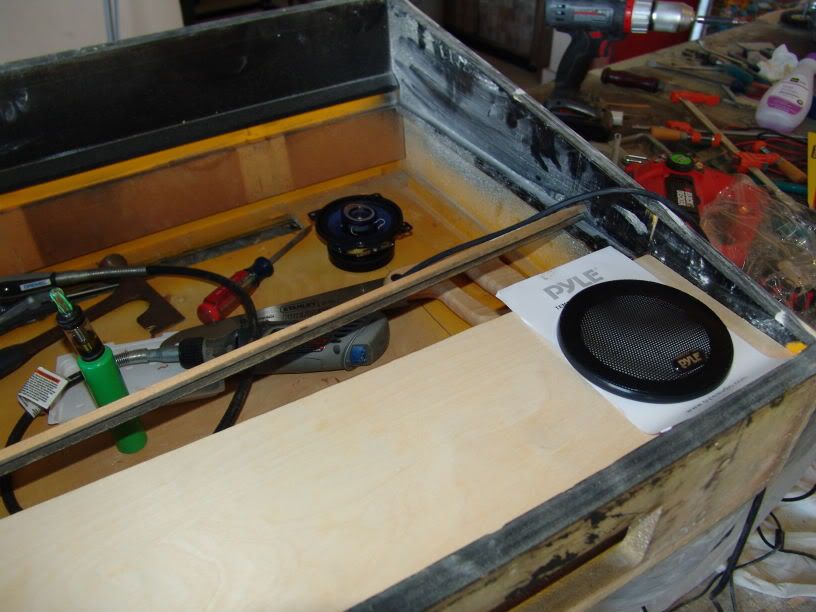
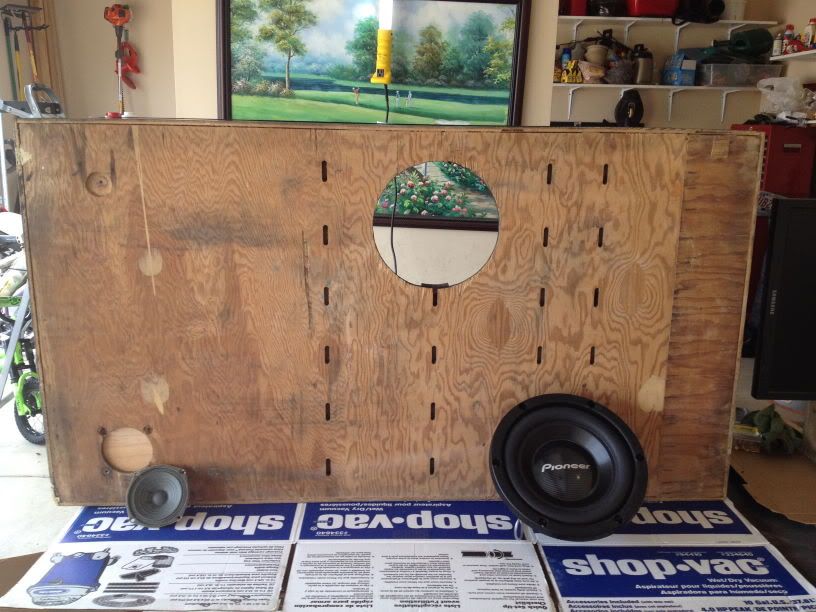
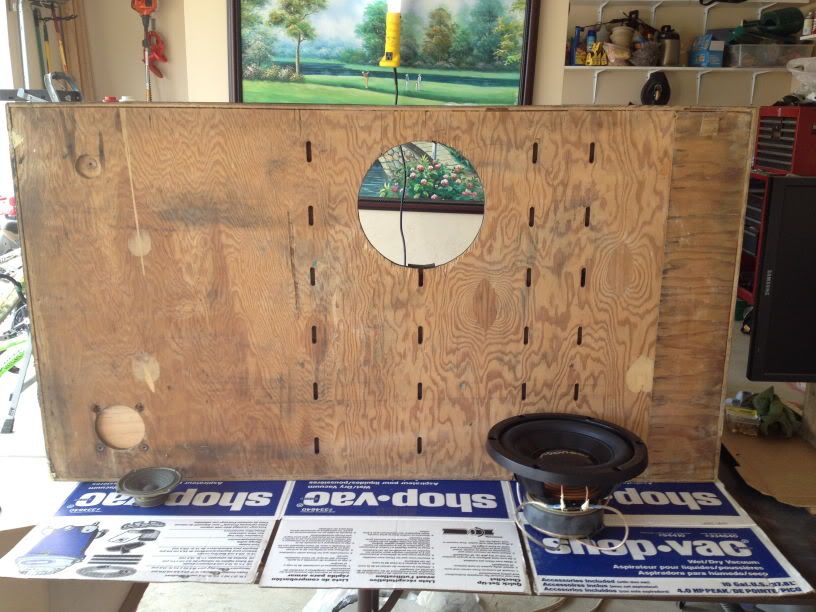
Working on speaker placement on the
DMD cover.
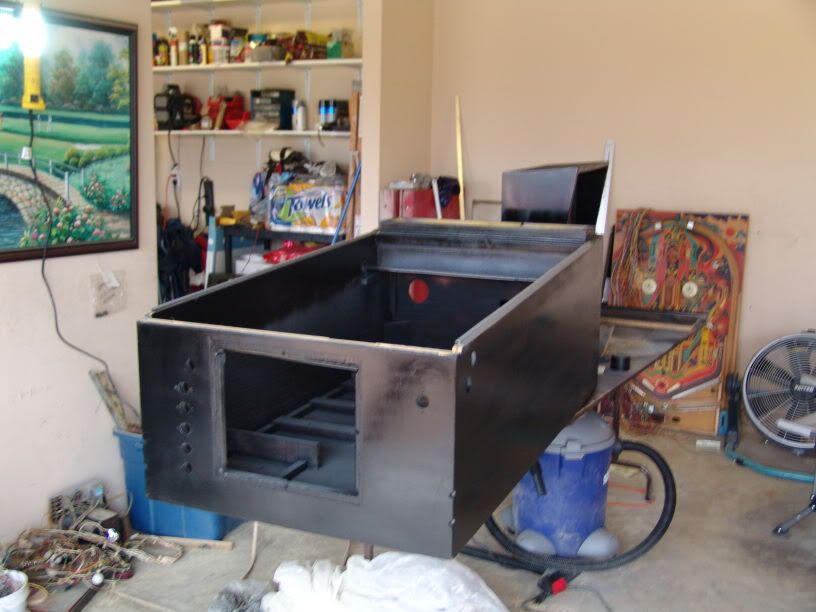
Braces for both monitors in place. I had already mounted the monitors in the box for fit-testing and removed them. You might also notice I used some standard latches for cabinet doors on the underside of the shelf to hold the
DMD cover in place. This ended up working very well.
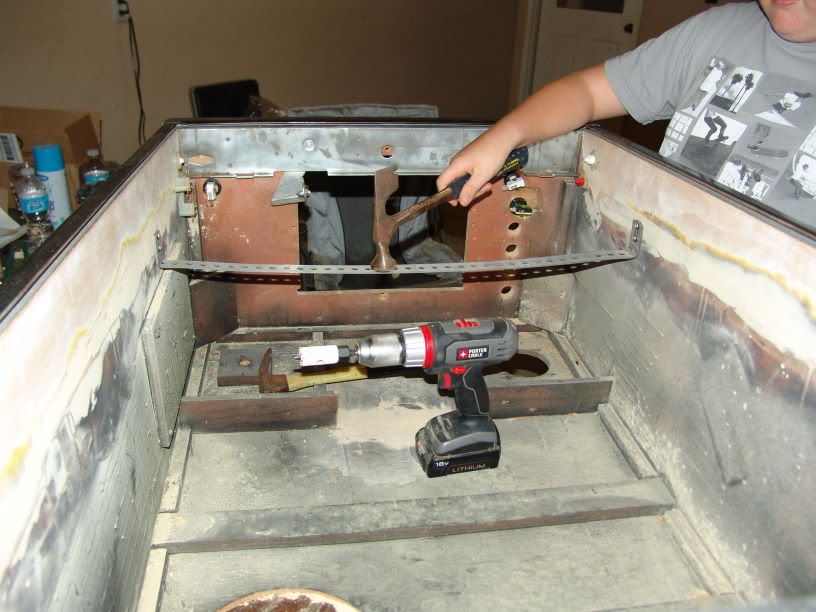
A better view of the access panel. Those hinges are way overkill, but I already had them laying around and had no desire to make yet another trip to the hardware store.
 DMD
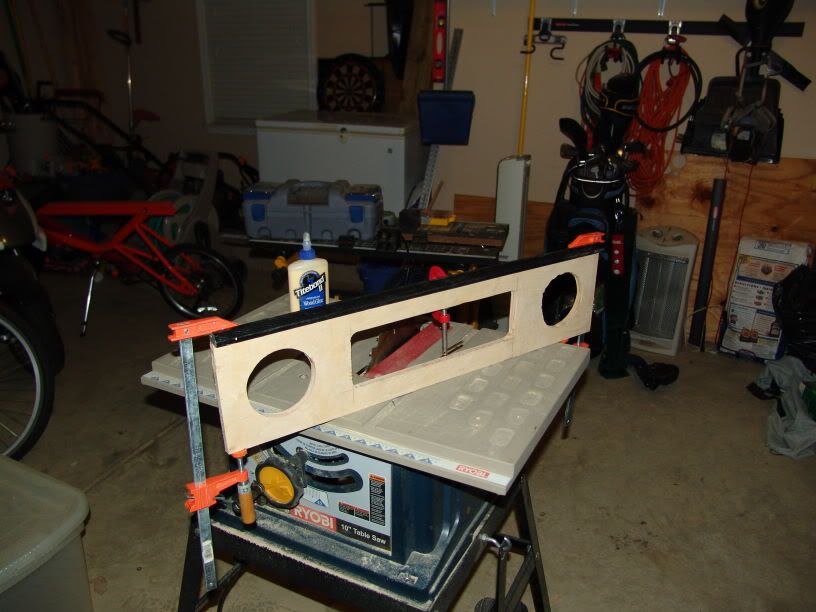
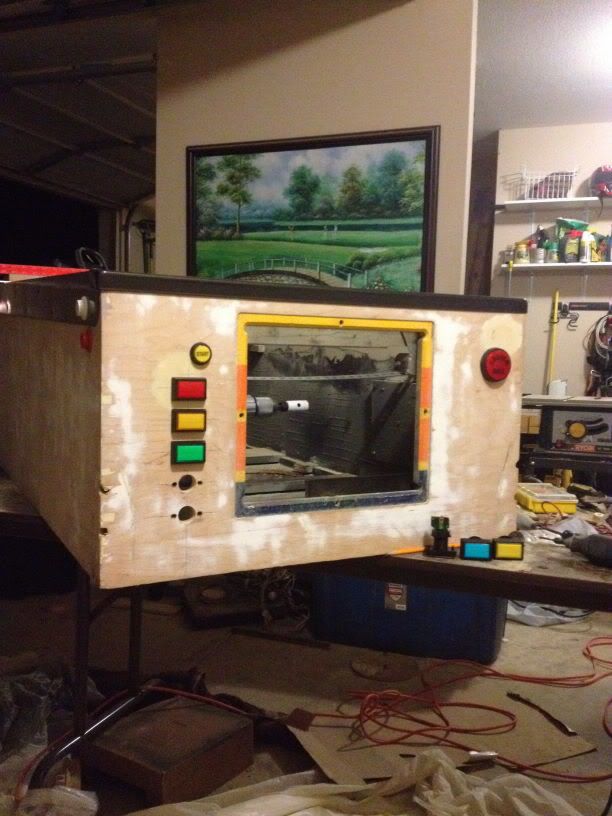
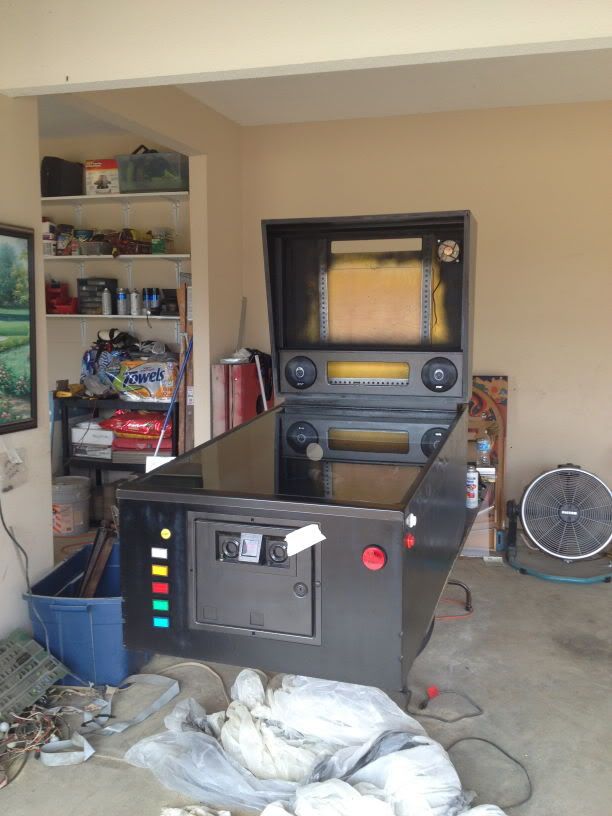
DMD panel cut. I gently removed the original piece of trim that held the back glass in place and glued it to the new panel. My thought was to just have a shorter piece of clear glass cut and use the same system already in place to mount it to back box.
In order to get the
DMD monitor to mount flush against the back of the
DMD panel, I had to widen the access hole in the top of the cab. Used a long jigsaw blade and a somewhat steady hand (well, as steady as it gets) to accomplish this.
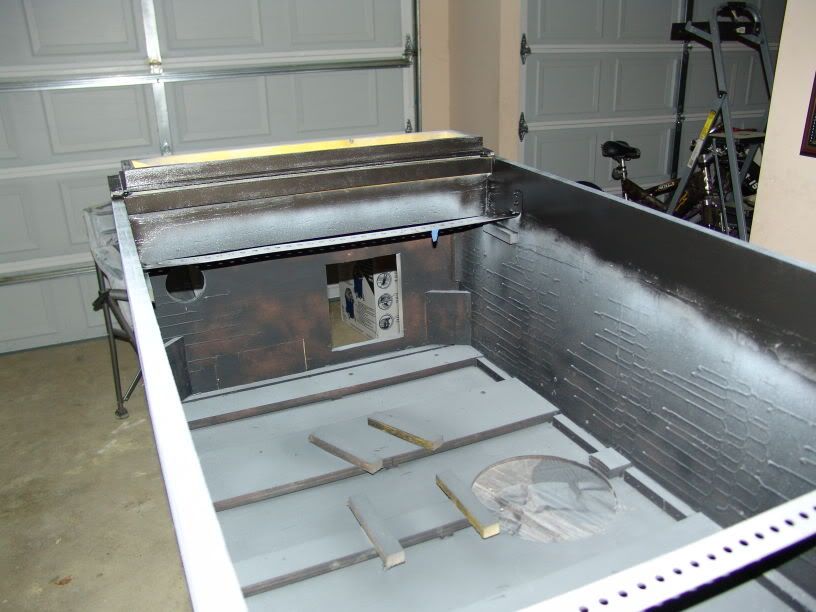
Hole cut for sub, as well as removal of some of the original framework to mount a new amp for the speakers mounted in the
DMD panel. I wanted the amp close enough to the front door so I could easily reach inside and adjust the volume. Being able to hold one hand on a flipper button and reach the volume knob was the final litmus test.
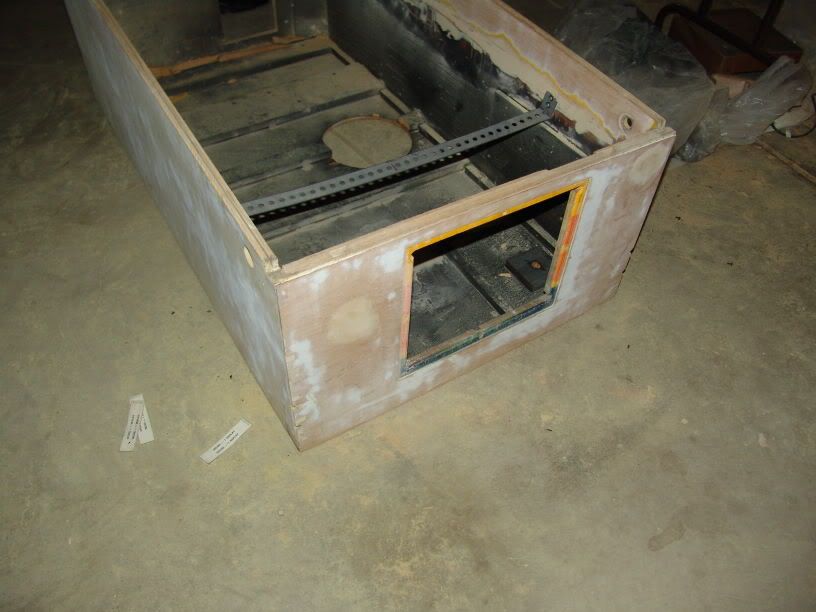
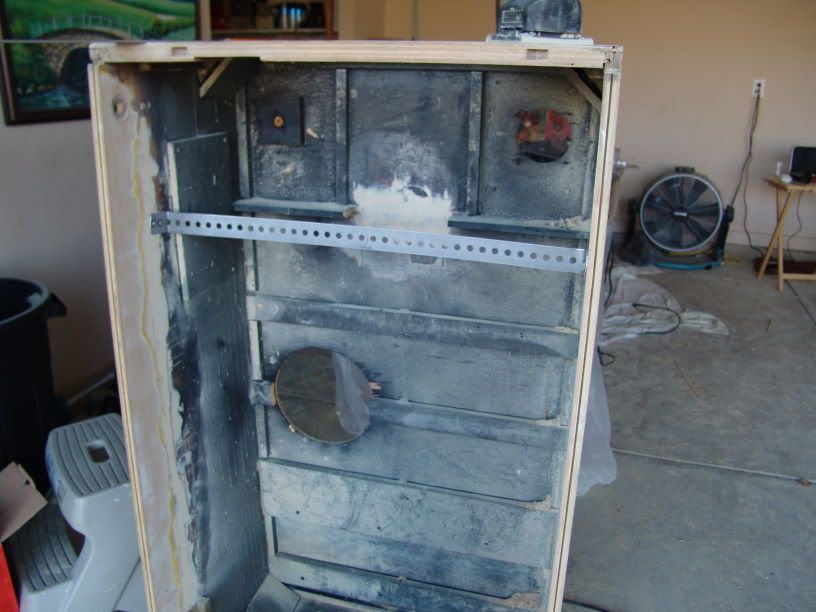
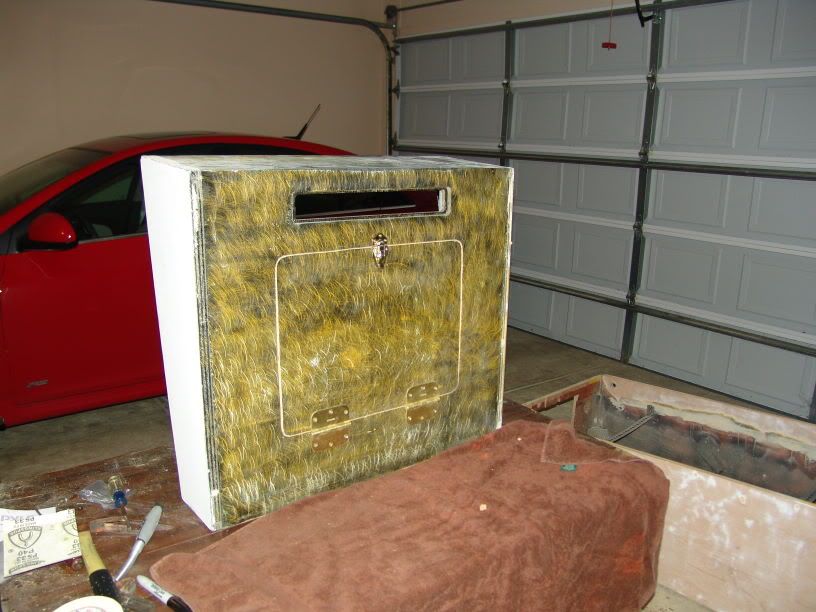
If you'll look at the back of the cab, I have cut a hole to house a simple subwoofer amp. It meant routing the speaker wire outside the back of the box then on to the back of the
DMD mounted speakers, but I preferred this so I could easily get to the subwoofer frequency cutoff and volume. It's not the most elegant solution, but it's the back of the box so no big deal.
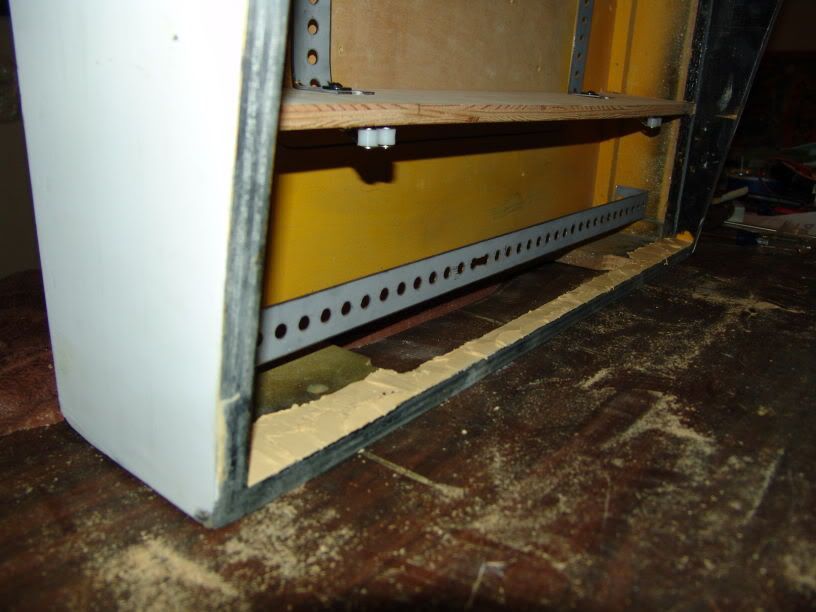
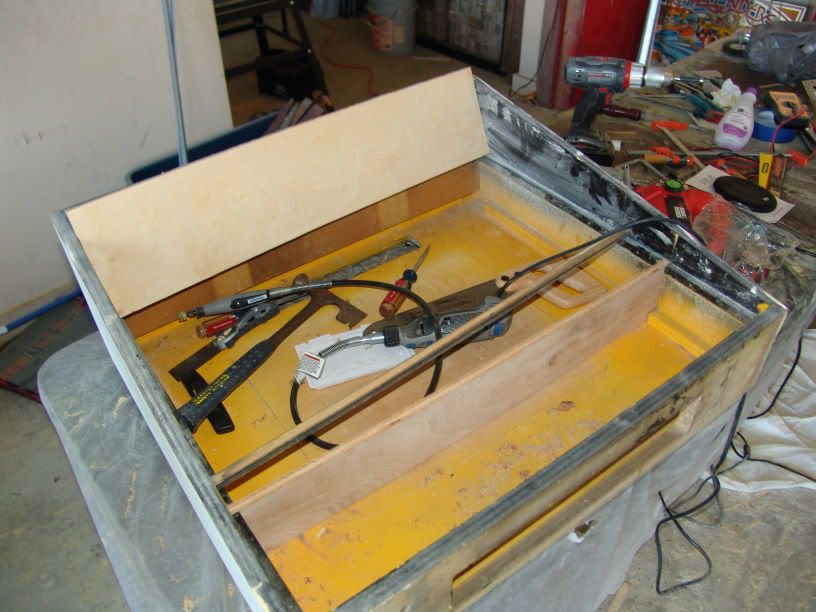
When I 'gently' removed the original trim that held the glass in place (the piece I glued to the top of the
DMD panel), it 'gently' ripped the bottom of the back box to shreds. I had to pull out all the shards of plywood and apply a heavy dose of wood filler.


 are all trademarks of VPFORUMS.