- View New Content
-
Getting Started
-
Tutorials
Tutorial Categories
Tutorials Main Page Installation and Setup Downloadable TutorialsROM Adjustments
Number of Balls Adjustments Volume Adjustments
-
Visual Pinball Tables
VP 8 Desktop Tables
All VPM Recreations VP Recreations VP/VPM MODs VP Originals ROMsVP 9 Desktop Tables
All VPM Recreations VP Recreations VP/VPM MODs VP Originals ROMsVP9 Cabinet Tables
All Full Screen Cabinet Full Screen B2S Cabinet Spanned Cabinet Tables Media Packs ROMsVPX Tables
All VPinMAME Recreations VPX- - /VPinMAME - MOD Tables VPX Recreations VPX Originals Media Packs ROMs VR
-
Frontend Media & Backglass
Media Packs
Complete Media Packs Wheel Logos VideosBackglasses
dB2S Animated Backglasses UVP Animated Backglasses Topper Images
- Future Pinball Tables
-
Design Resources
Main Resources
Table Templates Playfield Images Image Library Sound Library Key CodesVP Guides
VP8 Guide - English VP8 Guide - Deutsch VP9 Guide - English VP9.1.x Guide - English VP Object Guide VPM DocumentationFuture Pinball Resources
Playfield Images 3D Model LibraryFuture Pinball Guides
FP Script Guide Big Draco Script Guide FP Table Design Guide FP DMD Guide
- Other Features
- Bug Tracker
- Image Gallery
- Blogs
-
More
Star Wars: Pinball Unleashed - 46"/32"/DMD Widebody Build
Started By
Gamester
, Feb 18 2013 10:54 PM
Star Wars Pinball Cabinet
73 replies to this topic
#42
Posted 23 April 2013 - 07:19 PM
Thanks guys!
So another small update...
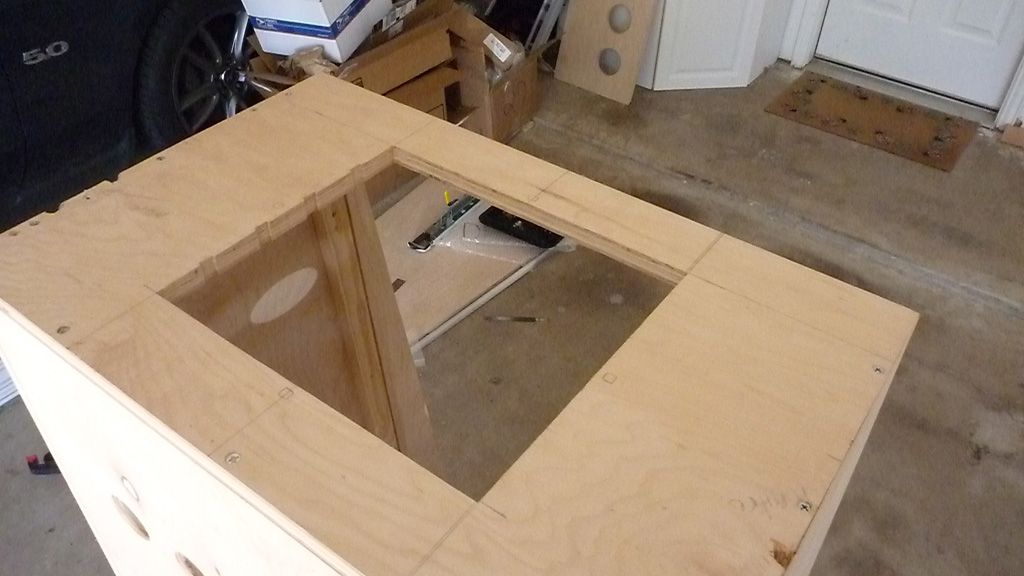
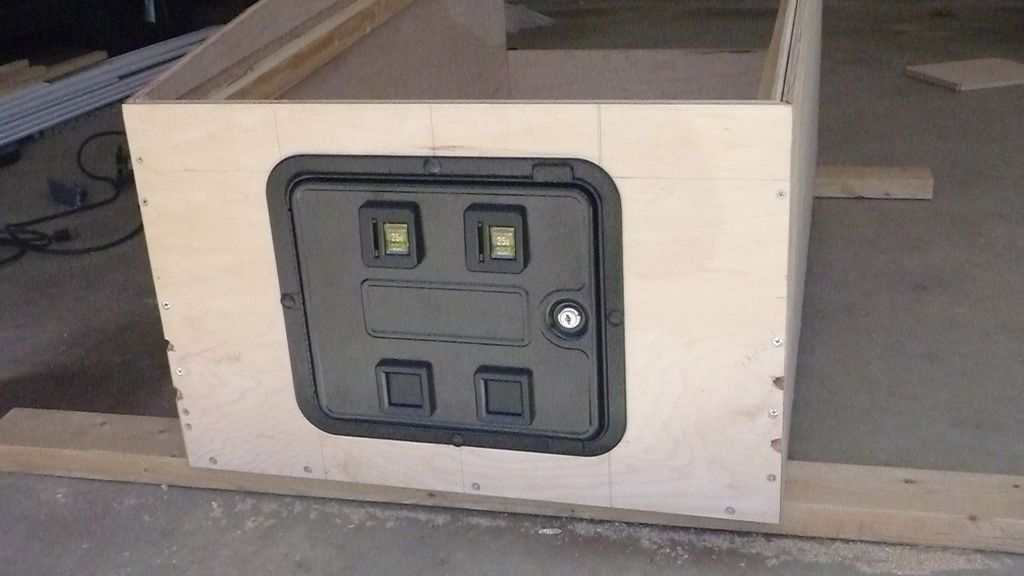
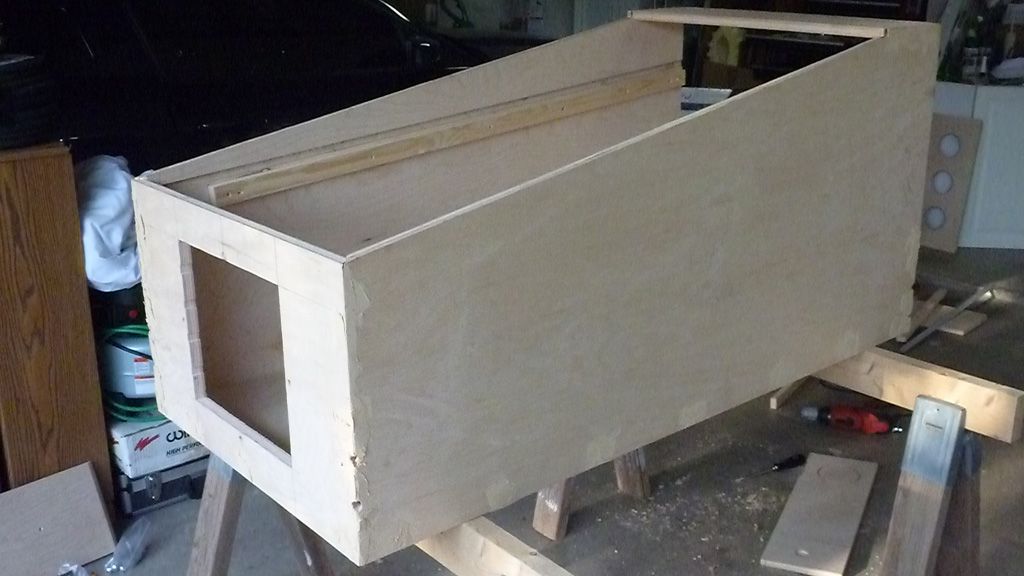
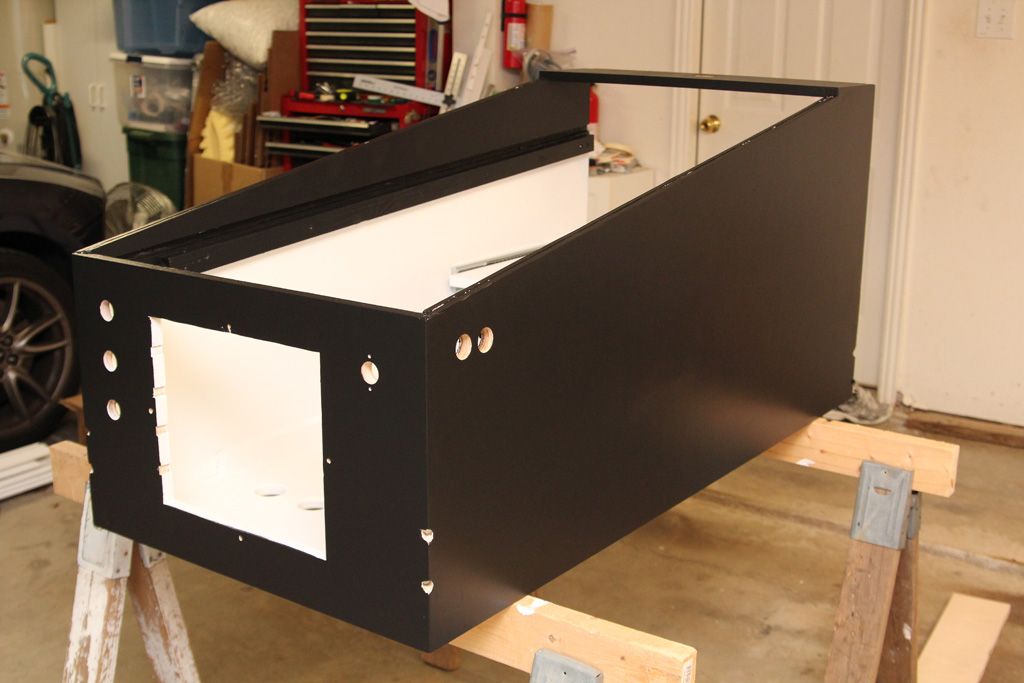
Coin door cut. Just did the coin door freehand with the jigsaw...


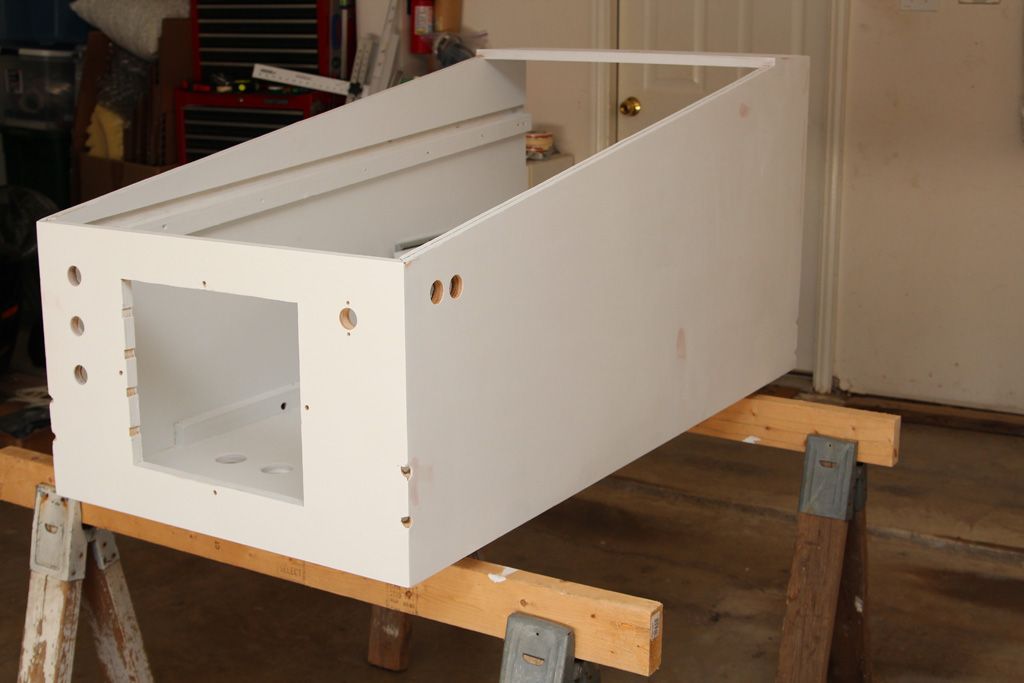
Holes patched. Started out using 'Plastic Wood'. Hate it. Never fills screw holes well and doesn't sand smooth enough (also tends to chip during sanding). After getting frustrated with this stuff for the last time, I switched over to Bondo. It stinks bad, but works much better. Luckily I had a respirator to keep the fumes at bay.
The only challenge with it, as many of you know, is that it dries FAST. Once you mix in the hardener, you only have about 2 minutes to get it applied before it becomes unusable. So the key is to mix it in small enough batches that you don't waste too much. But the obvious advantage to the fast drying is that you can sand and paint it really quickly after application.
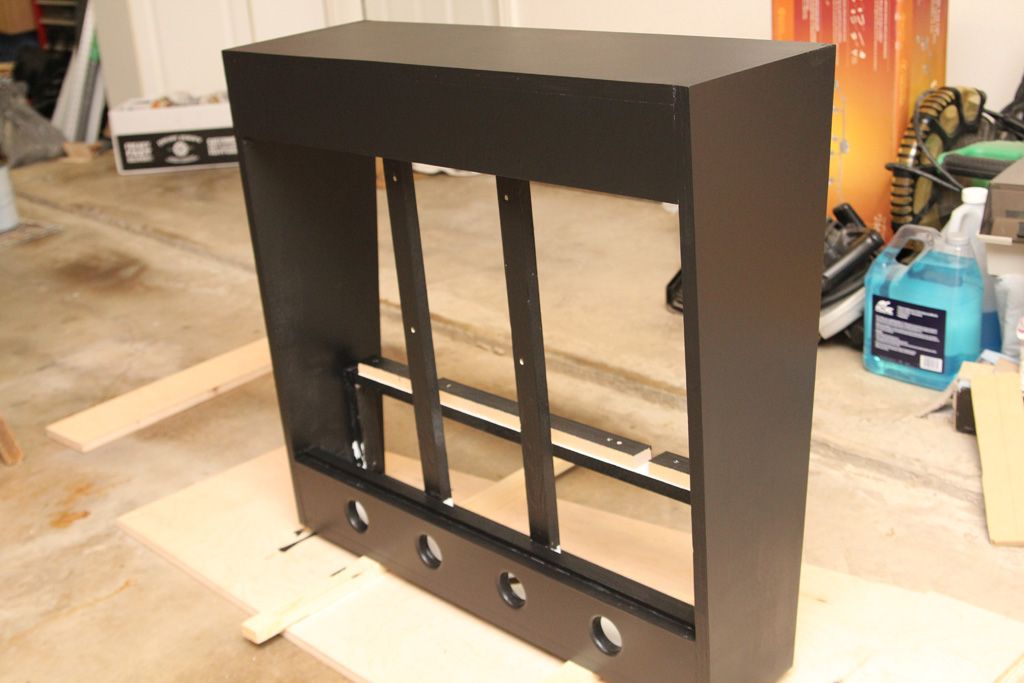
Button holes drilled and then priming. Not too exciting, but the thing I do like about this step is how it makes everything looks so pristine. All the wood grain, bondo, pencil marks and other blemishes vanish.
Starts taking on a more finished look which is really refreshing.


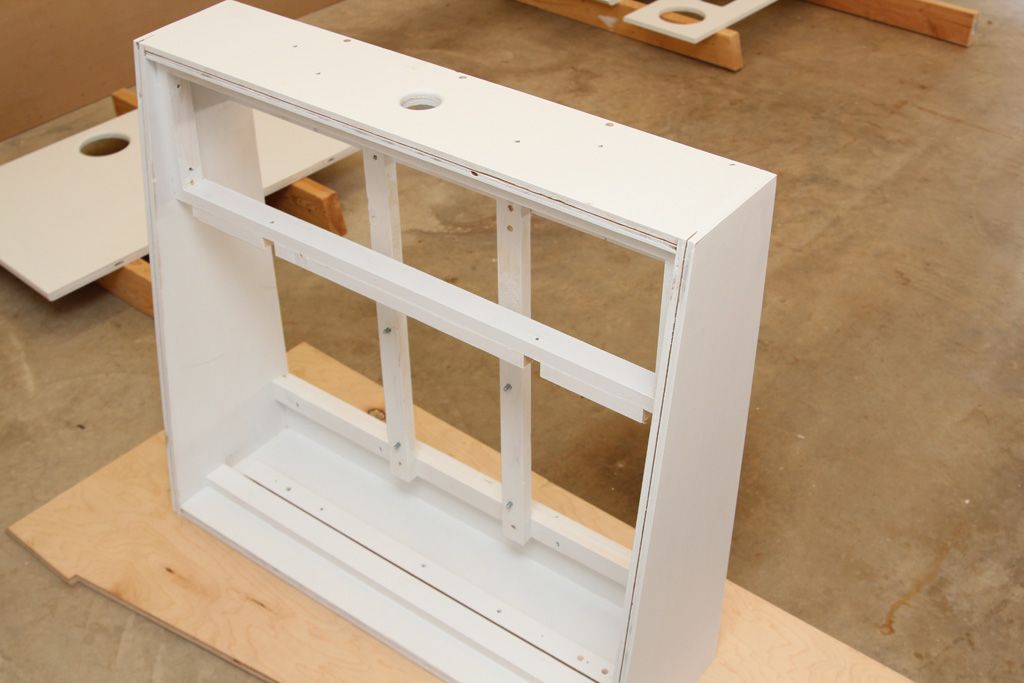
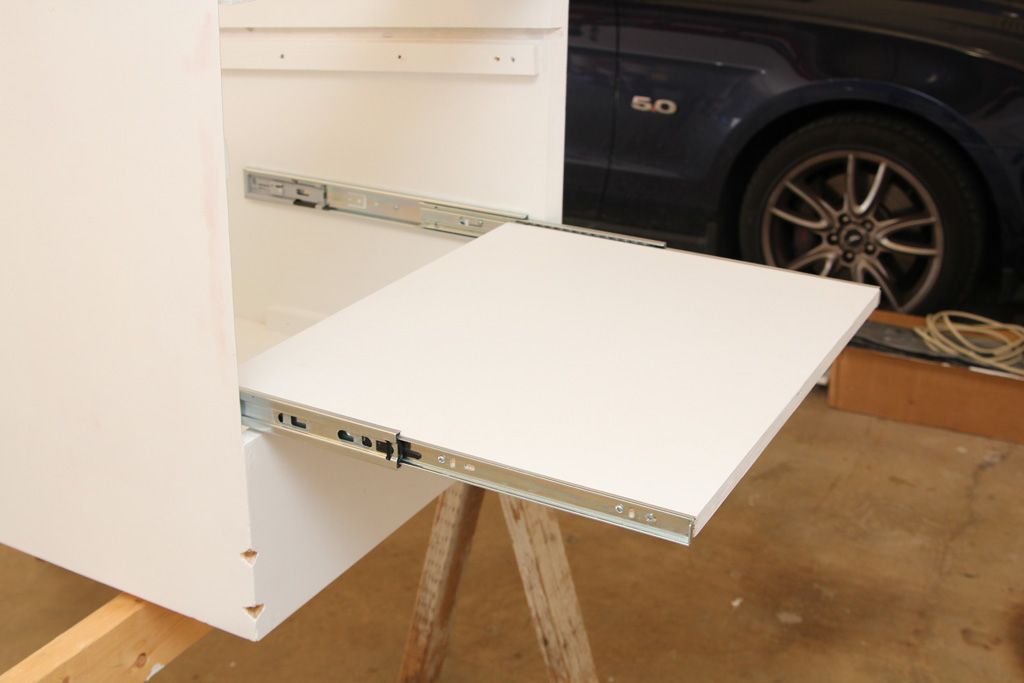
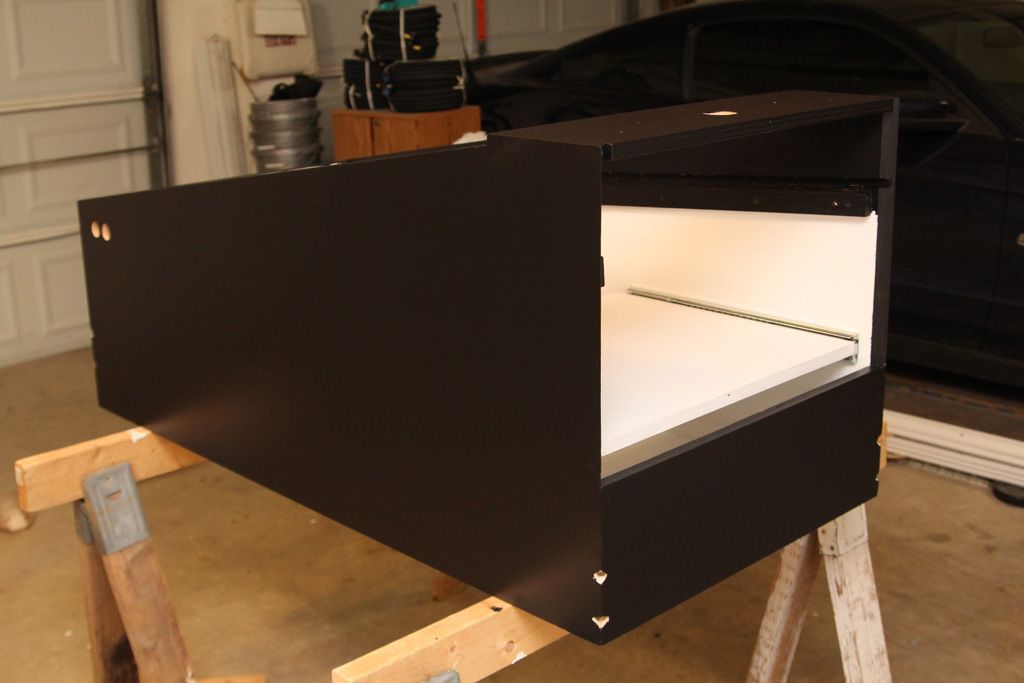
Installed a slide out tray for the computer gear. Used 18" ball bearing sliders so it pulls out for easy access to the components.
And painting! Used a combo of 4" and 6" foam rollers, along with a foam brush for getting into tight spots. I think for my next project I'm going to invest in a spray gun. But in comparison to my arcade project, this paint job is a breeze. I'm going to keep the inside of the cab white. I like the contrast, plus will make it easier to see in there later on...


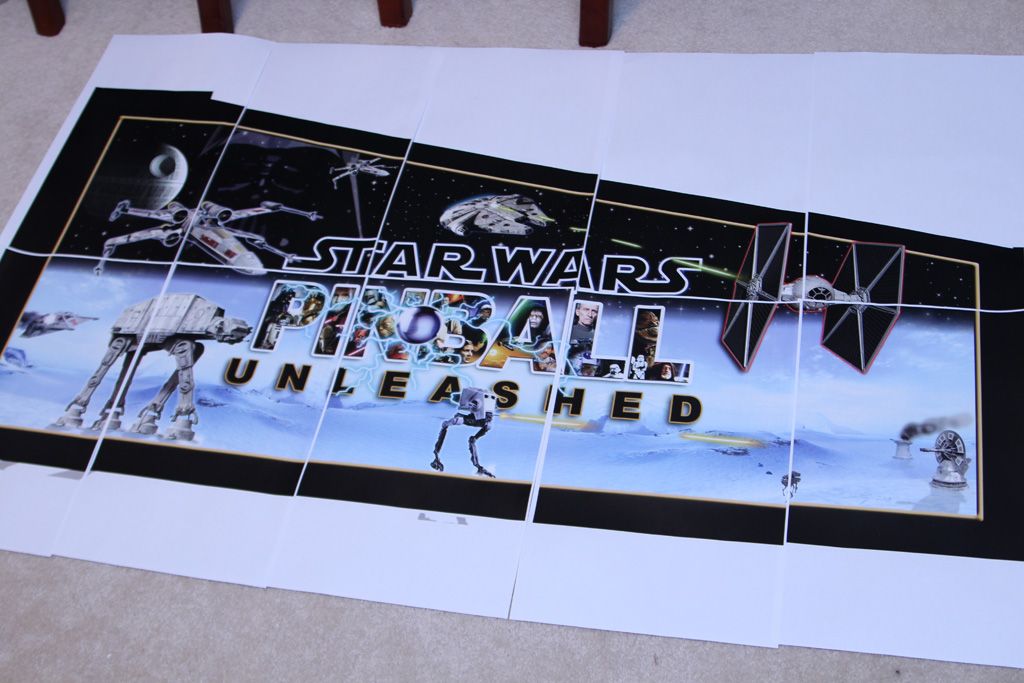
A little mockup of the artwork so I could see it at full size. Really glad I did this because it led to some changes. To do this I took the art and saved it as a PDF within Photoshop then opened it in Acrobat, which has a feature during printing to allow you to 'tile' a large image into multiple sheets.
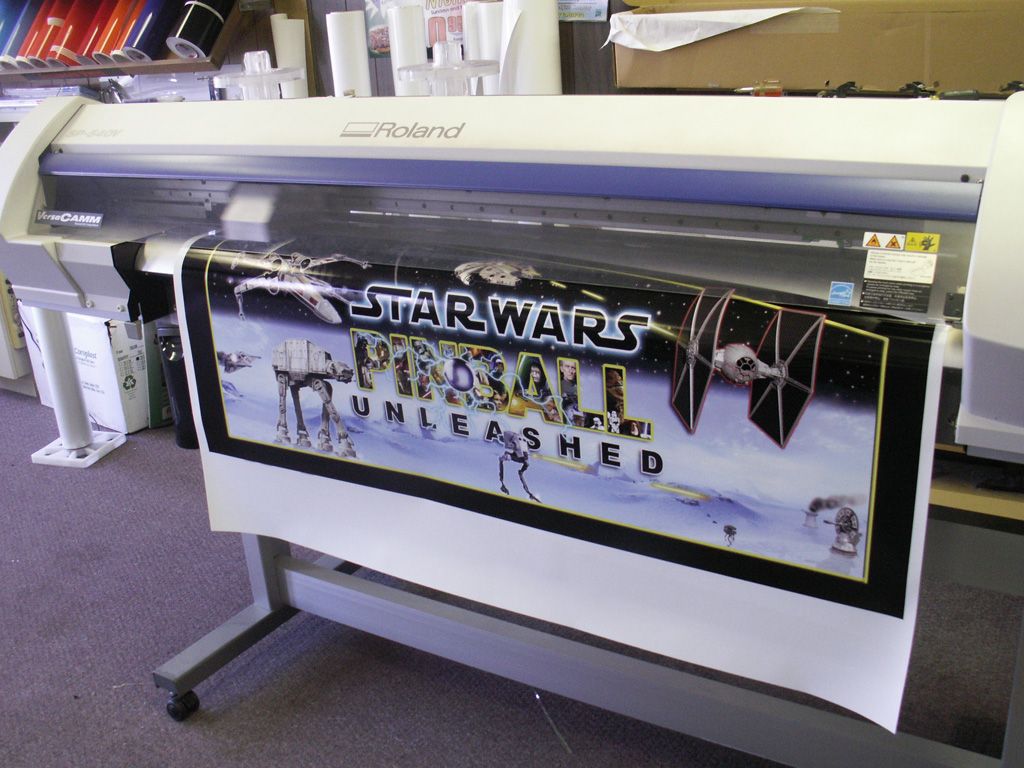
And Santa (Brad...aka Lucian045 over on the HS Forums) sent me this pic from his workshop. He was really impressed with how it looks, so that's encouraging.. Can't wait to see it in person!
That's all for now. Should be lots more updates coming over the next couple weeks. Stay tuned...
#43
Posted 24 April 2013 - 06:35 PM
that artwork is the max ! love to see it on the cabinet.
its gonna rock !
#46
Posted 28 April 2013 - 07:49 AM
@luvthecubs - Thanks for the compliment. Good luck on your project!
So project update time:
Let's just say I've been a busy little bee over the past week. Got a LOT of stuff done on the build. Oh, and I apologize to anyone trying to read this post on a slow connection... 
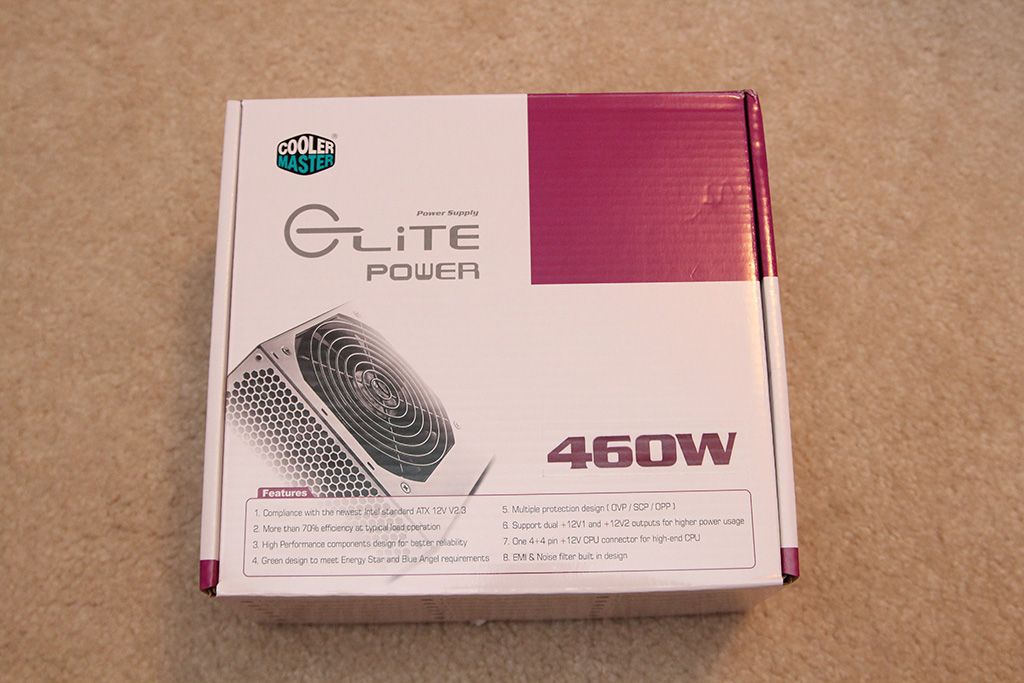
Added a couple extra parts to the stash. Picked up the PSU that will run the toys (flashers, contactors, wiper motor and shaker):

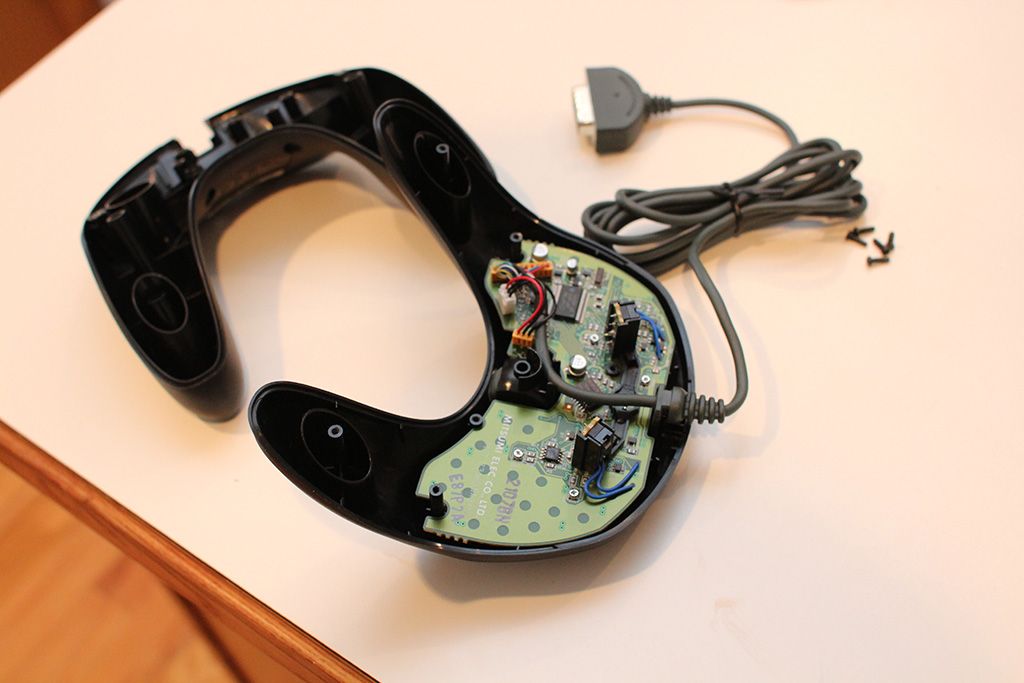
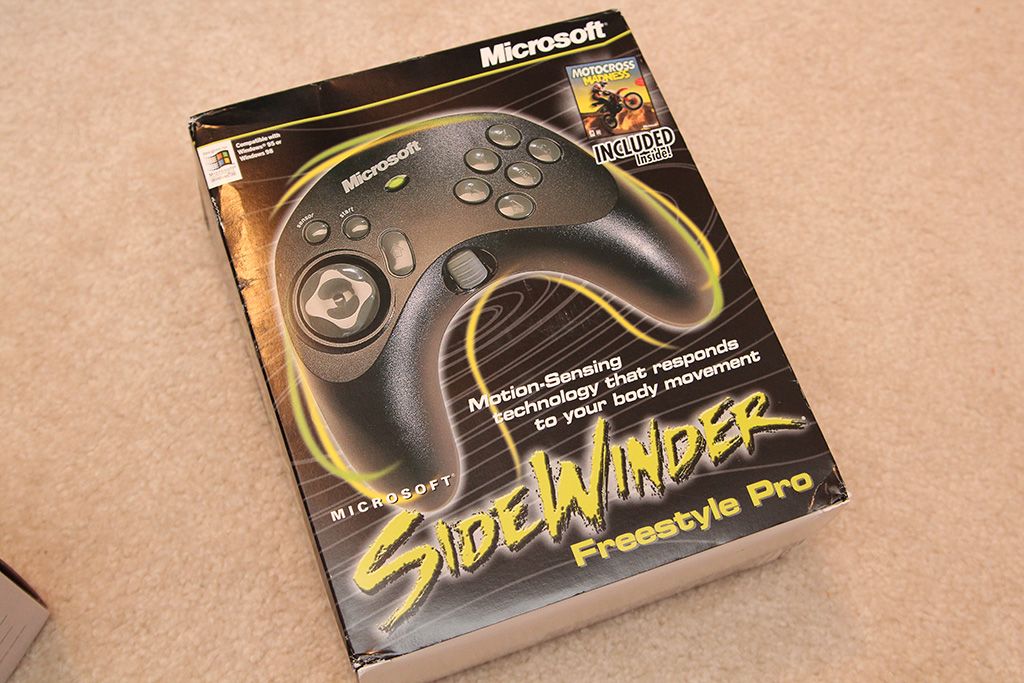
Also got one of these, circa 1998 off of eBay new in box for about $15. It has a built-in motion controller, similar to the modern Playstation SIXAXIS controller. This will be used for the nudge functionality. I'll get into more detail on how it's setup later in the build once I have it installed and working correctly.
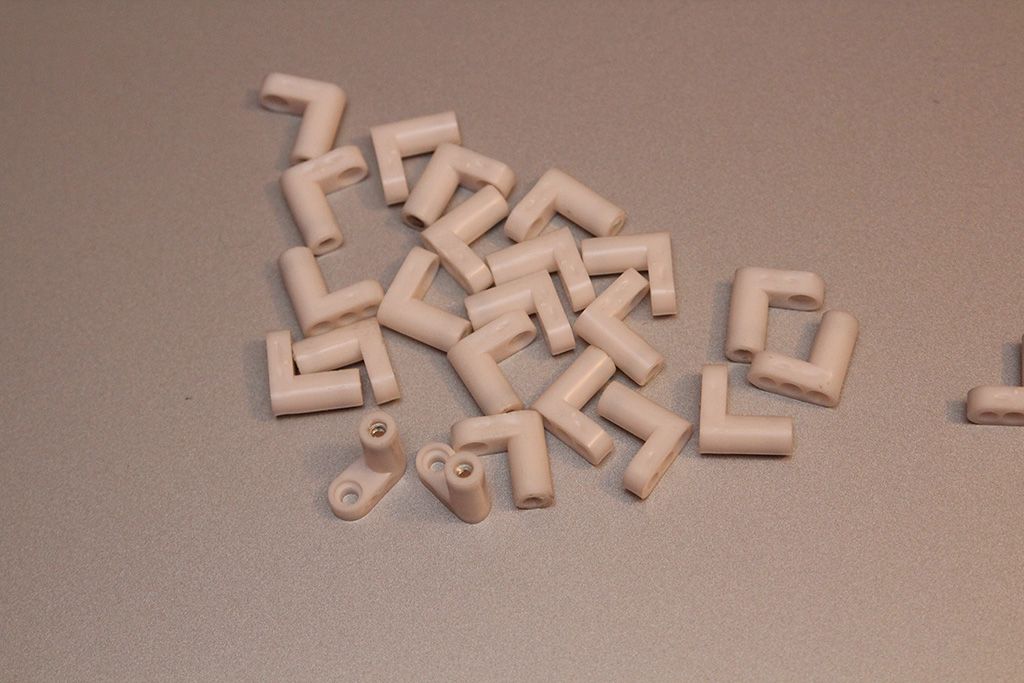
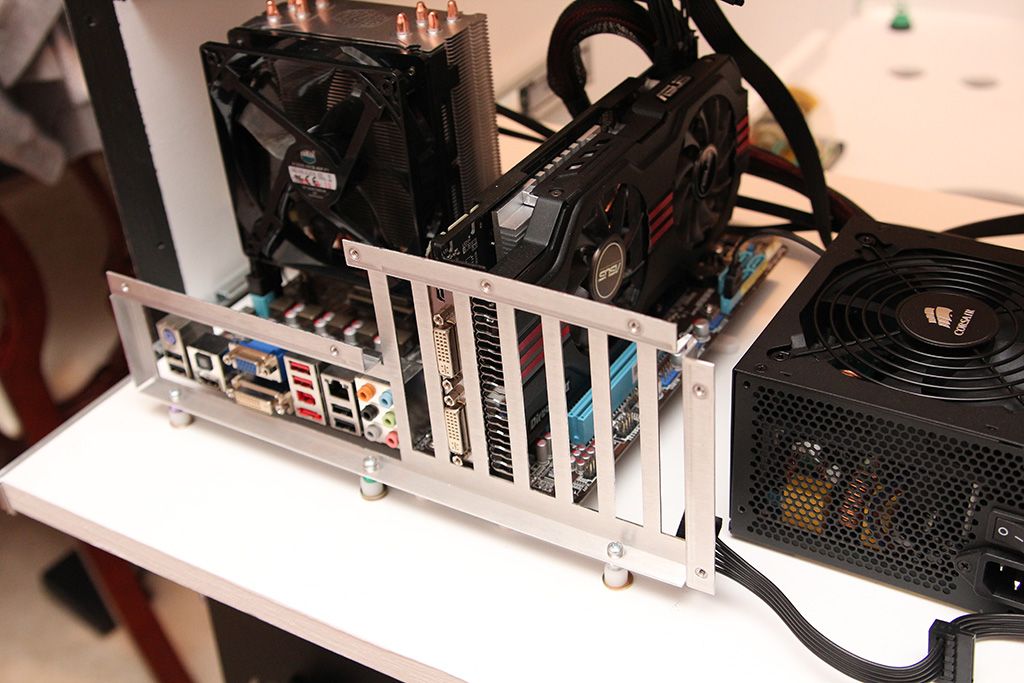
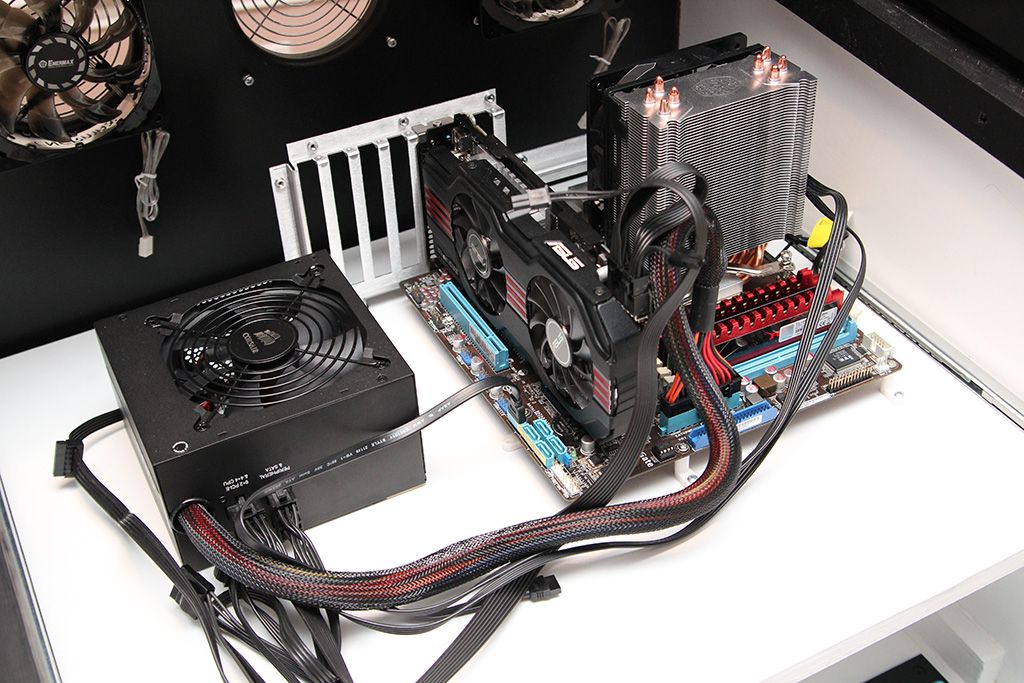
Computer is mounted on the slide-out shelf. Since I de-cased the components, I was a bit concerned about making sure the video card stayed mounted firmly in its socket, so I got this nice back plate to secure it. I mounted the motherboard using PCB mounting feet, and I needed the back plate to match it in height. Was too late for a hardware store run, so I tried a couple different things as spacers (cutting tubing, etc.) but couldn't quite get the base I wanted. So my Macgyver mode kicked in as I shuffled through drawers and boxes. Ended up using a plastic spacer, a washer and some plastic beads from my wife to get it just right.
Video card is nice and secure. Used some good 3M double-sided tape to mount the PSU. It's not budging either.


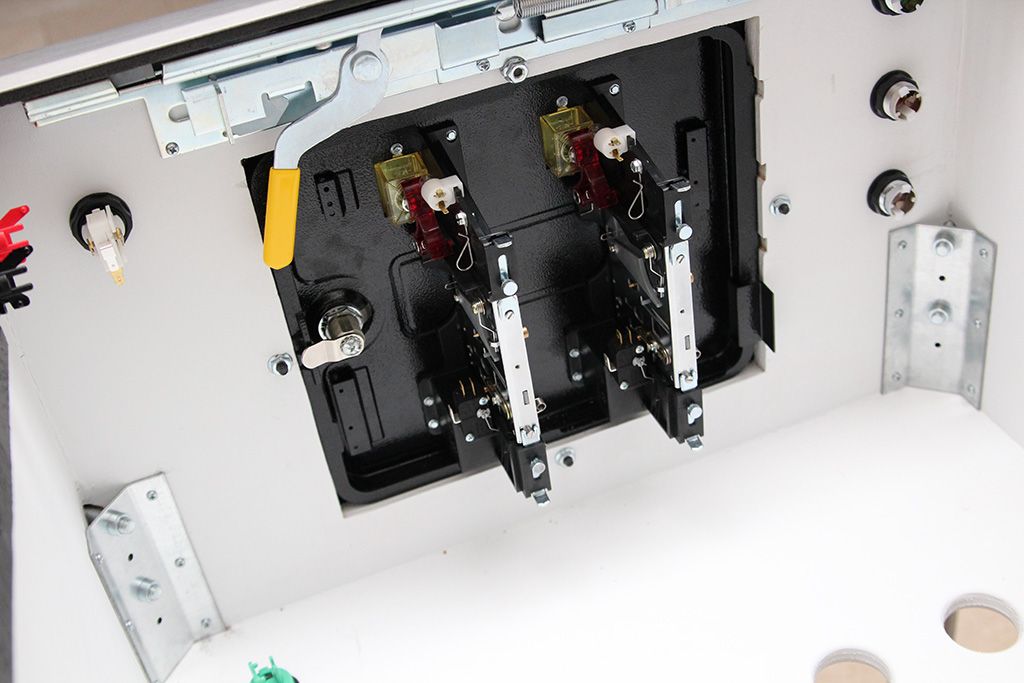
Coin door and lockdown bar/guide installed...

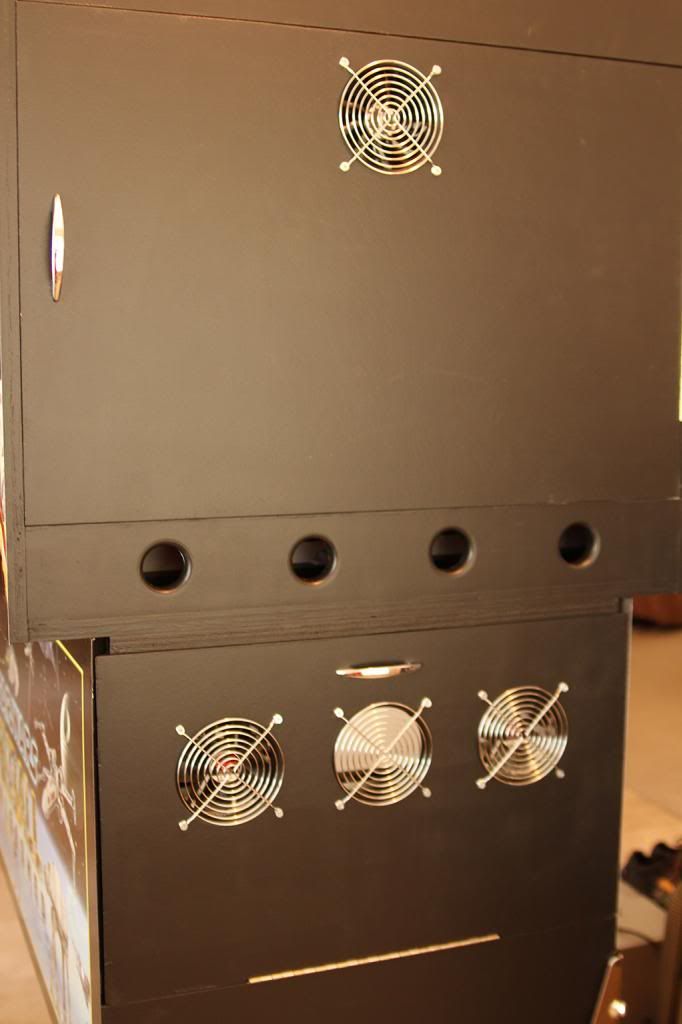
Doors, fans, grills and door hardware installed. I'm short one fan. Will need to order that soon. I considered using locks, but decided against it. I just couldn't think of any compelling reason for locks, so I used a double-roller catch on one door and a magnetic latch in the other. No particular reason I used a different latch for each. Just what I happened to have on hand.

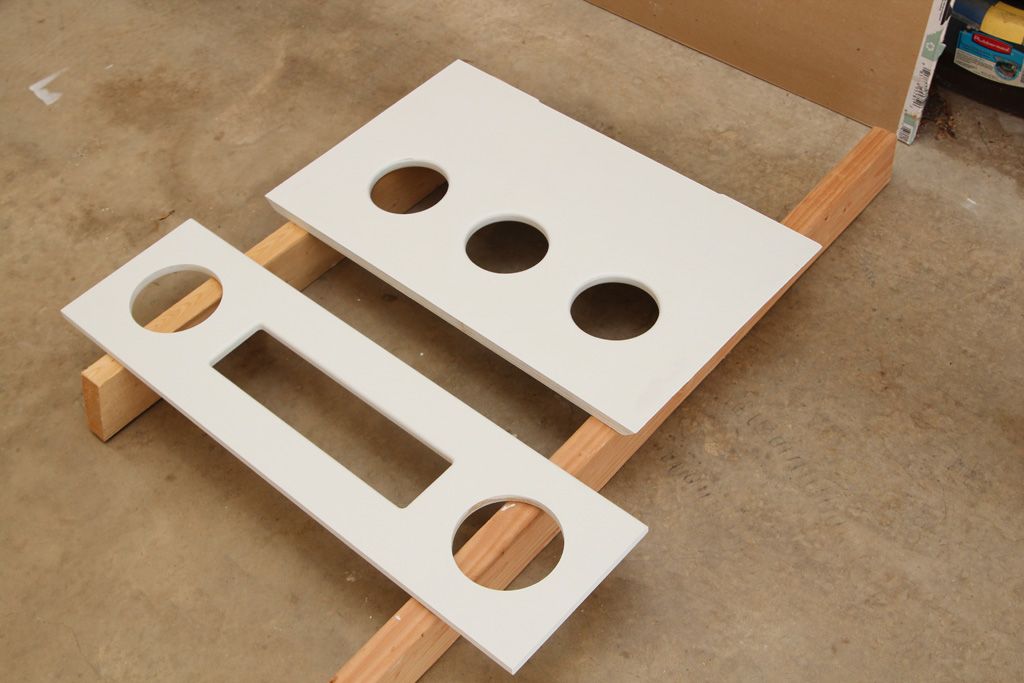
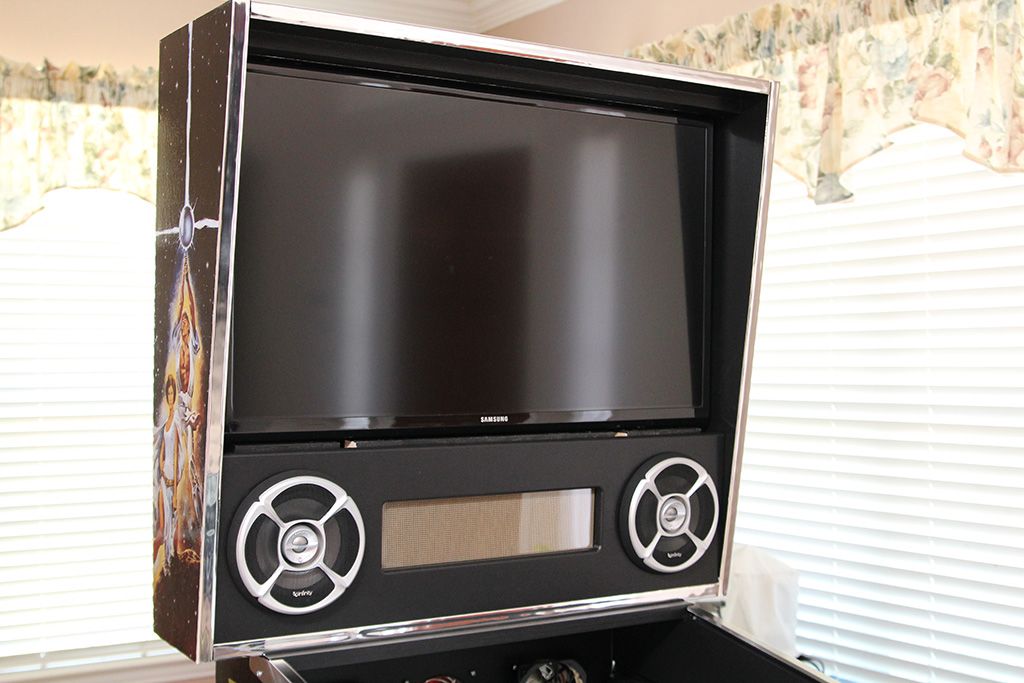
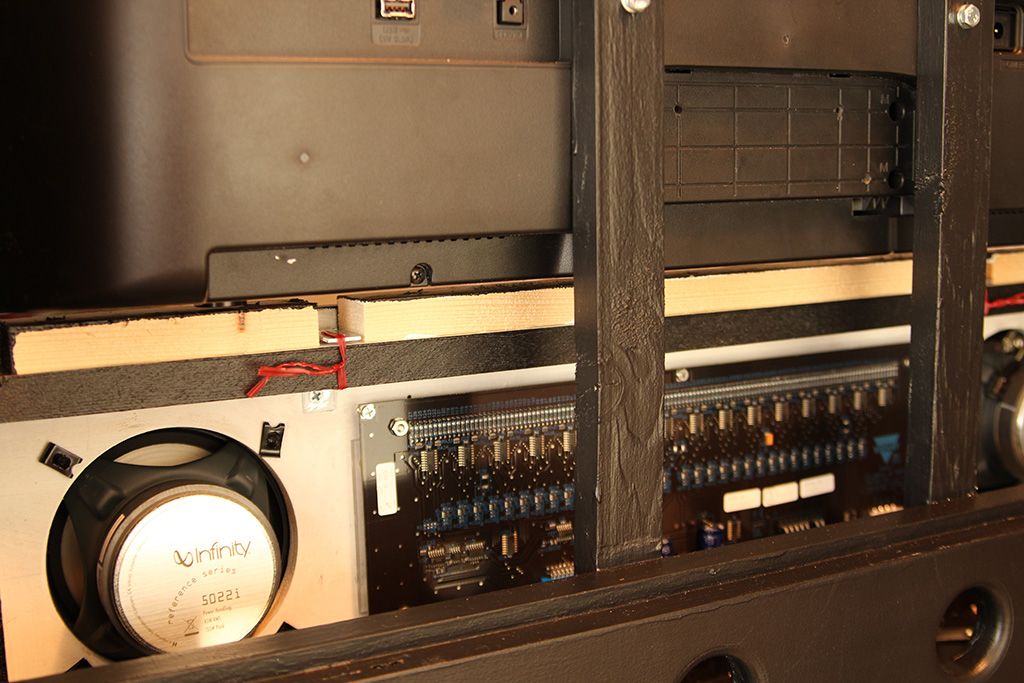
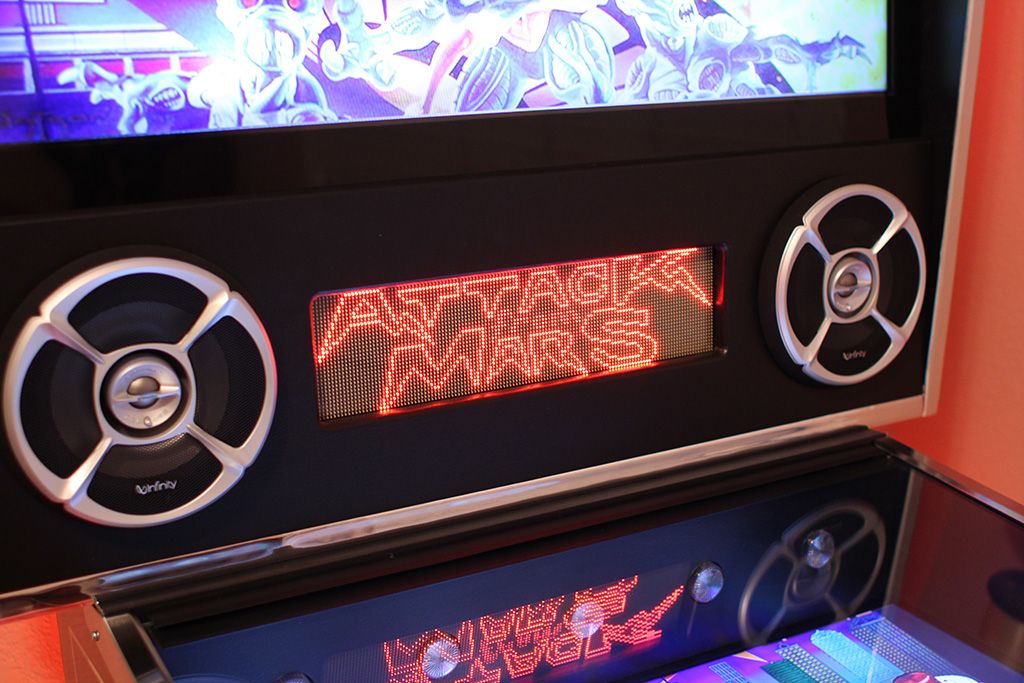
Speakers and DMD are mounted in the panel. I cut and mounted a sheet of acrylic in front of the DMD to protect it. Just used my jigsaw with a fine cut blade, carefully drilled holes and screwed it in. There was some strategy involved with the dimensions of the acrylic because there are screw heads protruding from the front of the DMD that I had to work around or else it caused a bit more space between the DMD and acrylic than I wanted.
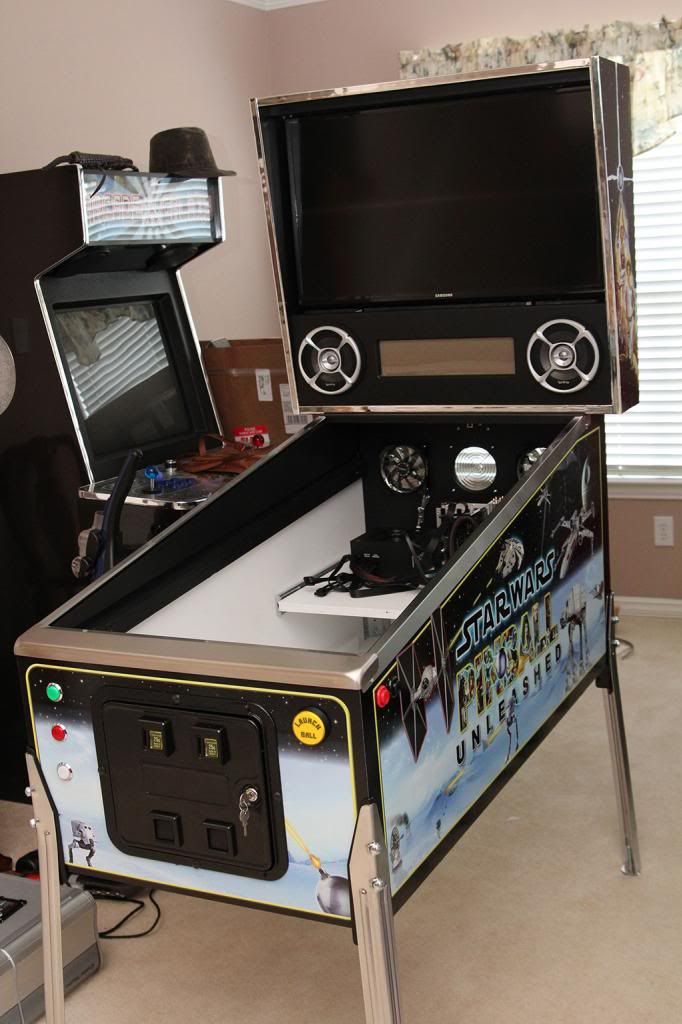
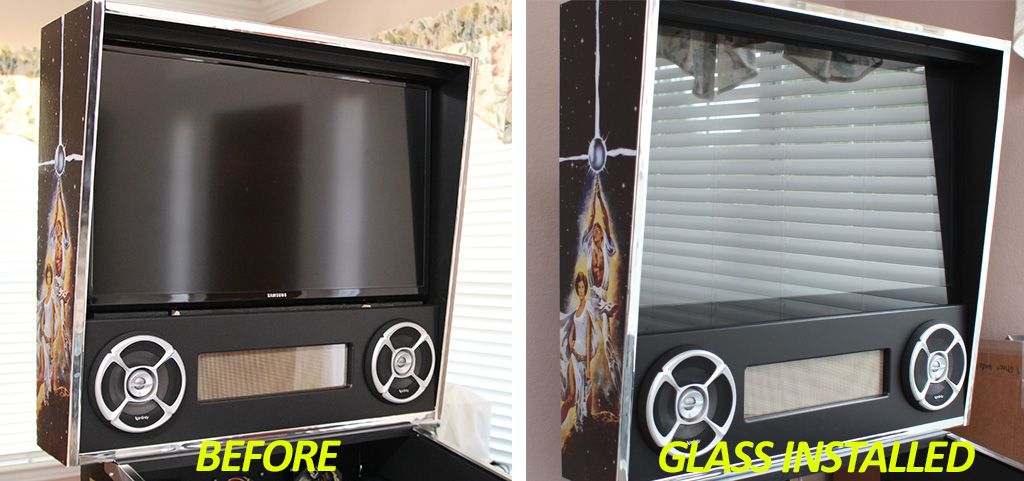
Also got the TV mounted and T-molding installed. Just need to pick up a piece of glass and make a bezel to hide the TV's bezel and speaker panel interior framing. I'm pretty pleased with how the backbox turned out.

Hmmm... what's that peaking around the side there?

Also installed the legs. The method I used was to screw them just snug into the brackets, and then install the screws for the plates on the back side. This ensured that the plates would remain in the exact orientation needed for the bolts to thread properly.
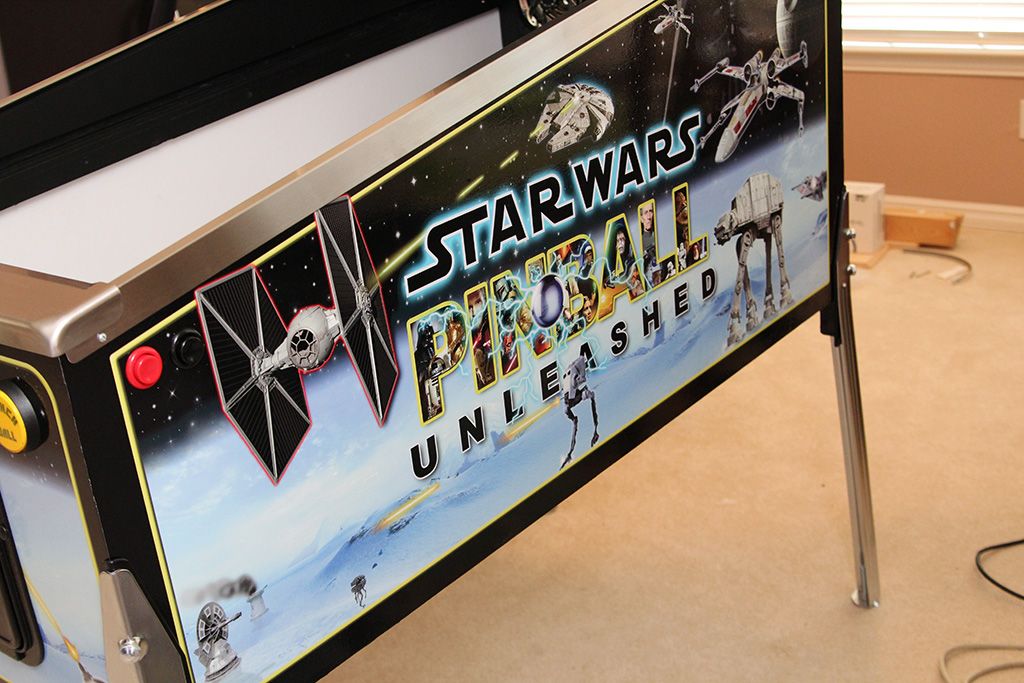
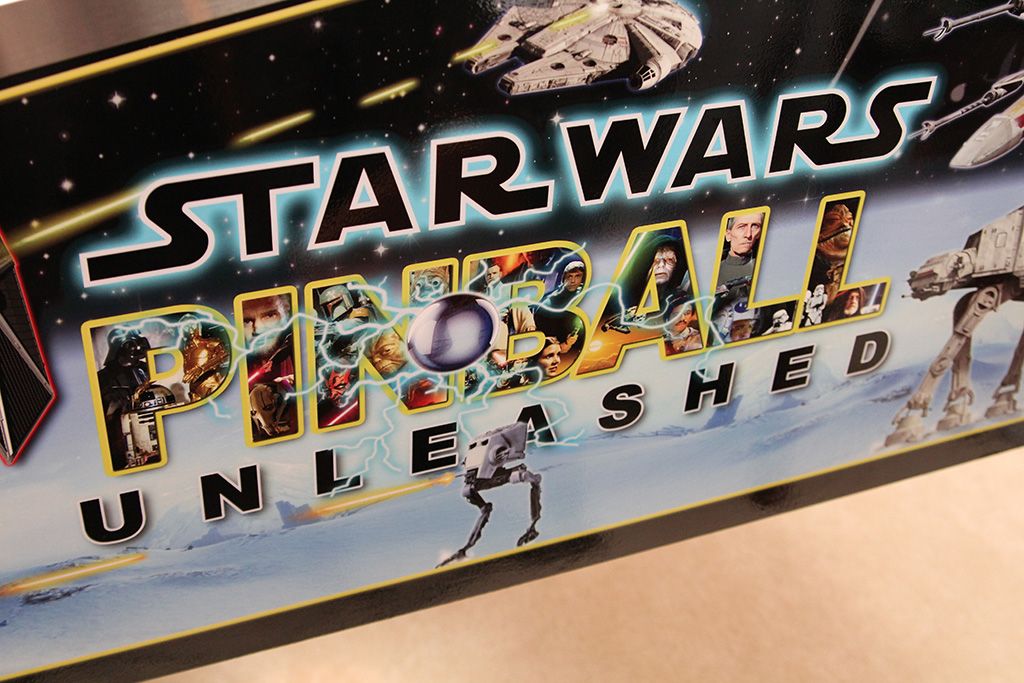
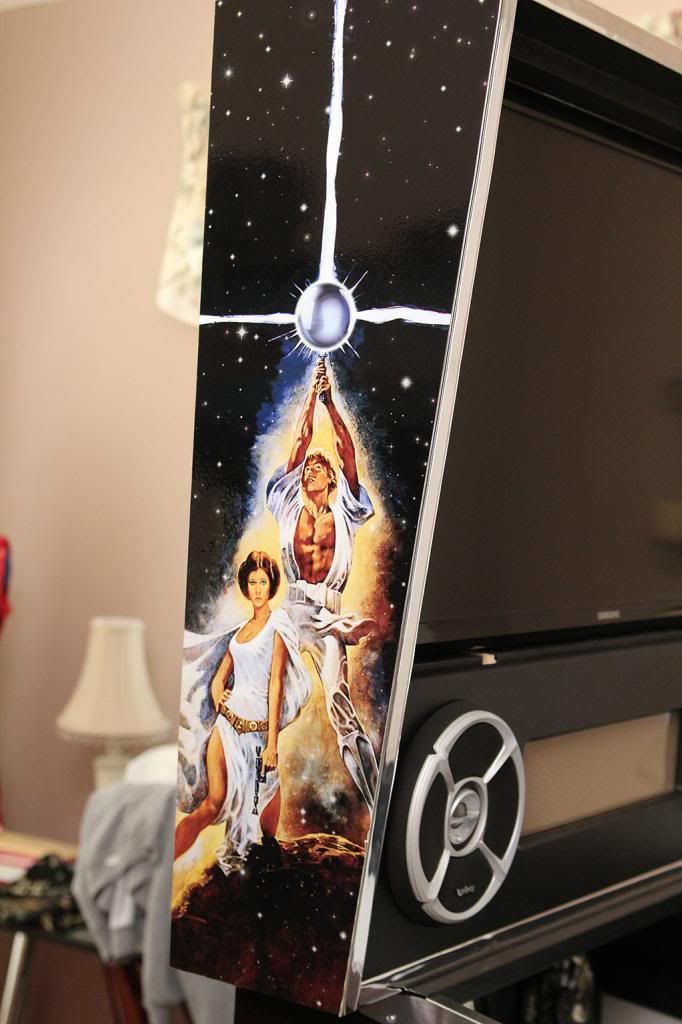
But of course, before I installed the coin door and legs, I installed the ARTWORK. 


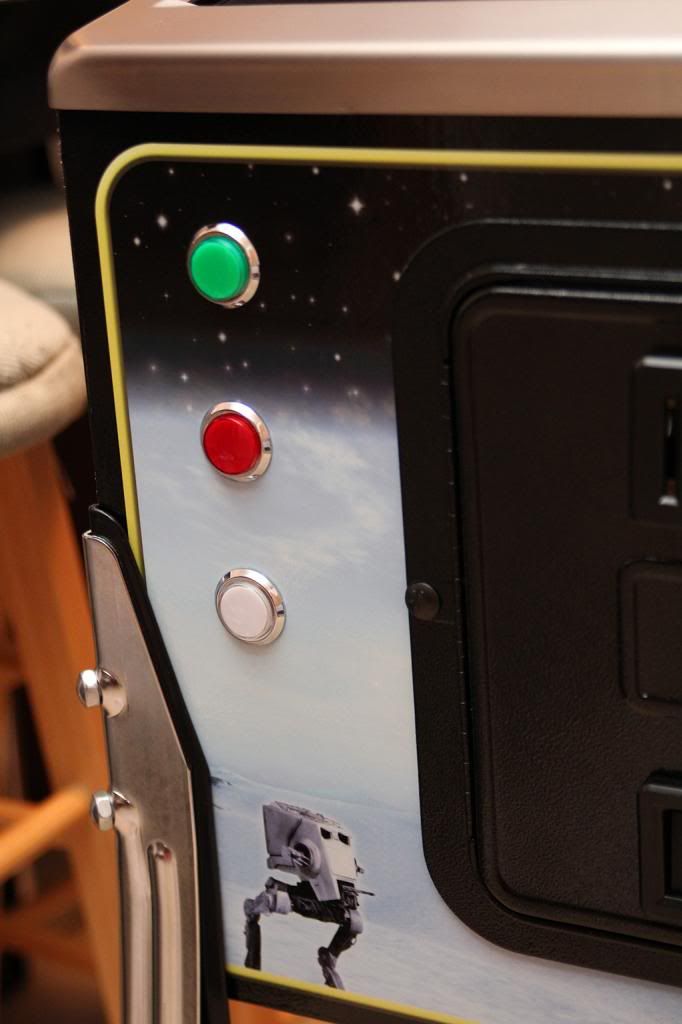
Start, Exit and Coin buttons...


I can't say enough good things about this artwork from Brad. The material he uses is INCREDIBLY forgiving. I probably stuck/unstuck parts of it a dozen or more times, and it never lost its adhesion. It's also really easy to get air bubbles out of it. It's called air release technology, and they aren't kidding. He includes a felt squeegee to apply it. One key to installing this stuff is to make sure you have several brand new, sharp X-acto blades on hand. It's critical to getting a clean edge. This stuff is pretty tough, so even with a brand new blade, I had challenges occasionally with cutting it. The important thing is to make sure you keep the knife straight and use the cabinet's edge as a guide. Just go slow until you get a feel for it.
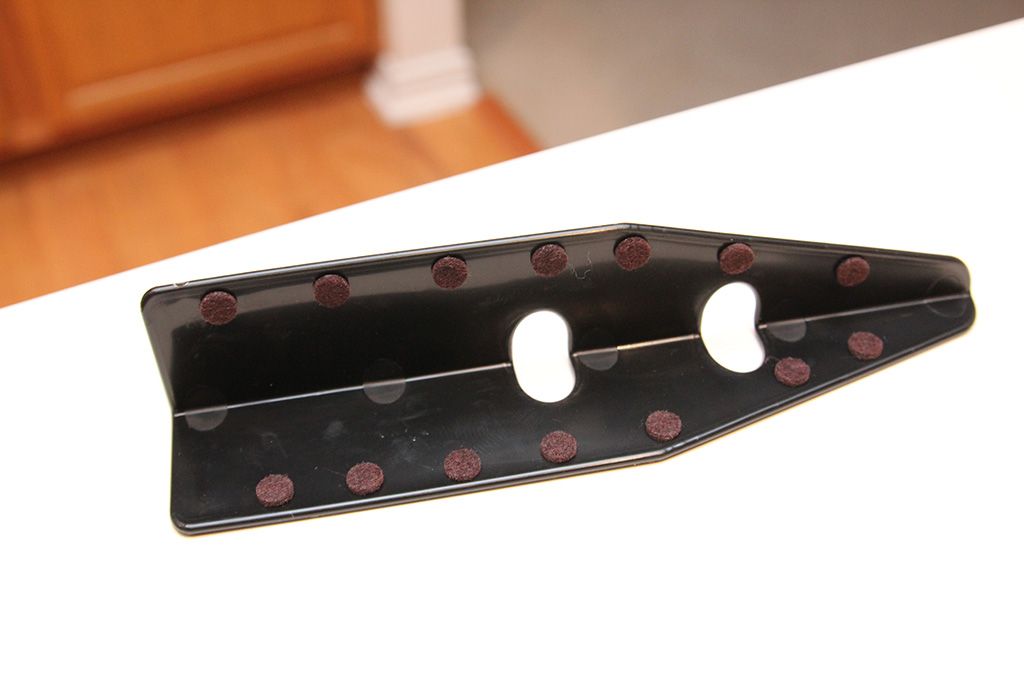
So back to the legs for a second...when I first installed the legs and leg protectors and tightened them down, I noticed that the tension of the legs up against the artwork caused it to pucker a bit. I can only imagine the long term implications of this, so a solution was in order. Here's what I came up with: adhesive felt pads. Once I installed these, no more issues. Artwork stayed nice and flat, even with the legs fully tightened.

So, next up is building the light panel for above the playfield and wiring...LOTS of wiring.
We're having a graduation party for my son in a couple weeks, and my goal was to have the pin fully playable by then. I think I'm on track get meet that goal!
More updates coming soon. I'll get into a bit more detail on how I mounted the backbox and how the speaker panel is mounted, and of course all of the wiring. Stay tuned...

#47
Posted 28 April 2013 - 08:51 AM
wow !
this is the poop shizzle !
this makes me even more motivated to make some hours on my build next week !
this is the poop shizzle !
this makes me even more motivated to make some hours on my build next week !
#49
Posted 03 May 2013 - 04:46 PM
Ohhhh man, droooolll, as i said before this sort a "two-tone"- ish overall look of the body is just stunning, i am liking the
backbox art a lot too, with that chrome finish and those infinity's just pure pin porn ..........
![]()
Gone fishin', no really.......
My F14 Cab http://www.vpforums....showtopic=21820
My Coffee Table http://www.vpforums....topic=25407&hl=
My Jukebox WIP http://www.vpforums....topic=23825&hl=
#50
Posted 07 May 2013 - 03:26 PM
Ohhh and by the way, did see you're using that elitepower psu for the toys and such, just don't go
anything near 400 watts total powerconsumption cause the thing has some, well let's say; quirks about it.
Not to badmouth coolermaster because i had the same and they DID swap the psu for a better one, just FYI.
http://www.hardwares...y-Review/1005/9
Gone fishin', no really.......
My F14 Cab http://www.vpforums....showtopic=21820
My Coffee Table http://www.vpforums....topic=25407&hl=
My Jukebox WIP http://www.vpforums....topic=23825&hl=
#51
Posted 08 May 2013 - 12:16 AM
Nemo, thanks for the compliment and for the heads up on the PSU. I don't think I'll be pushing that much power, but it is definitely disappointing that Cooler Master has delivered such an underwhelming product. I've had really good luck with Corsair PSUs; in hindsight, I probably should have just spent a bit extra and got another one of those...
#52
Posted 31 May 2013 - 05:28 PM
Wow, it's been a while since I updated my build thread! Was on vacation for a couple weeks and also diverted my attention to some real life stuff for a bit. But in between all that I still managed to reach some major milestones on the build.
So, to catch things up...
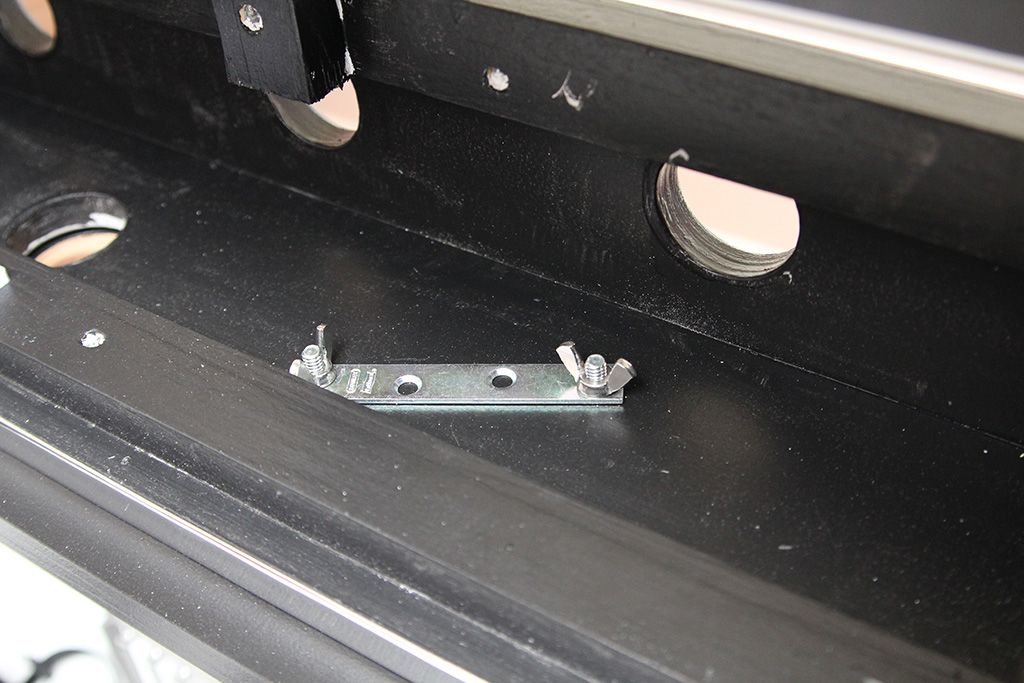
I debated earlier in the build whether I wanted to do backbox hinges. After much deliberation I decided that I would rather not obscure the artwork with hinges just to try to accommodate the very rare occasion where this thing will need to be transported. Instead I opted to simply use brackets and wingnuts to allow for easy dis-assembly. So removing the backbox is as simple as unplugging the cables inside it and unscrewing the wingnuts. There's one of these brackets on each side.

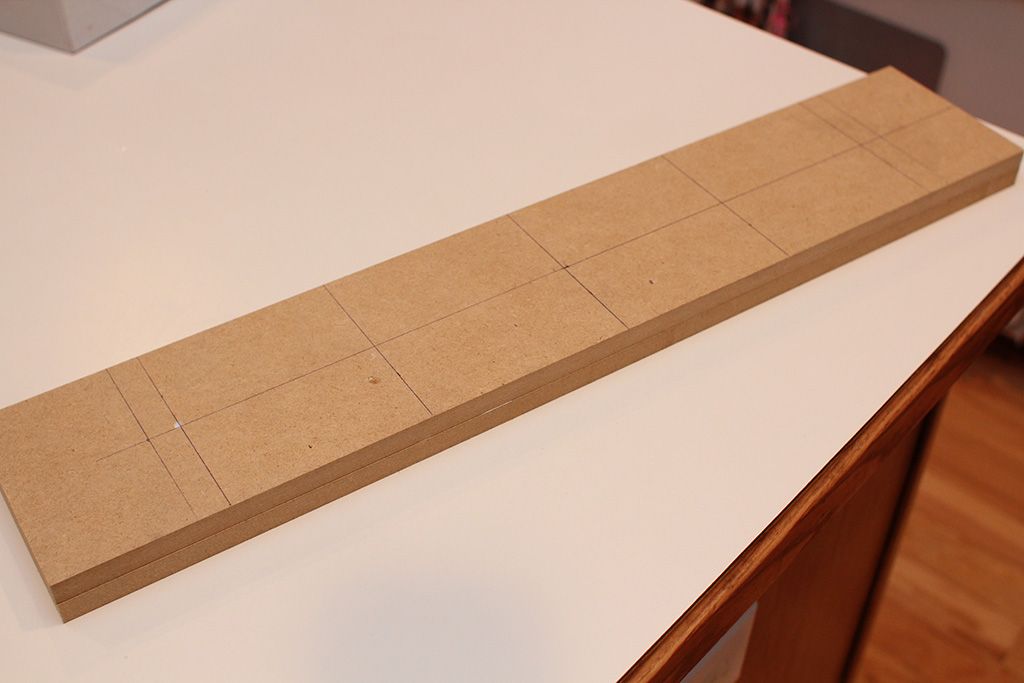
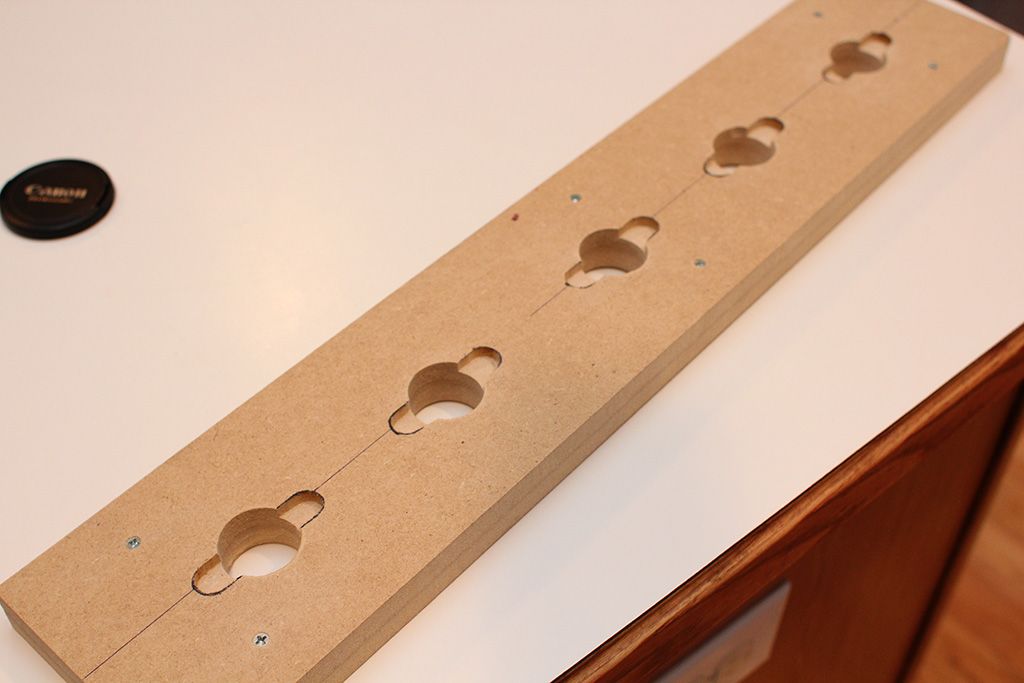
Next I tackled the light bar. I sandwiched two 1/2" MDF panels together, one because I wanted the lights to be very recessed and secondly to fill the gap at the back where the play field meets the light bar.

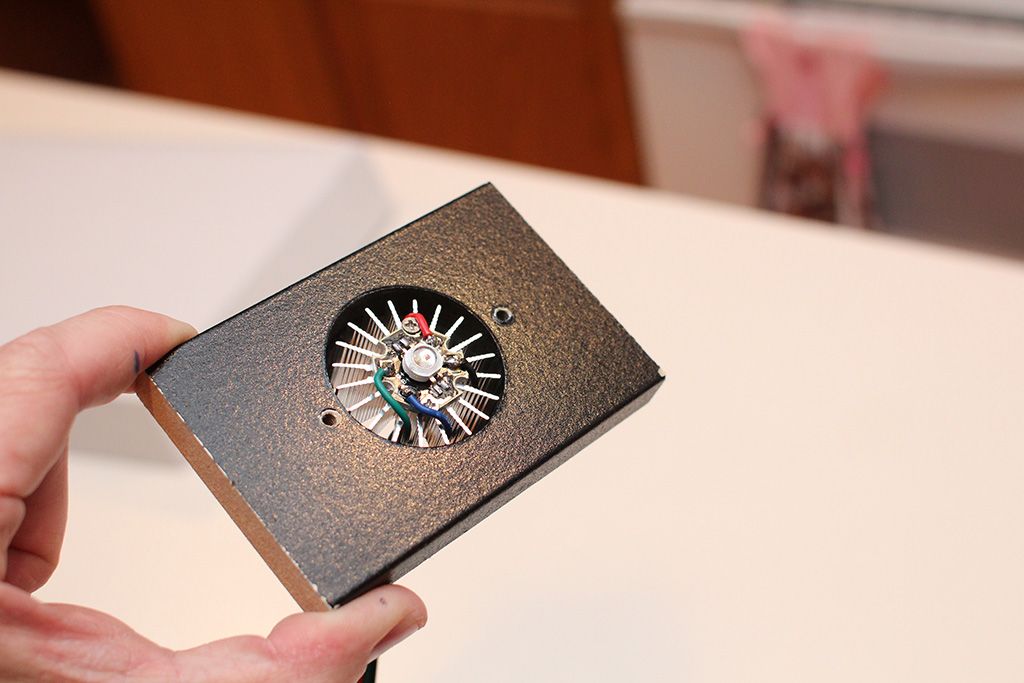
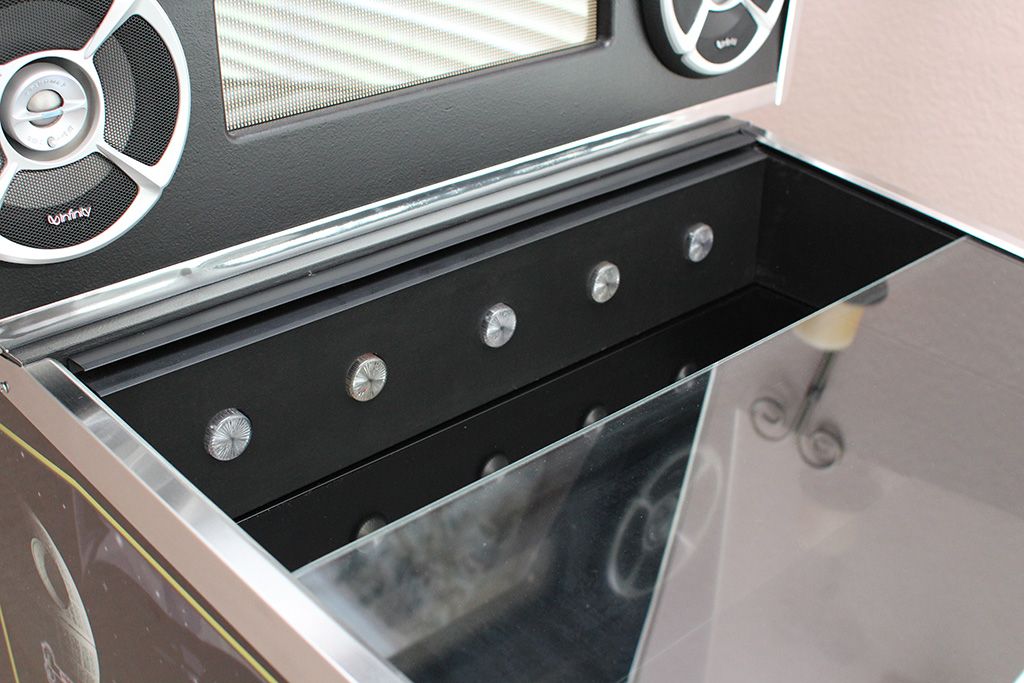
Drilled the holes for the flasher caps using a 1 1/8" spade bit, then hand routed recesses for the screw tabs. Then just primed and painted it using a foam roller and brush.

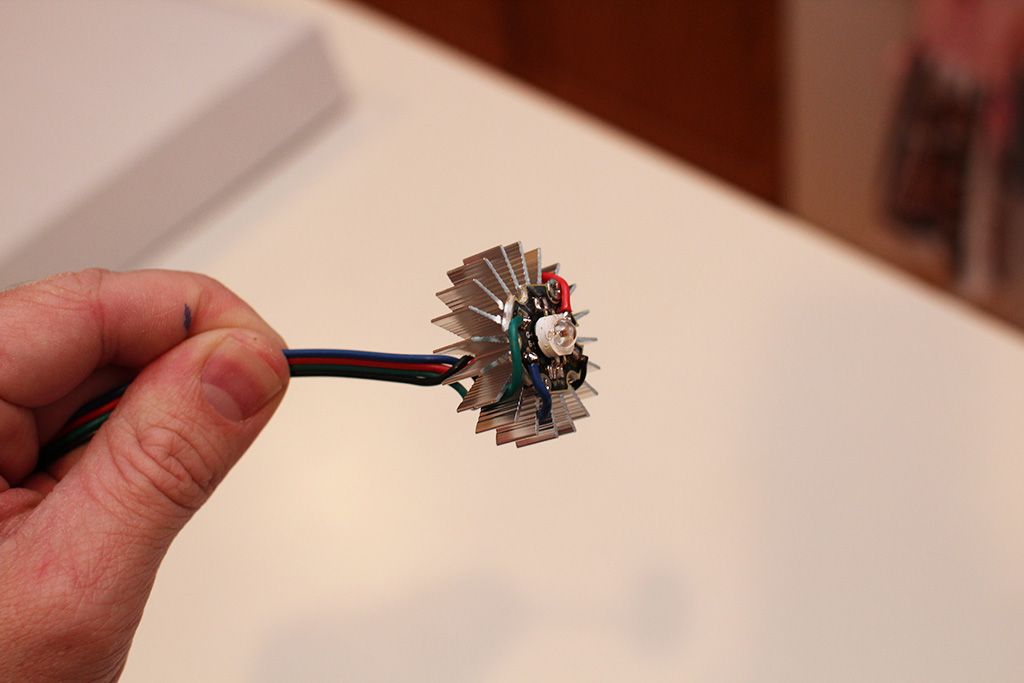
The heatsinks on my Cree flashers do not have mounting screw holes, so I had needed a retainer to mount the LEDs to the light bar. These are basically just blocks with holes recessed to hold the heatsinks. The flasher cap got screwed on and then the whole assembly was attached to the light bar.


Finished product:

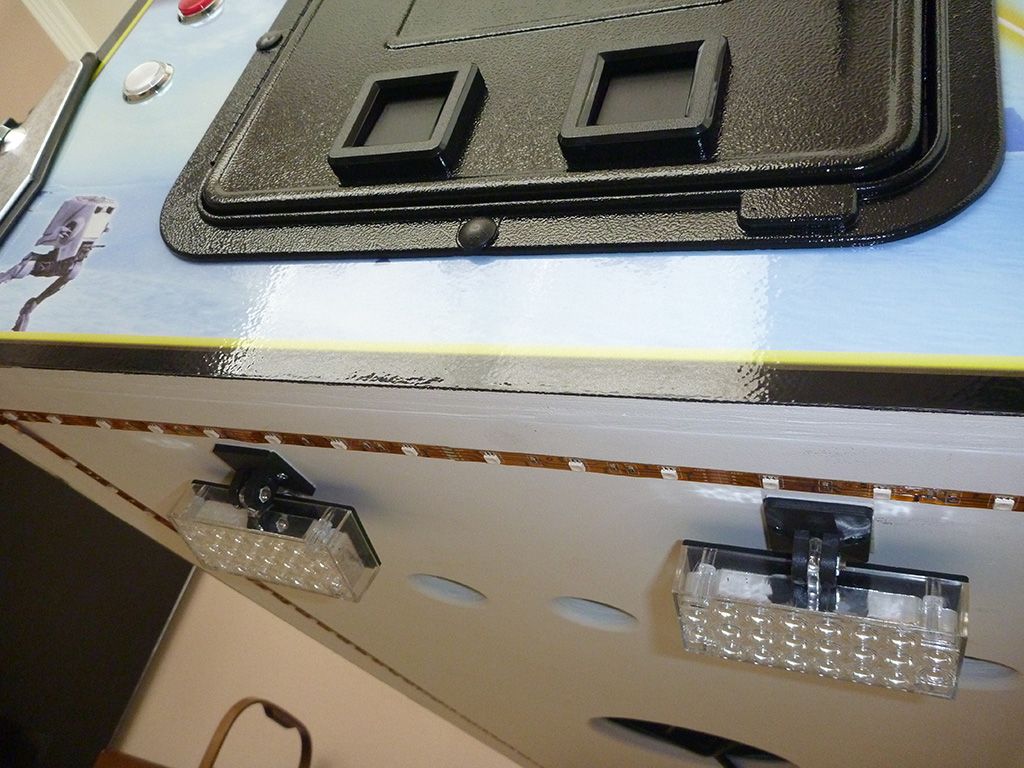
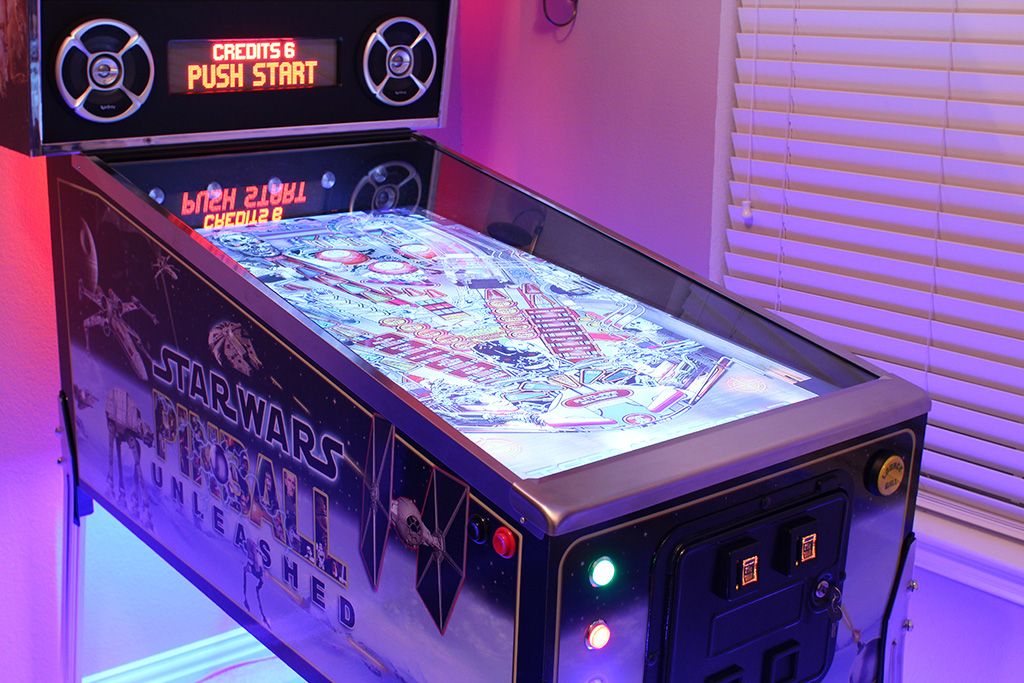
Originally I had also planned to include the strobes on the light bar. After I thought about it, I decided that I didn't want those things beaming me in the face. So I mounted them just under the front of the cab so they shine down by the player's feet. That way you still get the effect of the strobes without the blindness. My plan is to pick up another pair of them and mount them on the back side of the backbox. You'll also notice in the pic that the under-cabinet accent lighting is installed. The accent lighting is RGB and is totally configurable using an included remote control. I have it set up to smoothly fade between colors.

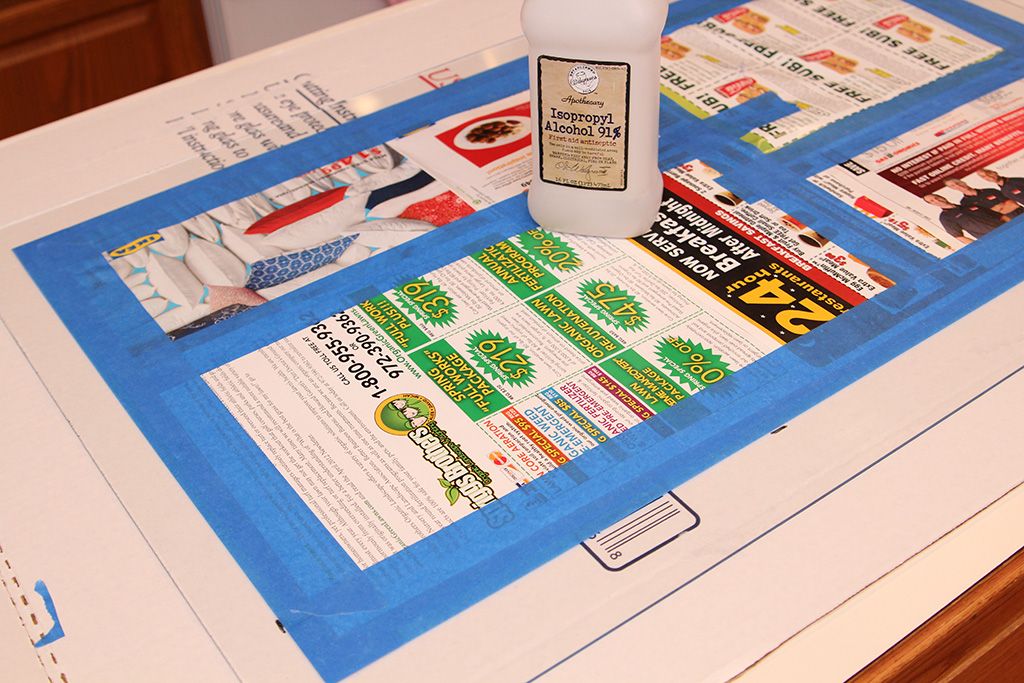
Next up was the glass for the backbox. For this I just purchased a sheet of glass from Home Depot and had my Mom, who does stained glass, size it for me. I decided to paint on the bezel. For that I just masked off the edges, cleaned the glass with alcohol and painted it using a foam roller and black latex.


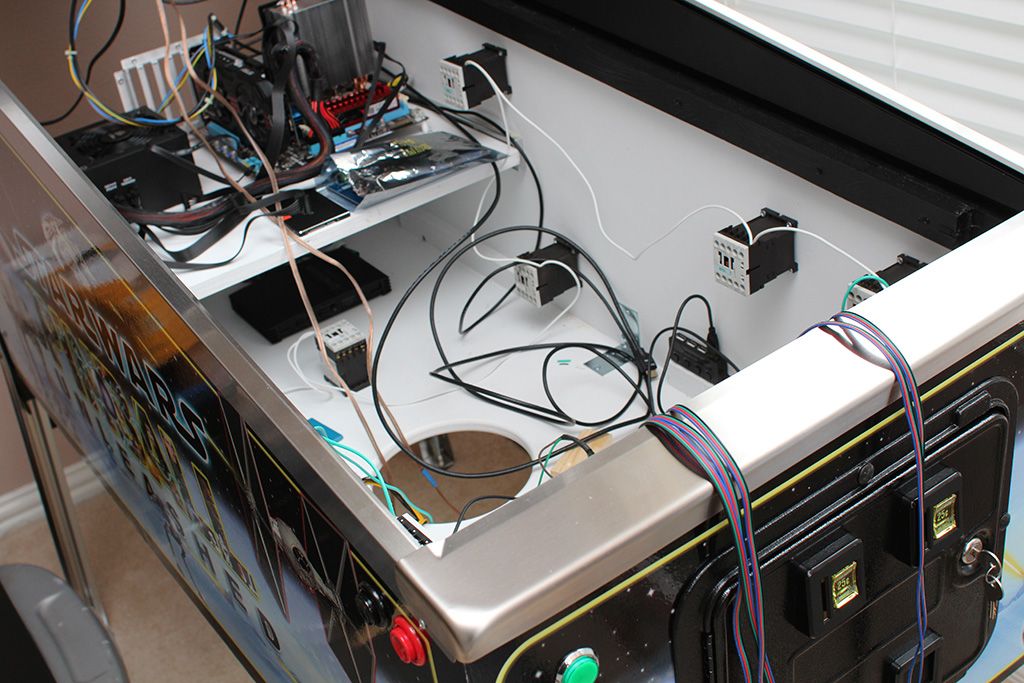
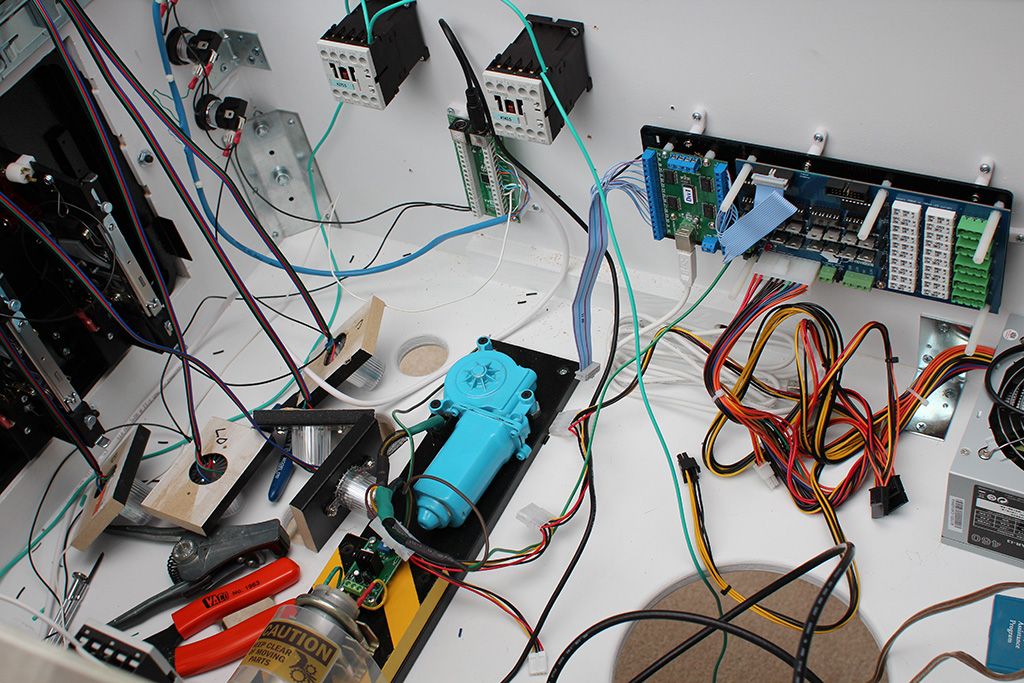
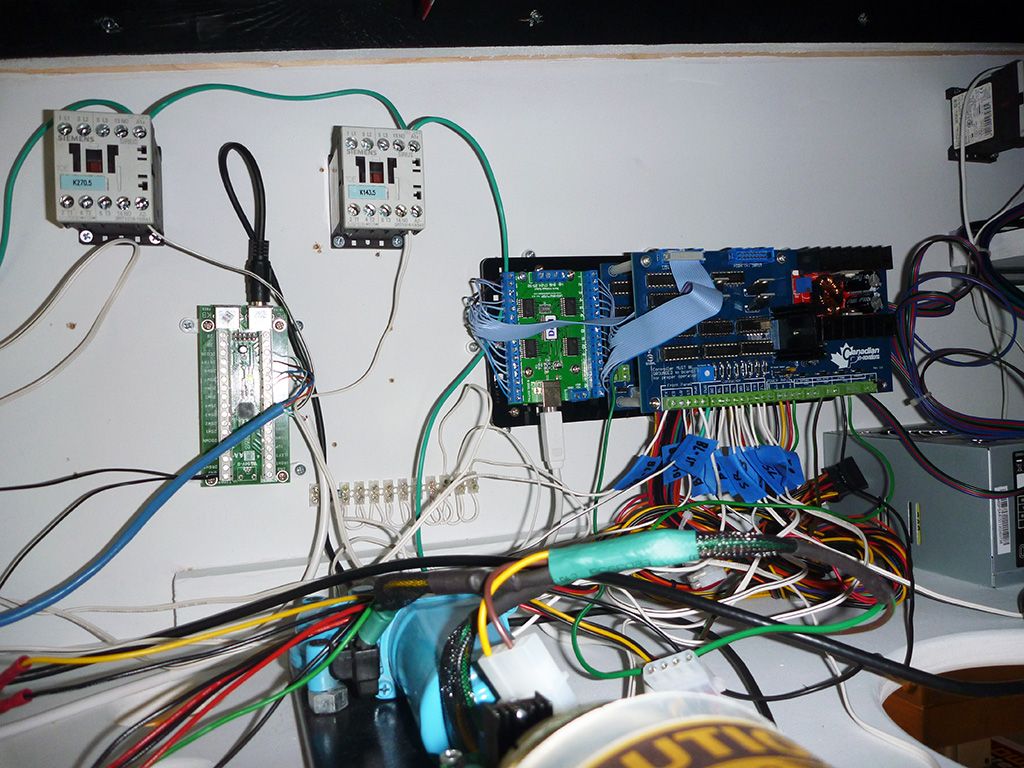
And then wiring...lots of it. It would have been much worse though without Zebulon's boards.


I wanted to be sure everything was functioning properly before I started bundling wire and making it all look pretty. That's still on the to-do list.
Started the installation of the gamepad PCB for the nudge functionality. After disassembly is when I came to the realization that the gameport to USB adapter was missing from the package. D'oh! To solve that I ordered a Belkin F3U200-08INCH from Amazon, which I just received. UPDATE: this cable didn't work for me unfortunately...apparently you have to use the cable that actually comes with it. This part of the install is to be continued.

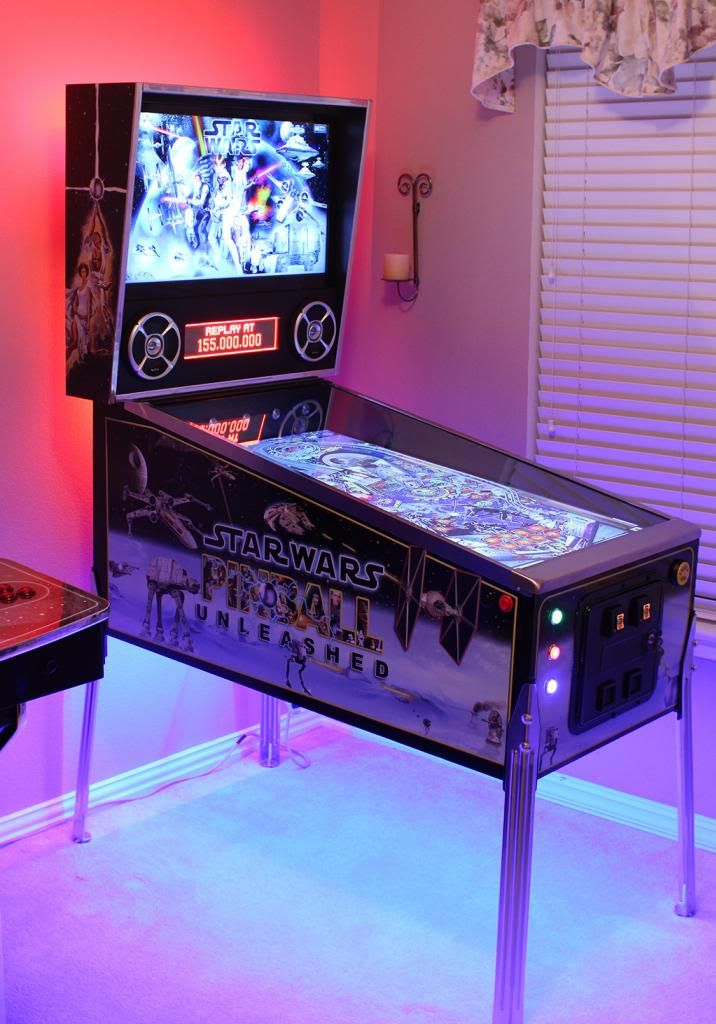
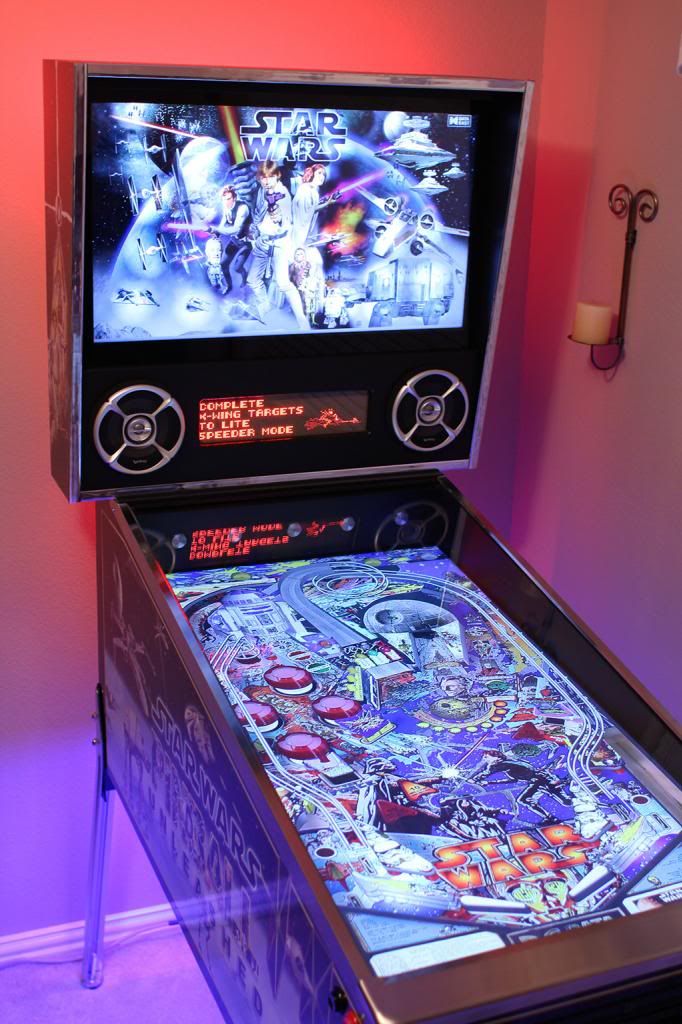
So currently the machine is 100% playable. All lighting and force feedback options are working perfectly. It's amazing how much that stuff adds to the gameplay experience! When the lights, sounds and feedback are all working together in concert, it's simply fantastic.
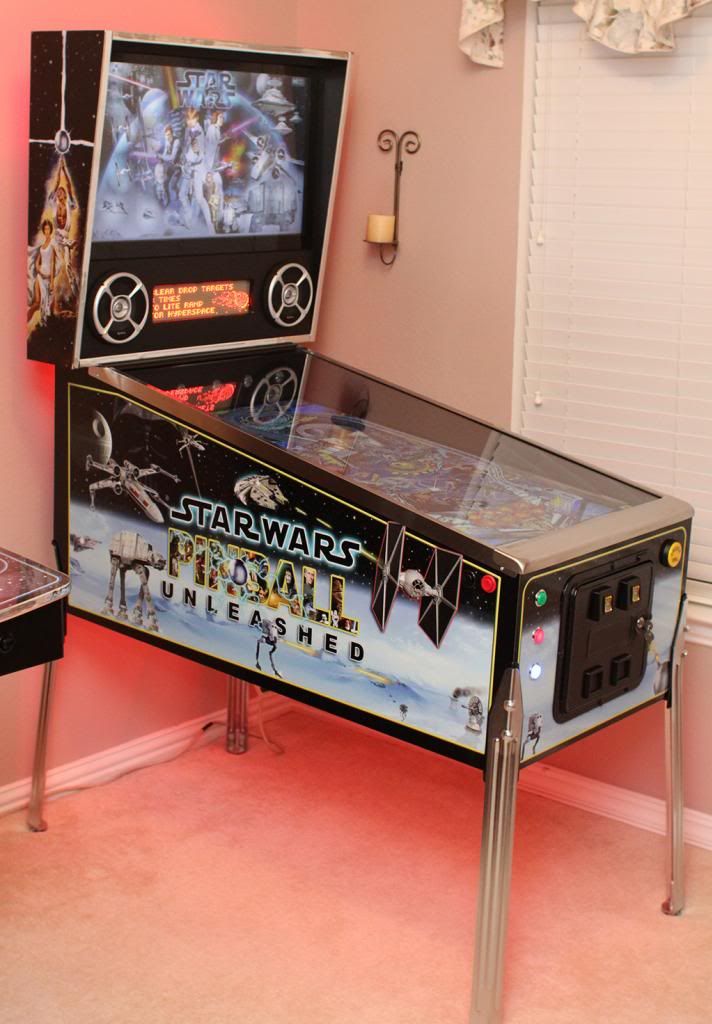
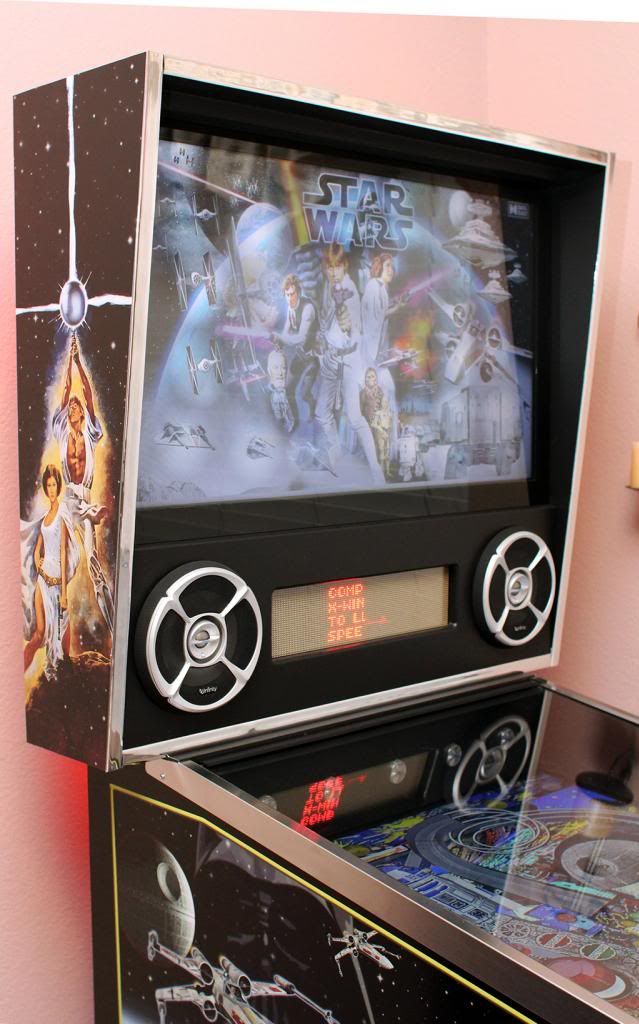
A few pics of the almost-finished product.


Will probably post a video of it all in action soon. 
Edited by Gamester, 05 July 2013 - 11:45 PM.
#53
Posted 02 June 2013 - 03:59 PM
Drooooooooollllll ...........all extremely nicely executed, loving the white interior, and those led's underneath, cooolllll !
And i say it again, those infinity's just look like a X-Wing.......
![]()
Gone fishin', no really.......
My F14 Cab http://www.vpforums....showtopic=21820
My Coffee Table http://www.vpforums....topic=25407&hl=
My Jukebox WIP http://www.vpforums....topic=23825&hl=
#54
Posted 02 June 2013 - 04:18 PM
This may be my favourite 'unlimited budget' build. It may cost 3x more than my cab, but it looks 10x better. Great attention to detail, and it looks like no corners were cut.
you may want to consider hooking up the RGB undercab lights to your ledwiz. The current configtool supports a slot for this toy, so you can have it change colours automatically, depending on the table.
Edited by bosvrucht, 02 June 2013 - 04:30 PM.
#55
Posted 02 June 2013 - 07:51 PM
Drooooooooollllll ...........all extremely nicely executed, loving the white interior, and those led's underneath, cooolllll !
And i say it again, those infinity's just look like a X-Wing.......
![]()
![]()
Thanks Nemo. I really appreciate the compliment! ![]()
This may be my favourite 'unlimited budget' build. It may cost 3x more than my cab, but it looks 10x better. Great attention to detail, and it looks like no corners were cut.
you may want to consider hooking up the RGB undercab lights to your ledwiz. The current configtool supports a slot for this toy, so you can have it change colours automatically, depending on the table.
Thanks bosvrucht.
I may consider hooking up the under cabinet lighting to the LEDWiz per your suggestion later on.
#57
Posted 04 June 2013 - 09:19 PM
WOW, Amazing cab ! Tomorrow I'm gonna sell my 1st cab that I had for 9 months now.
I'm going to start all over and use your guideline/tutorial for building my next cab.
This time I want all the knockers, washers, motors, contactors, cree's, strobe's etc etc.
On the first page I see the ingredients, is this uptodate ?
And how about your gamepad, is it already functional for nudging ?
I was thinking about a VirtuaPin Digital Plunger Kit. Why didn't you use this ? I know it wasn't for the money ![]()
Hopefully my girlfriend accept the new 46 inch table instead of a 32 inch....
And again...NICE WORK ![]()
#58
Posted 05 June 2013 - 02:45 AM
Woah... Just wanted to quickly chime in here and say this is one of the best builds i've seen in over 2 years here.
Excellent job man!
Texas eh? Shoot. I may have begged you to build me the 'sister' cab the build looks so darn good. Want to watch a vid and hear those speakers when done!!!
Cheers,
Maceman
#60
Posted 05 June 2013 - 04:50 PM
*makes whimpering noises*
LOL. Thanks....I think... ![]()
WOW, Amazing cab ! Tomorrow I'm gonna sell my 1st cab that I had for 9 months now.I'm going to start all over and use your guideline/tutorial for building my next cab.
This time I want all the knockers, washers, motors, contactors, cree's, strobe's etc etc.
On the first page I see the ingredients, is this uptodate ?
And how about your gamepad, is it already functional for nudging ?
I was thinking about a VirtuaPin Digital Plunger Kit. Why didn't you use this ? I know it wasn't for the money
Hopefully my girlfriend accept the new 46 inch table instead of a 32 inch....
And again...NICE WORK
Thanks for the compliment. There's quite a few small odds and ends that aren't included on the front page yet. I need to go back through and add that stuff, but all of the 'meat' is there.
The project has taken a back seat to life over the past couple weeks and I haven't hooked up the board for nudging yet. Hopefully soon! ![]()
The VirtuaPin Plunger wasn't even available until after my cabinet was built and artwork installed. I may still consider retrofitting my cab with one down the road, but it's obviously a bit trickier now than it would have been during the woodworking phase.
Woah... Just wanted to quickly chime in here and say this is one of the best builds i've seen in over 2 years here.Excellent job man!
Texas eh? Shoot. I may have begged you to build me the 'sister' cab the build looks so darn good. Want to watch a vid and hear those speakers when done!!!
Cheers,
Maceman
Thanks Maceman, I seriously appreciate that. Hoping to do the video soon (though I wouldn't expect a video to really showcase how the speakers sound). Per above, life's gotten in the way a bit the past couple weeks. ![]()
Regarding a sister cab, It's funny, while I was working on it, I thought about how doing two cabs at once might not be too bad. Still a lot of extra work, but definitely easier than doing separate projects.
And one more thing....do you have a link to : "Widebody based on the popular Williams plans by Mameman" ?
You can get them on 2-3 different forums (including here somewhere), but a Google search for "mameman widebody plans" should yield what you're looking for. Try the second result that pulls up.
Good luck!
Edited by Gamester, 05 June 2013 - 05:19 PM.
Also tagged with one or more of these keywords: Star Wars, Pinball, Cabinet
Welcome to VPForums →
Pinball Discussion Forum →
Gameroom Discussion →
ALICE GOES TO WONDERLAND - 90 day reviewStarted by jdv , 09 Jun 2026 |
|
||
Welcome to VPForums →
Pinball Discussion Forum →
Gameroom Discussion →
Home arcade news! TMNT pinball preorder, Zen v AtGames, A1up, AGTWStarted by jdv , 19 May 2026 |
|
||
Emulation Station →
Virtual Pinball Cabinets →
Table top Retro Ball Mini Pinball machineStarted by rickh , 29 Nov 2025 |
|
||
Visual Pinball →
VP & VPM MODs - New Releases →
DIRE STRAITS[Visual Pinball X MOD]Started by tonystarfox , 04 Sep 2025 |
|
||
Visual Pinball →
VP & VPM MODs - New Releases →
Daughtry[Visual Pinball X MOD]Started by tonystarfox , 04 Sep 2025 |
|


Top


are all trademarks of VPFORUMS.