


Update: 13 September, 2018
After a hiatus of 8 months, I have returned to the VPin scene and am currently updating my cabinet software and I will be updating the posts here with new links to photos.
Update: 27 February, 2019
See latest posts at the end of this thread for updates: PuP is now the front-end system, 70-80 tables all set up, FX2 and FX3 set up with DOFLinx.
Update: 25 January, 2022
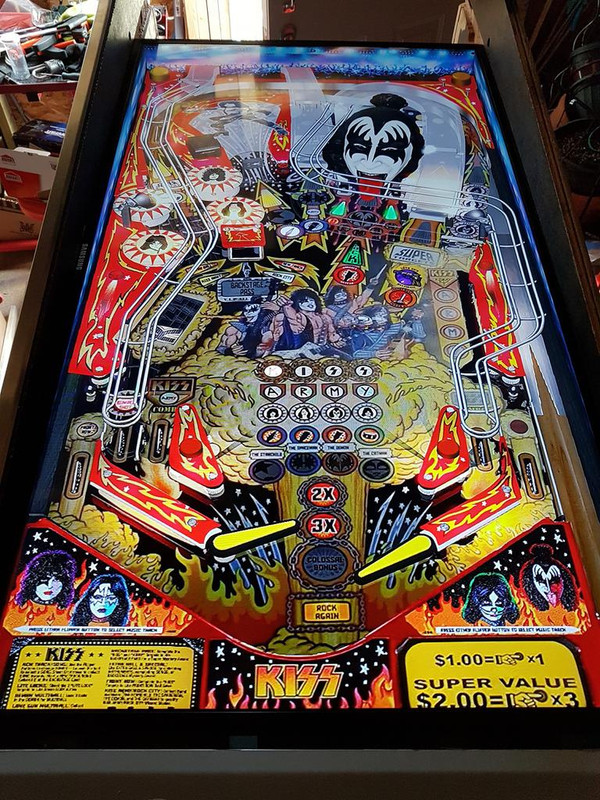
New photos added with the amazing VPW version of the Judge Dredd table
Introduction
It’s been over 12 months in the making, but I’m ready to start my own Virtual Pinball build. First, I’d like to give a shout out and thank you to all the posts on this forum that have helped me get going, the replies to PMs and request for information of other forum member’s build. The Virtual Pin community is what makes this forum and others successful, and helps with the encouragement of partaking in this hobby. Special thanks to members I’ve chatted to on this forum and other related forums regularly – In particular MJR, Lucky1, Freezy, Stucca,OneVox,. A special shout out to Roar and Kvoxx who I have bounced around ideas with and for their help over the past year. Also to others that I may not have had direct discussions with but read and value your posts – ie. Randr, TerryRed, GTXJoe :-) I’m sure I forgotten a few, I apologize ! I’m sure it’s a list I’ll be adding to over time ;-)
Background
So it all started December 2015, I found about virtual pinball machines, and started to read up on what was involved. Watched a ton of YouTube videos – I probably watched Randr’s video 2 dozen times in one sitting! J
The reality of it all, it’s not a cheap endeavour - especially if I was planning to go “balls in” so to speak. Yes, there are budget builds, but I feel part of the emulation is the feel of the virtual pinball overall. The cabinet hardware, the sounds, the look of the cabinet etc. It all plays a part it in the whole experience. I figured I’d pick up parts as my budget would allow over the months and as I figured out what my end game would be.
During 2016, I started picking up parts for the build. PC Motherboard, CPU, RAM, SSD , PSU etc. I spread the purchasing across the whole year as budget would allow. I figured this way it wouldn’t *seem* I was spending a lot of $$ ;-)
Also I would avoid having a project sit for a long time in a half finished state – something I really wanted to avoid which could easily happen when you’re waiting on parts. Space in my household is sparse as it is.
I did a LOT of research. Read lots of Build threads here and on other forums, watched videos on YouTube. I didn’t want to just hack up two/three screens in a box playing the game, I wanted something that looks, feels and plays as close as I can get it to a real machine.
I have realised that there is no “proper” or “right” way to go about building the VirtualPin, it will just depend on what you’re comfortable with. With my build, I would like to keep the spirit of a real machine as much as I could within reason.
The Cabinet.
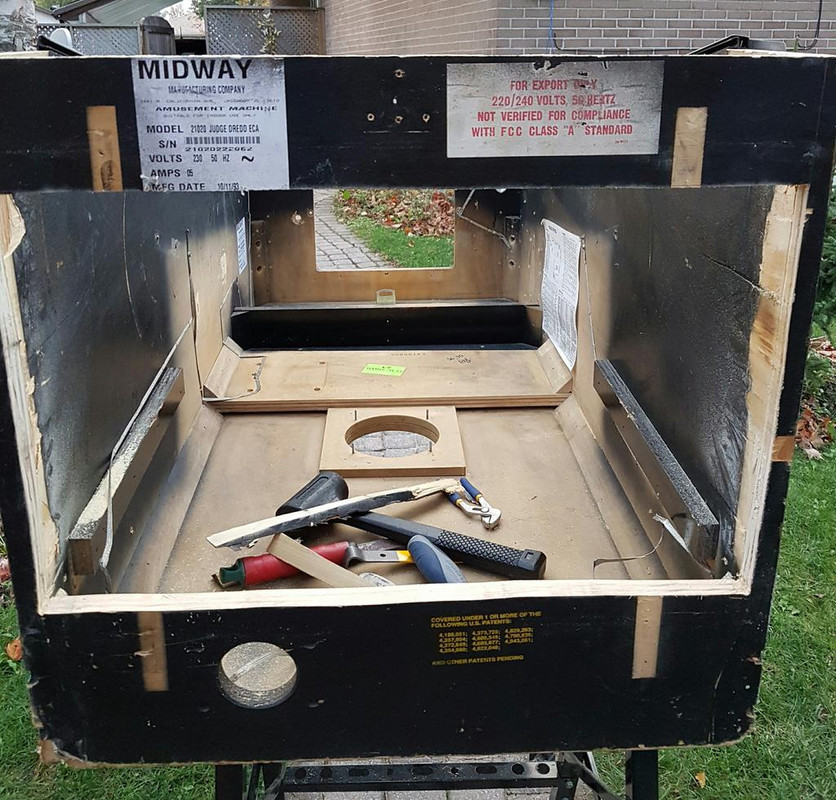
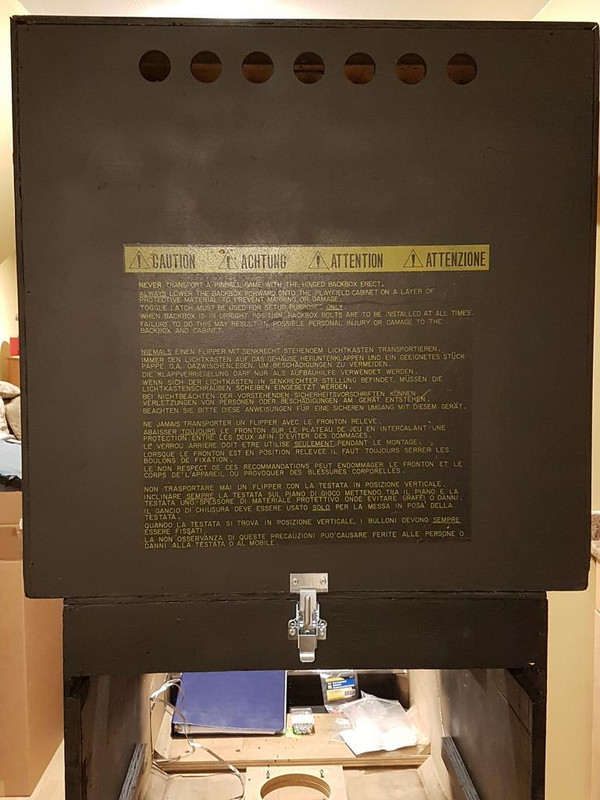
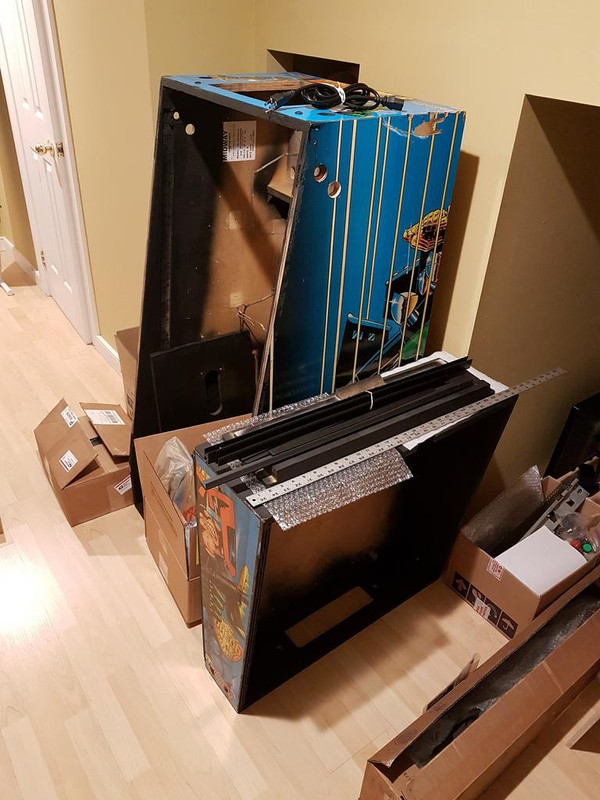
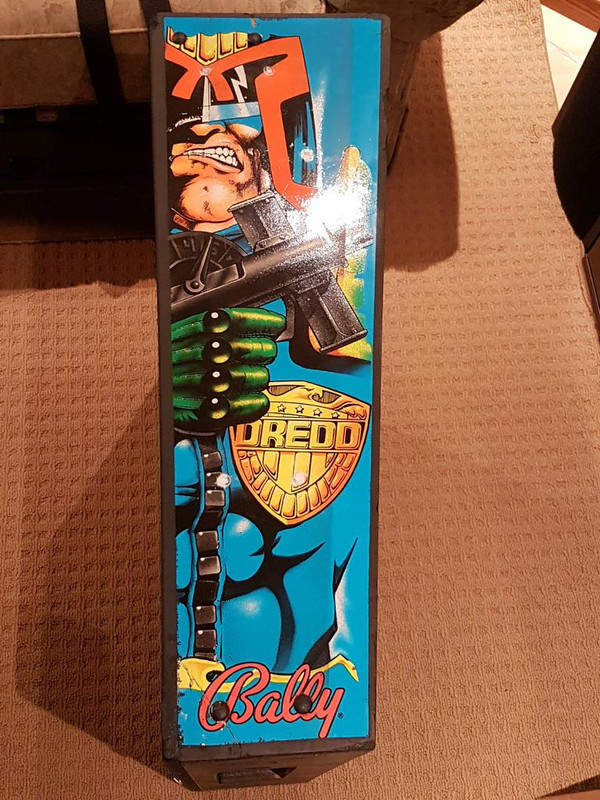
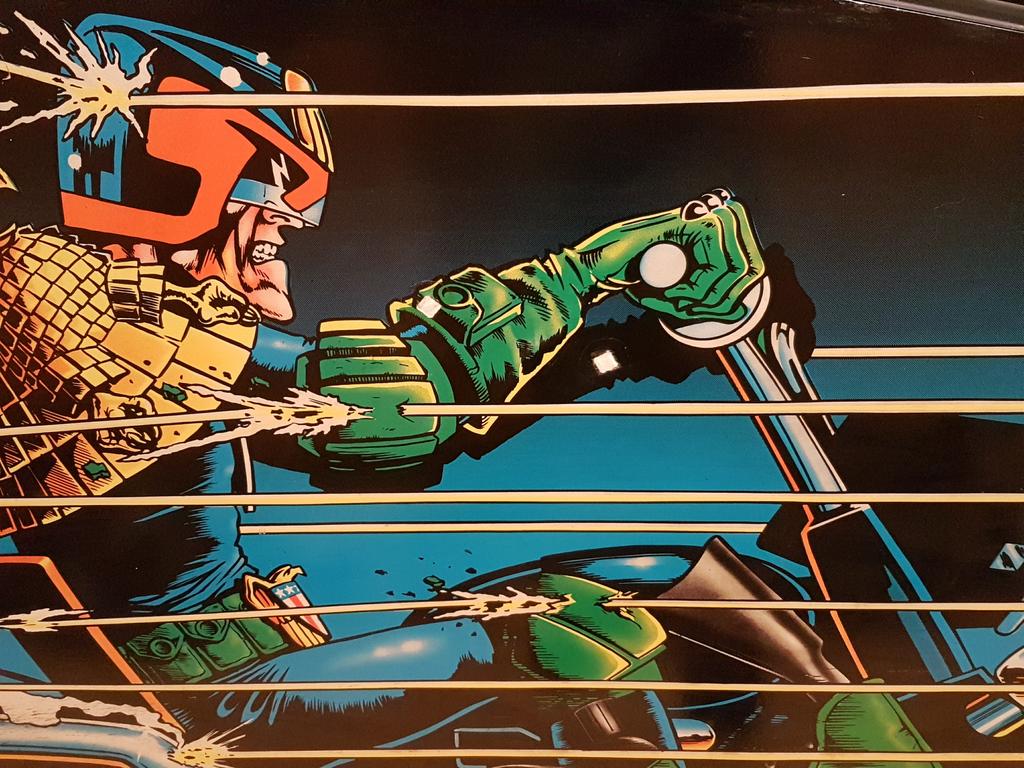
The first dilemma was whether to build the cabinet from scratch or get a donor cab. I spent several weeks looking into getting a prebuilt cab like that on VirtuaPin, but after you factor in the shipping, $CAD to $USD exchange rate , shipping etc. it was a costly endeavor. I posted in the local classifieds and after a few weekswas lucky to find an old Bally Judge Dredd cabinet in pretty good shape for a couple hundred dollars.
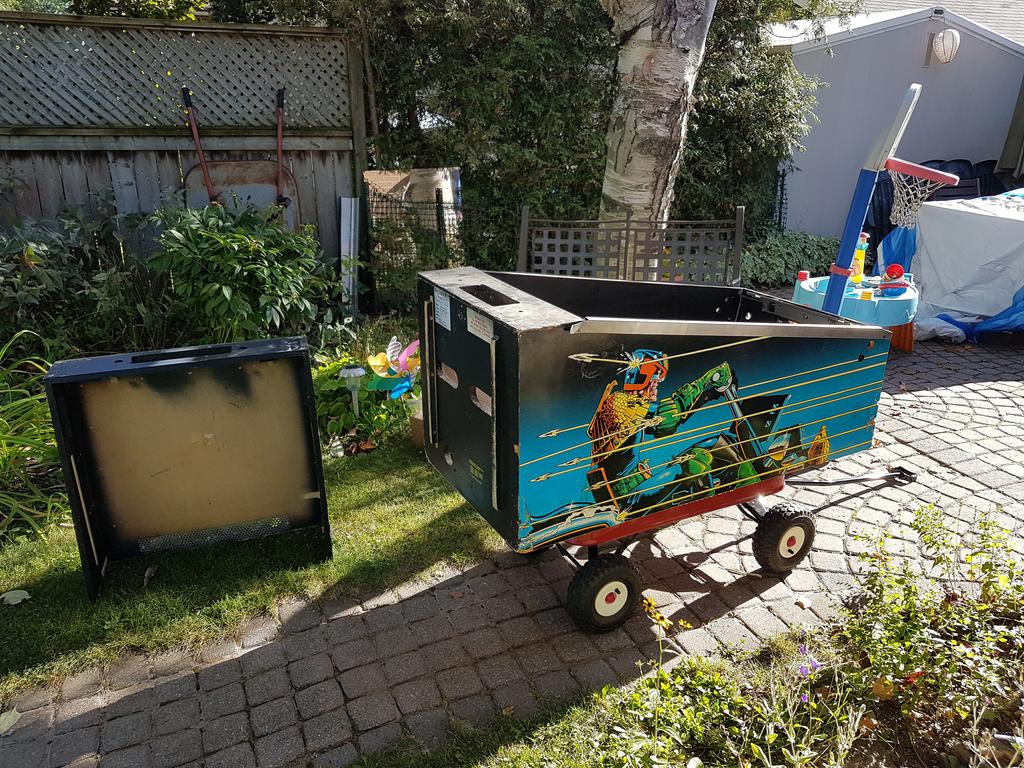
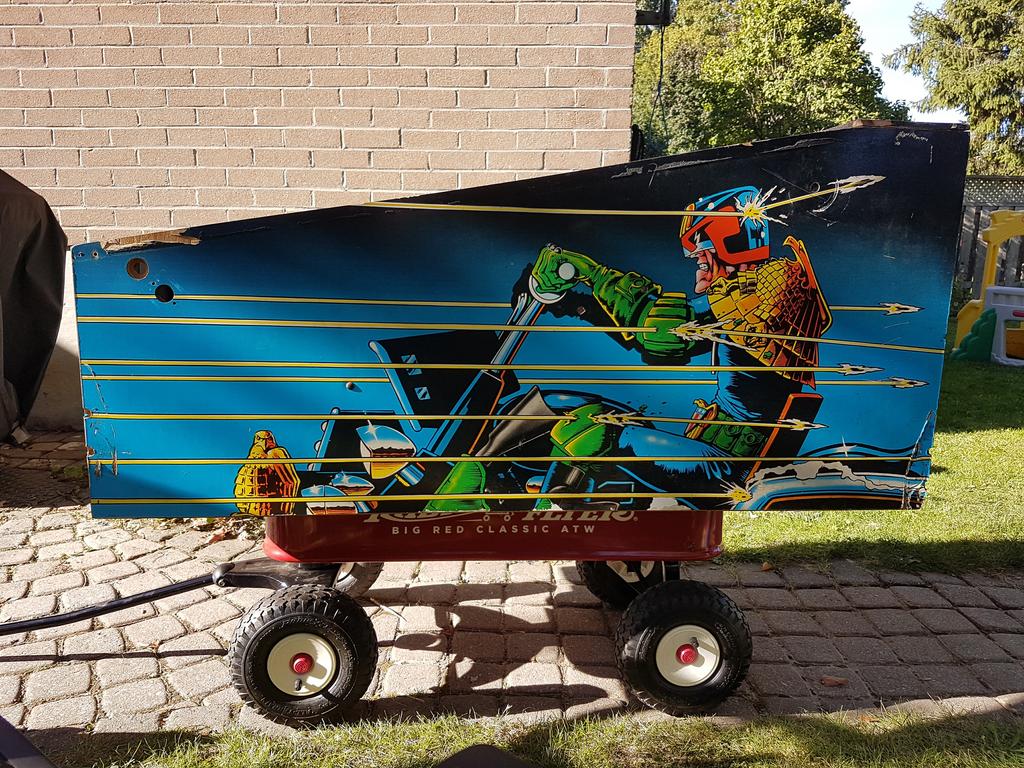
hehe - I love how it looks like JD is in a mini kart!
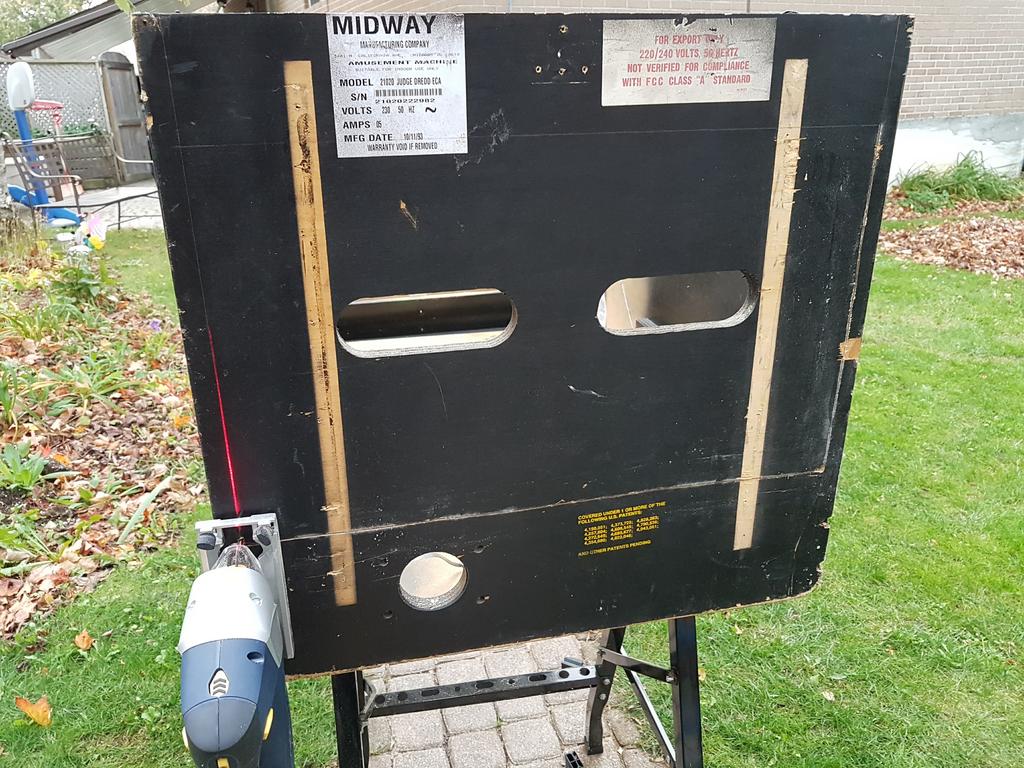
The cab's label indicates it 220/240v, so I'm thinking this is one of the machines that maybe re-imported back into Nth America from a European collection and stripped at some point. The guy I bought it off had got it from someone else as a project rebuild but then gave up on the idea.
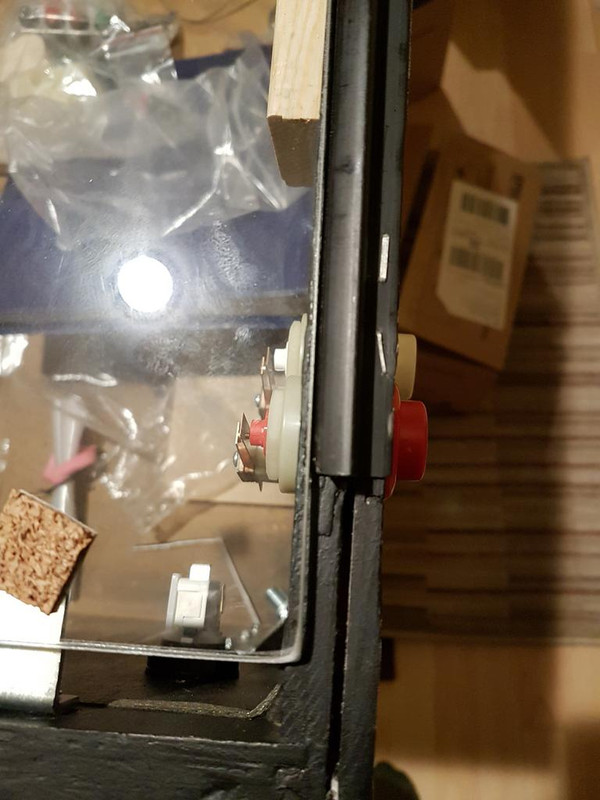
Working on the Cabinet
The Backbox
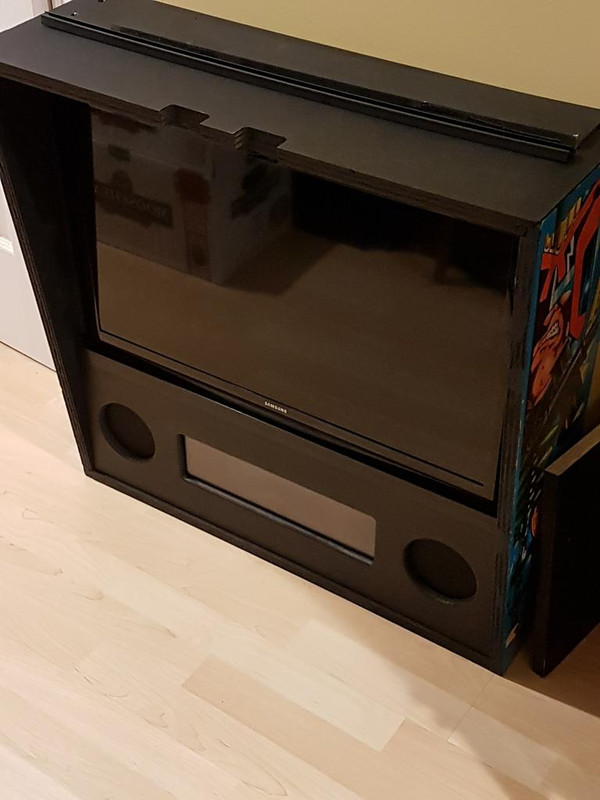
So I started the first job. The plan is to take the top off the backbox, and route in channels to fit a 32" decased tv for the backglass display. It took a a couple beers, some thinking, and a mallet, but I got the top off. Yeah, its a solid build, and they said it couldnt be done 
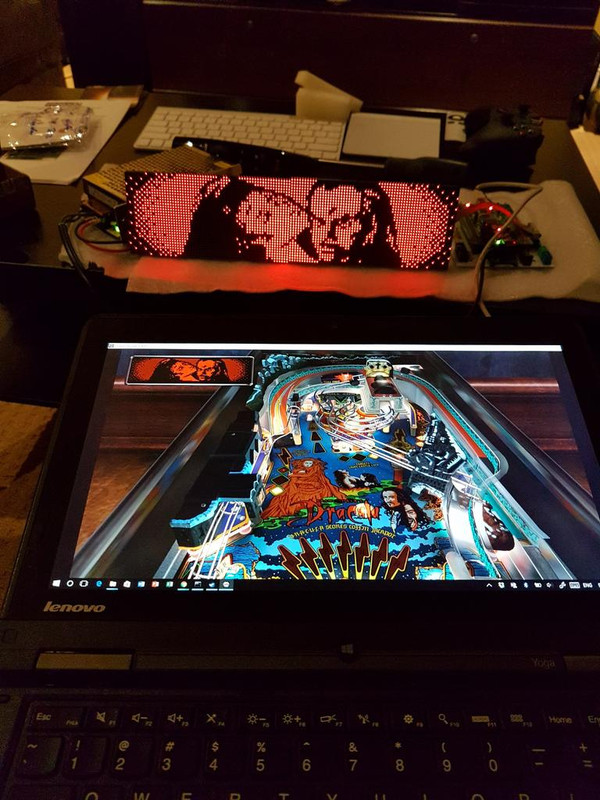
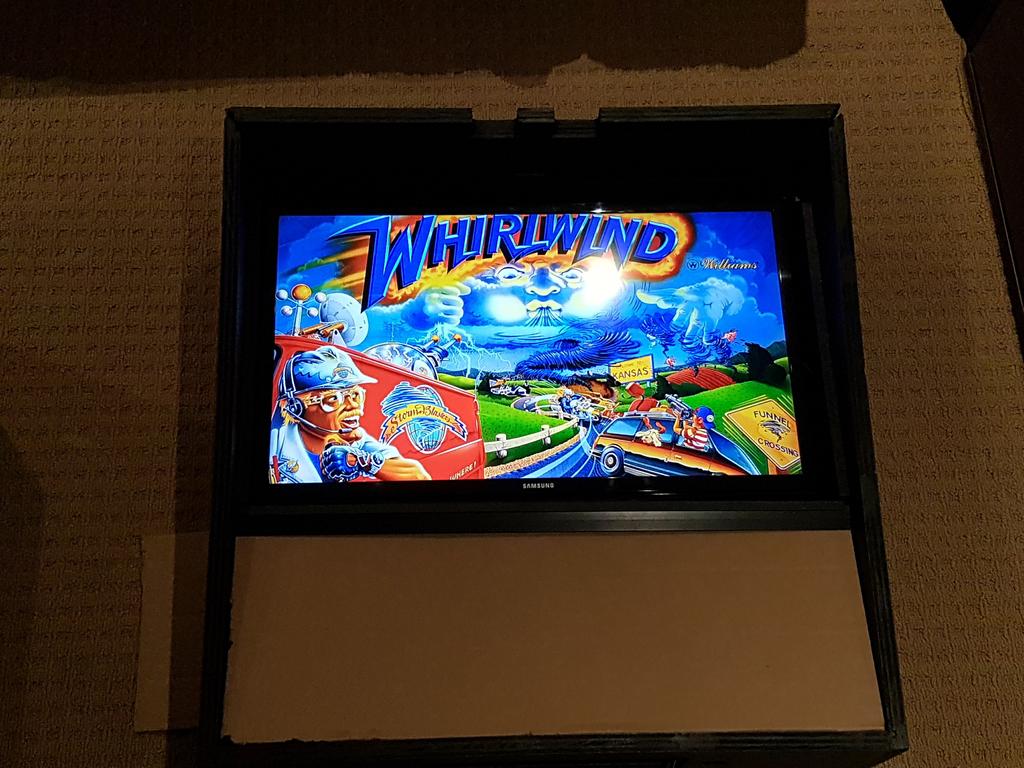
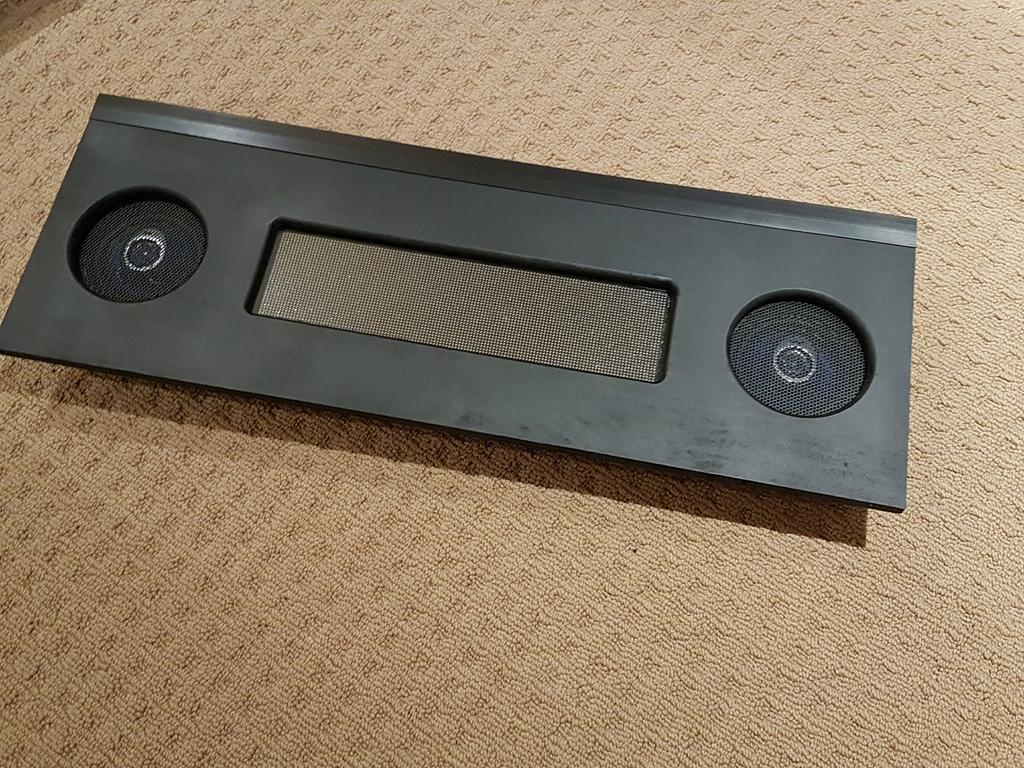
But later in the build I had a setback. When decasing the Vizio 32" I had acquired for the backbox display, I destroyed one of the thin foil ribbon connectors - agh!! Waste of a TV - some consolation was that I got it pretty cheap. Another things, It was also going to be touch and go trying to get the 32" decased screen to fit a std size backbox. I was thinking of getting a custom one from VirtuaPin but shipping costs killed again along with the poor Canadian to US exchange rate. I really wanted to use the existing cab in my build, and I had a couple ideas on how to expand the back box by 1-2", but in the end I decided it was a lot of work for minimal payback and acquired a 28" Samsung TV. Also the other thing to consider in finding a backbox TV, was finding one that would remember its power state. It would just make things easier later.
Later in the build I found a 30" monitor. Not cheap, but it would make me a lot happier with my build, so I reconfigured the backbox for the 30" screen.
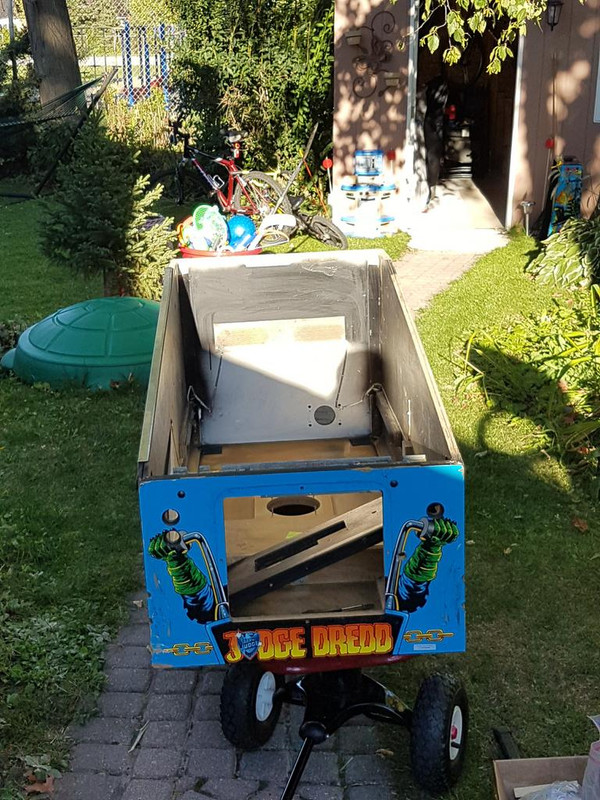
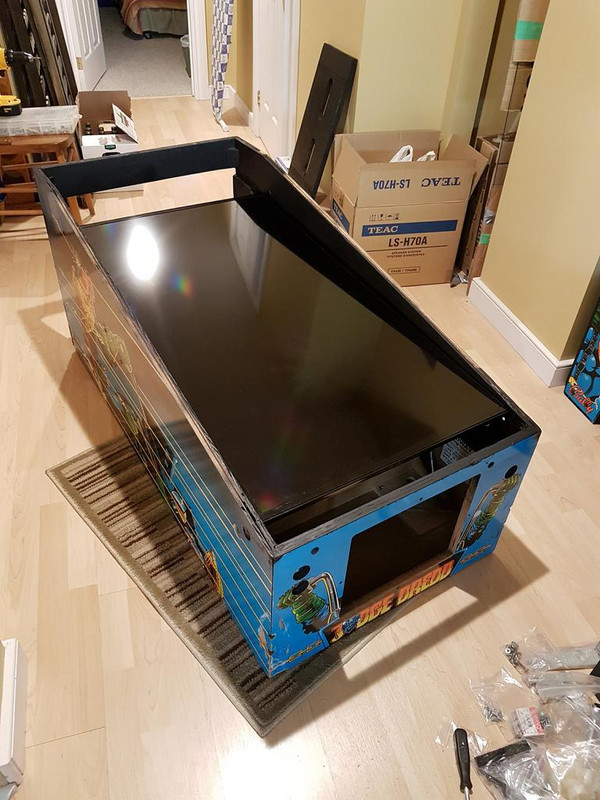
The Body
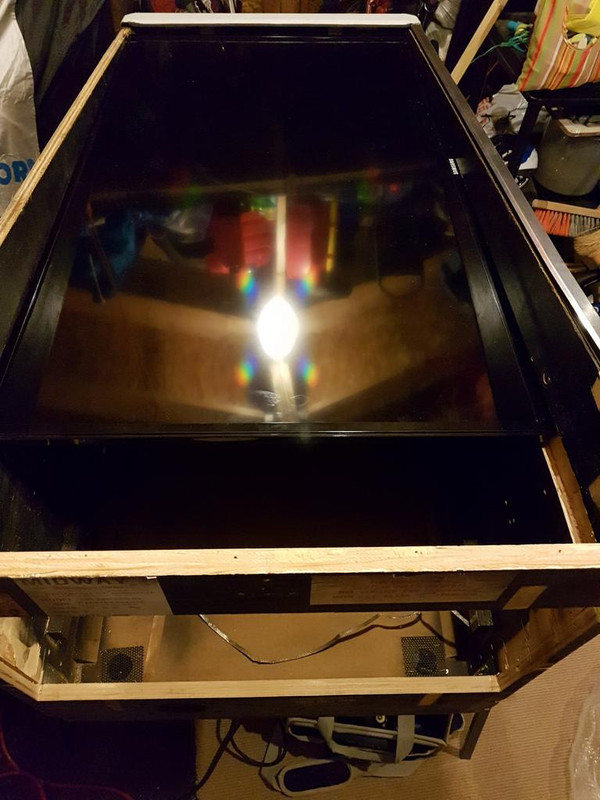
I decided to fit the 46" TV I had acquired for the playfield, After a lot of back on forth on ideas on how to fit a 46" display to an existing cabinet, I decided I was going to create a rear door and then route channels to slide the playfield display inside. I have see other's use 42" tvs to fit on a frame or sit a 46" tv on top of the cab in other donor cab builds. I want to have some depth in my machine and have room for where the standard flasher bar would go.
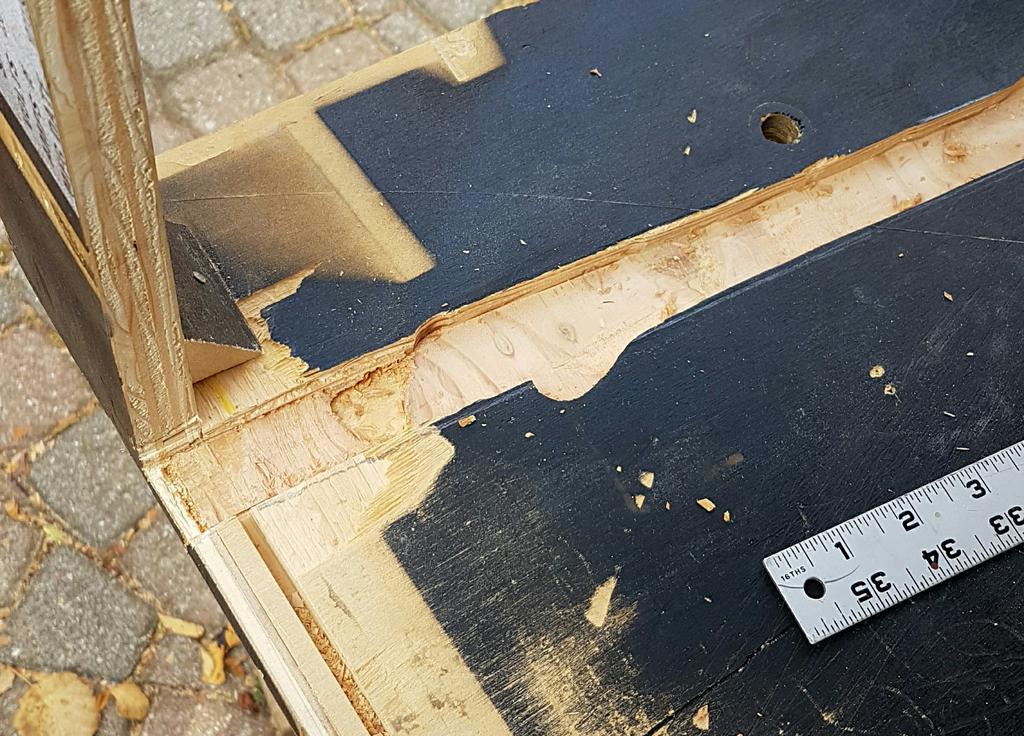
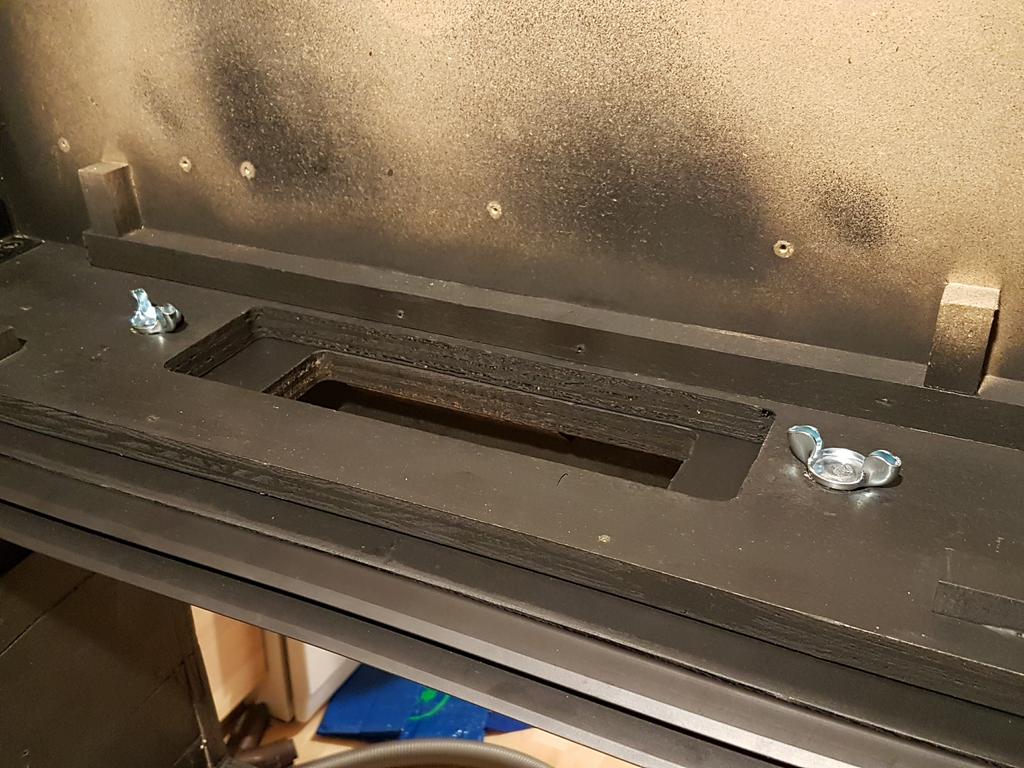
After removing the wooden runners from the bottom of the cab, I used a jigsaw to cut out the rear access door. Boy, are these things are built SOLIDLY!
I tried to get the blade as close to the wall of the cab as possible. There was some bending in the blade, but for the most part it came out ok. I sanded down a couple rough spots and when I paint the cab, it will blend in so wont be noticed. I'll have a think on how I will secure the access door. Most likely a hinge system. That's something I'll be doing as I wind up the build. I have a long way to go yet!
Although there are some rough spots, it looks good.
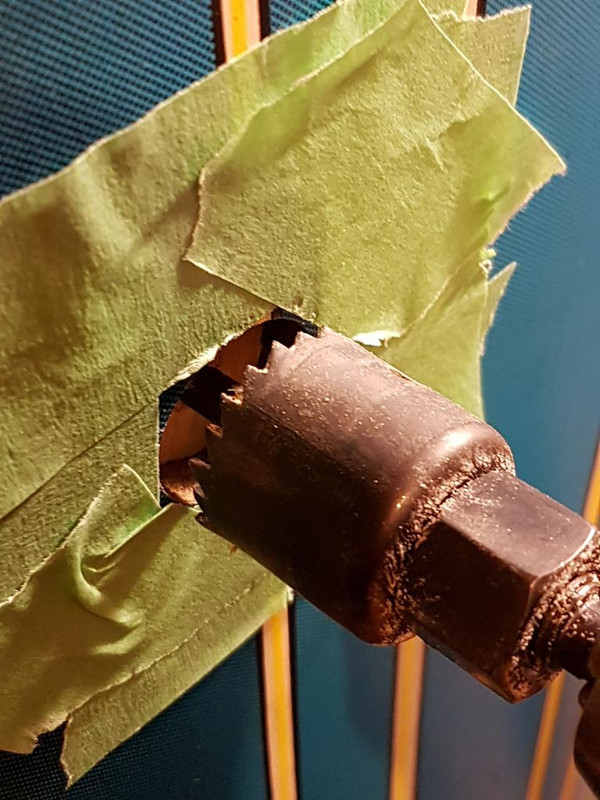
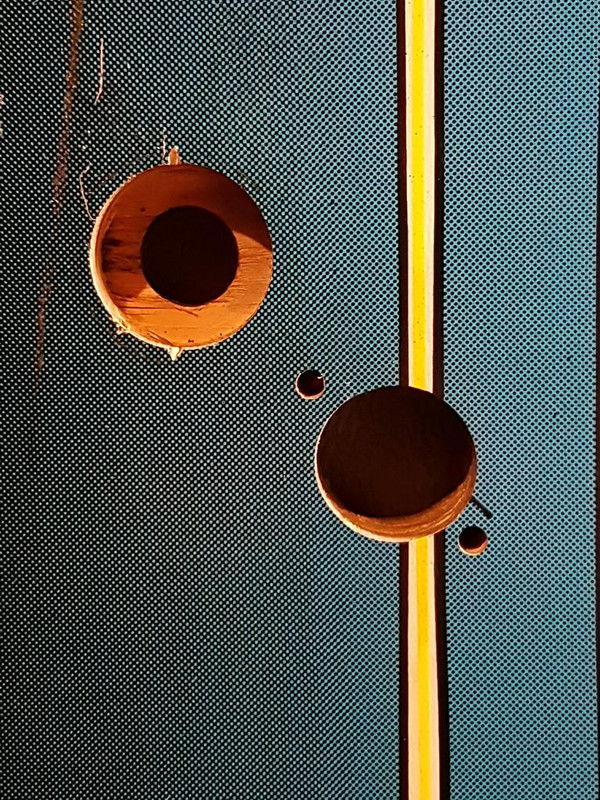
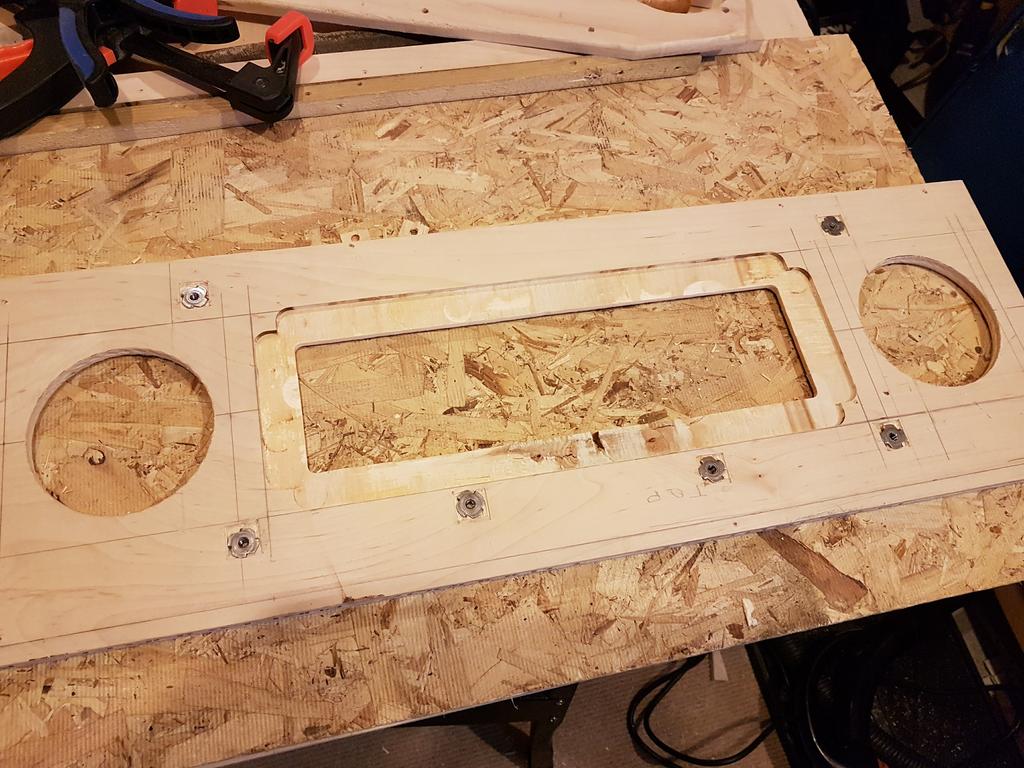
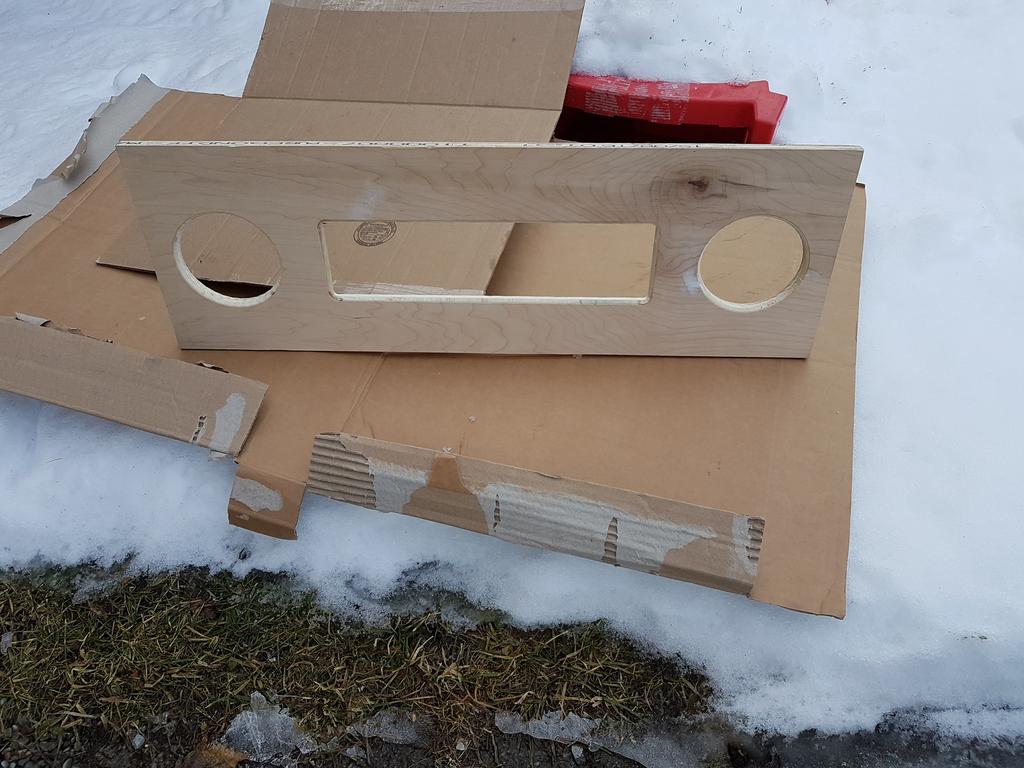
Routing the Channels for the Playfield Display
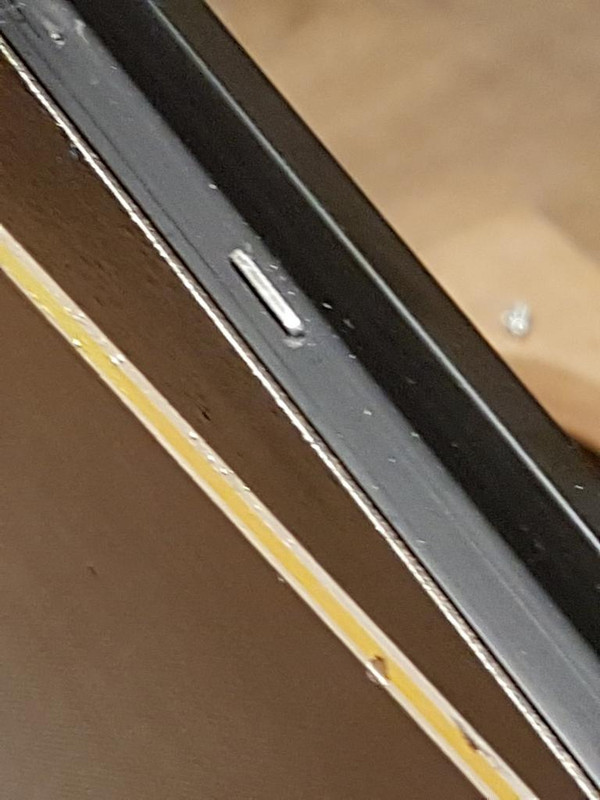
I've never used a router before, so my first time was to make the channels for the playfield display! I had to do several passes to get it to the angle I wanted and also to try and fix some of the gouges that occurred when the router slipped 
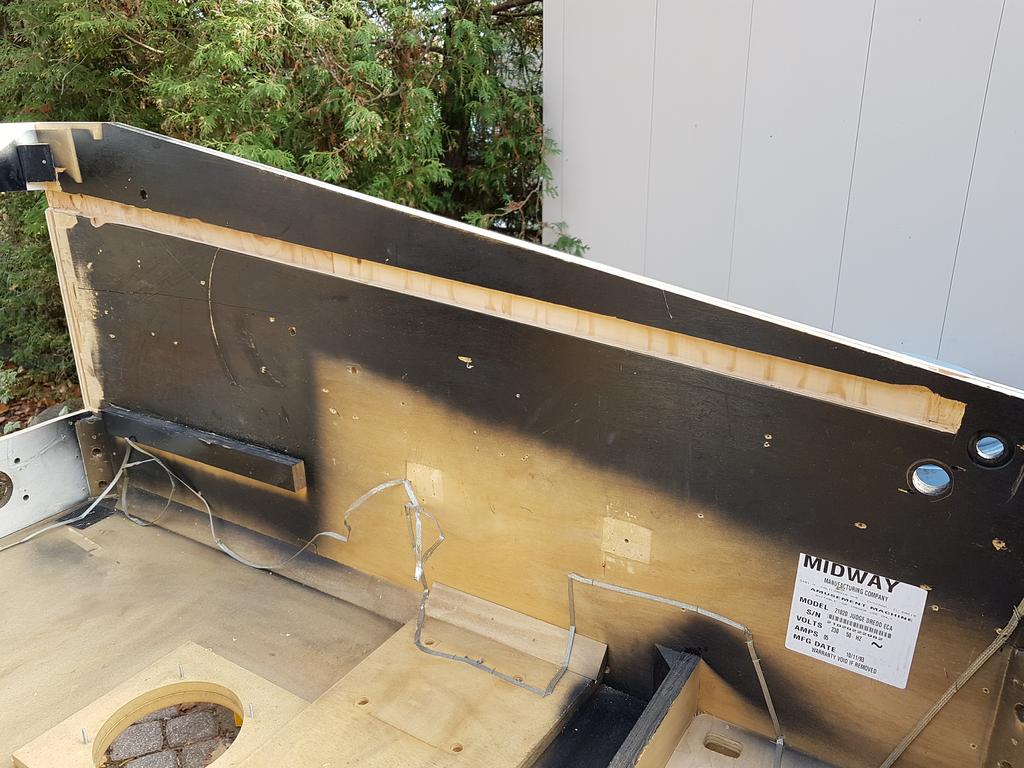
Using a 2x4" as a "fence" for the router. Make sure your screws are secure as i had a couple move on me. Also make sure you push the router in the correct direction its designed to work with - I went the wrong way a couple times and ripped the sides of my channel At least I did the work outside and not in my shed or the house ( Was it TerryRed who used a router in his basement and got sawdust everywhere?  ) A ton of sawdust gets created!
Edited by kiwiBri, 25 January 2022 - 01:47 PM.
 ) - My


 are all trademarks of VPFORUMS.