Jump to content


Photo
* * * * - 3 votes

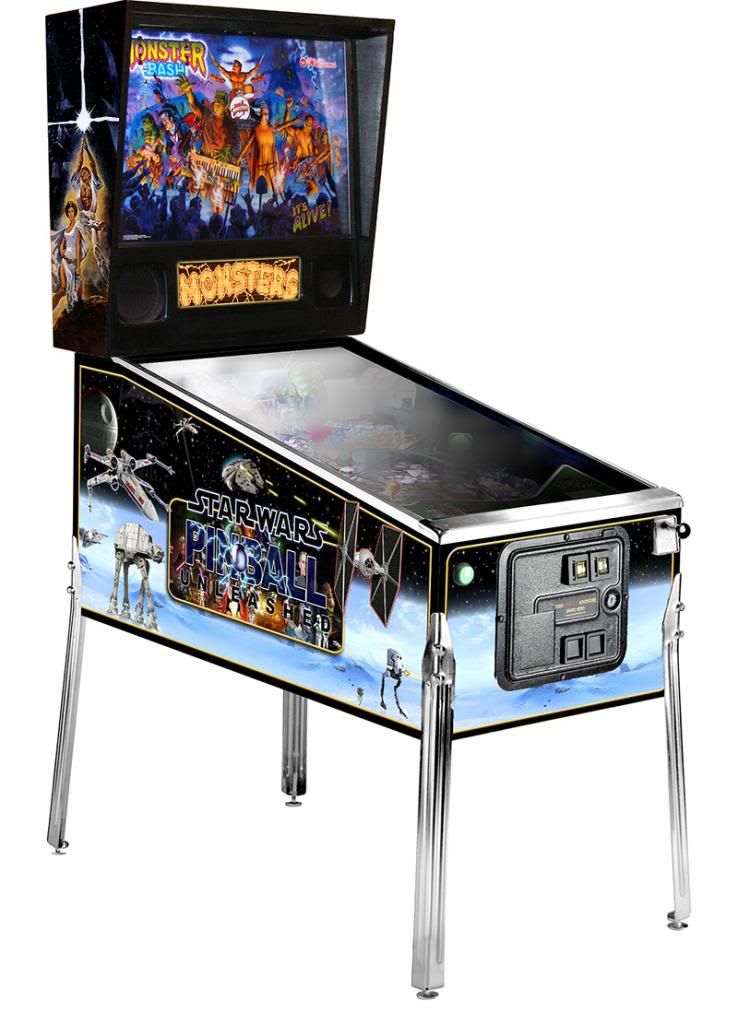
Star Wars: Pinball Unleashed - 46"/32"/DMD Widebody Build

Star Wars Pinball Cabinet

  • Please log in to reply
73 replies to this topic

#1 Gamester

Gamester

    Enthusiast

  • Members
  • PipPipPip
  • 185 posts
  • Location:Texas

  • Flag: United States of America

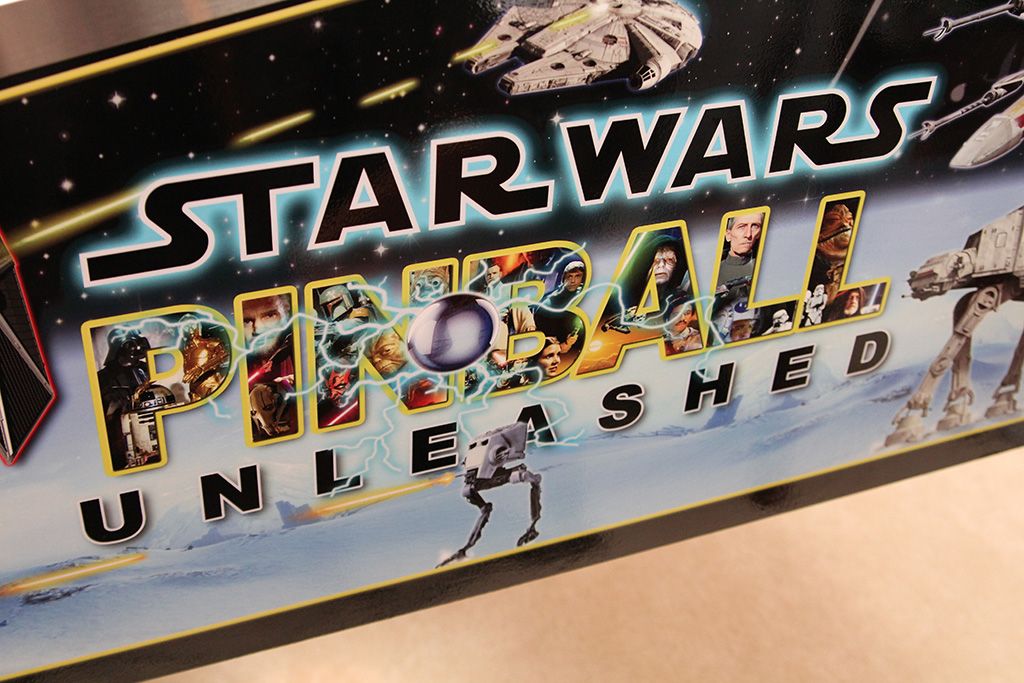
  • Favorite Pinball: .

Posted 18 February 2013 - 10:54 PM

Hello All,


I have been watching the Arcade and Pinball emulation scene for about 9-10 years now, and in 2009-2010 I built my first arcade cabinet. I knew at the time that I wanted to build a pincab as well, but I needed some time to recover from the arcade build (both mentally and financially), so the whole pinball idea pretty much sat on the back burner for quite sometime.  So then last year I stumbled upon a pinball build on one of the popular arcade forums that was unlike anything I had seen. I was totally shocked at how far the hobby had come!  Force feedback?  REAL DMD?  Interactive lighting?  These were all just dreams before. As soon as I saw that all of these things were now possible, and that VP had seemingly improved so dramatically, I knew it was time. I HAD to have one of these cabs...


So for the past few months, I've been lurking and soaking in as much knowledge as possible, all the while strategically purchasing and stashing parts as the opportunities presented themselves.  Well my parts stash has now reached critical mass, and it's time to get this show on the road!


I struggled for quite a while deciding what theme I wanted to use for the cab.  I bounced between a WWII theme, Indiana Jones, among others. Then I saw the video announcement for Zen Studios' forthcoming Star Wars Pinball tables, and it hit me that I had not really seen any well done Star Wars themed cabs. So I'll thank Zen for the inspiration, and Disney for giving me 'A New Hope' for the Star Wars franchise with their purchase of its rights from Lucas. I've been a huge fan of the original trilogy since childhood anyway, so Star Wars really is a natural choice for me.


Incidentally, I put a bug in Zen's ear begging them to add dual monitor support to their future PC release of the game to make the game pincab friendly. I even pointed them to Russ' great PinDMD and urged them to support that as well (knowing that it would probably be a long shot).  Their company line is 'Pinball Everywhere'.  My assertion was that it's not 'everywhere' if it's not on the cabinets purpose built for the job, and that there would be no more impressive way to show off their game than on such a machine...especially one that's Star Wars themed.   ;)  They wrote me back and said that they were discussing my request, so we'll see what happens. I would love to be able to showcase their game on my cabinet. But I digress...


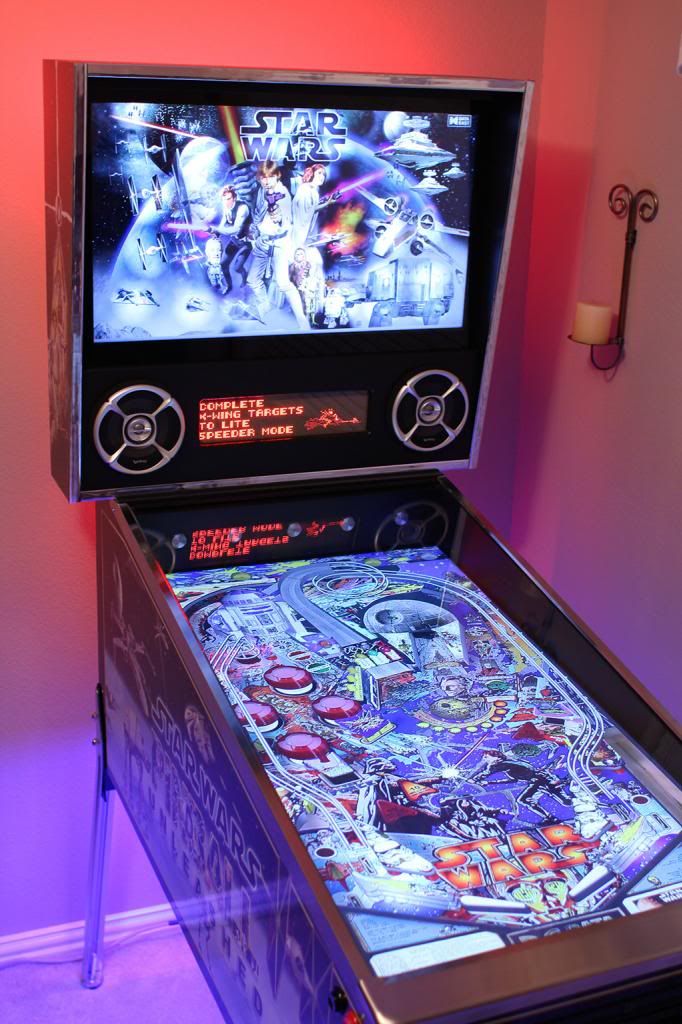
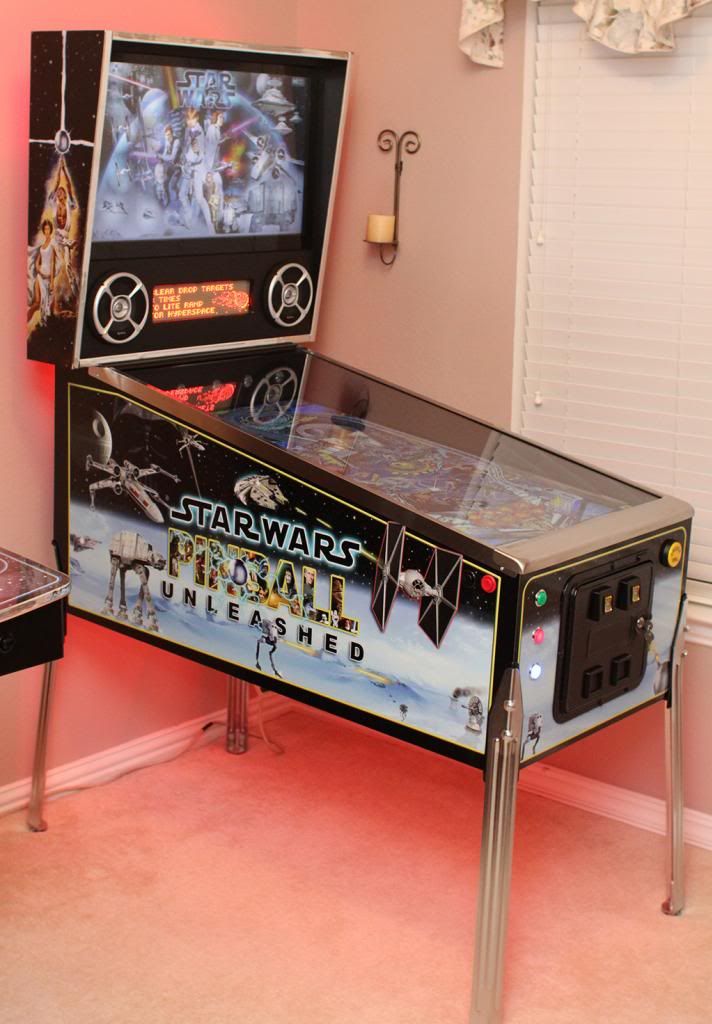
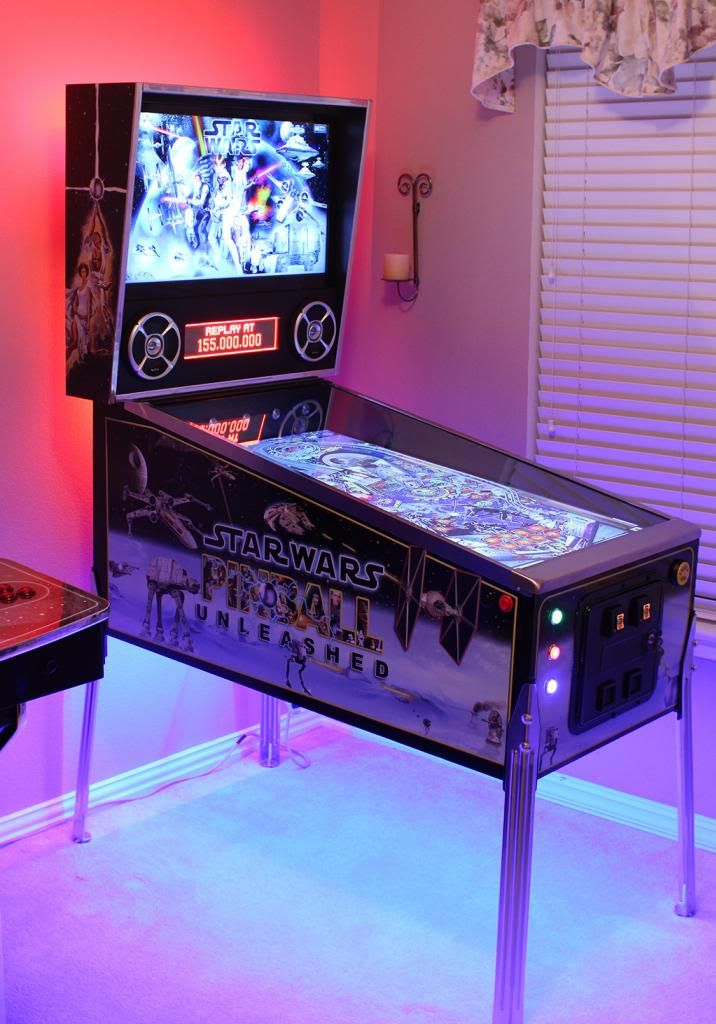
So without further ado, presenting...

StarWarsPinballUnleashedSmall_zps0bb8e44

Here are the specs:


- Cabinet
 
  • Widebody based on the popular Williams plans by Mameman.  Backbox widened to properly fit 32" TV
  • Two 4x8 sheets of cabinet grade oak plywood
  • 1x2" boards for playfield TV rails, and various braces/supports throughout the cabinet
 
 
- Screens
 
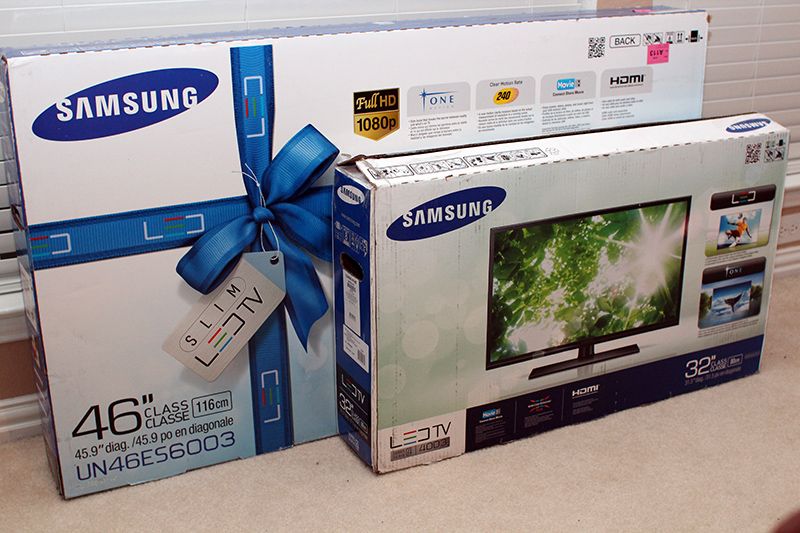
  • 46" Playfield: Samsung UN46ES6003 Super Thin LED LCD 1080P
  • 32" Backglass: Samsung UN32EH4003 LED LCD 720P (1366x768 resolution)
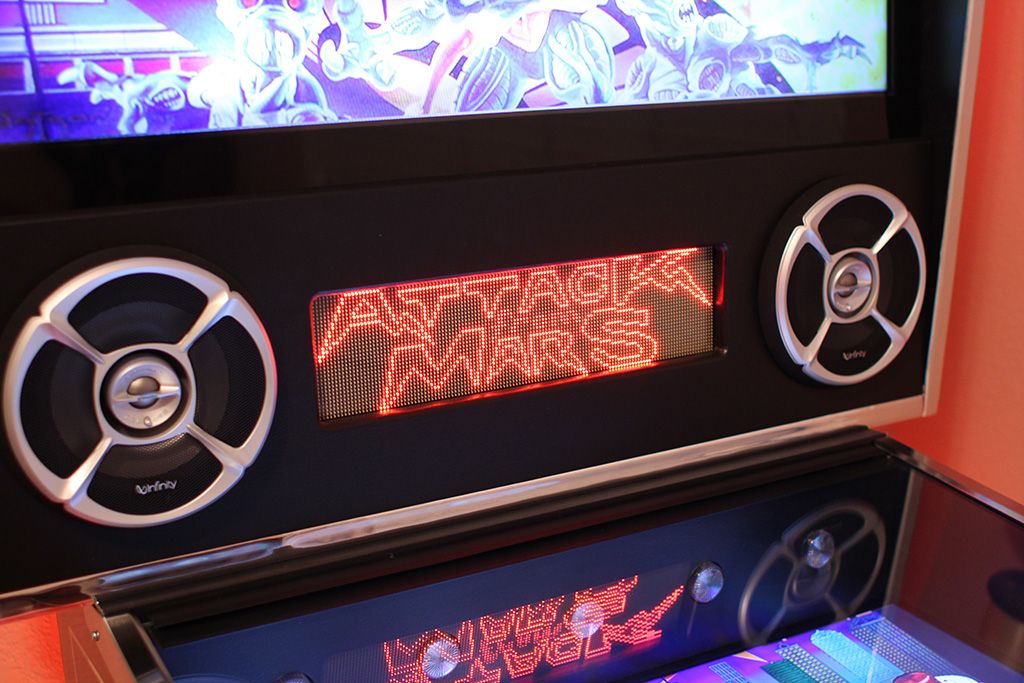
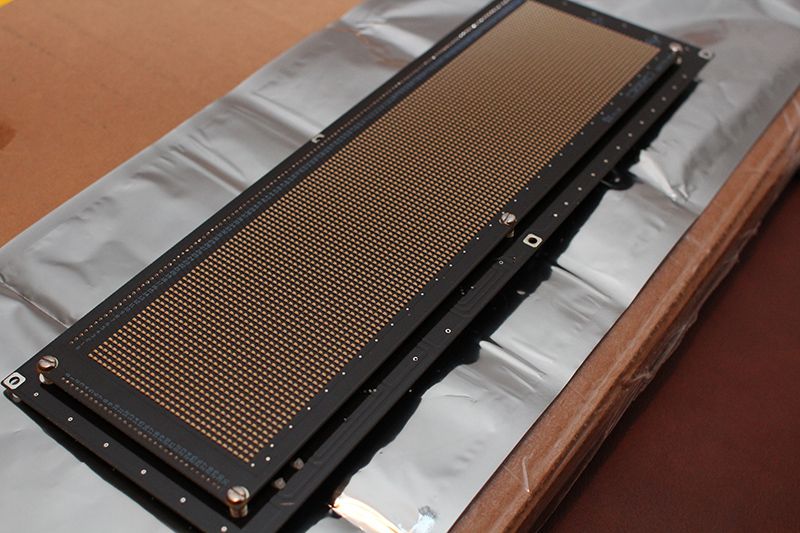
  • Vishay LEE-128G032-1 Orange LED DMD (single pixel array...no segments)
 
 
- PC Setup
 
  • Windows XP 32 bit Optimized Nlite Version
  • AMD Phenom II X4 965 Black Edition Quad Core 3.4Ghz CPU
  • Cooler Master Hyper-212 CPU Cooler
  • Asus M4A785TD-M EVO Motherboard
  • 4GB G.SKILL DDR3 1600 RAM (2x 2GB sticks)
  • Asus GTX560 OC Video Card
  • Samsung 840 series 120GB SSD
  • Corsair CX600M 600W Modular Power Supply
 
 
- Sound System
 
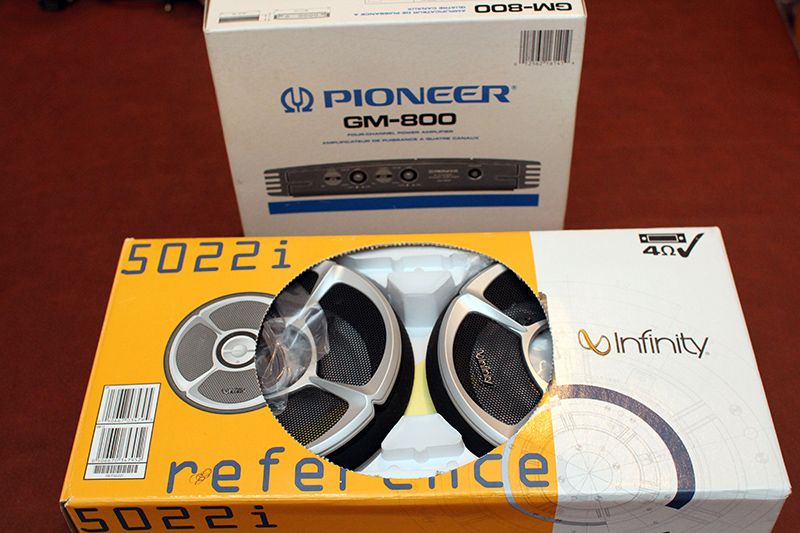
  • Infinity 5022i 5.25" Reference Speakers
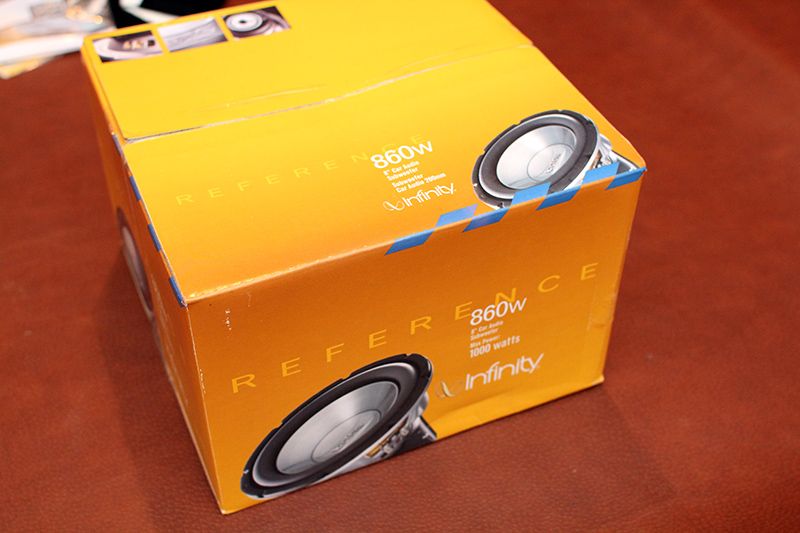
  • Infinity 8" 860W Reference Subwoofer
  • Pioneer GM800 4 channel amplifier for 5.25"s
  • Subwoofer Amplifier (TBD)
 
 
- Force Feeback (no pun intended)
 
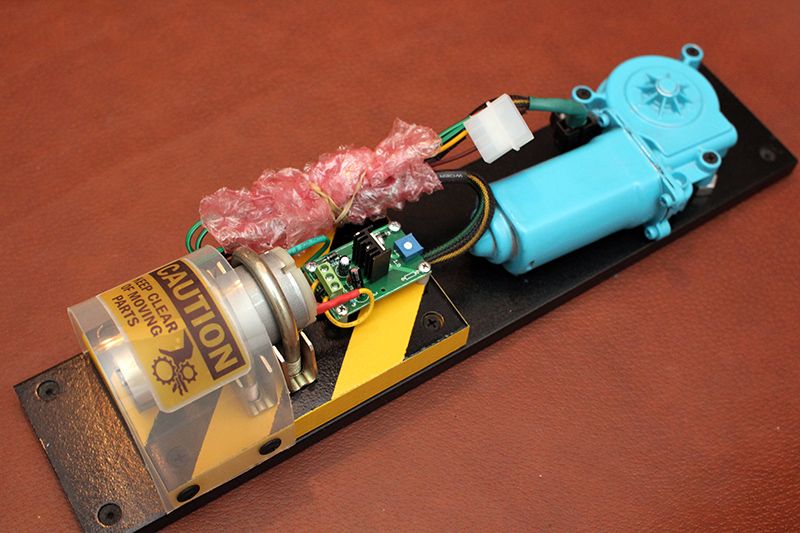
  • Zebulon's Shaker/Gear motor assembly
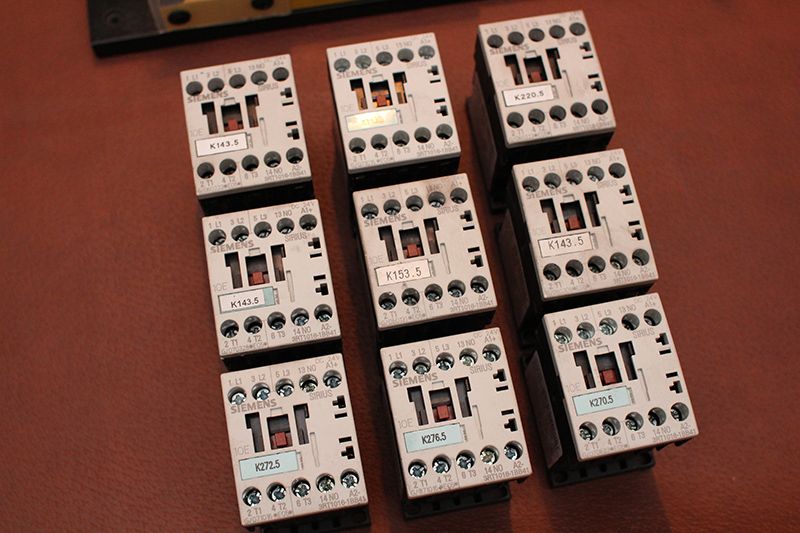
  • 8 Siemens 3RT1016-1BB41 Contactors (feedback for flippers, bumpers and slings)
  • Real Pinball Knocker 
 
 
- Lighting
 
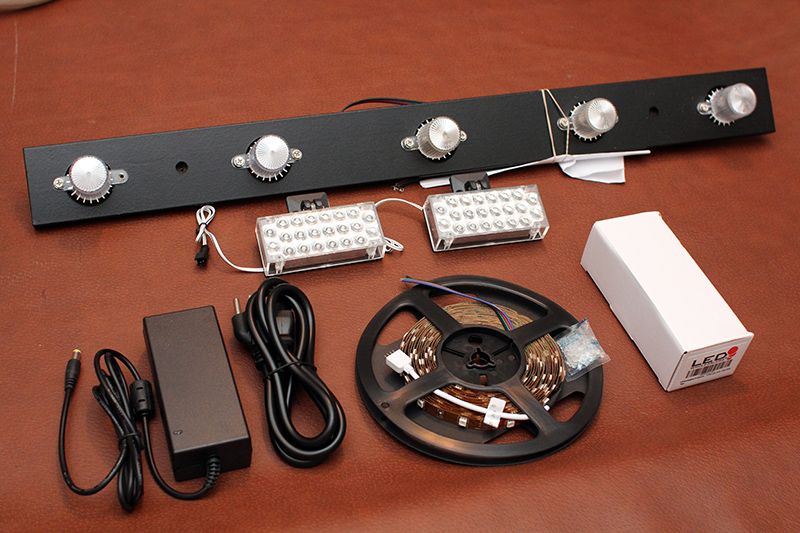
  • Zebulon's Cree LED light bar (5 flashers)
  • Two 21-LED Strobes
  • LEDwholesalers RGB Color Changing Lighting Kit for under cabinet
 
 
- Electronics/Controller Boards
 
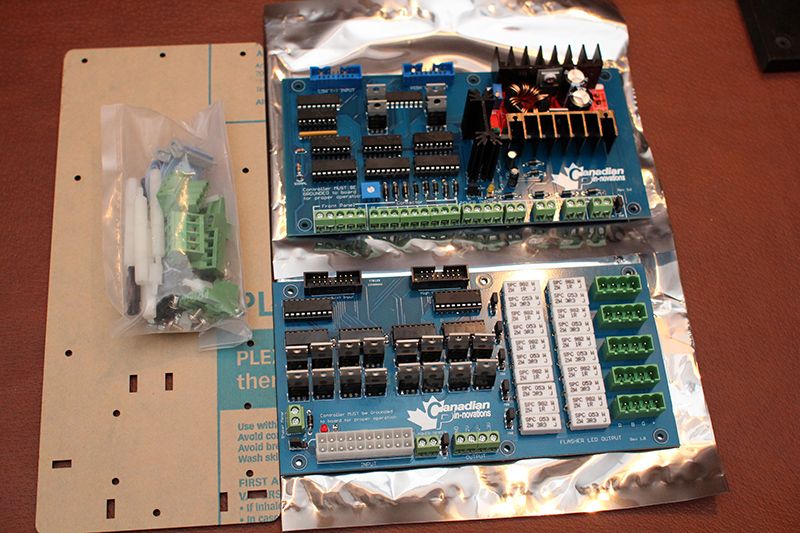
  • Zebulon's new booster boards for powering the toys, flashers and strobes (this board simplifies the wiring of all the toys big-time)
  • RussDX's PinDMD2 to control the Vishay DMD
  • Groovy Game Gear LEDWiz for force feedback and lighting
  • Ultimarc IPAC2 USB interface for buttons
 
 
- Cooling
 
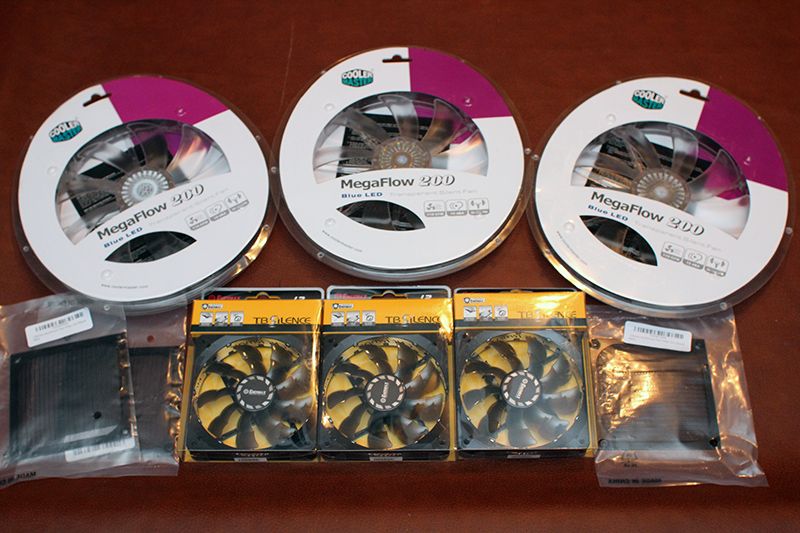
  • 4x Enermax T.B. Silence 120mm Ultra Quiet Twister Bearing Fans
  • 4x 120mm chrome fan grills
 
 
- Buttons
 
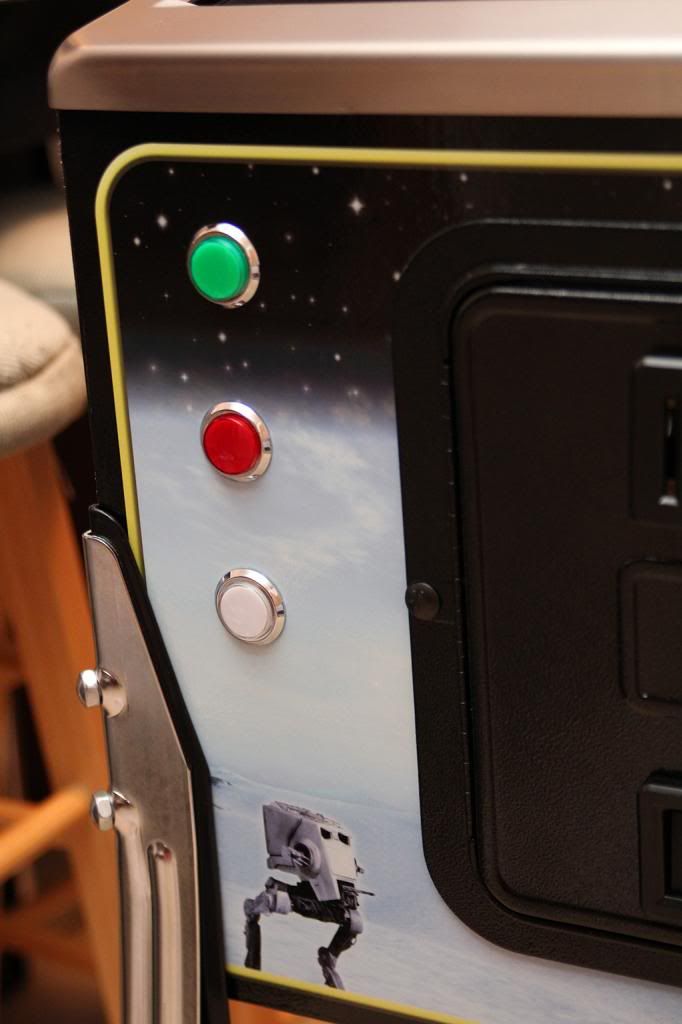
  • GGG Chromalite buttons for Start, Coin and Exit
  • Bally Yellow Launch Ball Button
  • Green Happ Arcade Pushbutton (for power button)
  • IL Translucent Buttons (flippers)
 
 
- Miscellaneous
 
  • Belkin Conserve Power Strip
  • ATX power supply to power Zebulon's booster boards
  • Microsoft Sidewinder Freestyle Pro (for tilt/nudge)
  • Data East Coin Door
 

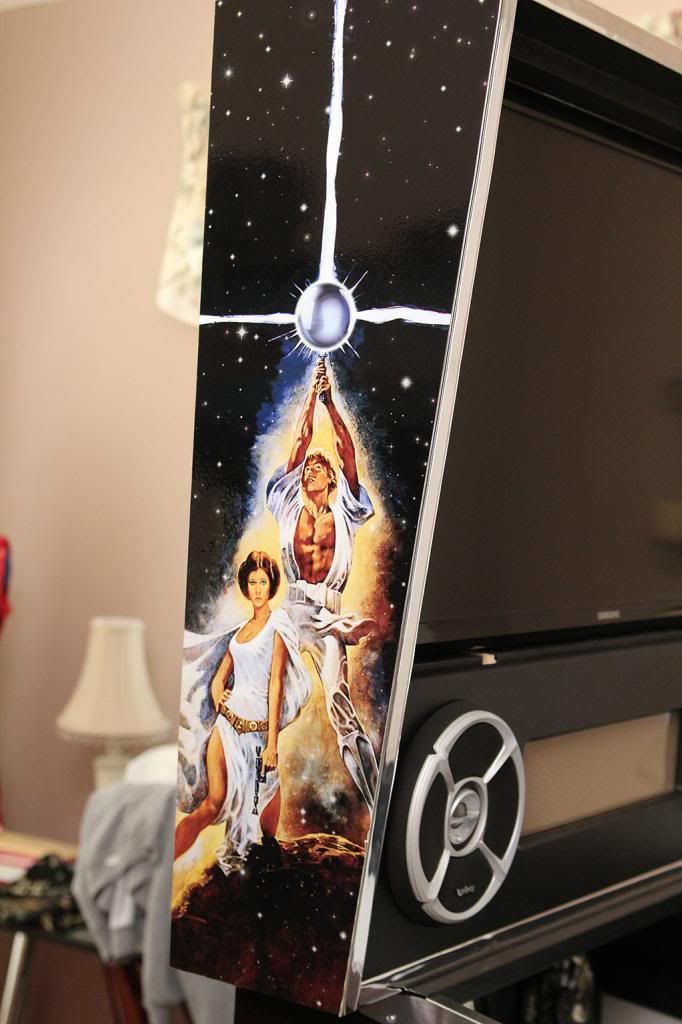
EDIT: Here's some pics of the final product:
IMG_3308_zpsa86566e6.jpg

IMG_3327_zps84519095.jpg

IMG_3240_zpsd5e23d8d.jpg

IMG_3267_zps04b04308.jpg

IMG_2928_zps062a2acc.jpg

IMG_2903_zps4ba46378.jpg

IMG_2927_zpsa1f4ebd8.jpg

IMG_2916_zps120387b3.jpg

IMG_2915_zps74bbb5d0.jpg

Video:


Here's pics of some of the goodies:
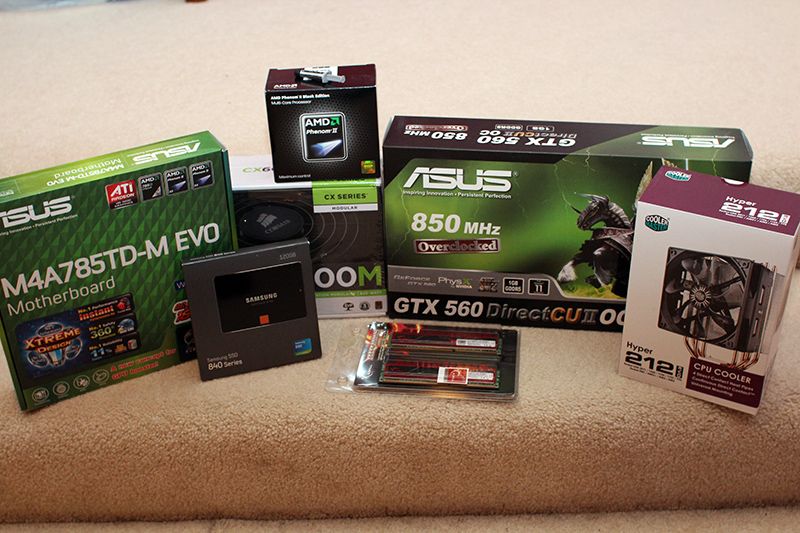
 

IMG_2478_zps423e4b5b.jpg


IMG_2481_zps971738db.jpg


Vishay DMD...


IMG_2482_zps6a6d512f.jpg


Light Bar, under-cab lighting and Strobes...
 

IMG_2487_zps094662f5.jpg


Siemens contactors...


IMG_2492_zpsb750d442.jpg


Zebulon's new booster boards to power all the toys...
 

IMG_2493_zps88687f8e.jpg


Zebulon's shaker/gear motor assembly...
 

IMG_2494_zps2a709e7d.jpg


Ear candy...


IMG_2498_zps4122c378.jpg


More ear candy... (sub)


IMG_2499_zps5002d9ff.jpg


Cooling...


IMG_2501_zps8d4b2a6d.jpg


Currently in the process of configuring the PC/Windows, and then will start loading VP, HyperPin, etc. and try to get at least a couple tables going.


Well, that's all for now...


Edited by Gamester, 25 June 2013 - 05:17 PM.


#2 Gamester

Gamester

    Enthusiast

  • Members
  • PipPipPip
  • 185 posts
  • Location:Texas

  • Flag: United States of America

  • Favorite Pinball: .

Posted 20 February 2013 - 07:42 AM

Computer is built and now the first signs of a pinball machine are starting to emerge. ;)  Just a little screen test here.  Next step is to get the real DMD working...


IMG_2528_zps11066ca8.jpg


Edited by Gamester, 20 February 2013 - 07:43 AM.


#3 zebulon

zebulon

    Cantankerous old B****D

  • Platinum Supporter
  • 1,179 posts
  • Location:Whitby, Ontario, Canada

  • Flag: Canada

  • Favorite Pinball: xenon, Medieval Madness, Royal Flush, Silverball Mania

Posted 20 February 2013 - 02:06 PM

Wow....if I'd known the budget was that big.........:D


Looks like a very healthy start.


 ZB%20%20Storefront1%20.png               [email protected]

Don't pm or expect an answer from me here ... the links above are my contacts.

I know so much about so little that I could teach you all there is to know about nothing......


#4 MTPPC

MTPPC

    Enthusiast

  • Members
  • PipPipPip
  • 352 posts
  • Location:Big Sky, Montana USA

  • Flag: ---------

  • Favorite Pinball: Mata Hari .directB2S

Posted 23 February 2013 - 05:34 AM

That belkin strip is going to let you down if it's the same model as mine. Just the powered USB accessories keep the entire strip powered while the PC is off. I'd go with a smartstrip brand and return that belkin if you already bought it.


#5 Gamester

Gamester

    Enthusiast

  • Members
  • PipPipPip
  • 185 posts
  • Location:Texas

  • Flag: United States of America

  • Favorite Pinball: .

Posted 23 February 2013 - 06:35 AM

MTPPC, thanks for the heads up.  I actually did already purchase the Belkin, but I got it online, and probably not worth the shipping expense to send it back. I can probably use it for something else if needed.


I have the Smart Strip in my arcade cab, and it's worked flawlessly.  I probably should have known better than to deviate...


#6 Wizards_Hat

Wizards_Hat

    Pinball Fan

  • VP Dev Team
  • PipPipPipPip
  • 1,258 posts
  • Location:Manchester, UK

  • Flag: United Kingdom

  • Favorite Pinball: STTNG


  • Trophies:

Posted 23 February 2013 - 08:31 AM

On the off-chance you've not seen it yet:
Star Wars pinball trailer:


Regards,

Dan.


A wizard only needs one ball...but can handle six.

#7 Gamester

Gamester

    Enthusiast

  • Members
  • PipPipPip
  • 185 posts
  • Location:Texas

  • Flag: United States of America

  • Favorite Pinball: .

Posted 27 February 2013 - 03:50 AM

Thanks Dan.  I did see that trailer.  Pretty cool.


This one is pretty good too.  Kind of gives a good overview of all of the initial tables...


Edited by Gamester, 27 February 2013 - 04:23 AM.


#8 Bob5453

Bob5453

    I'm taking a nap

  • VIP
  • 3,896 posts
  • Location:Near Dayton, Ohio USA

  • Flag: United States of America

  • Favorite Pinball: Any table I can play while sitting in a rocking chair


  • Trophies:

Posted 27 February 2013 - 03:59 AM

3 Star Wars tables were released today for Zen Pinball on ps3, they are nice. There are a total of 10 at the moment that will be released by Zen for sure.

Posted Image

You have discovered an Easter egg. Pat yourself on the back.


#9 Gamester

Gamester

    Enthusiast

  • Members
  • PipPipPip
  • 185 posts
  • Location:Texas

  • Flag: United States of America

  • Favorite Pinball: .

Posted 27 February 2013 - 04:23 AM

Finally, a little DMD goodness...


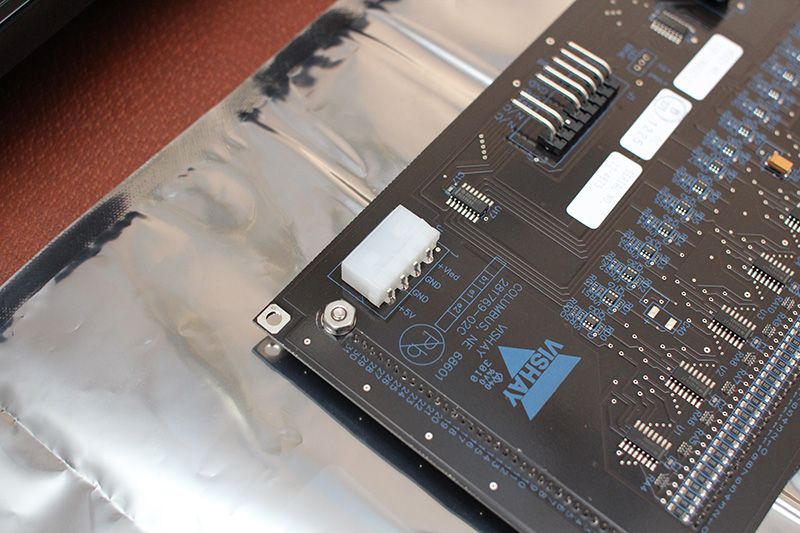
The Vishay is great because it has a molex connector built in which allows for easy connection to a PC power supply...


IMG_2539_zps5b8e89c4.jpg


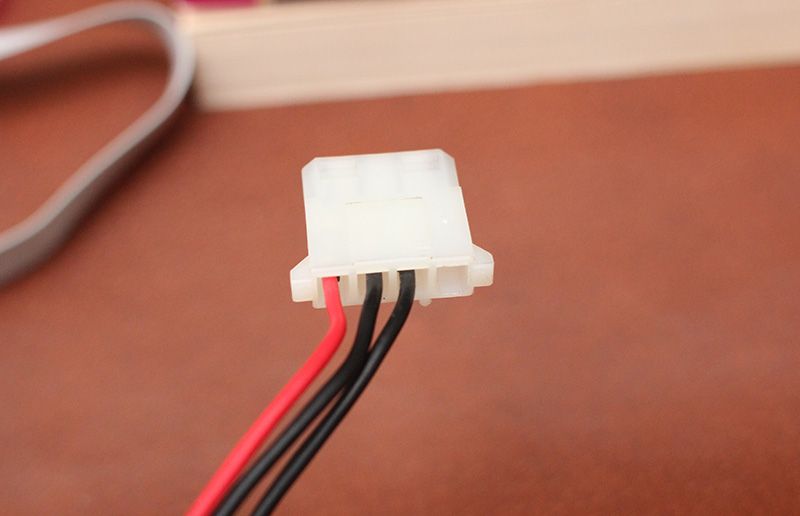
To connect the DMD to the power supply, I took a molex 'Y' splitter and removed the 12v (yellow) wire on both ends, leaving only the 5v (red) wire and the two grounds.  Then extended it to about 4 feet long to give me plenty of room to move it around. Here's a pic with the yellow wire removed...


IMG_2544_zps5fa0f945.jpg


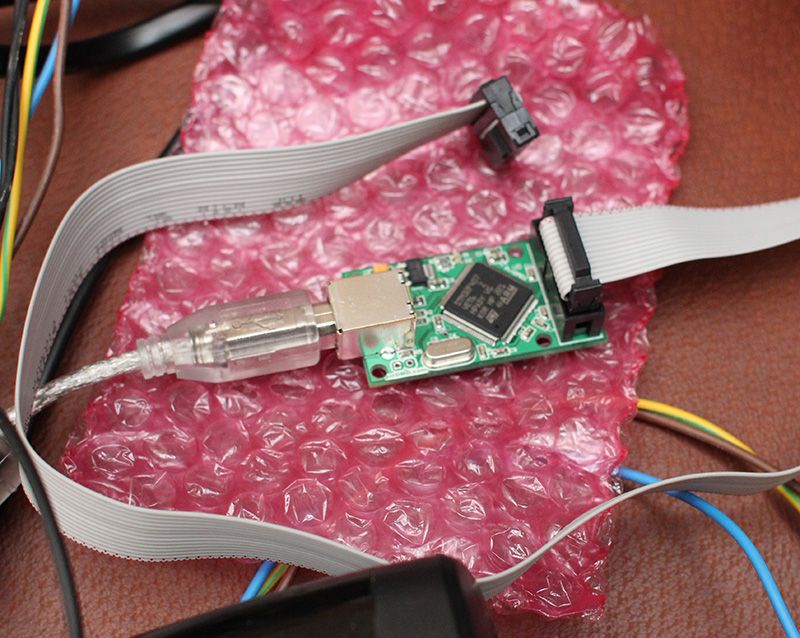
Then I just took the PinDMD2...


IMG_2543_zpsaa929932.jpg


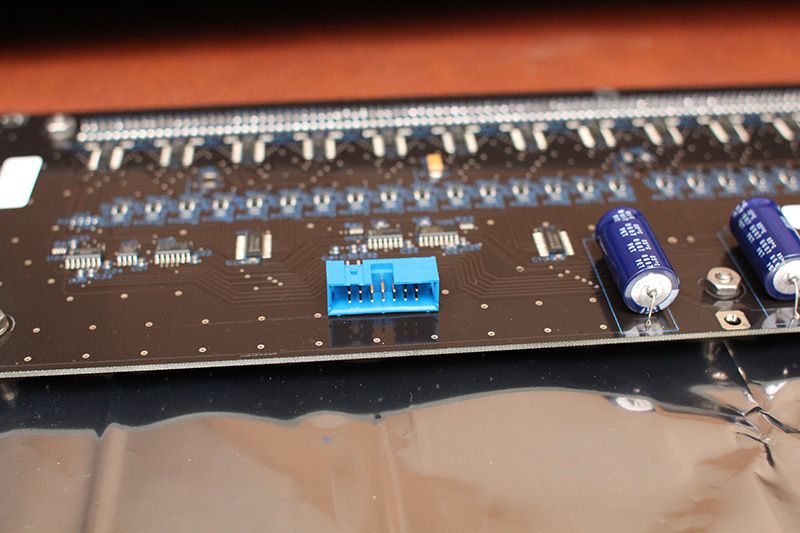
...and plugged it right into the DMD ribbon cable connector.


IMG_2542_zps3f1f08af.jpg


After I got the driver installed for the PindDMD2 and put the modified DLLs in place for PinMAME and Future Pinball, I took on the formidable task of downloading a number of tables and tweaking them to work properly with the 2-screen+DMD configuration.


Once I got all of the tables right (many hours of tweaking), and finally saw them running with the real DMD, all I can say is WOW.  It looks absolutely AMAZING.  I am giddy as a schoolgirl.  This thing was worth every penny!


Here's a little sampler.  These videos do NOT do it justice.  It is way brighter and more impressive in person.  As nice as my LCDs are, this thing absolutely is the visual centerpiece...


Future Pinball:


Visual Pinball:


And how faithful would I be to my cab theme without a Star Wars vid?


Edited by Gamester, 27 February 2013 - 04:56 AM.


#10 DStruct

DStruct

    Enthusiast

  • Members
  • PipPipPip
  • 185 posts
  • Location:Texas

  • Flag: United States of America

  • Favorite Pinball: Spiderman: Vault Edition

  • PS3 Gamer Tag: JumboBunny

Posted 27 February 2013 - 05:45 AM

That dmd really looks great.


#11 antropus

antropus

    Enthusiast

  • Platinum Supporter
  • 229 posts
  • Location:Bay Area

  • Flag: United States of America

  • Favorite Pinball: Monster Bash

Posted 04 March 2013 - 07:32 PM

Great components and awesome start man! Keep posting! :)


-Kris


#12 Gamester

Gamester

    Enthusiast

  • Members
  • PipPipPip
  • 185 posts
  • Location:Texas

  • Flag: United States of America

  • Favorite Pinball: .

Posted 04 March 2013 - 07:45 PM

Great components and awesome start man! Keep posting! :)


-Kris


Thanks Kris.  Other than continuing with some software configuration stuff, I'm at a bit of a standstill at the moment until I can start the woodworking.  Life and weather have gotten in the way a bit the past week or so.  Should be lots of beautiful spring weather soon though, so hopefully it won't be long before things start rolling again.  :)


Your build has really set the bar high as of late.  I can only hope mine turns out so well...  ;)


#13 Gamester

Gamester

    Enthusiast

  • Members
  • PipPipPip
  • 185 posts
  • Location:Texas

  • Flag: United States of America

  • Favorite Pinball: .

Posted 10 March 2013 - 04:50 PM

Was hoping to start construction on the cabinet this weekend, but the weather had other plans.  So in the interest of still being productive, I started on the artwork.  Here's my first pass for the cabinet side.  Obviously the full size artwork is over 4 feet long, so this is a VERY tiny representation.  The full size version obviously has a lot more detail...
 
CabinetLeftSide_v1_1200_zps4f724a4e.png

Edited by Gamester, 10 March 2013 - 06:24 PM.


#14 antropus

antropus

    Enthusiast

  • Platinum Supporter
  • 229 posts
  • Location:Bay Area

  • Flag: United States of America

  • Favorite Pinball: Monster Bash

Posted 11 March 2013 - 10:11 PM

Artwork is looking sweet!

-Kris

#15 Gamester

Gamester

    Enthusiast

  • Members
  • PipPipPip
  • 185 posts
  • Location:Texas

  • Flag: United States of America

  • Favorite Pinball: .

Posted 12 March 2013 - 12:25 AM

Thanks Kris!


So second pass on the artwork.  Been tweaking it a bit more and adding little details here and there (see the glow of the thrusters on the X-Wing as an example). I also decided I didn't like the arrangement of the spacecraft and wanted it to appear a bit more cohesive (reinforced by some helpful feedback I received), like something a bit more organized was actually going on up there.  So I changed a few things so that it represents a battle occurring.  The Rebels are in hot pursuit of a Tie Fighter, and the Millennium Falcon is cracking off a few rounds.  ;)
 
So based on that, here's the latest iteration:
 
CabinetLeftSide_v2_1024_zpsb808e128.png
 
 
And here's a little mockup I did so I could visualize how things are looking so far.  The backbox art is not even close to finalized.  Will probably be adding some details to the front artwork as well...
 
PinballCabinetArtMockup_v2_800_zps4eca31


#16 Nemo

Nemo

    Pinball Fan

  • Platinum Supporter
  • 1,283 posts
  • Location:Netherlands

  • Flag: Netherlands

  • Favorite Pinball: Monster Bash

Posted 16 March 2013 - 07:37 AM

Great stuff ! Really like the "icy/cloudy" bottom half set against a star background, great contrast and it suits a

pin extremely well i think ! What's  your opinion on that Sammy ES6000 series ? I like that series a lot, have one

in the bedroom and i think it won't stay there very long....... :hmm:  :think:


Gone fishin', no really.......

My F14 Cab http://www.vpforums....showtopic=21820

My Coffee Table http://www.vpforums....topic=25407&hl=

My Jukebox WIP http://www.vpforums....topic=23825&hl=


#17 Gamester

Gamester

    Enthusiast

  • Members
  • PipPipPip
  • 185 posts
  • Location:Texas

  • Flag: United States of America

  • Favorite Pinball: .

Posted 19 March 2013 - 05:49 PM

Hey Nemo,


Thanks for the compliment!  I'm pretty happy with how the artwork is coming along, but it's not quite there yet.  Round 3 of the artwork will be posted soon...   ;)


So far I really like the Samsung I'm using for the PF.  Nice thin form factor, and a really nice image with good viewing angles and no detectable lag or ghosting at all (when placed in 'gaming' mode).


I think it's a perfect TV for a widebody build. I haven't de-cased mine yet, but I believe with the model I have there is even a nice black bezel around it, which makes for a real nice finish for any portion of the frame that may still be visible after install.


Edited by Gamester, 19 March 2013 - 05:50 PM.


#18 Gamester

Gamester

    Enthusiast

  • Members
  • PipPipPip
  • 185 posts
  • Location:Texas

  • Flag: United States of America

  • Favorite Pinball: .

Posted 19 March 2013 - 06:44 PM

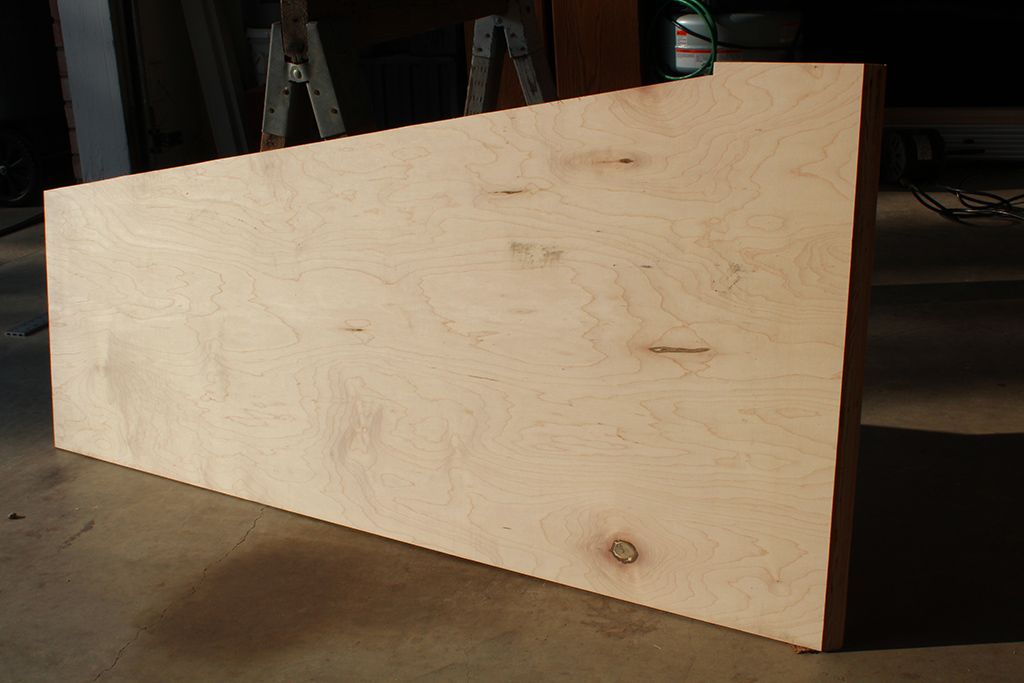
So beautiful Spring weather has arrived in Texas, and with it, my opportunity to get moving on the 'outside' portion of the build.  Woodworking has begun!
 
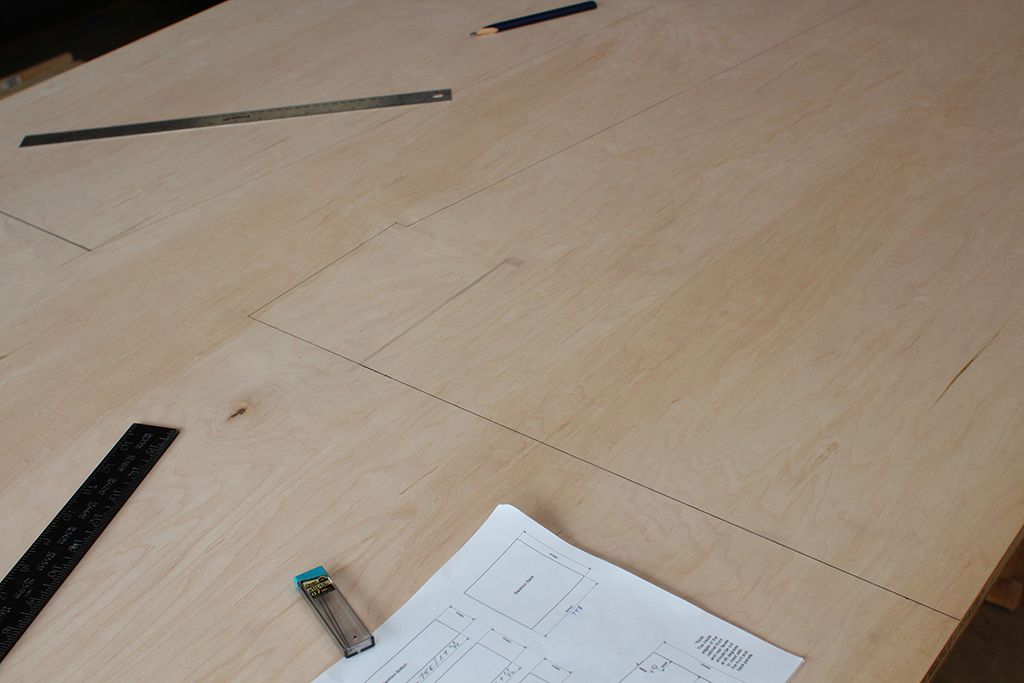
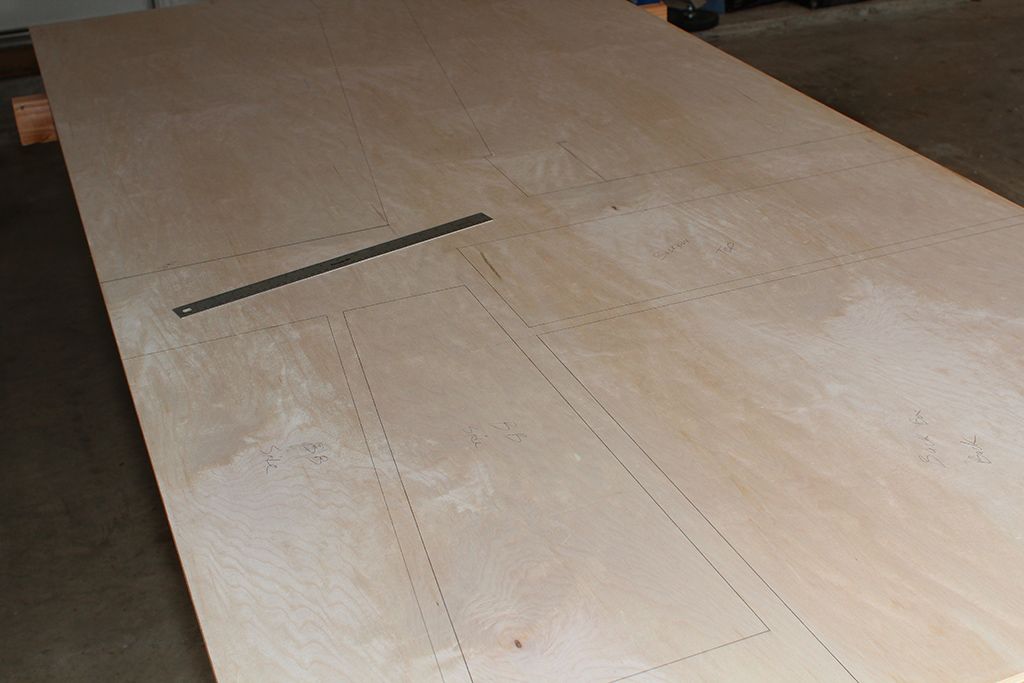
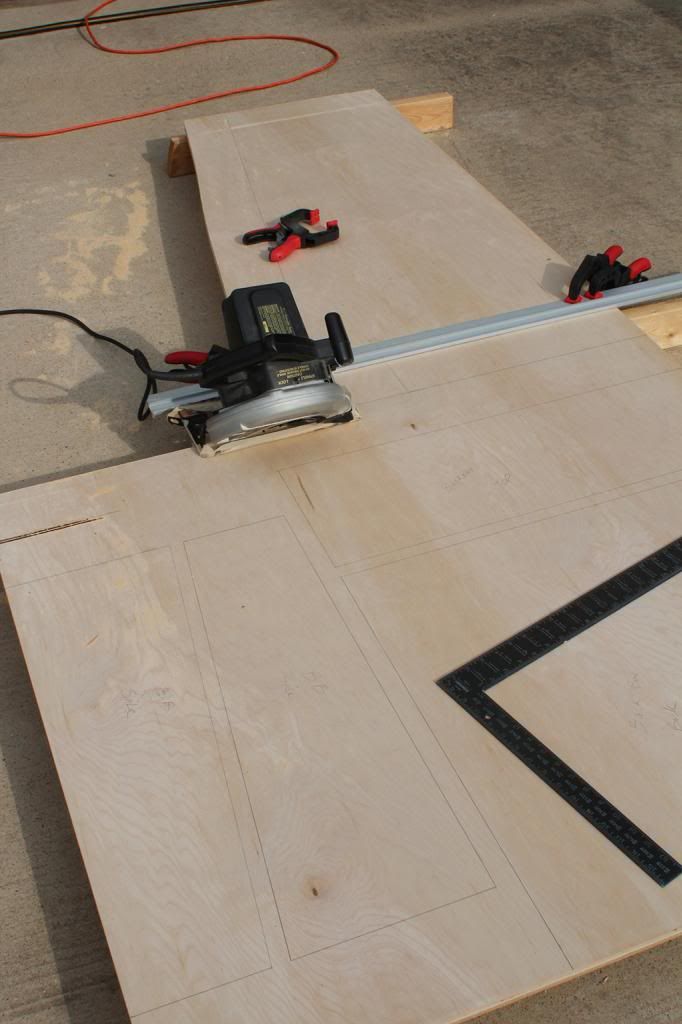
I won't go into lots of detail about this process, but I will say, if you have access to professional tools (full size table saw, router table, large work surfaces), the job is a lot easier.  Unfortunately, I don't have access to those items. But, with a few key tools, and some extra time you can achieve the same results.
 
The tools that I have found to be invaluable for both my Arcade build and this Pin build are:
 
- Circular saw with a fine tooth blade
- Jig saw with wood finish/smooth cut blade
- Metal saw guide (worth its weight in GOLD)
- Clamps to hold the saw guide TIGHT (but without damaging the wood)
- Big T-Square
- Big 'L' Square
- Accurate ruler (in my case with Millimeters, since I'm following metric plans this time)
- Router (best tool ever?)
- Assorted Router bits (Flush trim bit, 1/16 slot cutting bit for starters)
- Router circle jig
 
I make almost all of my cuts with the jigsaw, guided by the metal saw guide.  The jigsaw is just easier to control, and the blade is much smaller/narrower, so it makes more accurate cuts than the circular saw.  But, the circular saw is invaluable for one simple thing: 45 degree cuts, as needed for the front and back joints of the cab.
 
I tell you, the age old adage of 'measure twice, cut once' was in full effect.  In my case, it was measure 3-4 times, cut once.  Can't tell you how many mistakes I saved myself, when I realized on my 3-4th measurement that something was off, especially after working for a few hours.  That ruler gets harder and harder to read right when you're tired!   ;)
 
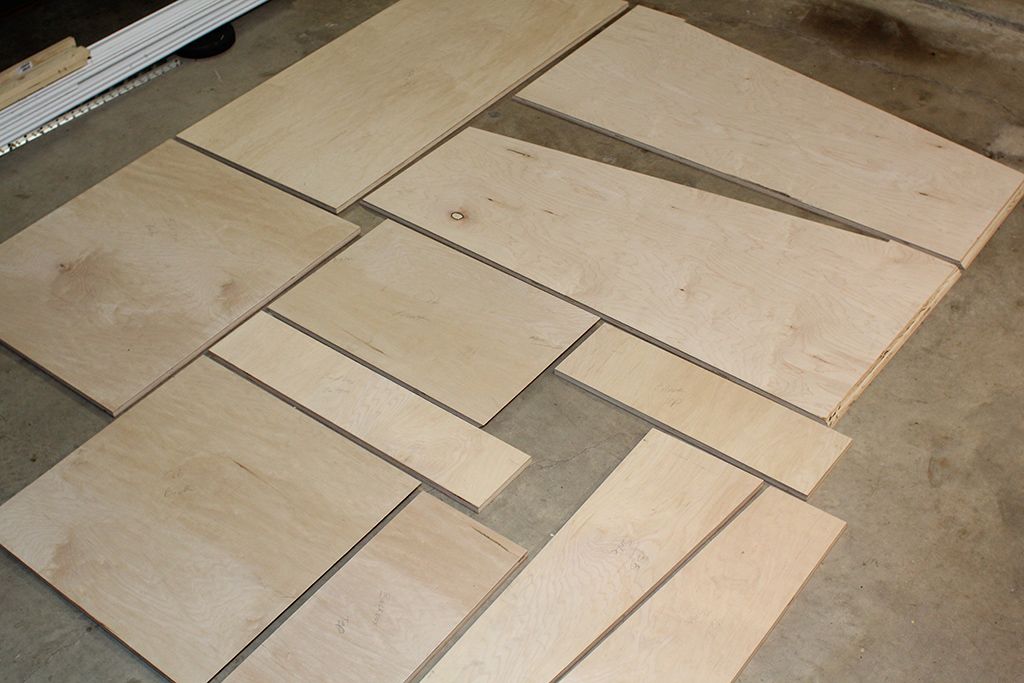
So anyway, here's a few snaps of the process so far:
 
Woodworking1_1024_zps20af5ad6.jpg
 
Woodworking2_1024_zpsa76d89a4.jpg
 
Woodworking3_1024_zps850879ba.jpg
 
 
Woohoo, a finished side! Exciting right?  Yeah, until I realized I was a little too careless with my cutting on that piece and screwed up the dimensions of the top.  Lesson learned.  Luckily there was enough ply on the second sheet to make a new one.
 
Woodworking4_1024_zps188f8a4b.jpg
 
 
Hey, a puzzle!  
 
Woodworking5_1024_zps02a7965d.jpg
 
After a while I became a machine; I got to where I could cut the pieces within a fraction of a millimeter tolerances.  But all of the working on the ground sure took its toll on me physically.  After two days of kneeling, leaning over, measuring and cutting ad nauseam, boy am I sore!   :)  So a table saw not only would have probably taken 1/3 of the time, but it would have saved me a lot of back pain.  Ah well, I guess it's like a woman giving birth, the pain only lasts a short time, but the reward continues on.   ;)
 
Now that all of the shapes are cut, I have to start working on all of the detail work like holes for fans, subwoofer, coin door, buttons, etc, etc..  Stay tuned!

Edited by Gamester, 19 March 2013 - 07:15 PM.


#19 T-800

T-800

    All-In

  • Silver Supporter
  • 417 posts
  • Location:Minnesota

  • Flag: United States of America

  • Favorite Pinball: Wrath of Olympus


Posted 19 March 2013 - 07:39 PM

Nice job with your cutting.  Getting straight lines with a jig saw and circular saw is not an easy task.  I had access to a full size saw stop table saw for my Pinsanity build - can't imagine how it would've turned out based on my patience level with the tools you used!!


I also skipped the 45 degree cuts and opted to use body filler on the cab to smooth the seams.  Wasn't optimum but it was much easier and faster...


#20 Gamester

Gamester

    Enthusiast

  • Members
  • PipPipPip
  • 185 posts
  • Location:Texas

  • Flag: United States of America

  • Favorite Pinball: .

Posted 19 March 2013 - 07:57 PM

Thanks T-800.  Yeah, doing it with handheld saws requires LOTS of patience and care.  Rushing = redo.


With a table saw those 45 degree cuts would have been a piece of cake.  Surprised you opted to use body filler instead.  :)


Also tagged with one or more of these keywords: Star Wars, Pinball, Cabinet