Jump to content


Photo
* * * * * 2 votes

Blitz's mini pin cab - 23 playfield and 19 backglass


  • Please log in to reply
14 replies to this topic

#1 Blitz17

Blitz17

    Enthusiast

  • Members
  • PipPipPip
  • 376 posts
  • Location:Blue Springs, MO

  • Flag: United States of America

  • Favorite Pinball: Star Trek TNG - jpsalas

Posted 12 January 2011 - 09:54 AM

Well after reviewing all of the cab forums for quite a while now I jumped in and started building my cab. I am actually in the final stages as the only remaining item to do is the apply the cab art. I am expecting the art to arrive next week from Scott at http://www.gameongrafix.com. I had Vlad at http://www.gameongrafix.com create the artwork. Both have been great to work with. I highly recommend them.

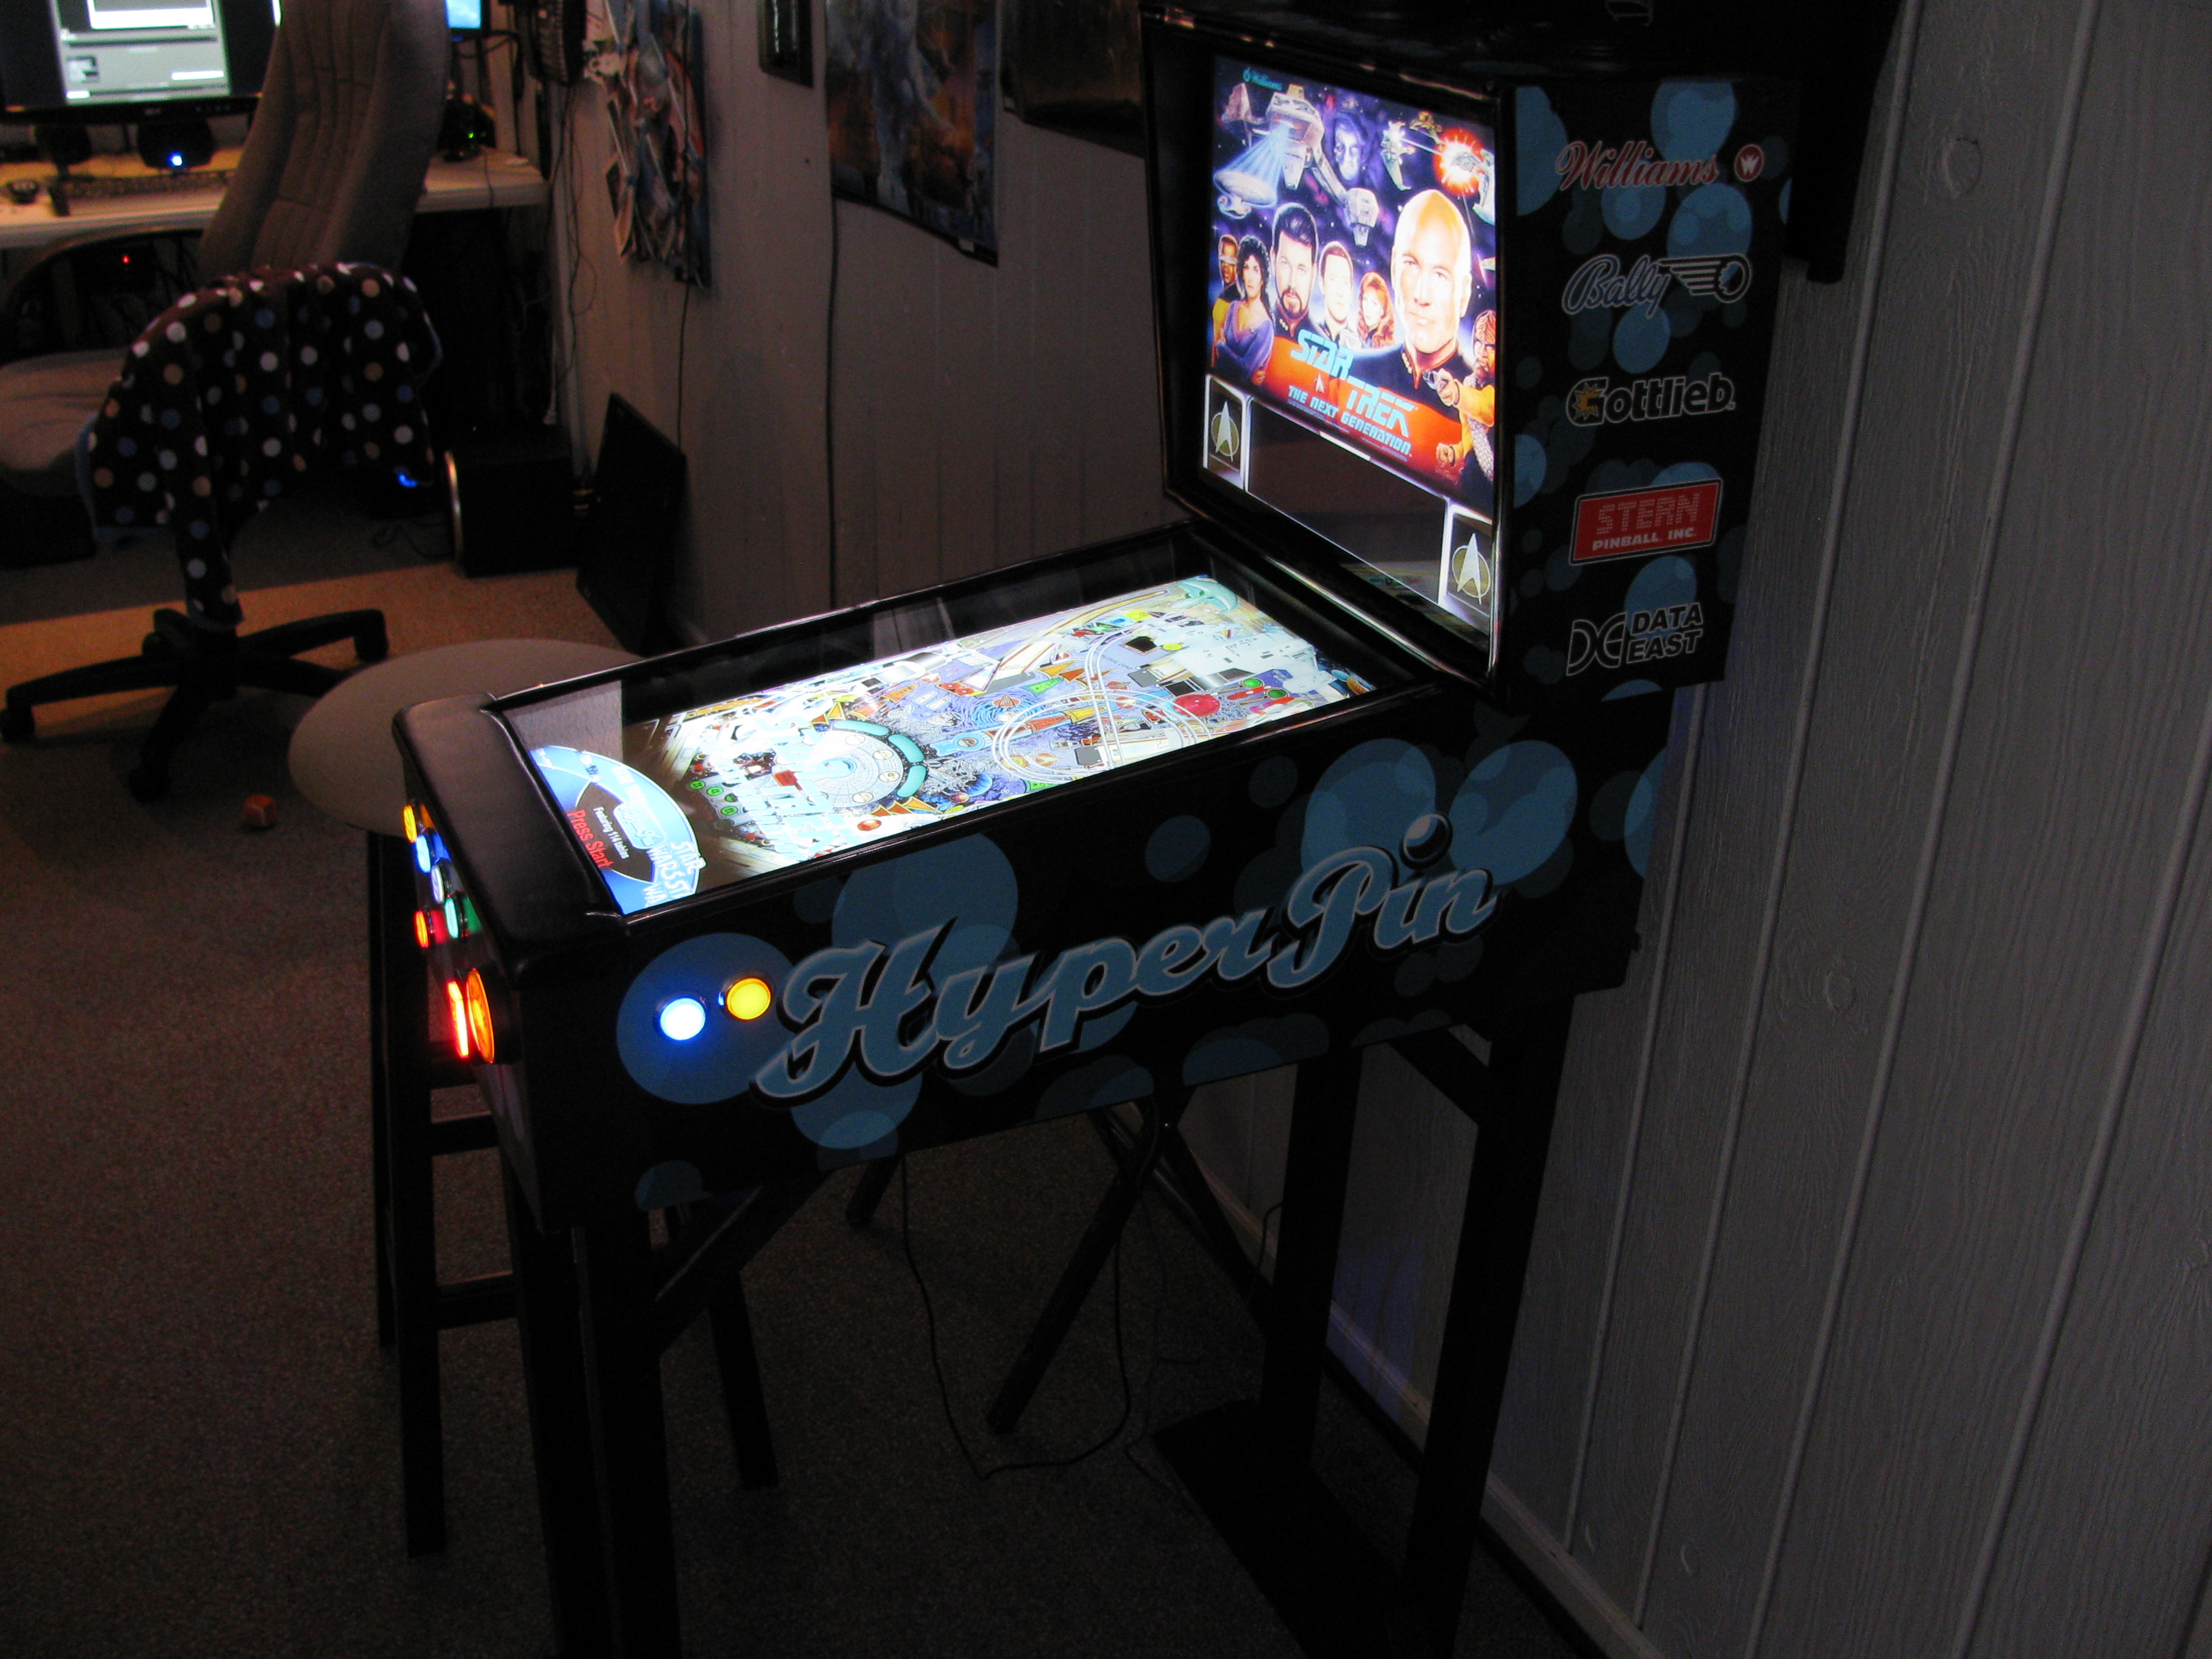
My main take away was that I wanted my mini cab to be in scale to a full sized cab. I also wanted to limit the space between the cab and the monitors to try and give it a realistic feel. At least as much as a mini cab can have. I have to give credit to dexllgamer's cab as an inspiration for my design (http://www.vpforums....p;hl=dexllgamer) although I suppose since the design is a pretty straight forward pinball cab design credit goes to the original designer of the standard pincabs. Many thanks go out to the developers of VP, FP, HP, all of the table developers (coders/artists), and all of the regulars that post on the VP and HP forums. Many thanks to Tweegster and GodSin for the awesome install guide for Visual Pinball / HyperPin / UltraVP / DMD (http://www.vpforums....u...l&f_id=4070). Of course thanks to Noah and Destruk for VPForums and their work in VP, BadBoyBill for HyperPin and forums, and Billpa for creating the HP logo which I decided to use as my cabinet theme. I am sure there are many others that deserve thanks.

My cab total costs came to $1,346. Well worth it! Parts and prices are listed below. I bought a lot of this stuff back in November of 2010 so the prices for the computer parts are likely cheaper now.

Specs

Computer
CPU: AMD Phenom II X2 555 Black Edition Callisto 3.2GHz (OC to 3.6) - http://www.newegg.com - $92
Motherboard: ASRock 880GM-LE AM3 AMD 880G Micro ATX - http://www.newegg.com - $60
Video Card: MSI N450GTS-M2D1GD5/OC GeForce GTS 450 (Fermi) 1GB 128-bit GDDR5 PCI Express 2.0 x16 - http://www.newegg.com - $120
Solid State Drive: OCZ Vertex 2 OCZSSD2-2VTX40G 2.5" 40GB SATA II MLC Internal Solid State Drive (SSD) - http://www.newegg.com - $105
RAM: G.SKILL Ripjaws Series 4GB (2 x 2GB) 240-Pin DDR3 SDRAM DDR3 1600 - http://www.newegg.com - $70
PSU: Antec EarthWatts EA650 650W Continuous Power ATX12V Ver.2.2 - http://www.newegg.com - $70
OS: Microsoft Windows 7 Home Premium 64-bit 1-Pack for System Builders - OEM - http://www.newegg.com - $100
Speakers: Logitech S-220 17 Watts 2.1 Multimedia Speaker System - http://www.newegg.com - $28
Ventilation Fans: APEVIA CF4SL-UBL-LED 80mm Blue LED Case Fan Qty 2 - http://www.newegg.com - $10

Monitors
Playfield: Samsung BX2335 23" 2ms 1920x1080 LED BackLight LCD monitor Slim Design - http://www.newegg.com - $190
Backbox/DMD:ACER 19 inch 4:3 - used off of craigslist - $40

Buttons and Keyboard Emulator
IPAC2 - http://www.ultimarc.com - $40
Flippers ChromaLite Illuminated Pushbutton (2 blue, 2 yellow with Micro-Leaf Switch) - from http://groovygamegear.com - $19
Start ChromaLite Illuminated Pushbutton - http://groovygamegear.com - $2.35
Exit ChromaLite Illuminated Pushbutton - http://groovygamegear.com - $2.35
Pause/Genre ChromaLite Illuminated Pushbutton - http://groovygamegear.com - $2.35
Flyer ChromaLite Illuminated Pushbutton - http://groovygamegear.com - $2.35
Table Rules ChromaLite Illuminated Pushbutton - http://groovygamegear.com - $2.35
Credit ChromaLite Illuminated Pushbutton - http://groovygamegear.com - $9
Launch Ball - http://www.pinballlife.com - $5

Accessories
T-Molding - Deluxe Chrome Stripe 3/4-inch T-Molding (15 feet) - http://groovygamegear.com - $10
Power Strip - Phillips - Detects Master On - Walmart - $30
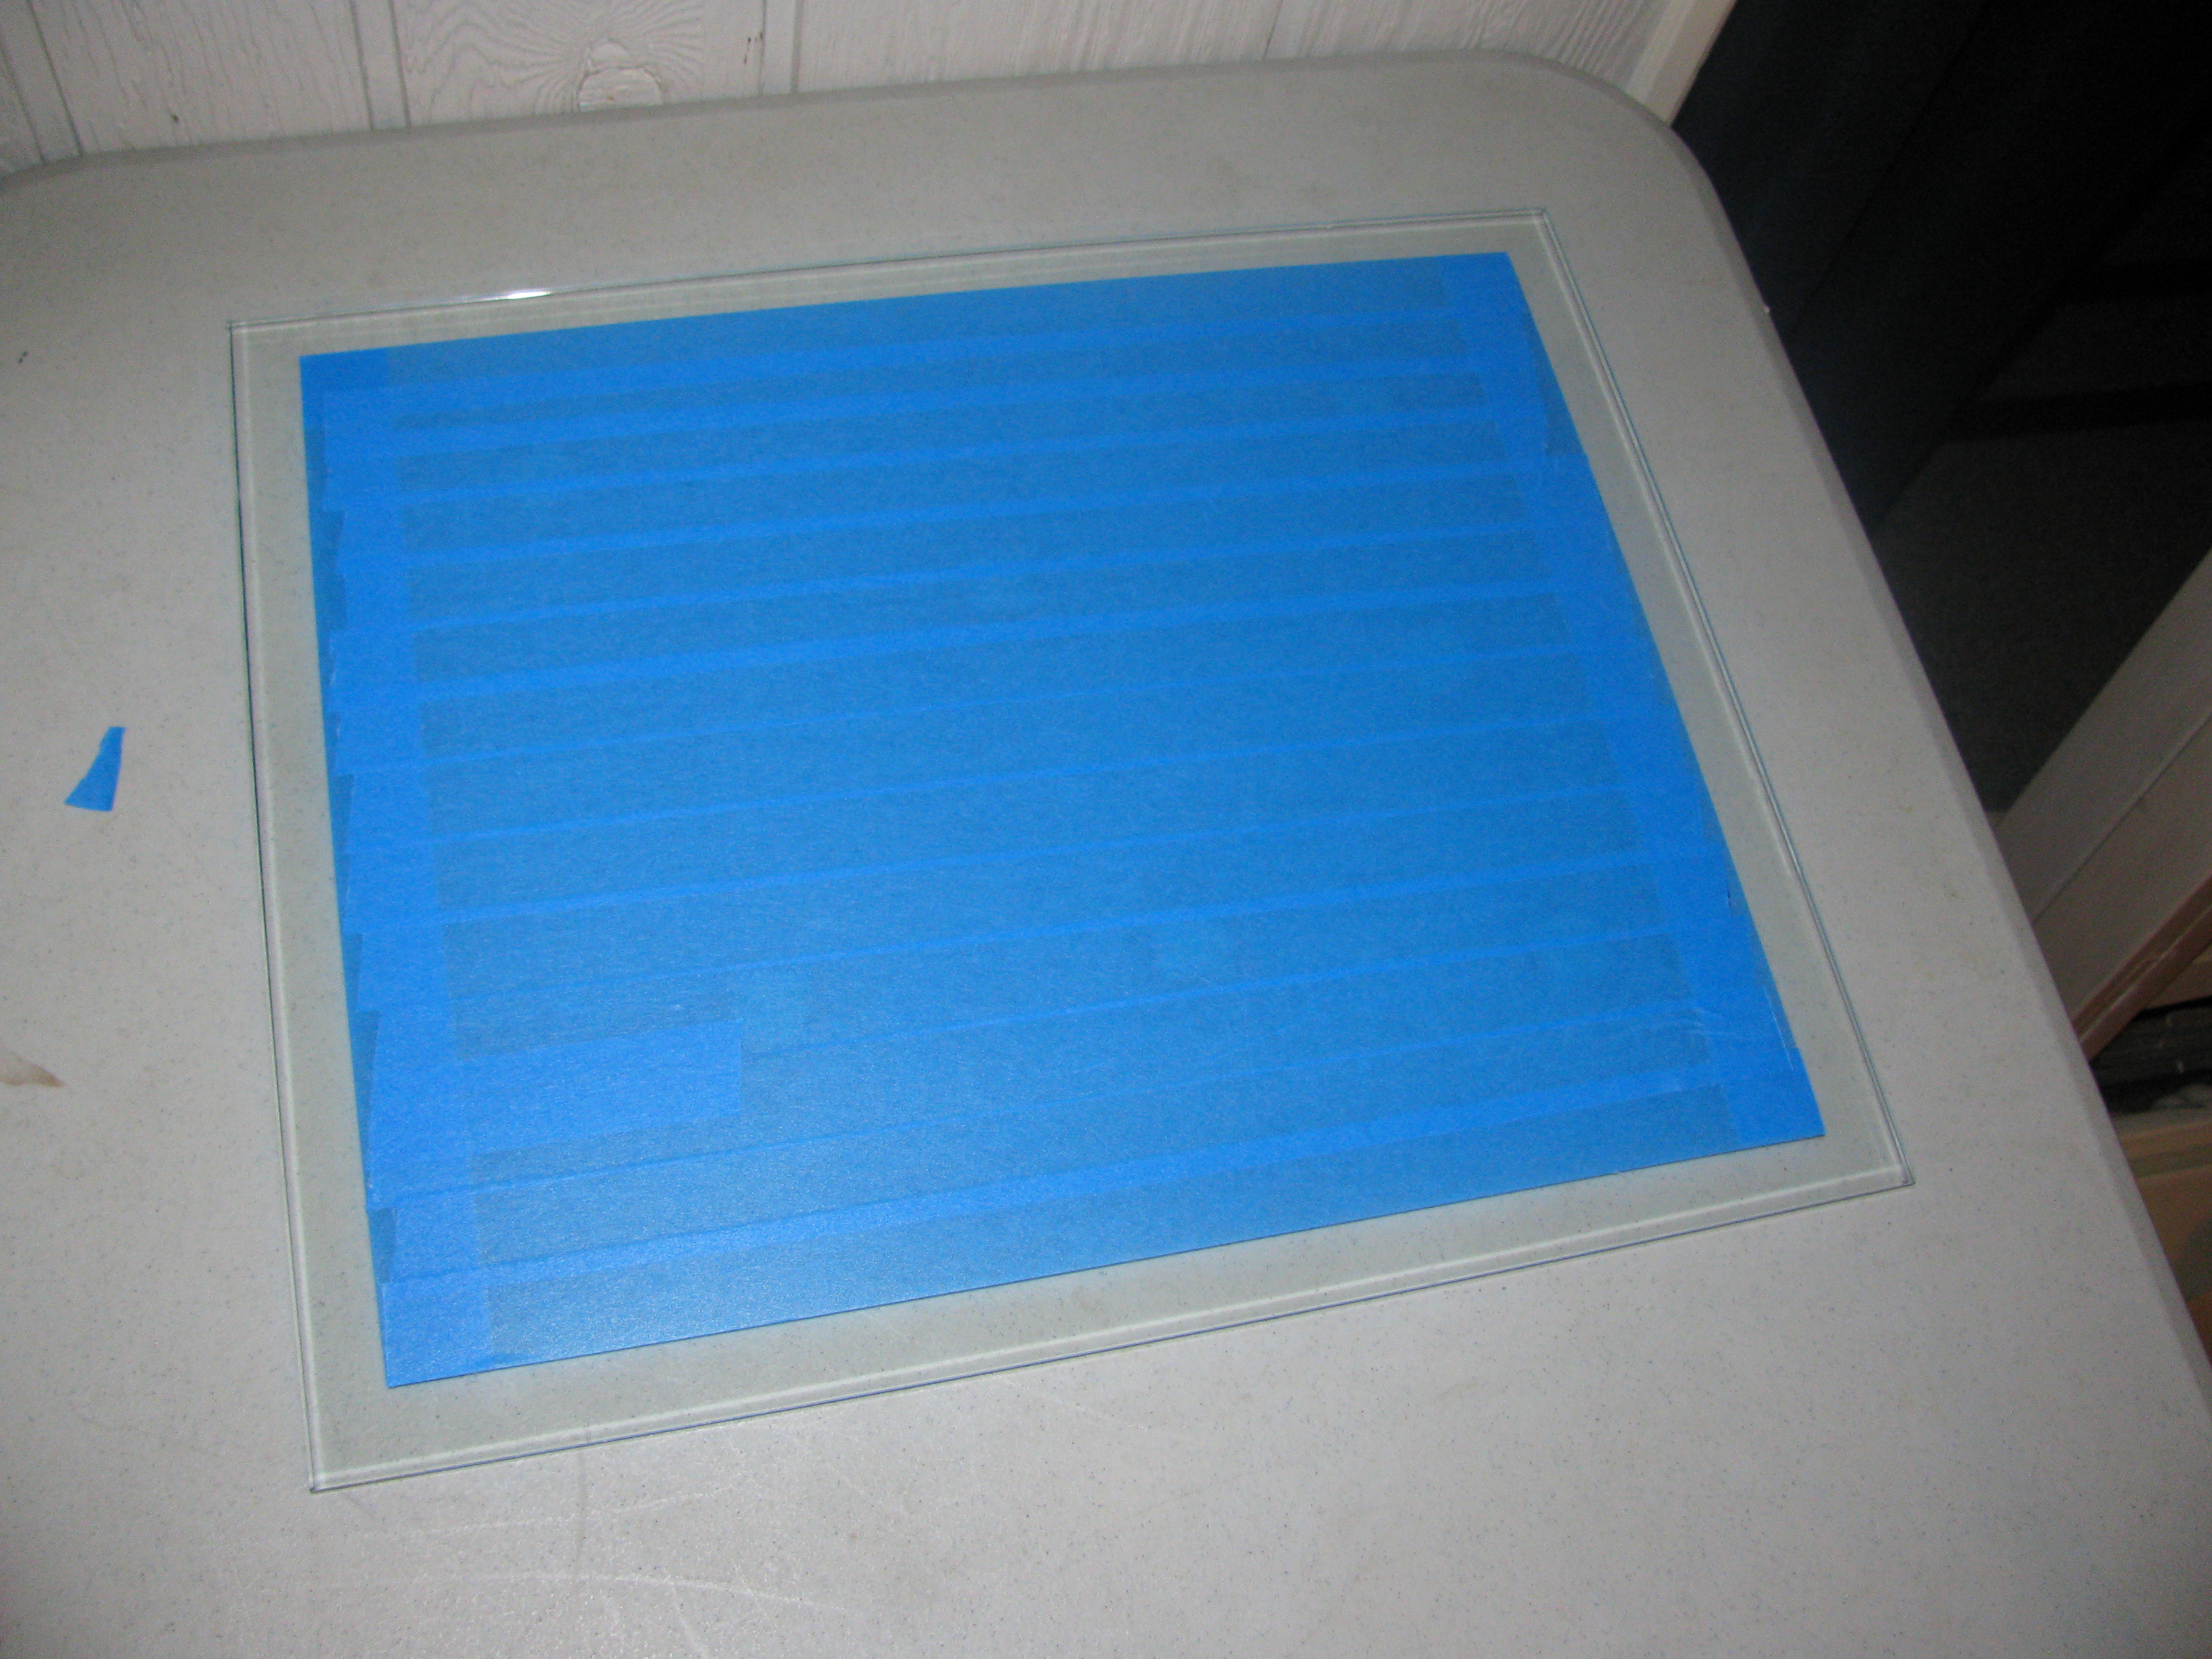
BackBox and Playfield Glass - 3/16th Tempered - Local Glass Company - $55
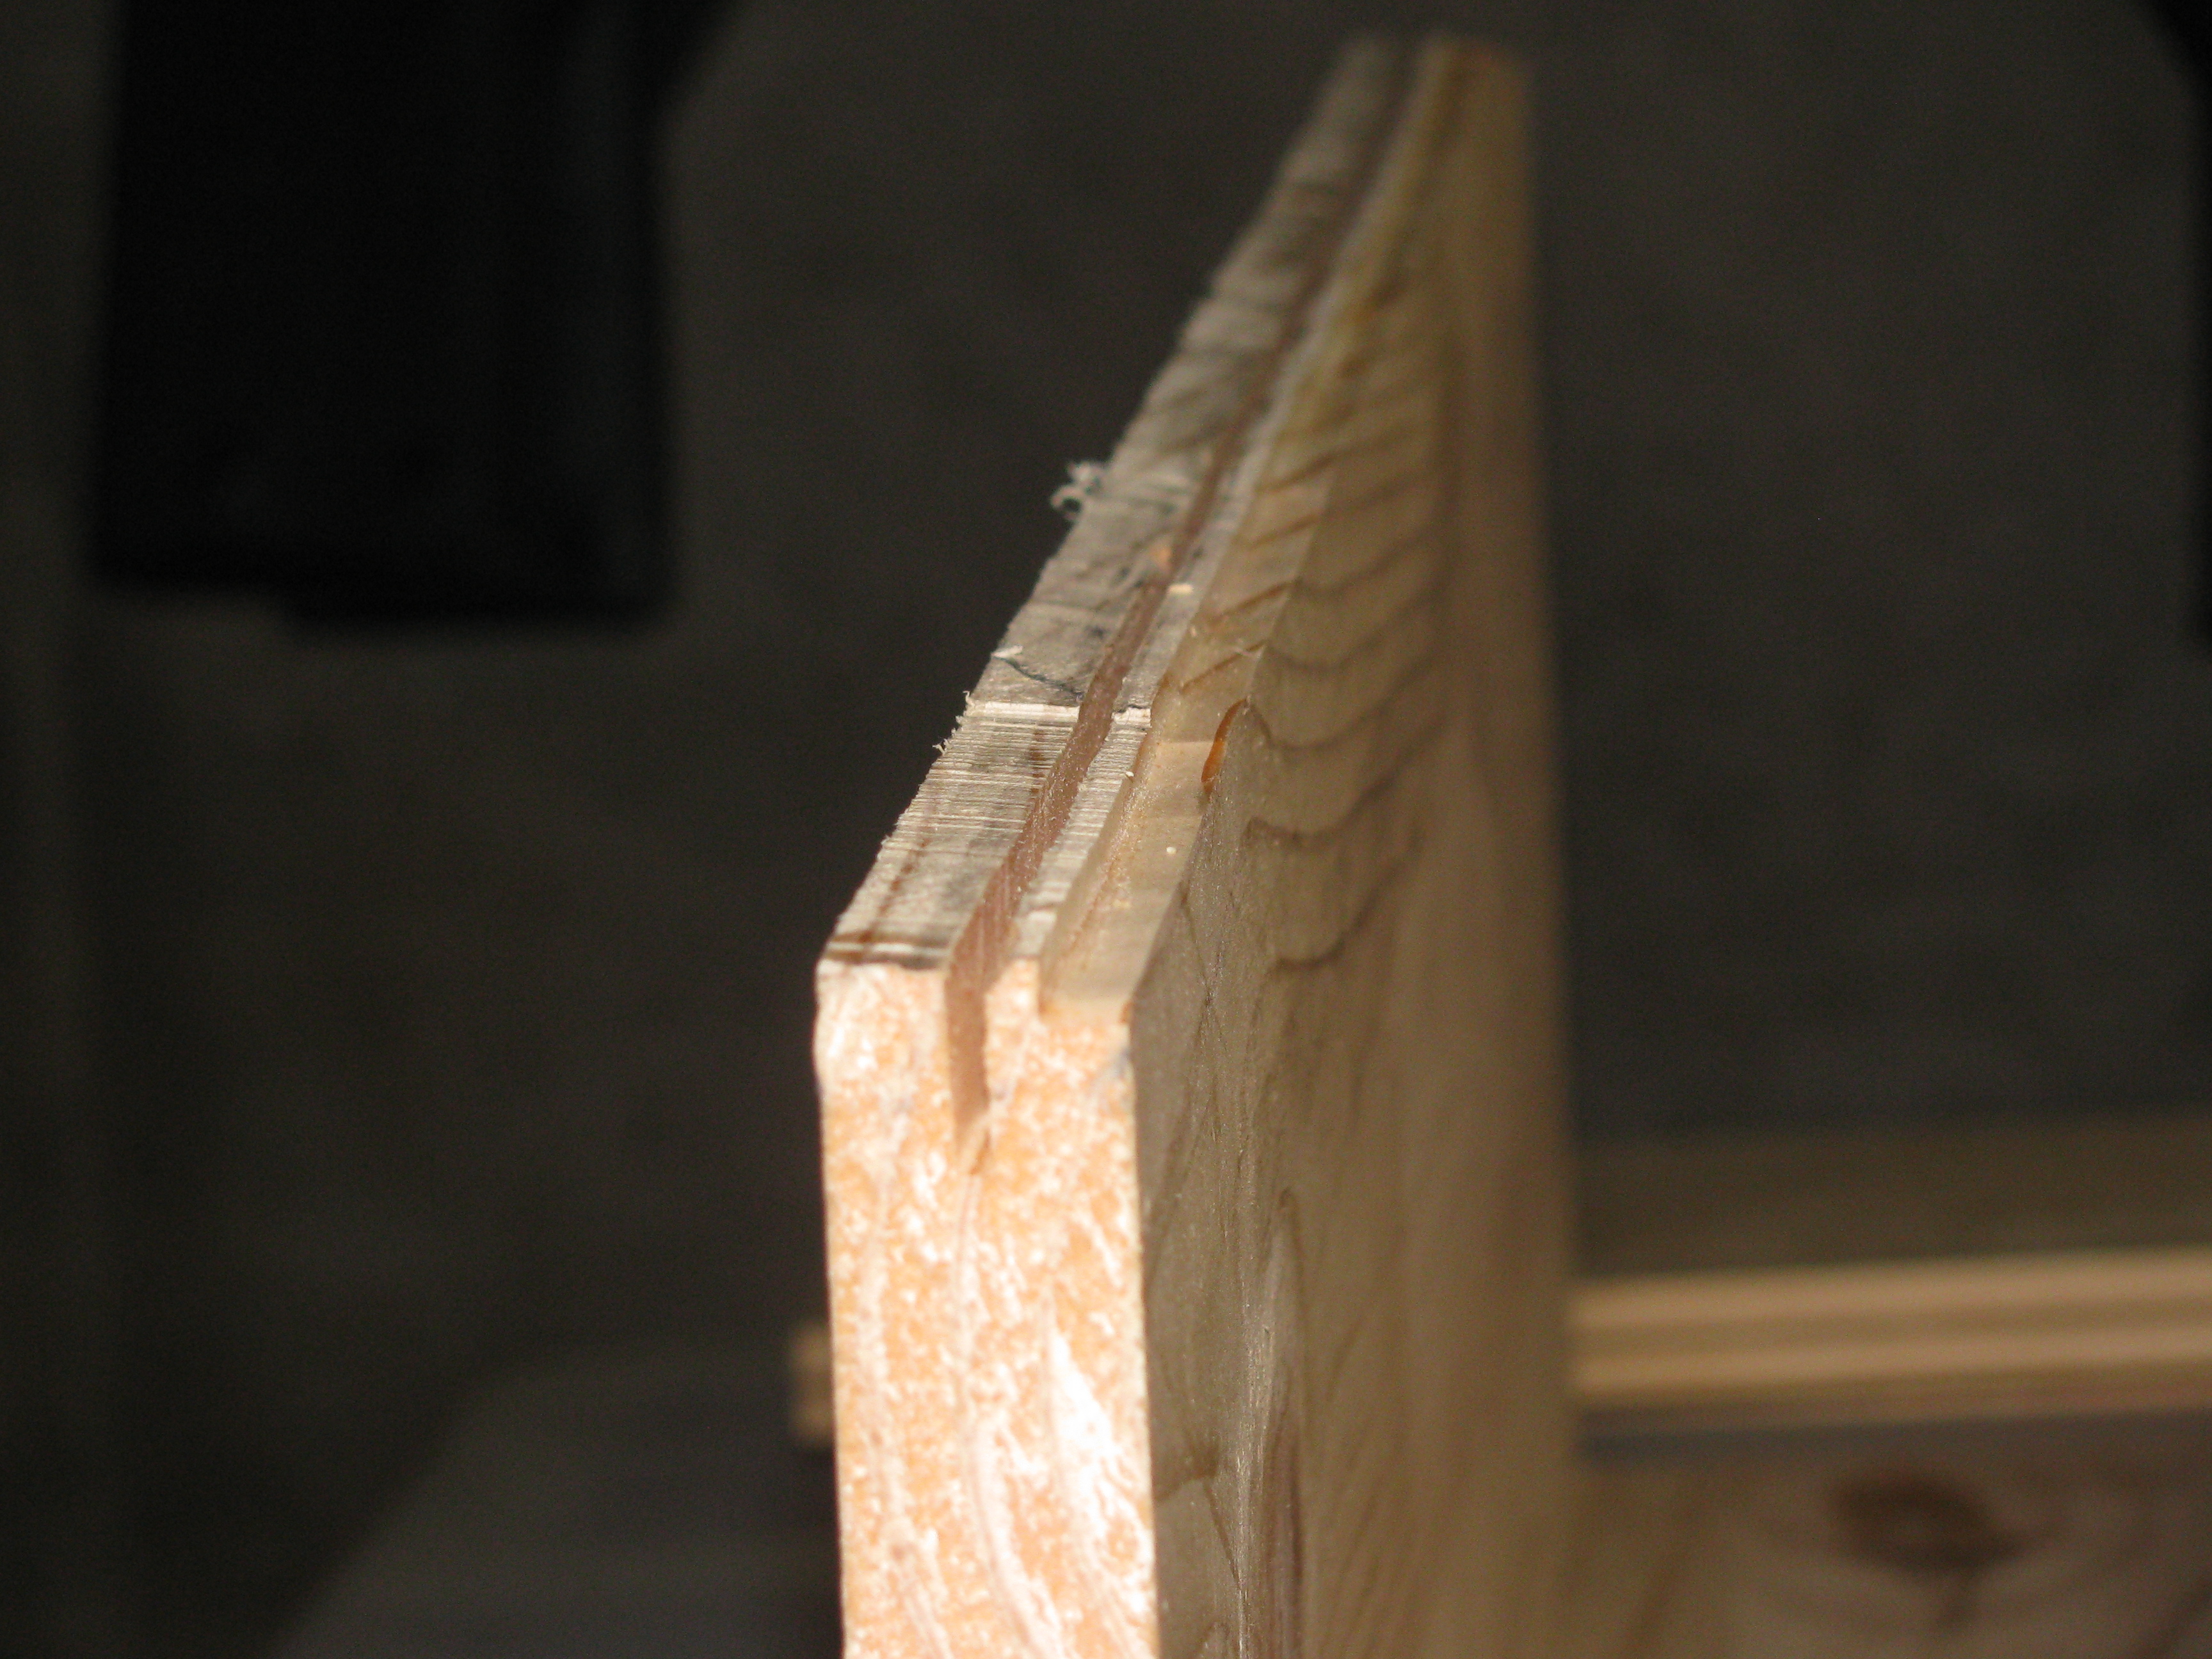
Cabinet Wood, Screws, Paint - 3/4 inch Pine - Home Depot - $75
Cabinet Art - http://www.gameongrafix.com - Design $90 - Printing/Shipping $78

On to some pics:

It's a good day when this box arrives.


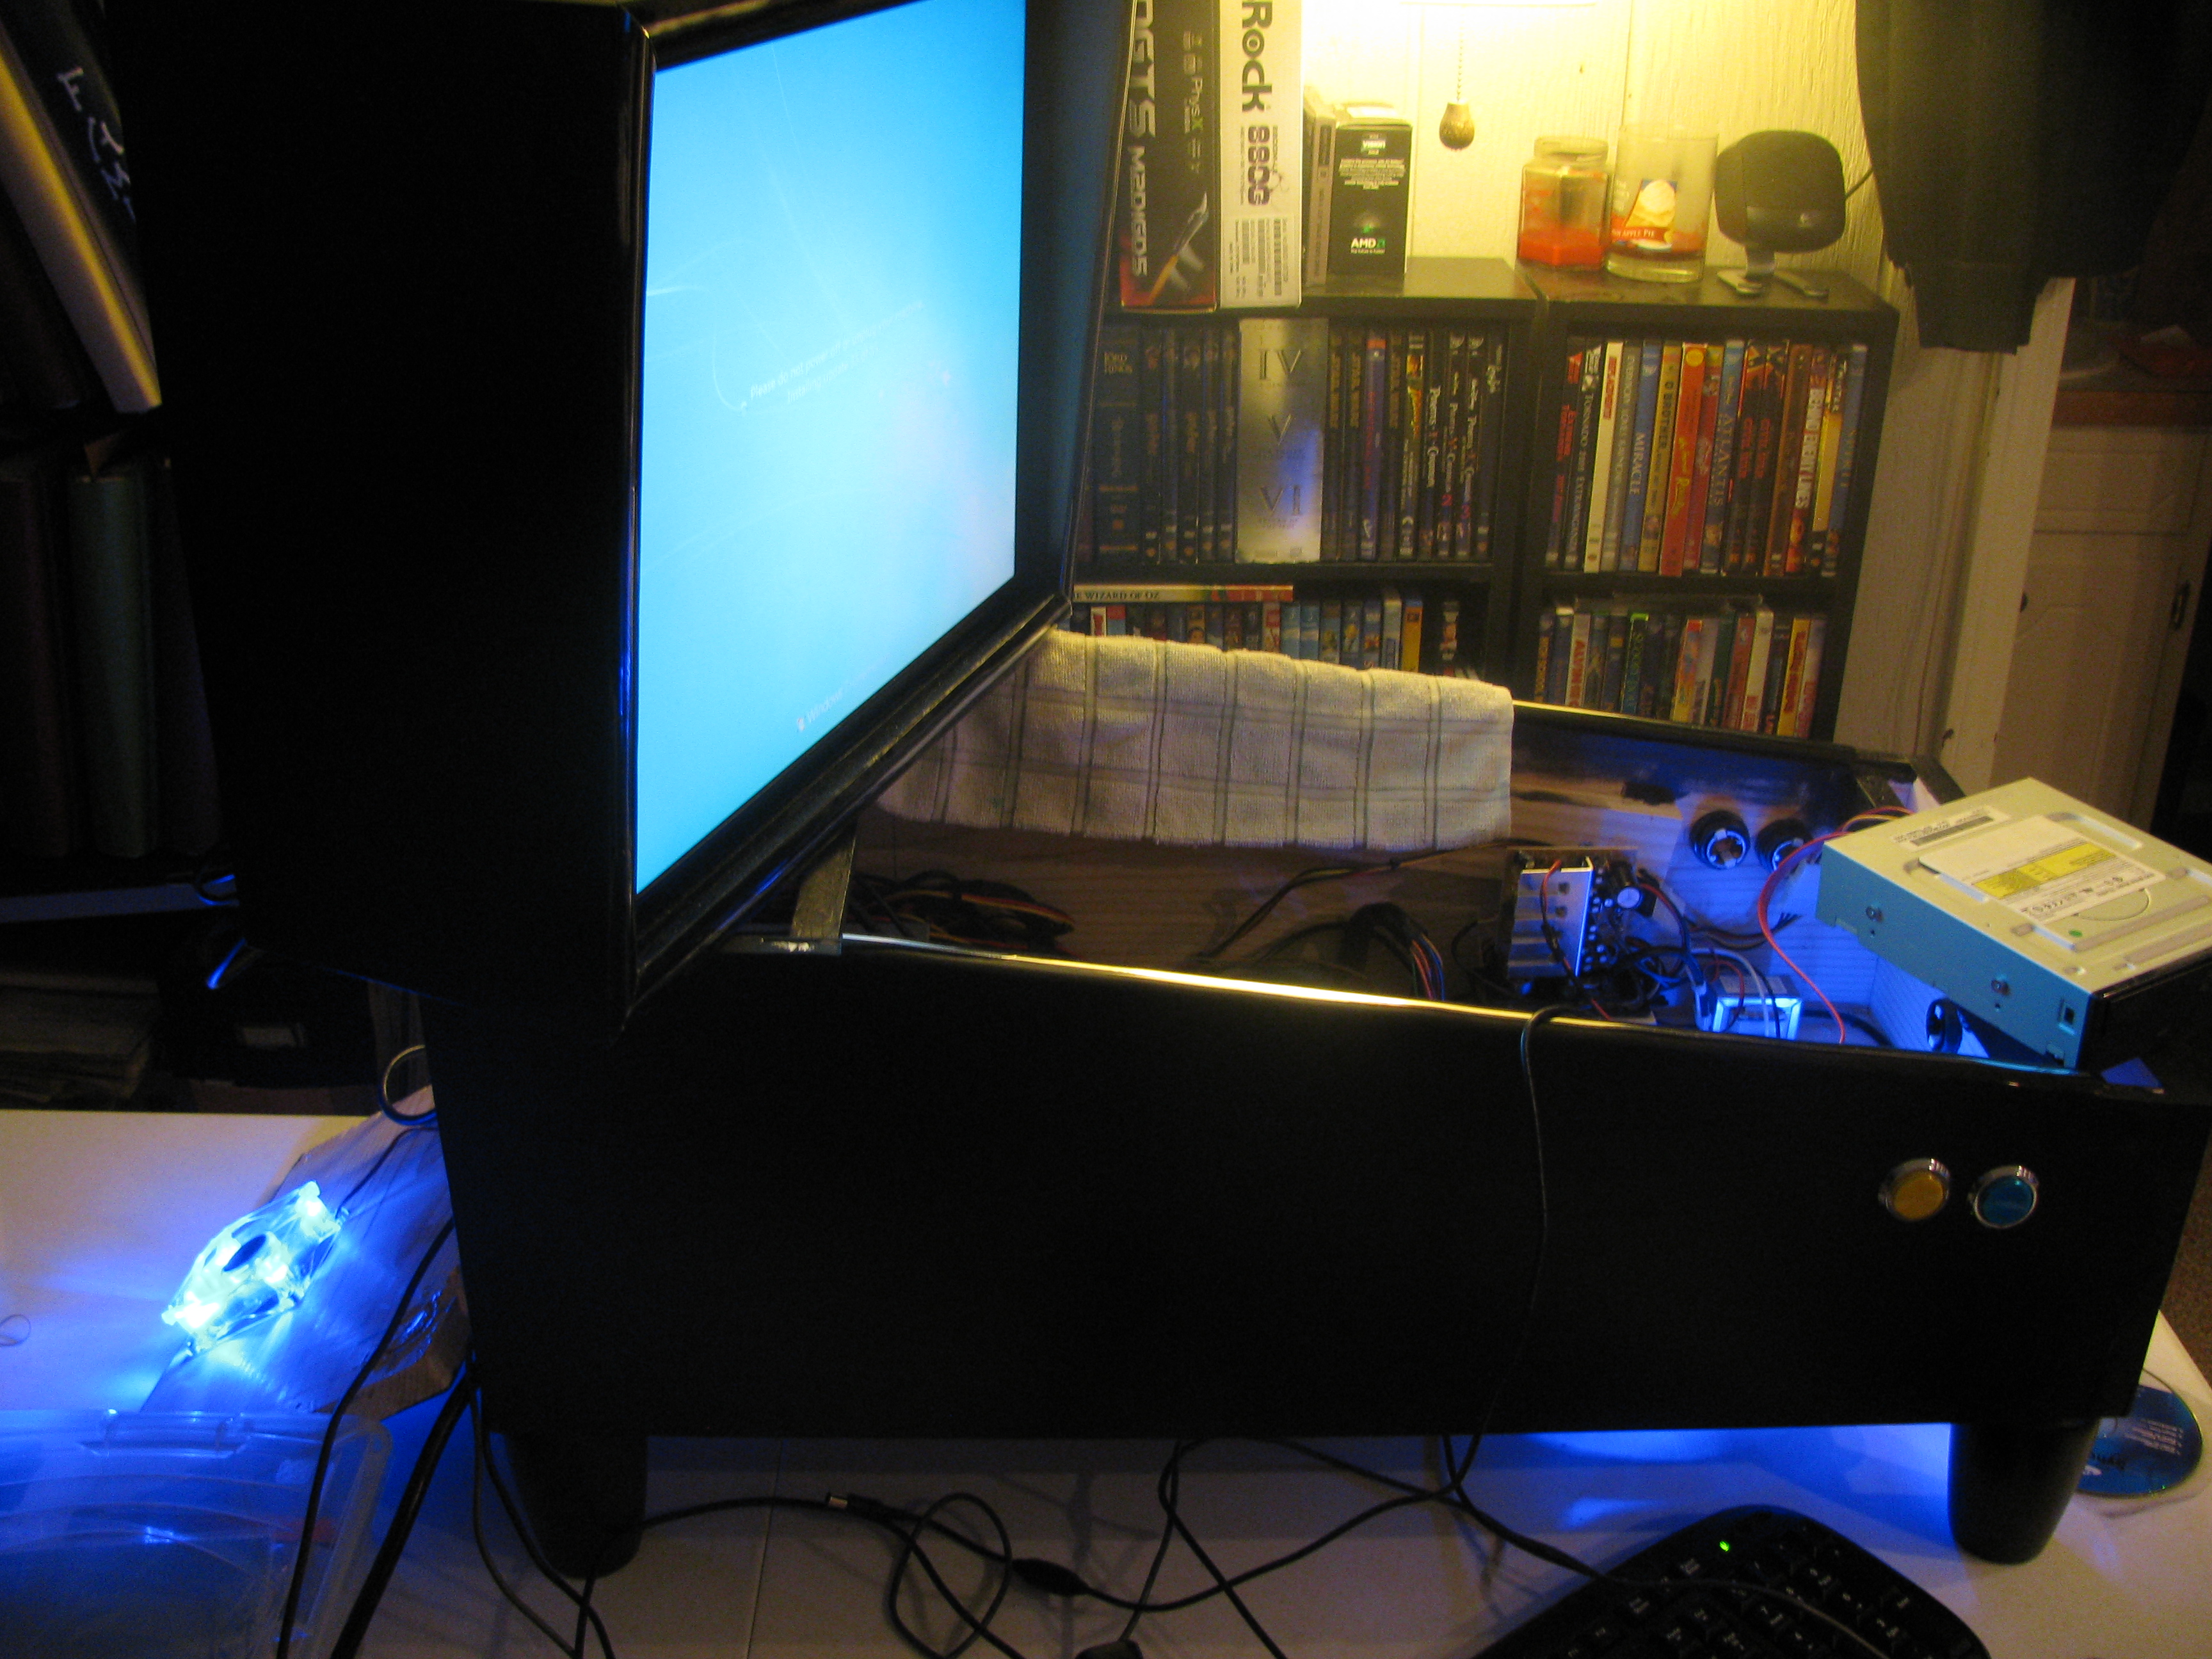
De-casing the playfield.


Here are my cab specs. I tweaked these a very minor amount as I built it so if anyone decides to use this you will want to review all of the measurements and make sure it is what you need. It should make an great starting point though. Credit goes to dexllgamer for posting his specs in this same format. I worked off of his measurements and adjusted as needed for my refinements and differing monitor dimensions.


Edited by Blitz17, 12 January 2011 - 10:05 AM.

Having a cabinet to play full screen pins is awesome! Check out my mini pin cab here on VPForums.


Processor: AMD Dual Core X2 Phenom 555 BE 3.2Ghz (OC to 3.5Ghz)
System Ram: GSkill Ripjaws 4G
Graphics Card: Asus Nvidia GTX460 (driver version 270.99) (OC)
SSD: 40G OCZ Vertex 2
Power Supply: Antec TruePower 750W
Operating System: TinyXP

#2 Blitz17

Blitz17

    Enthusiast

  • Members
  • PipPipPip
  • 376 posts
  • Location:Blue Springs, MO

  • Flag: United States of America

  • Favorite Pinball: Star Trek TNG - jpsalas

Posted 12 January 2011 - 10:10 AM

More Pics


The plan for the cab build is to route the top of the side edges for the playfield glass to lay in and to cover the glass seam with T-molding which will need the top of the sides routed as well. I was worried the wood wouldn't handle it but it turned out great.


I used melon's idea for building a lockdown bar from mdf.


Edited by Blitz17, 12 January 2011 - 10:13 AM.

Having a cabinet to play full screen pins is awesome! Check out my mini pin cab here on VPForums.


Processor: AMD Dual Core X2 Phenom 555 BE 3.2Ghz (OC to 3.5Ghz)
System Ram: GSkill Ripjaws 4G
Graphics Card: Asus Nvidia GTX460 (driver version 270.99) (OC)
SSD: 40G OCZ Vertex 2
Power Supply: Antec TruePower 750W
Operating System: TinyXP

#3 wildman

wildman

    Pinball Fan

  • Platinum Supporter
  • 617 posts
  • Location:massachusetts

  • Flag: United States of America

  • Favorite Pinball: all

Posted 12 January 2011 - 11:00 AM

cool.gif looks nice..............


#4 Lyanheart

Lyanheart

    Enthusiast

  • Members
  • PipPipPip
  • 178 posts
  • Location:Central Pennsylvania, USA

  • Flag: United States of America

  • Favorite Pinball: Gridiron

Posted 12 January 2011 - 02:55 PM

Beautiful work tup.gif

#5 Blitz17

Blitz17

    Enthusiast

  • Members
  • PipPipPip
  • 376 posts
  • Location:Blue Springs, MO

  • Flag: United States of America

  • Favorite Pinball: Star Trek TNG - jpsalas

Posted 12 January 2011 - 03:45 PM

More Pics


LEDs are wired up now.


Used RAWD's method of adding a nice bezel to the glass by taping it off and painting the back side. Looks nice and glossy on the front side.


Internal Layout


I have 2 mercury switches at the front of the cab on each side. The switches I got were not contained in anything, just the glass bulb with the mercury and a couple of leads. I placed them in a plastic wire strap and hot glued them in place. That way I had them in a plastic casing with a screw mount that would allow me to adjust the angle of the switch. I had a 3rd mercury switch for the center tilt but I managed to break the wire leads so I am going without it for now.


I had the cab on 6 inch legs with the plans of leaving on a table but after a weekend of play testing I didn't like it and others noted it was too high ... which it is was by about 6 inches. I removed the 6 inch legs and added full length wood legs. In doing so I was able to make sure the center of the flipper buttons are 34 inches off the ground which is the right height based on other forum posts. The legs are not that great to look at but my mini cab would not support real pin cab legs and this is much better than it sitting on the table.


My helper.


The back of the playfield monitor needed the PCB mounted to stay intact. I used wire tie mounts and wire ties to do the job.


Edited by Blitz17, 12 January 2011 - 05:00 PM.

Having a cabinet to play full screen pins is awesome! Check out my mini pin cab here on VPForums.


Processor: AMD Dual Core X2 Phenom 555 BE 3.2Ghz (OC to 3.5Ghz)
System Ram: GSkill Ripjaws 4G
Graphics Card: Asus Nvidia GTX460 (driver version 270.99) (OC)
SSD: 40G OCZ Vertex 2
Power Supply: Antec TruePower 750W
Operating System: TinyXP

#6 Rawd

Rawd

    Pinball Wizard

  • VIP
  • 4,311 posts
  • Location:Edmonton, Canada

  • Flag: Canada

  • Favorite Pinball: Triple Strike


Posted 12 January 2011 - 03:58 PM

Looks great man, nice work!

Love the dog.

Personally, I would re-think the legs. To me, it looks like it could topple over fairly easily? I prefer mini-legs on a mini-cab, so I can be lazy and sit while I play. smile.gif

What about 1" rubber legs, and back on the table?

Edited by Rawd, 12 January 2011 - 03:59 PM.


#7 Blitz17

Blitz17

    Enthusiast

  • Members
  • PipPipPip
  • 376 posts
  • Location:Blue Springs, MO

  • Flag: United States of America

  • Favorite Pinball: Star Trek TNG - jpsalas

Posted 12 January 2011 - 04:31 PM

Thanks Rawd for the compliments and feedback. I have added some additional bracing to the legs at the bottom and extended them outside the cab width a bit. I also have a small 2x2 post mounted on the underside of the cab and attached to the wall as a safety brace to make sure the cab doesn,t topple over. All of this supports the cab very well, assures it won't be toppled by normal use, and allows for the cab to still be nudged for tilting. You will see the final legs in the pics I have yet to post. I am very happy having the full sized legs. I could not find a table that had the same dimensions as the cab so I had extra table sticking out and the cab was 6 inches too high. Several play testers all mentioned the cab was too high even with it only being 6 inches too high. Anyways, I think it looks much better with the legs instead of the table under it and having the flipper buttons at the correct height it awesome. I have two bar stools as well so you can sit or stand. Works well.


Final Construction


To simulate a real cab I cut some 1/2 inch MDF to lay ontop of the playfield edge so that when viewing the finished product, where the playfield ends is met with wood rising vertically.


Playfield glass slides in place. It can be removed with the backbox in place.


Backbox in place. For some reason I did not get any photos of the backbox construction. Probably too many late nights in a row and I was pushing to complete the project. Not a whole lot to it. I wanted to note that I routed slots for the backbox glass to slide into. So there are slots on bottom, both sides, and top. To insert and remove the glass I simply remove the backbox top. These are the only cab screw holes not filled in and covered other than the ones on the back of the cab. Both the backbox back and cab backs can be removed for access. To mount the backbox monitor I used L brackets that mount to monitor and the backbox sides.


Adding side T-Molding to cover up playfield glass seams. Keeps glass in place.


Adding the lockdown bar.


Almost finished product. Just need to add the vinyl graphics to the cab when they arrive next week.


Volume button mounted underneath the cab.


Volume button, intake fan, bass speaker, bass adjust knob (black), PC power button (red), USB hub, Wireless USB Key


The backbox has vents which will intake air pulled from the cabs exhaust fan mounted directly below the backbox. There is a 3 inch hole on the inside bottom of the backbox for the power, monitor signal, and speaker cables to feed into from the cab. This hole allows the air to flow from the backbox intake vent holes and out the cabs exhaust fan.


Full range speakers on top of backbox. I will be covering this top piece with a vinyl graphic
.


Edited by Blitz17, 12 January 2011 - 05:12 PM.

Having a cabinet to play full screen pins is awesome! Check out my mini pin cab here on VPForums.


Processor: AMD Dual Core X2 Phenom 555 BE 3.2Ghz (OC to 3.5Ghz)
System Ram: GSkill Ripjaws 4G
Graphics Card: Asus Nvidia GTX460 (driver version 270.99) (OC)
SSD: 40G OCZ Vertex 2
Power Supply: Antec TruePower 750W
Operating System: TinyXP

#8 J3SteR

J3SteR

    Enthusiast

  • Members
  • PipPipPip
  • 494 posts
  • Location:Michigan

  • Flag: United States of America

  • Favorite Pinball: FunHouse,Tales From The Crypt, T2, Circus Voltair, Adams Family,MM

Posted 12 January 2011 - 04:41 PM

Nice work!

#9 Blitz17

Blitz17

    Enthusiast

  • Members
  • PipPipPip
  • 376 posts
  • Location:Blue Springs, MO

  • Flag: United States of America

  • Favorite Pinball: Star Trek TNG - jpsalas

Posted 12 January 2011 - 05:23 PM

I have modified Windows Welcome and Shutdown wallpaper to be my own HyperPin wallpaper. This along with some other tweaks removes nearly all indications that Windows is the underlining OS without actually replacing the shell. This leaves the full explorer shell available for working within the OS. I plan on writing up a full guide with the tweaks I have done for this. Also note that my green start button LED is not lighting. I will address that next week when I am applying the vinyl graphics.


Vinyl Graphics that should arrive soon.

Cab Side:

Backbox Side:

Cab Front:

Backbox Top:

Alright, that is it for now. I run UVP on most tables. With my build and running everything off of one video card I get some lag but it is very minimal. For me the UVP adds a lot to the experience. The mercury switches work well. They definitely let me save the balls which is great. I didn't want to use nudge buttons as I feel it reduced the realism. To keep the tables from tilting out due to the mercury switches registering multiple times in a row I set each tables tilt sensitivity to -99 in the script. They can still tilt out but it is more difficult.

Thanks to everyone for the comments and suggestions. I hope these photos and documentation help a fellow cab builder as everyone else posts have done for me.

Edited by Blitz17, 12 January 2011 - 05:29 PM.

Having a cabinet to play full screen pins is awesome! Check out my mini pin cab here on VPForums.


Processor: AMD Dual Core X2 Phenom 555 BE 3.2Ghz (OC to 3.5Ghz)
System Ram: GSkill Ripjaws 4G
Graphics Card: Asus Nvidia GTX460 (driver version 270.99) (OC)
SSD: 40G OCZ Vertex 2
Power Supply: Antec TruePower 750W
Operating System: TinyXP

#10 NicToria

NicToria

    Enthusiast

  • Gold Supporter
  • 133 posts
  • Location:Iowa.

  • Flag: United States of America

  • Favorite Pinball: Judge Dredd. Funhouse.. LOTR. Bad Cats, SM..T-2 .. Eight Ball Deluxe LE. Mousin Around

Posted 13 January 2011 - 12:23 AM

Amazing job.. NICE>>> cool.gif

Thanks for showing a ton of the details and products used. .And the pictures make it alot easier to understand each process along the way...

Edited by NicToria, 13 January 2011 - 12:29 AM.


#11 Blitz17

Blitz17

    Enthusiast

  • Members
  • PipPipPip
  • 376 posts
  • Location:Blue Springs, MO

  • Flag: United States of America

  • Favorite Pinball: Star Trek TNG - jpsalas

Posted 07 February 2011 - 05:26 AM

I upgraded the main speakers to 4 inch car speakers from the little 2 inch PC speakers. I get a much fuller sound and the PC speakers were distorting some at high volumes and that is gone now. Swapped out the back 80mm fan for a 120mm. Twice the cooling and the same amount of fan noise. It dropped the cab temp by 4 degrees C. Up to 135 tables and counting. At this point I can say that my cab is 100% done.

Pictures with the side art.


Having a cabinet to play full screen pins is awesome! Check out my mini pin cab here on VPForums.


Processor: AMD Dual Core X2 Phenom 555 BE 3.2Ghz (OC to 3.5Ghz)
System Ram: GSkill Ripjaws 4G
Graphics Card: Asus Nvidia GTX460 (driver version 270.99) (OC)
SSD: 40G OCZ Vertex 2
Power Supply: Antec TruePower 750W
Operating System: TinyXP

#12 NicToria

NicToria

    Enthusiast

  • Gold Supporter
  • 133 posts
  • Location:Iowa.

  • Flag: United States of America

  • Favorite Pinball: Judge Dredd. Funhouse.. LOTR. Bad Cats, SM..T-2 .. Eight Ball Deluxe LE. Mousin Around

Posted 07 February 2011 - 07:35 AM

The graphics turned out cool.... good.gif

#13 maceman

maceman

    Home Pinball Machine Collector/ Restorer

  • VIP
  • 2,271 posts
  • Location:Canada, Eh!

  • Flag: Canada

  • Favorite Pinball: ....**Haunted House**....


Posted 07 February 2011 - 03:29 PM

Looks awesome!!!

I am looking forward to getting to this stage, but I am still far off!!
________________________________________________________________________________
Canada Eh!
hm_avatar.pngss_avatar.jpg MODS ys_avatar5.jpggenie_avatar.pngj2o_avatar.png

#14 weshareallways

weshareallways

    Hobbyist

  • Members
  • PipPip
  • 27 posts

  • Flag: Canada

  • Favorite Pinball: spirit of 1976

Posted 20 August 2012 - 08:51 AM

[quote name='Blitz17' date='Jan 12 2011, 05:54 AM' post='95359']


hi love youre build. can you please explain exactly what is Micro-Leaf Switch for the puch bottons. is this what makes the real life like soud Im confused . thanks and what about the True-Leaf Pro is that the same but better. they don't explain properly on the webpage. and can you please explain just how did you fix the playfield display to the cabinet and the back glass as well , just how did you hook the up so they don't move in the bab , and would you do anything different now .

#15 djcpe

djcpe

    Enthusiast

  • Members
  • PipPipPip
  • 159 posts
  • Location:Ohio, USA

  • Flag: United States of America

  • Favorite Pinball: Metallica, Wizard of Oz, Star Trek

  • PS3 Gamer Tag: Escape4
  • 360 Gamer Tag: Escape4

Posted 23 August 2012 - 01:46 AM

Awesome job Blitz!! Love this one!