





Looks like video embedding only supports junk like Youtube; but lookie:
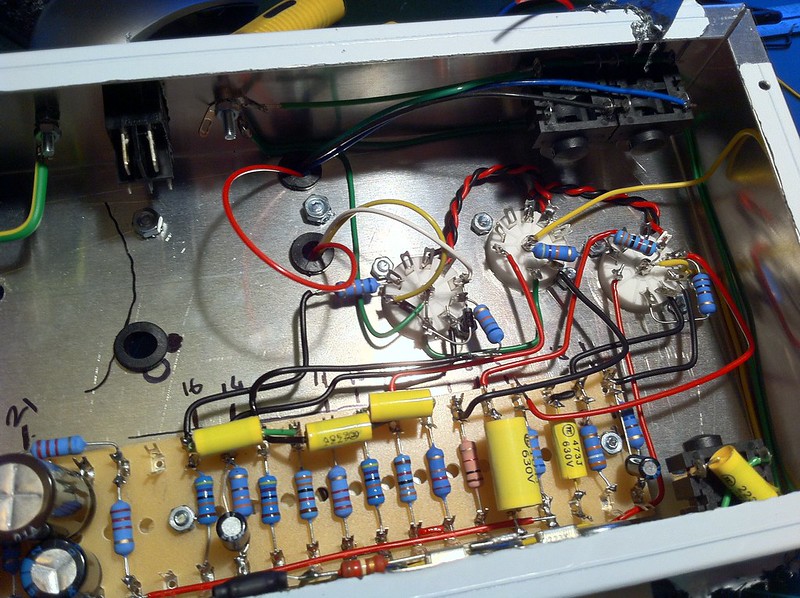
This is the coin accepter powered by a lipo attached to an opto coupler powered from 5V using two LEDs as a voltage divider to drop to around 2.6V for the 3V opto. all grounds tied together.
The other side of the opto is connected between +5V and 'button' on the EG Start button dingle.
This then connected to usb on my laptop running:
jstest --event /dev/input/js0 | grep "number 0"Which only looks at events from the button I'm interested in.
https://cat.scot/coi...ceptor_test.mov is the result.
Drop 10p in the slot and I see a button press in software.
If I can work out a rational way to solder this mess up I should have genuine coin-op.
I watched the video, yes, pretty-cool. I get it ... if you are going to have an authentic coin-door you want it to operate like a real one (like the one at the bar).
So, they make these little hole-thru-solder project PCBs. So you don't have to solder every little connection. You can have headers. I put mine in inexpensive plastic boxes. I would also suggest drawing on a piece of paper ... the schematic or at least a block-diagram. That should help for a cleaner final build of the interface.
Since you like this kind of stuff ... I predict you are gonna like setting-up SSF, Pinscape buttons, Nudge, and DOF (lights and toys).
However, I suggest you brain-storm and write-down all these cool ideas. Save them for later. Ask yourself if they need to be done now or can they just be an upgrade later.
Make another list of things that need to get done so that you can call your cabinet "Version 1.0". Like where you can walk-up to it and just play it ( not work-on or even tinker). Just a suggestion, but maybe work on that "harder" list of things that contribute to that more primary-goal. Cross them off as you complete them, and keep that list until they are mostly done and you make a new list.
Edited by Tesla, 21 November 2025 - 04:04 PM.
 Top
Top








 are all trademarks of VPFORUMS.