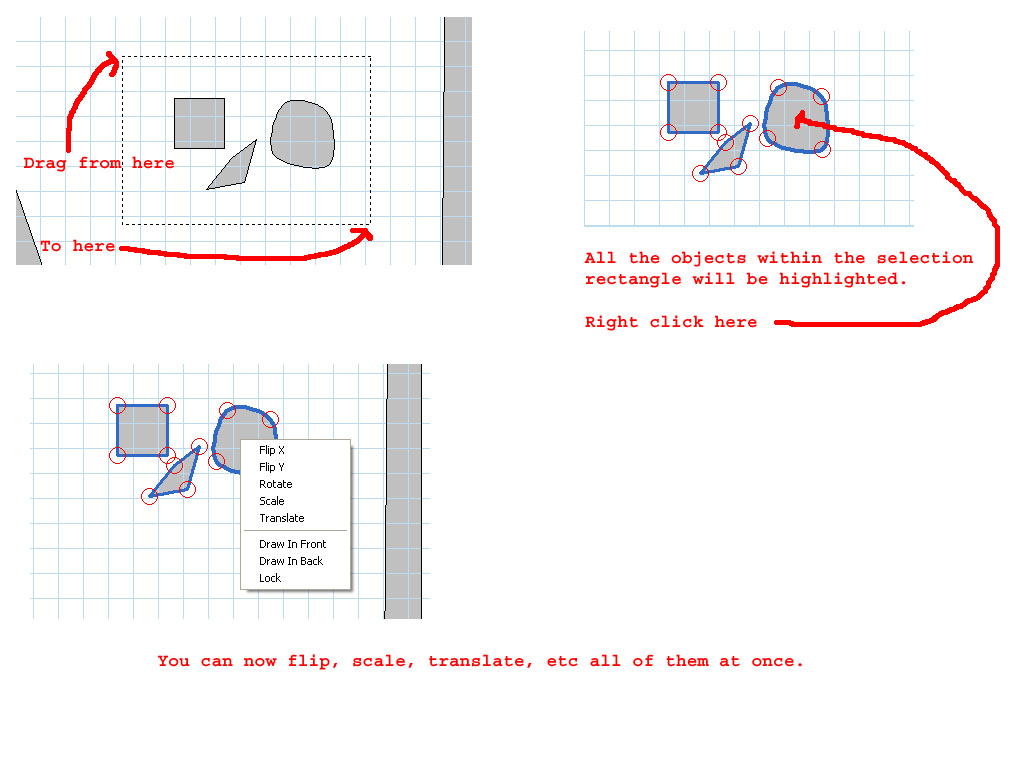
that was a very good guide on how to make perfect circles. i tried it out and it worked perfectly.
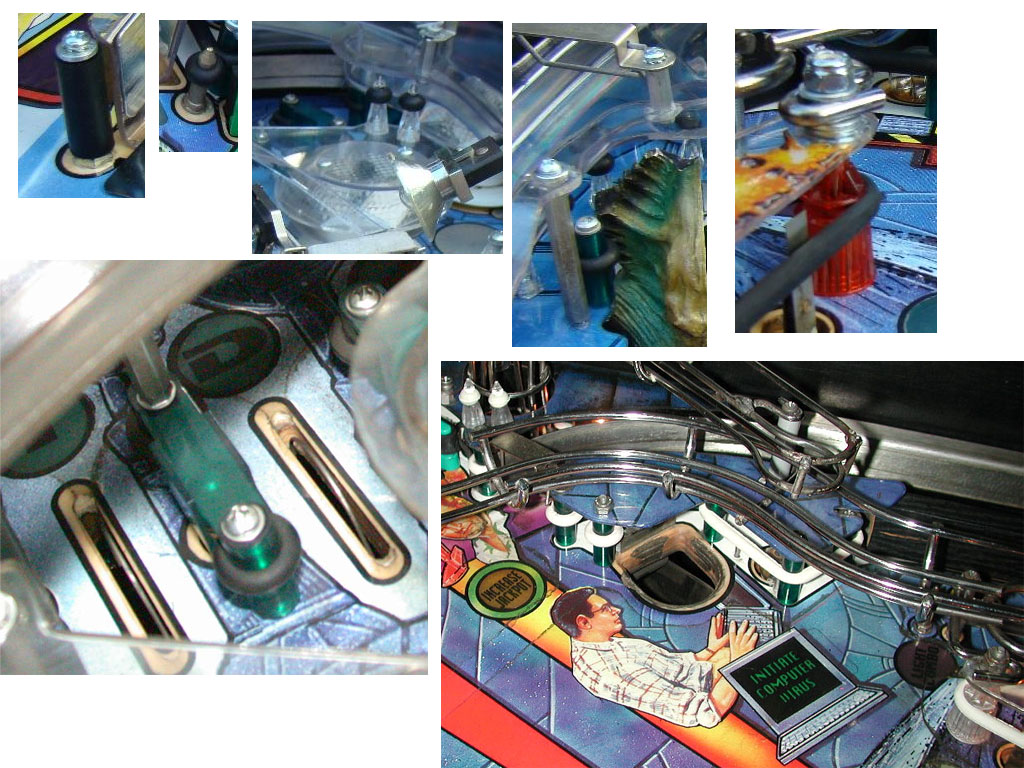
just to confirm.. should we be trying to replicate those post images yet or is there a certain way to make those.
Yeah, as Noah said, go ahead and give it a try.
Posts are usually set to 50
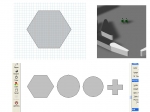
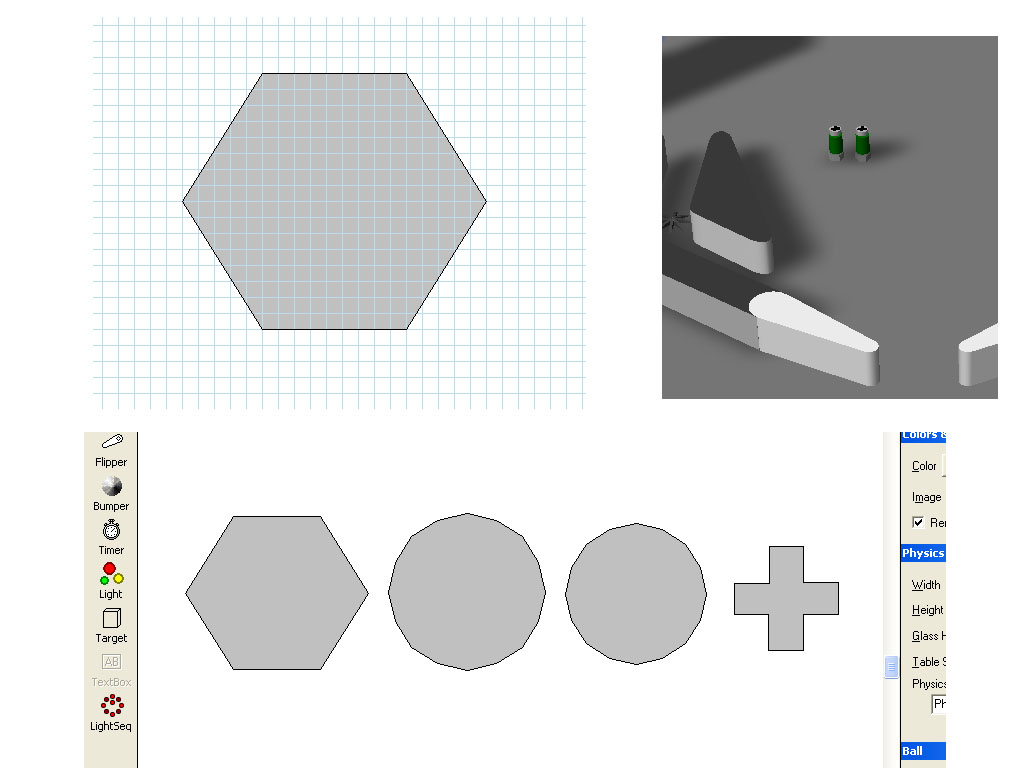
VP units high which match the height of the ball. Go ahead and try a simple one first. The one in the upper left corner has a nut on the bottom, then a round cylinder and then a screw on the top. For the nut on the bottom, make the height go from 0 to 10 and see how that works. The cylinder above would go from 10 to say 40 and finally the scew on the top would be 40 to 49. You can the attempt to make a black cross shaped for the top of the screw and have it go from 49 to 50. Go ahead and experiment with different radius and heights and see what you come up with.
Here's an example I put together somewhat quickly. For the nut, I turned the grid on and set it to 1 for the size (see upper left image in picture). To the right is how the object looks in
VP when rendered. At the bottom are the pieces that make up the object:
Edited by wtiger, 21 April 2009 - 03:14 AM.


 Contributor
 )
)


 are all trademarks of VPFORUMS.