This cabinet build is the 100% complete opposite of my cabinet build.
Where yours is a work of perfection in every way, mine was more like.
1. Find old used pinball cabinet.
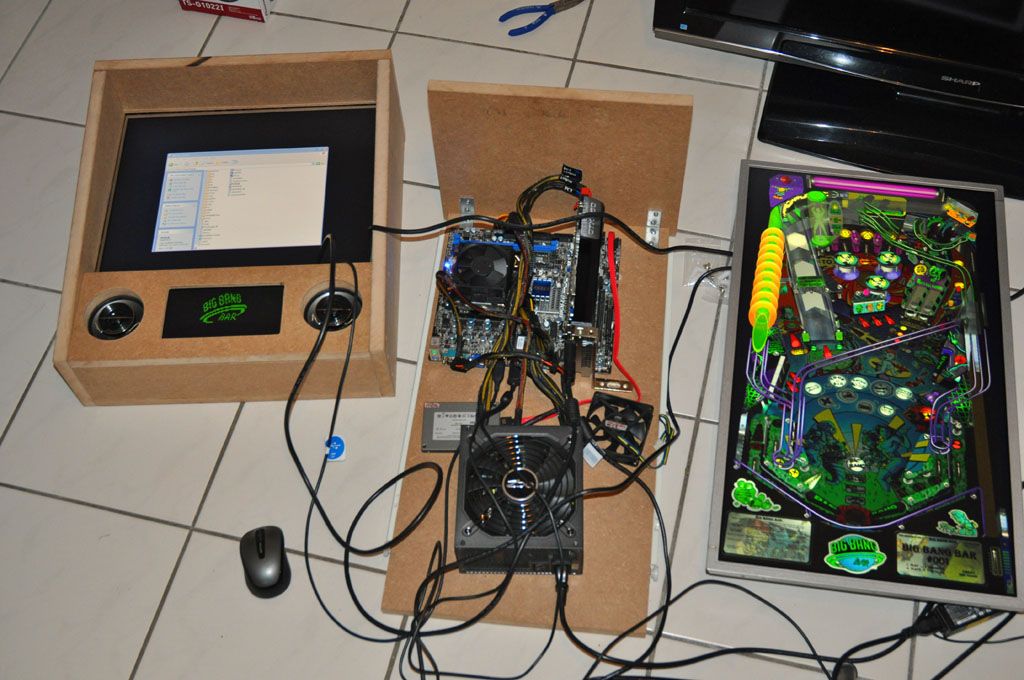
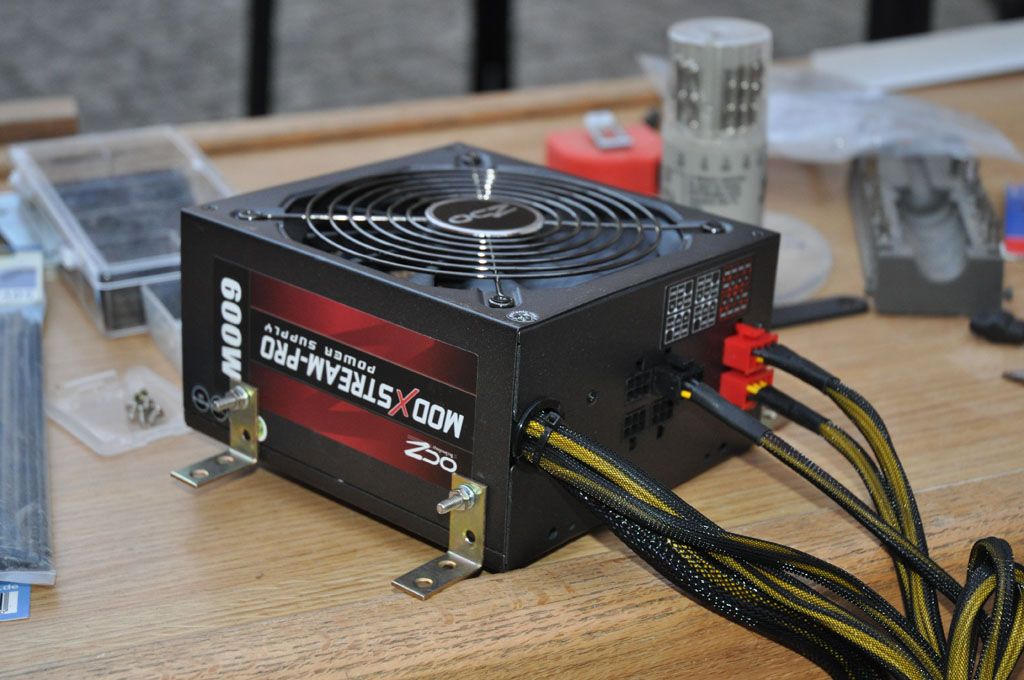
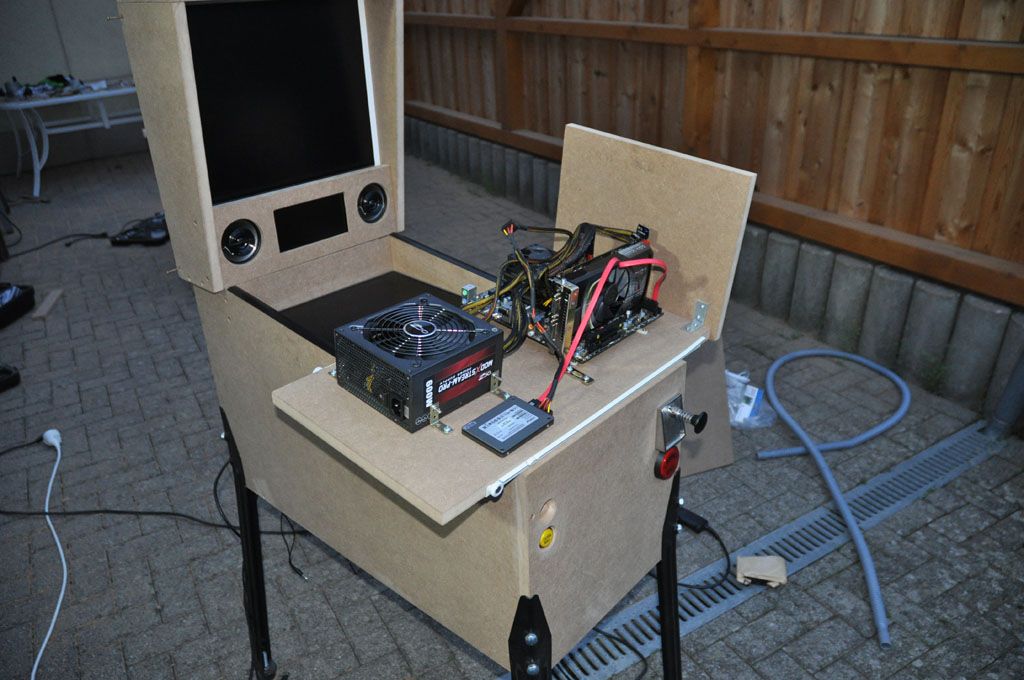
2. Stuff a computer in the bottom as fast as possible.
3. Run wires everywhere as fast as possible.
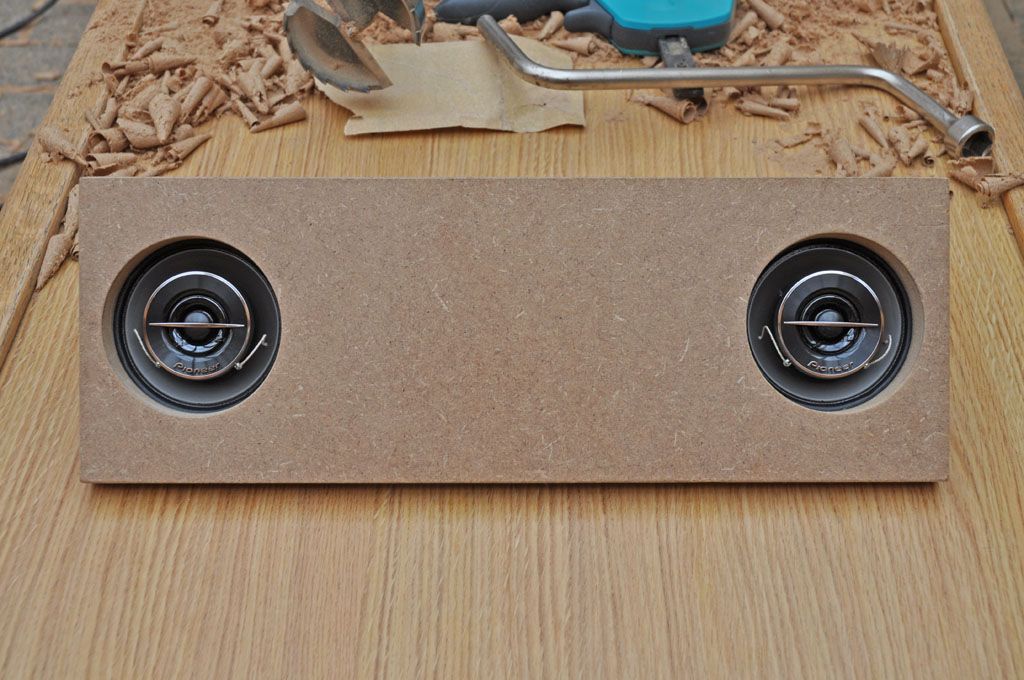
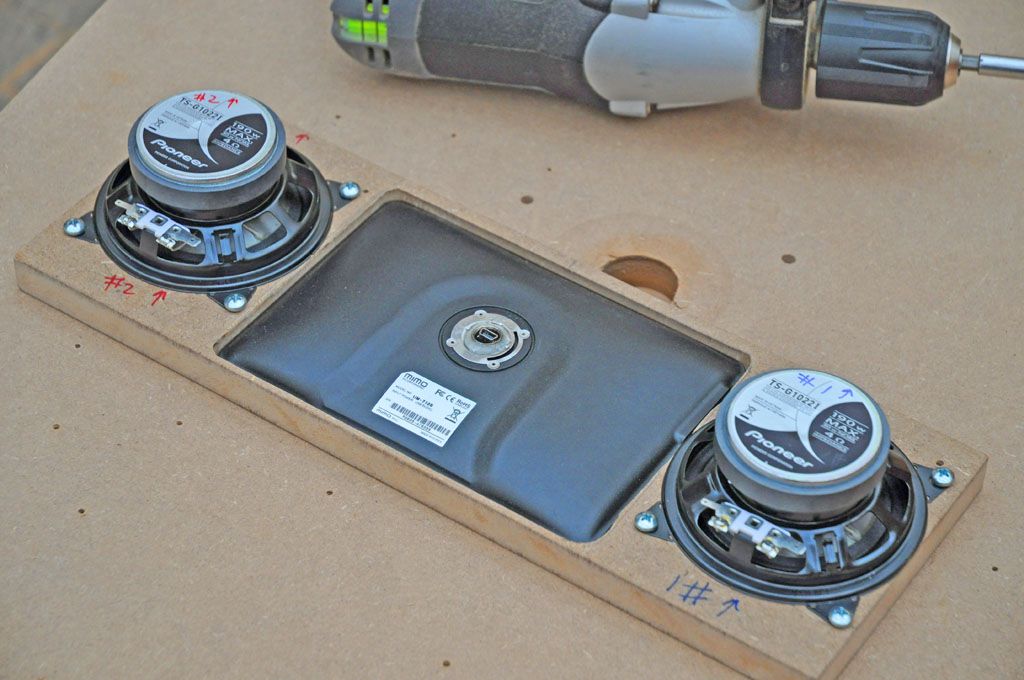
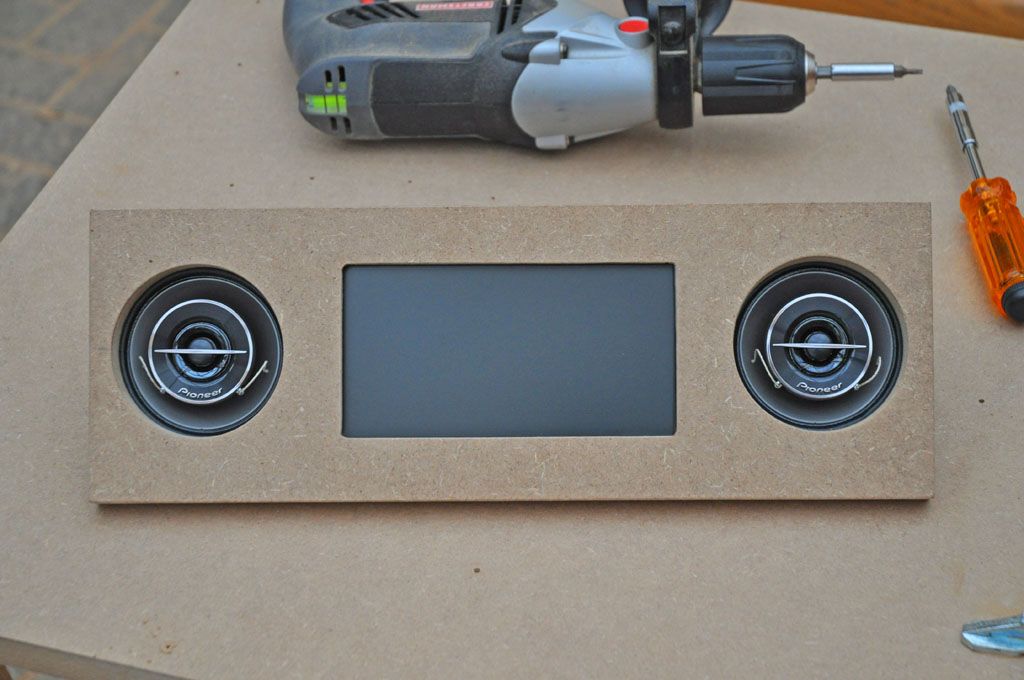
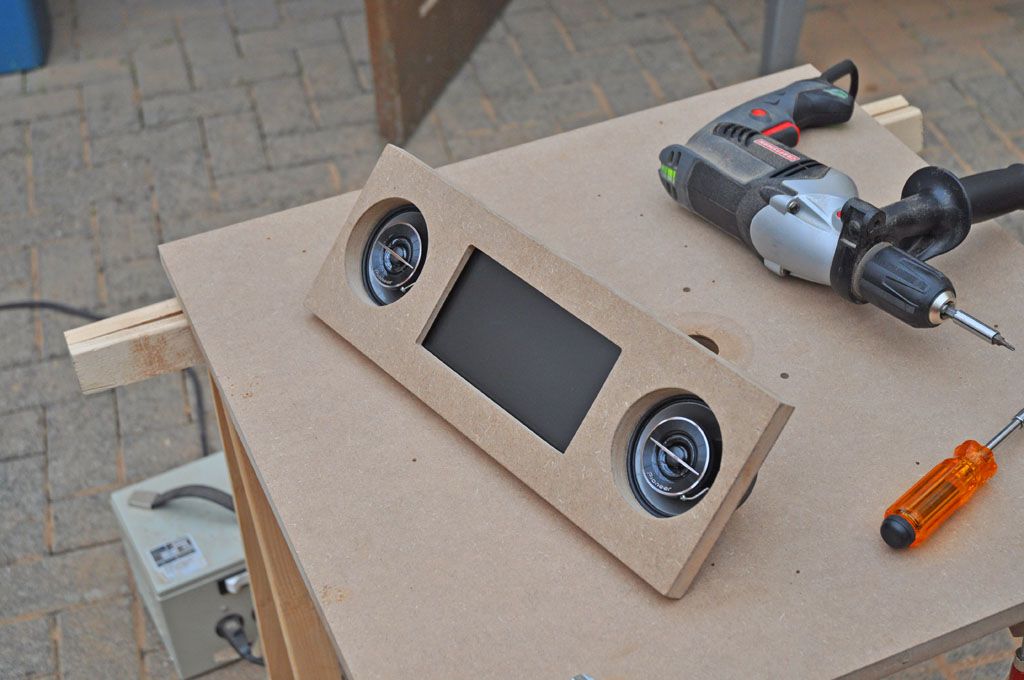
4. Stuff in a 2.1 speaker system.
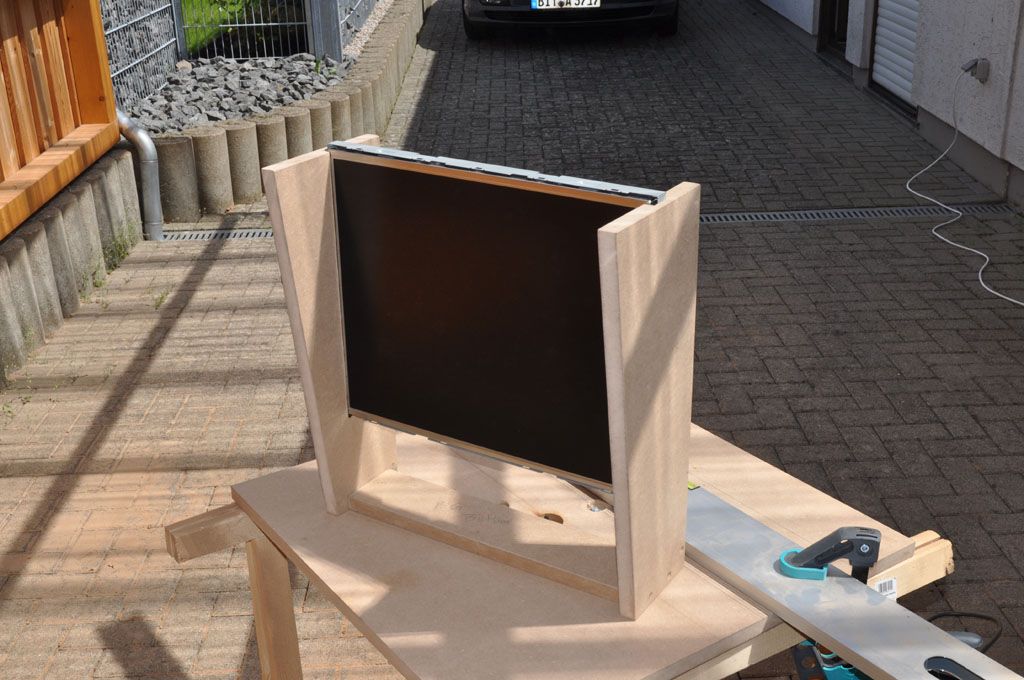
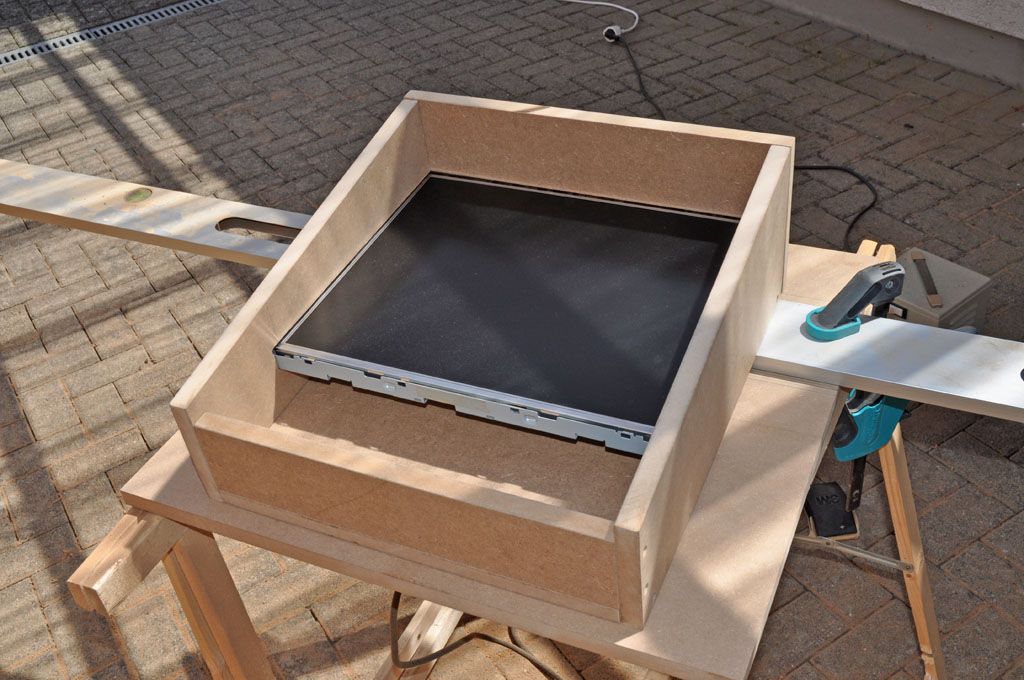
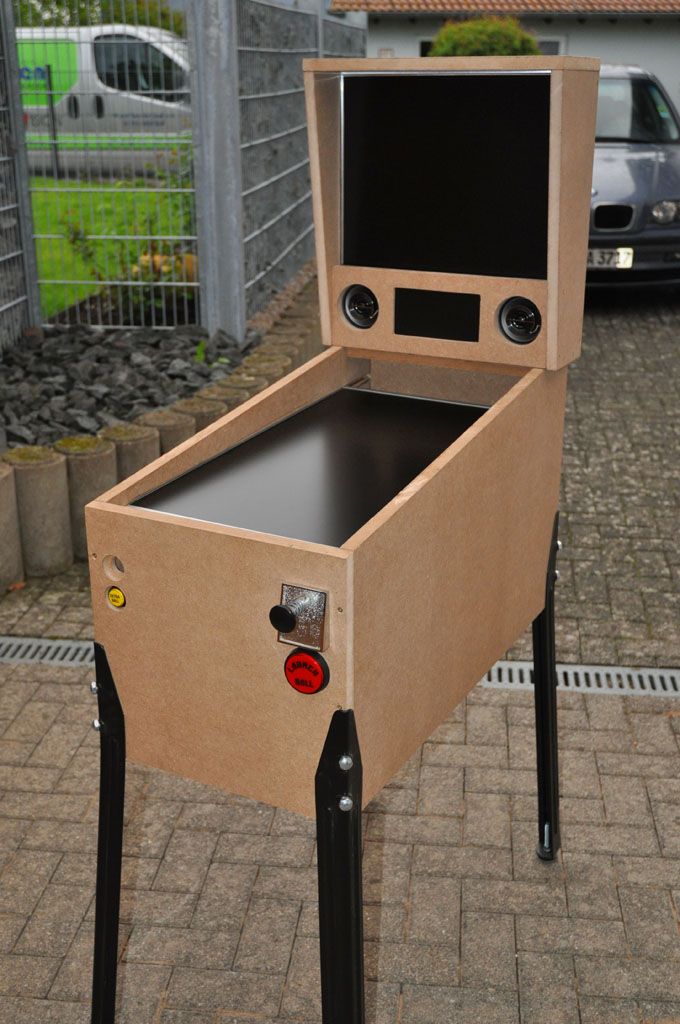
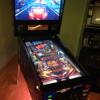
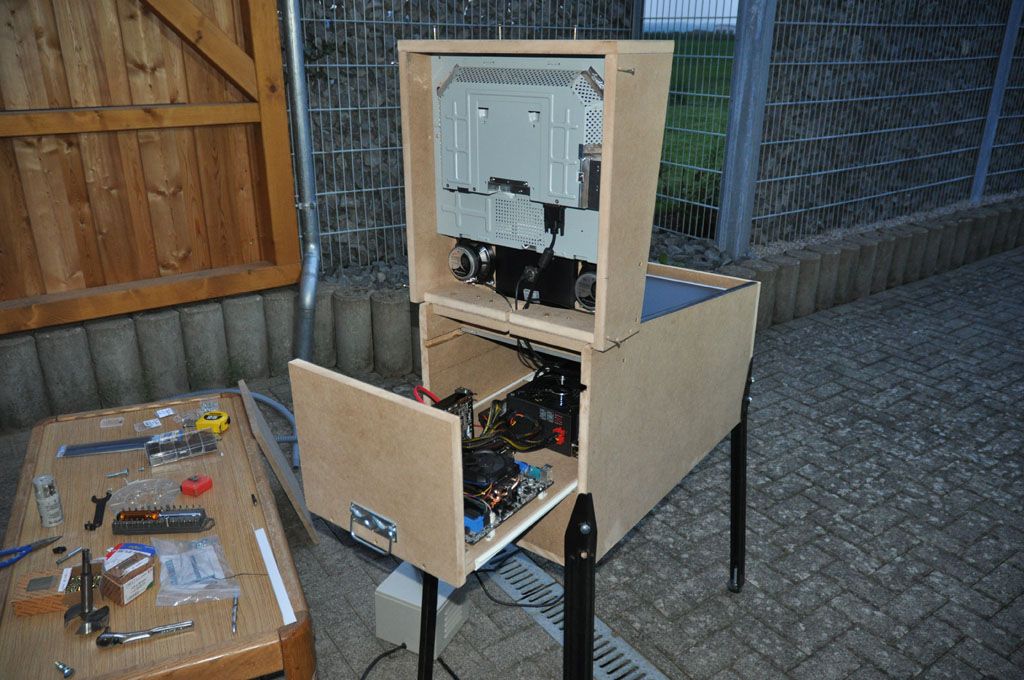
5. Slap a monitor in the backbox.
6. Cram a monitor in the front.
7. Play pinball.
8. Slowly update things while playing pinball constantly.
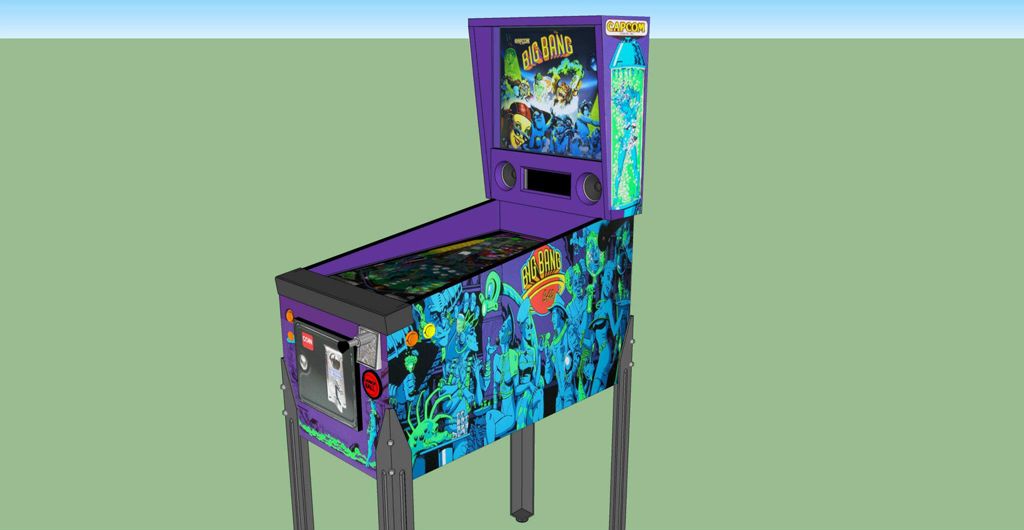
Thanks arcade. I'm not a very patient person, but I've wanted to do this forever... As soon as I discovered
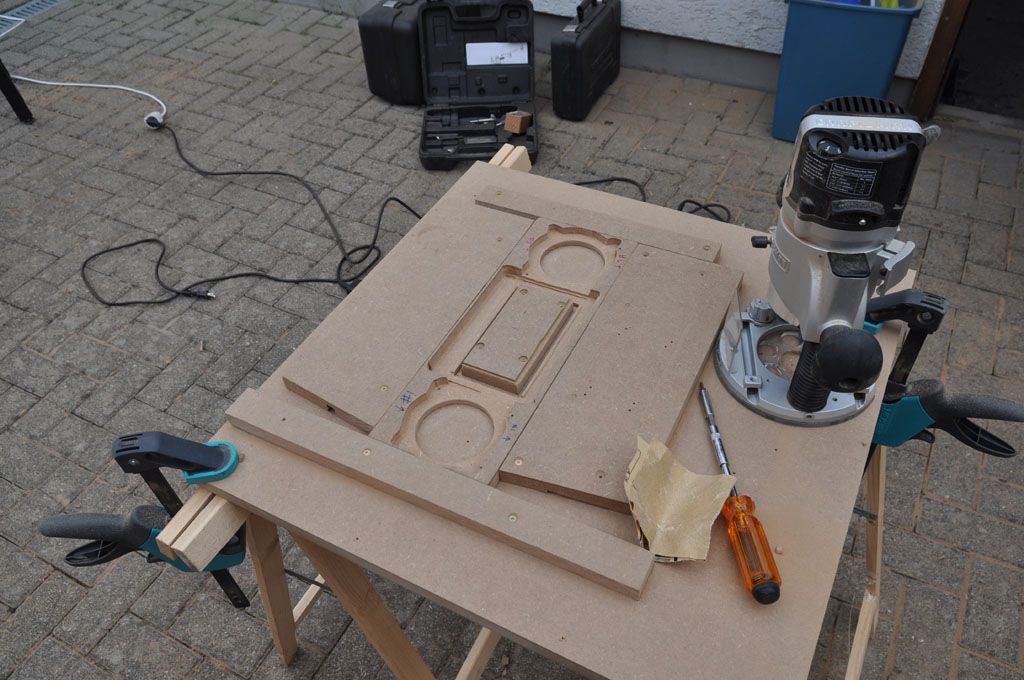
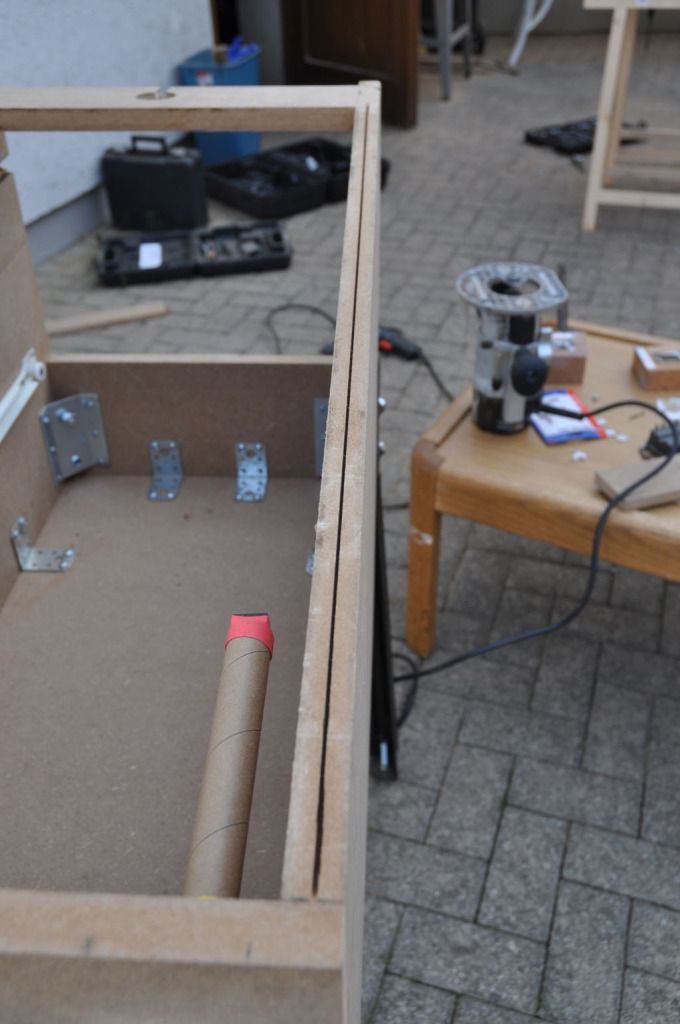
VP (version 6 back then) I thought "Why not make it fullscreen and put it in a cab???" Back then, widescreen LCDs were so expensive it wasn't even close to feasible. Once people started building cabs I got excited and looked into doing the same, but I'm stationed in Germany... USPS won't ship anything above a 32" and I wasn't about to spend euro on an LCD just to chop it up. I finally decided I'd rather make a mini/medium using an LED and here I am. I've waited so long to do this, I might as well take the time to do it right. I have to move extra slow because I have no experience with woodworking. On top of that, I don't want to buy 220v power tools that I won't be able to use in the states, so I have to wait for those to arrive as well.
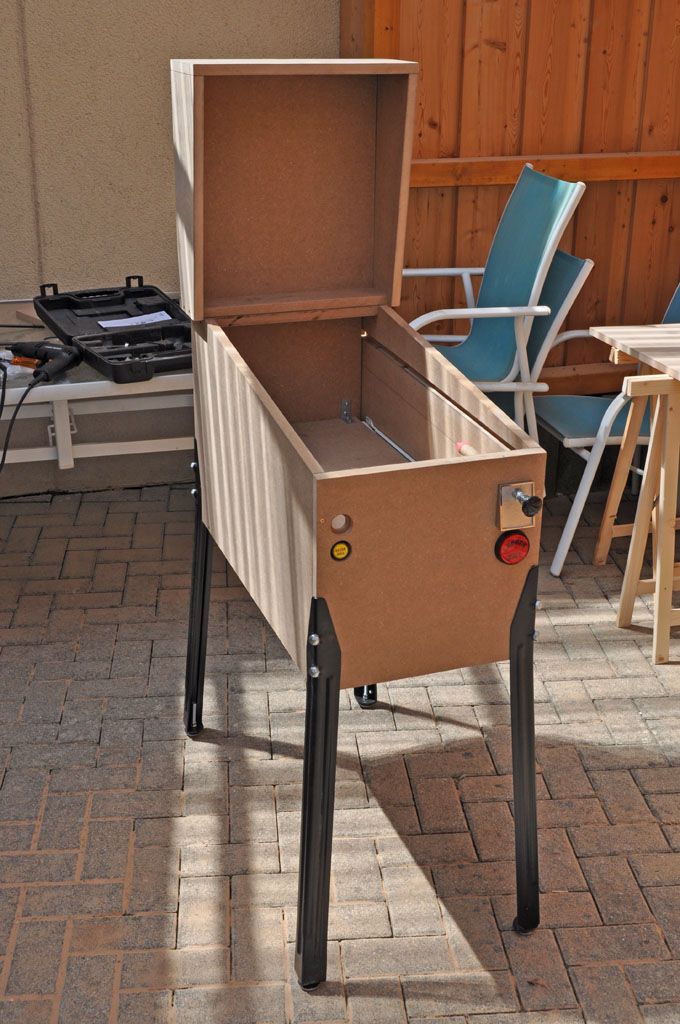
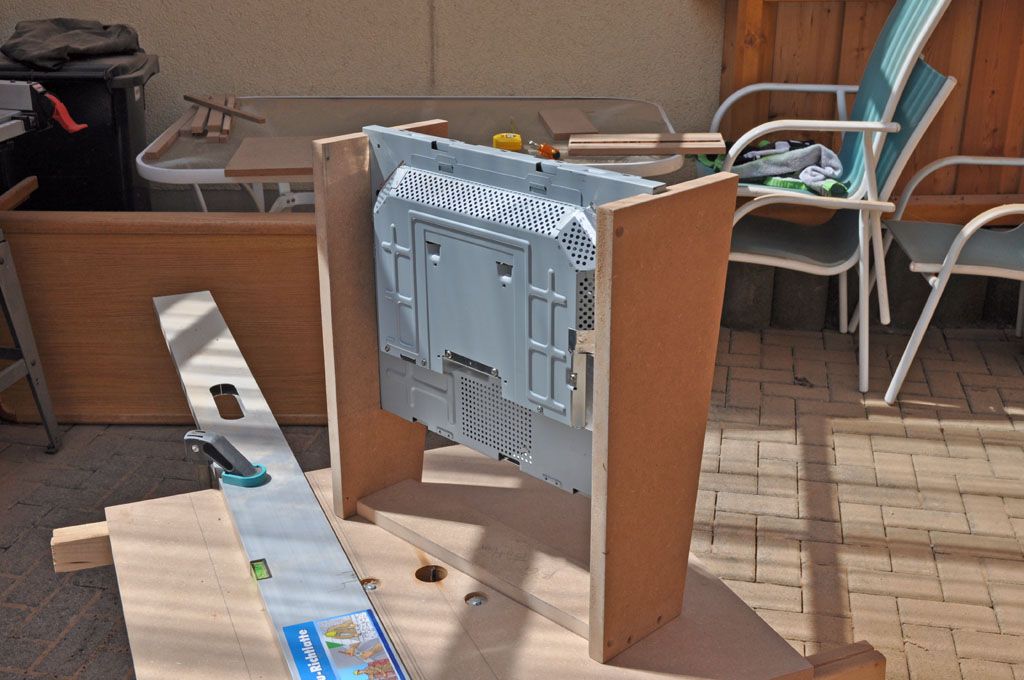
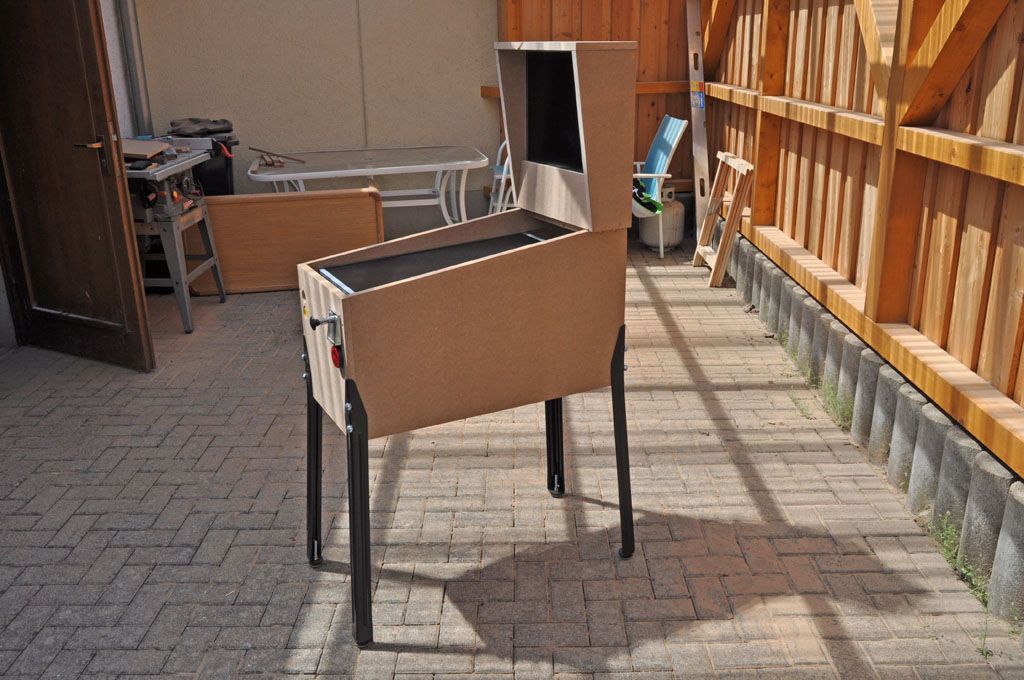
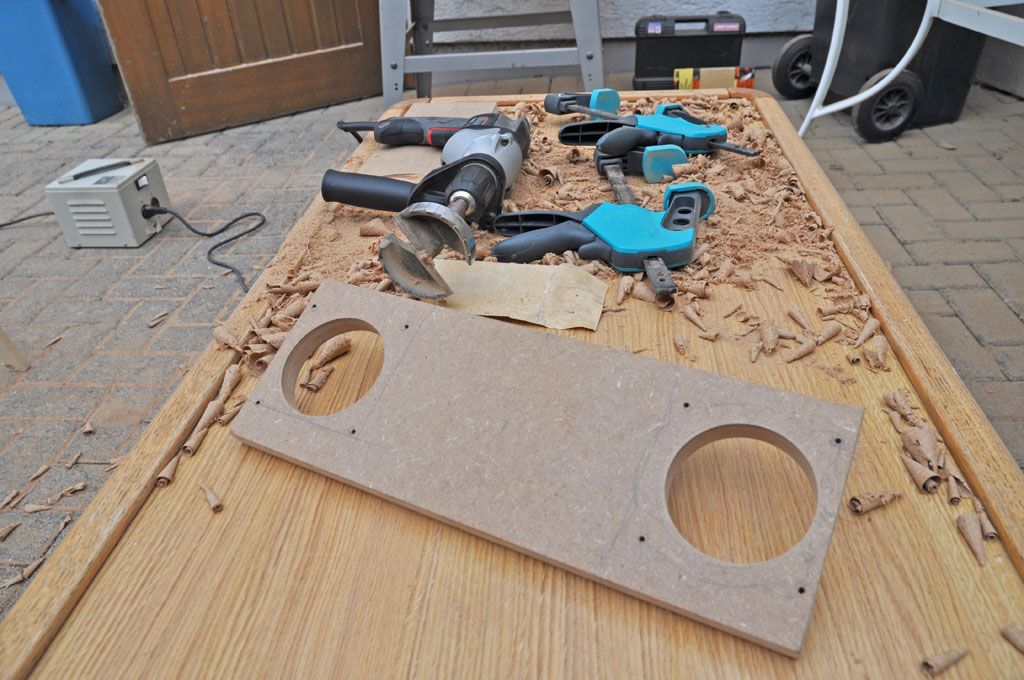
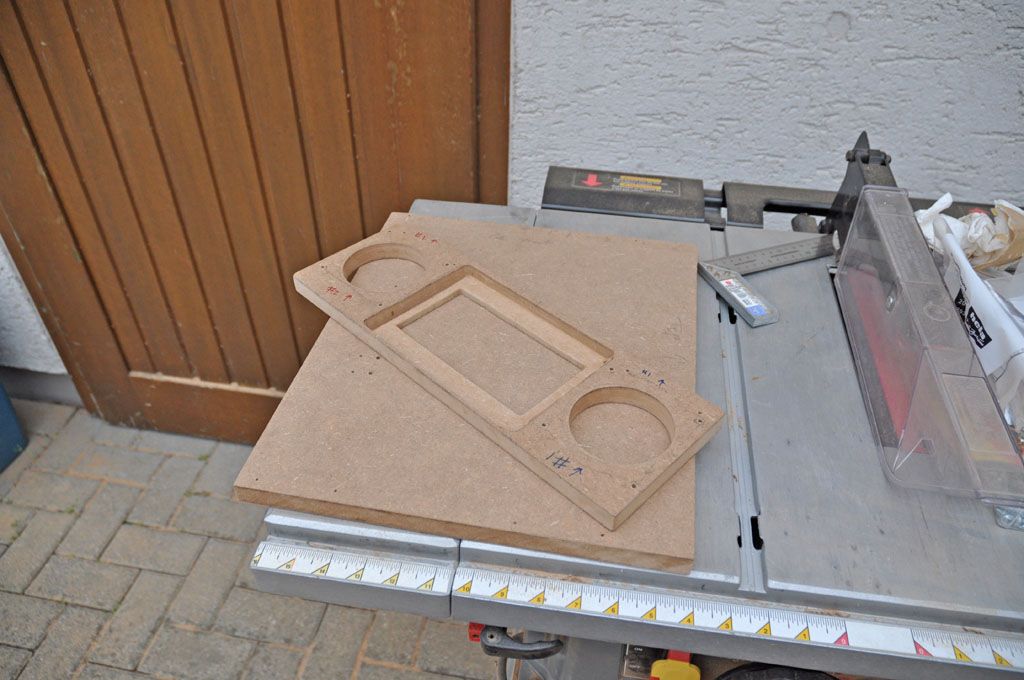
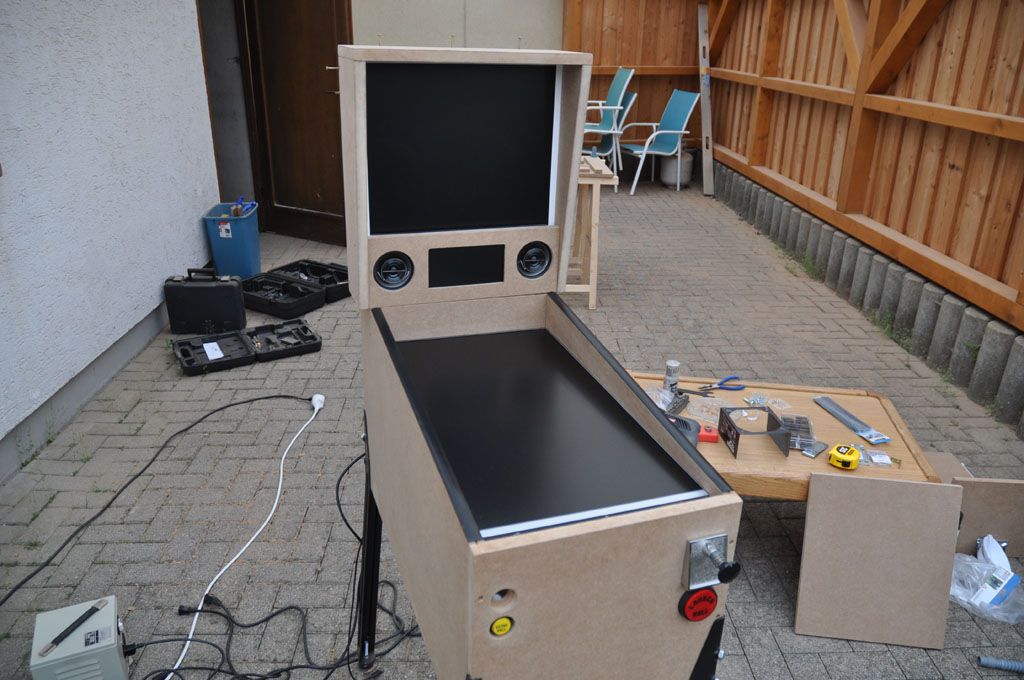
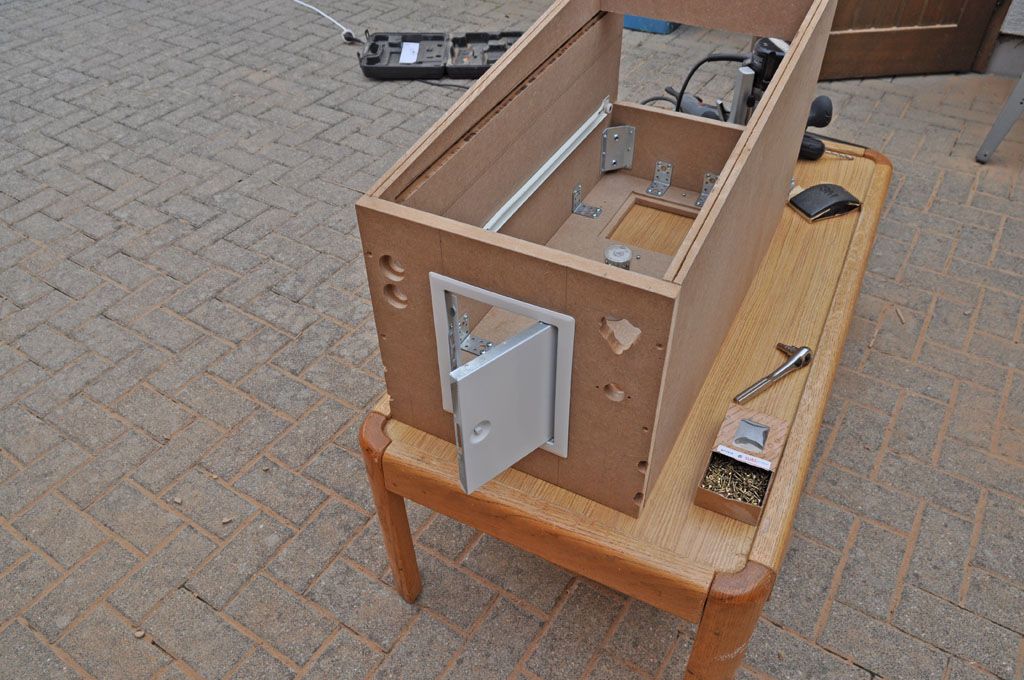
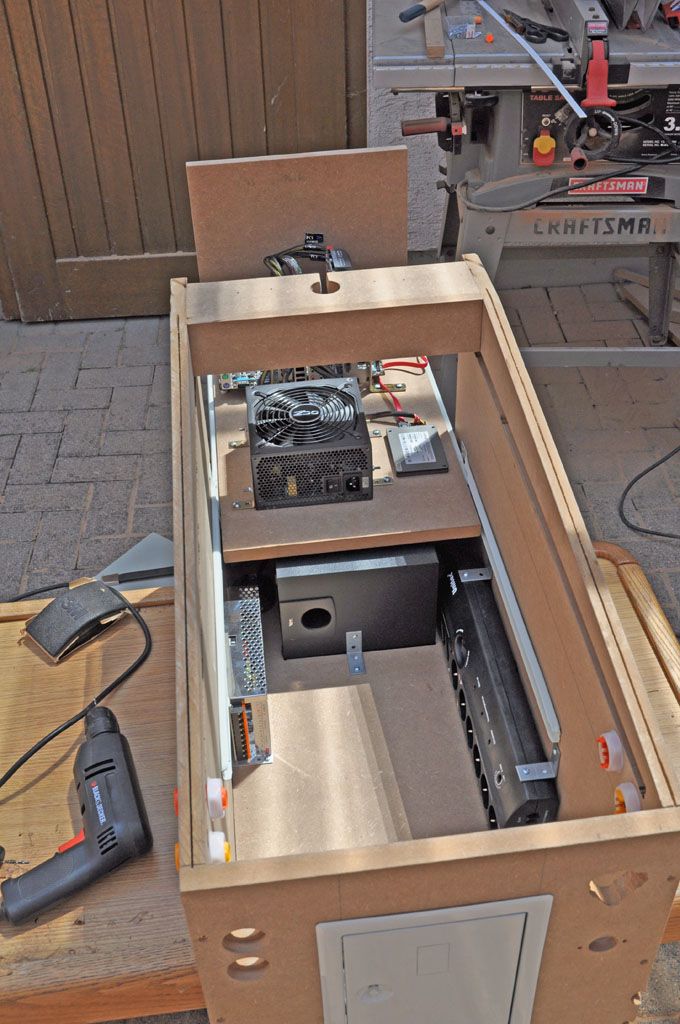
Here's the smallest bit of progress before I leave for work today.

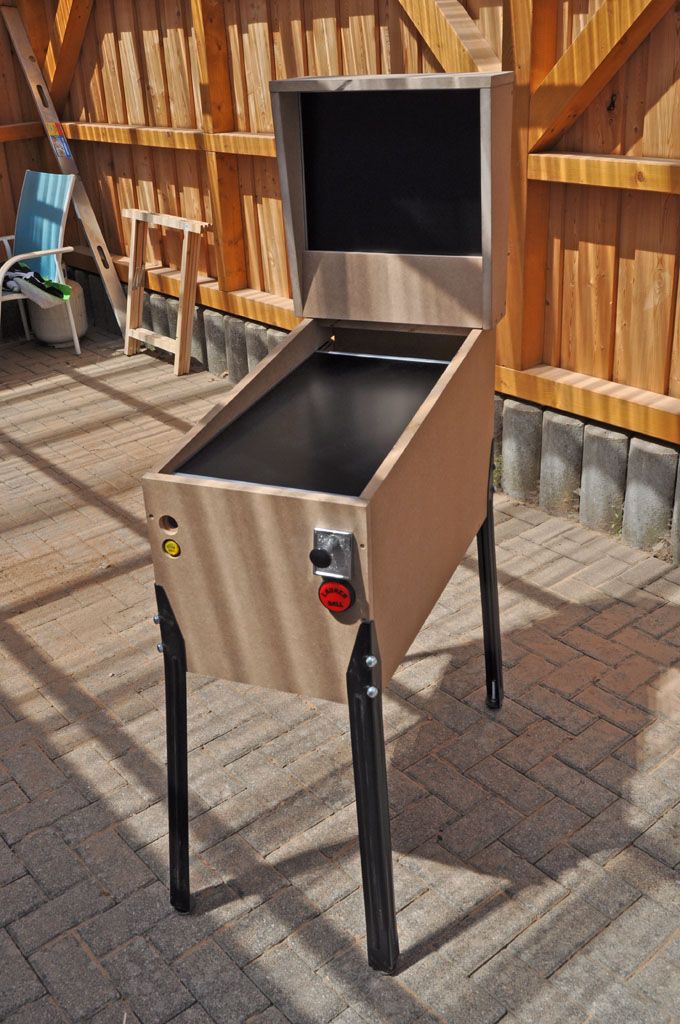
If that is what no experience with woodworking looks like, I better get started building me a house.


 are all trademarks of VPFORUMS.