If you havent figured out yet, my goal of these various tutorials regarding the lights is to show you several different techniques. For this next lesson, we will recreate the LOCK1, LOCK2, and LOCK3 text on lights 25, 26, and 27 using Inkscapes bitmap trace feature.
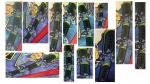
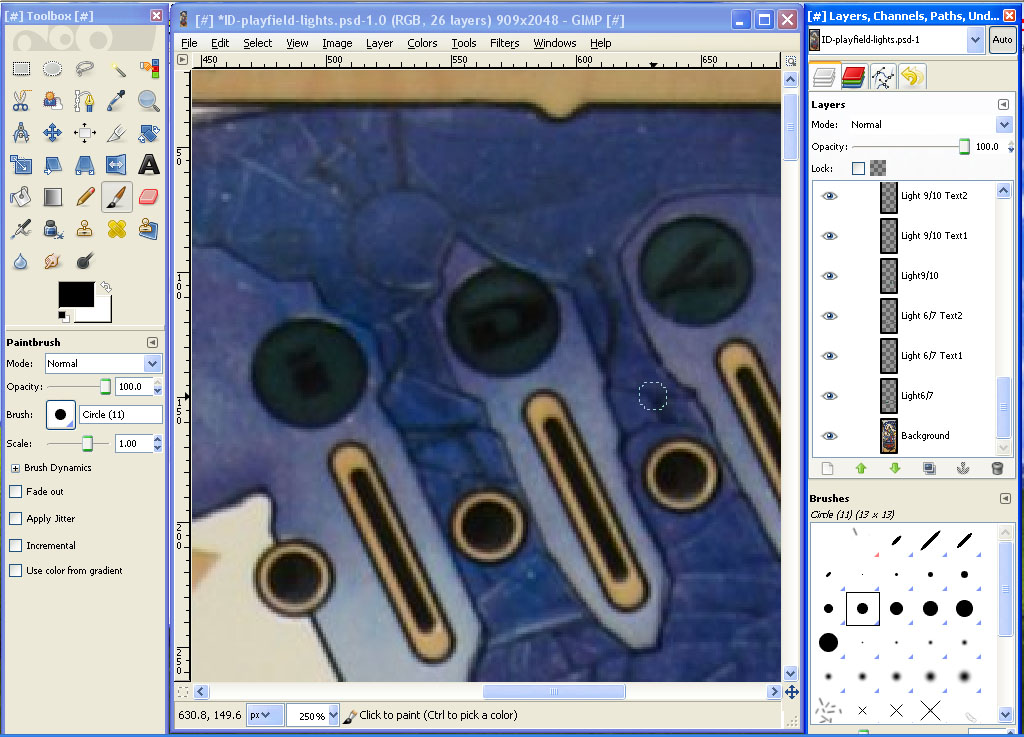
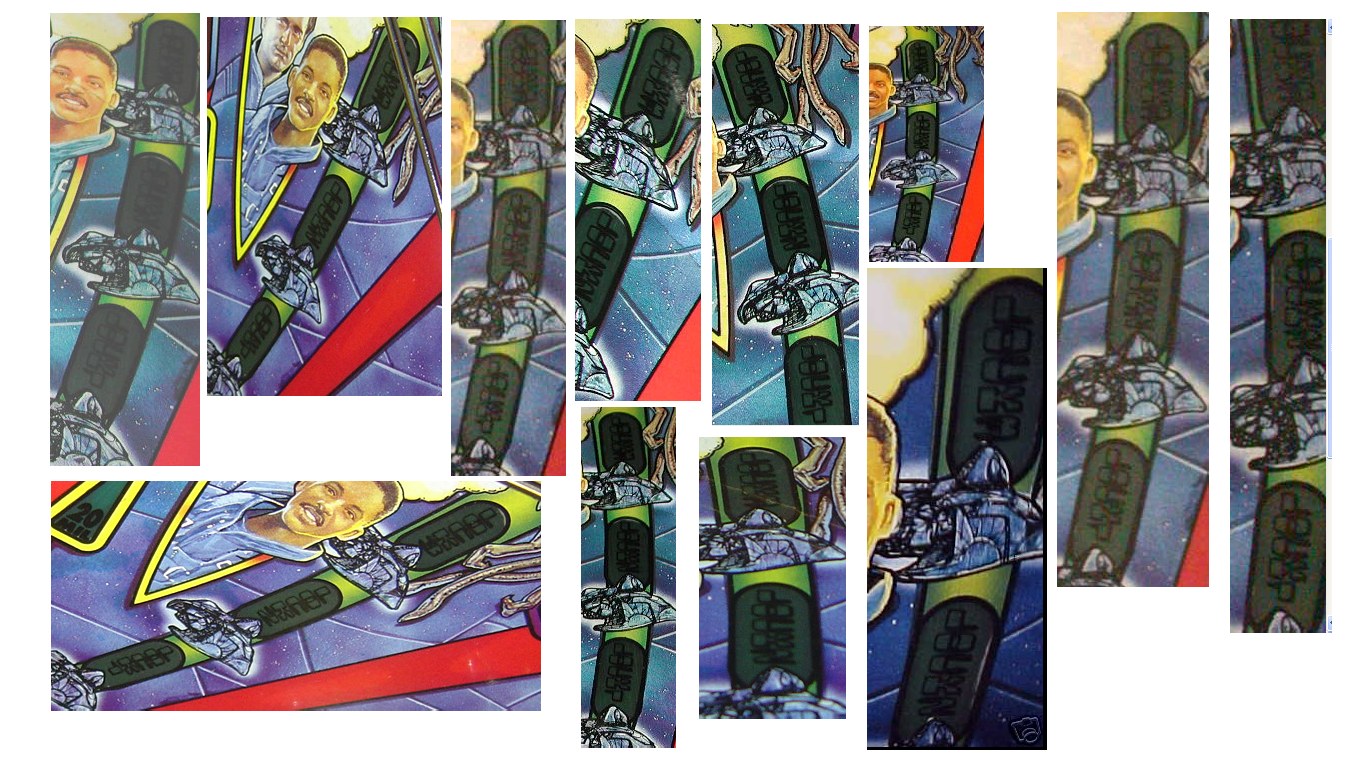
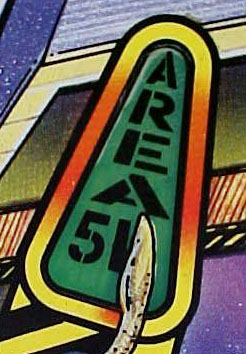
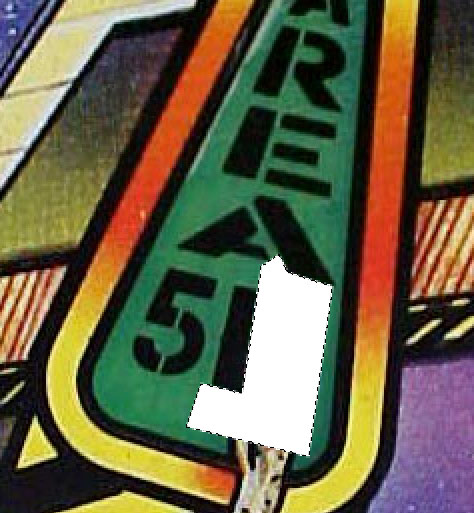
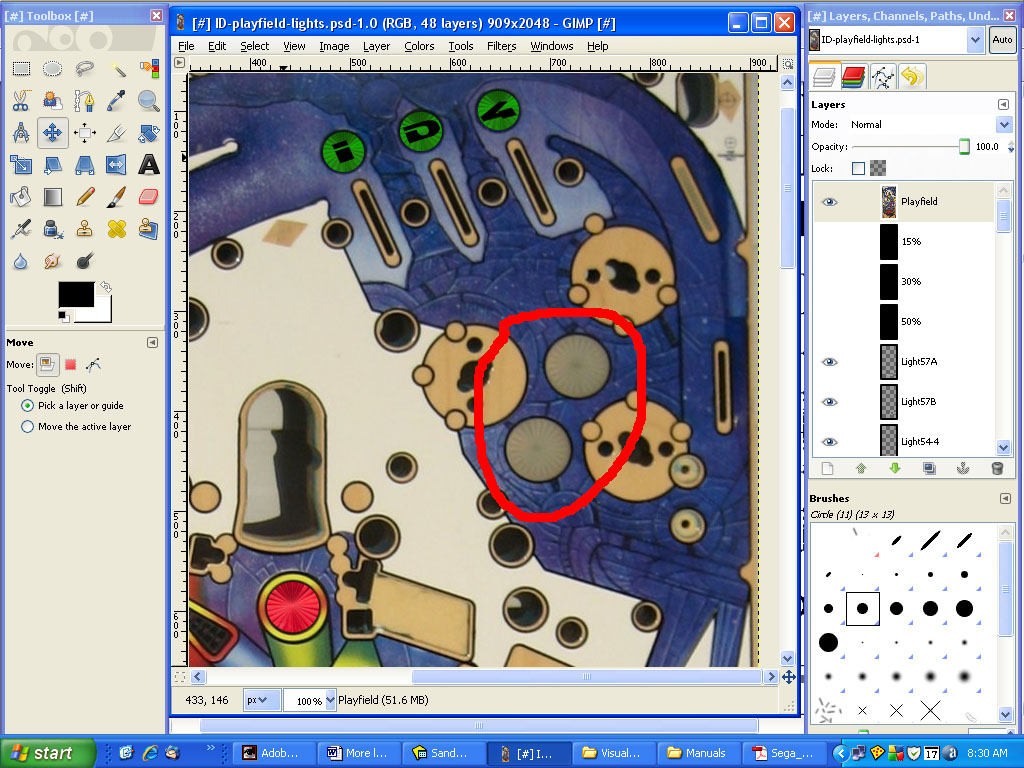
Heres a collage of images I have that show these lights:
The font I believe used for the text is called Freeline. Use the website we used before:
http://new.myfonts.com/fonts/Enter Freeline in the search box or go directly to the font sample page:
http://new.myfonts.c...s/t26/freeline/Enter LOCK1 for the sample and adjust the size to about 146 points:

Take a screenshot of the screen (hit the Print Screen key) and paste into The Gimp. Crop the image to just the largest LOCK1 text. Do the same for sample text LOCK2, and LOCK3.
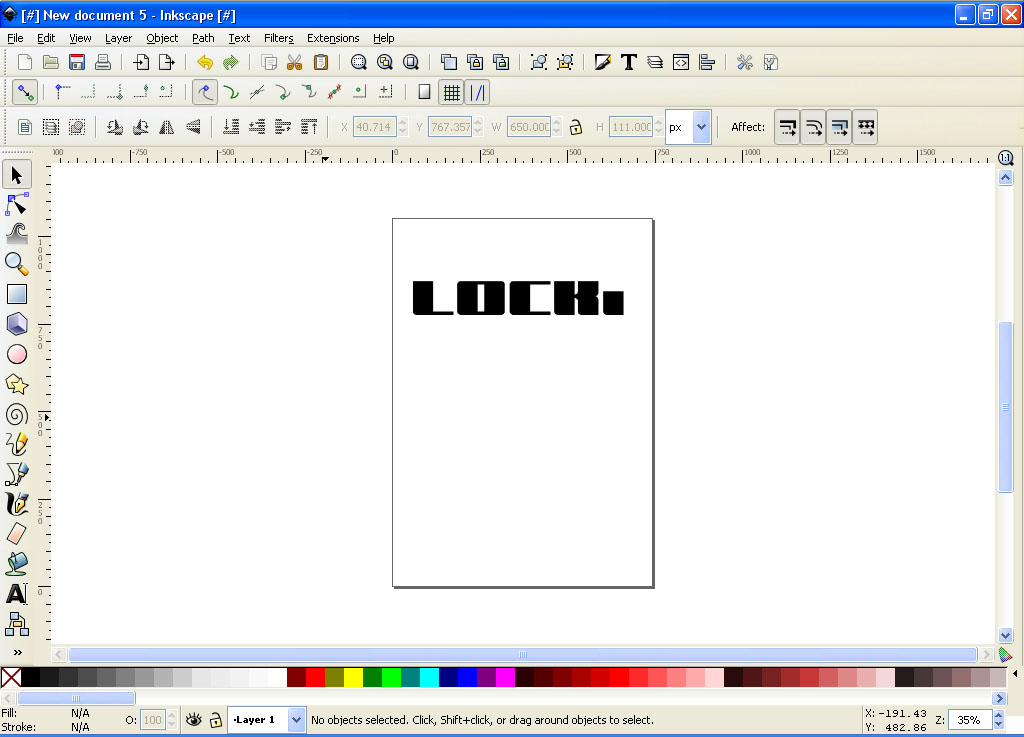
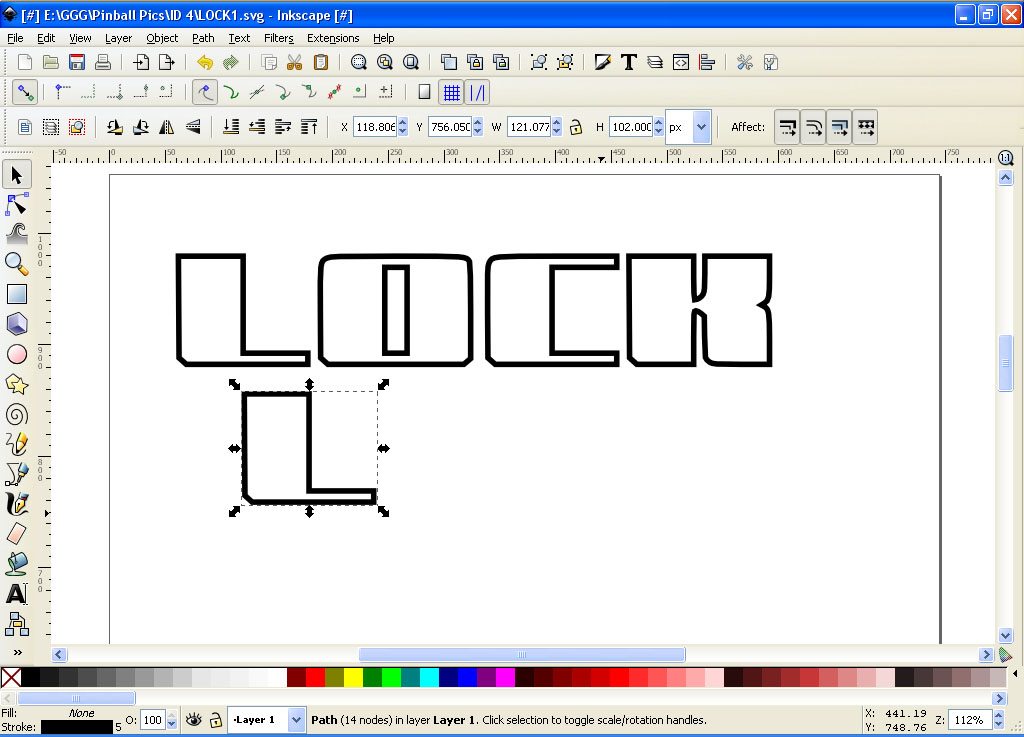
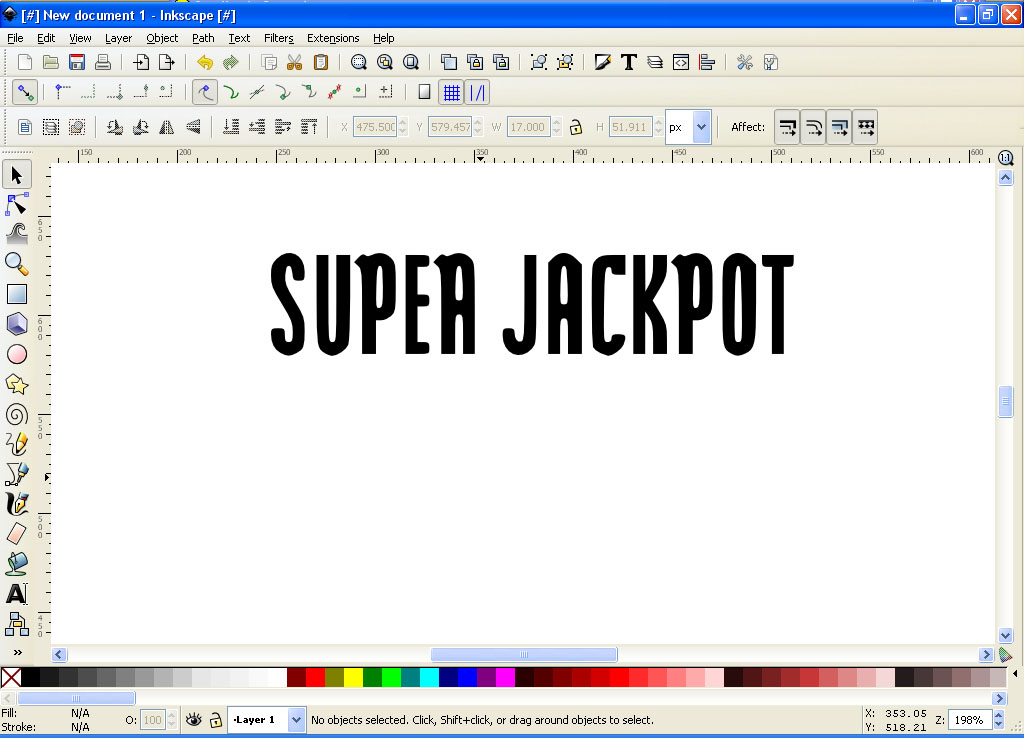
Start up Inkscape and load in your cropped LOCK1 image:

The 1 is not exactly what we want so when we are done we will use a modified and rotated L in its place.
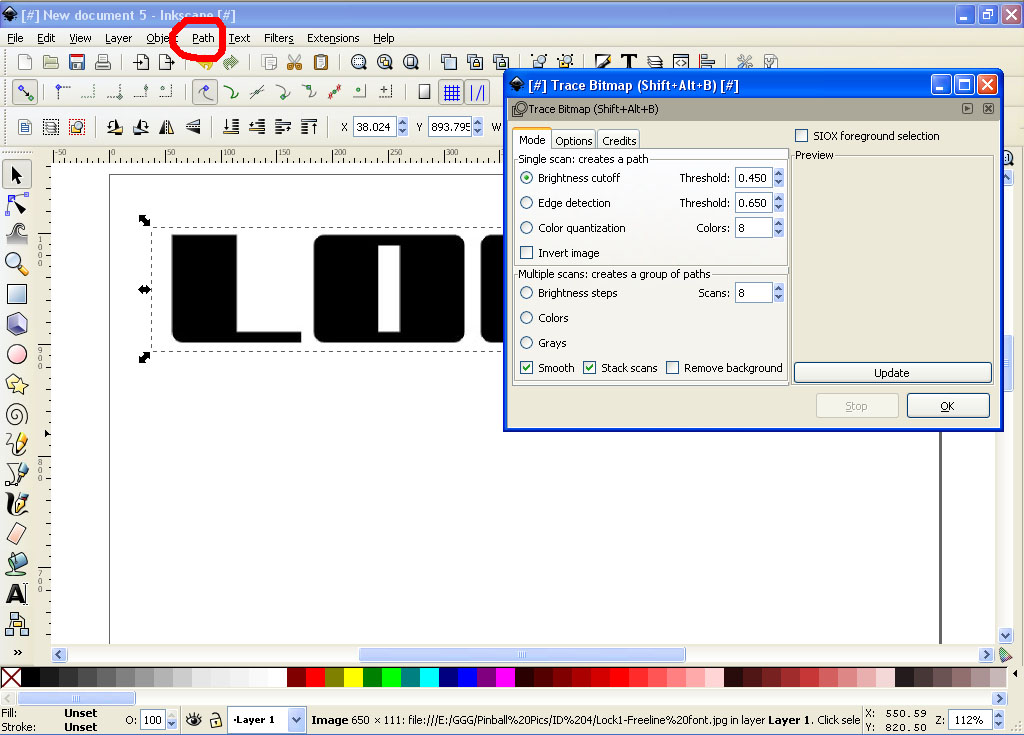
Zoom in z bit and select the image:

Now go to the Path menu and select Trace Bitmap:

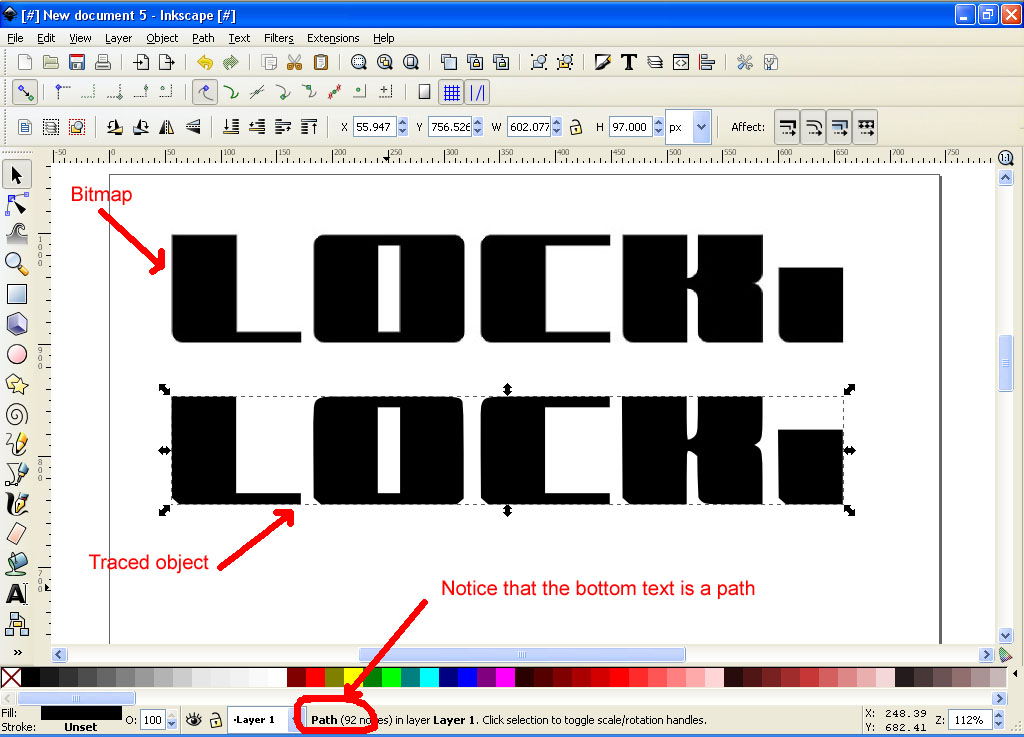
Hit the OK in the dialog box and then close it. You wont see much difference on your screen, but if you move the currently select object down you will now see two lines of text. The top one is our original bitmap and the bottom one is a traced version of it:

At this point we can go ahead and delete our bitmap object so we are only left with out traced path.
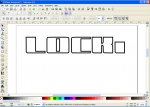
We need to arrange the letters vertically and make them an outline. Youll notice that you cant edit or move any of the individual letters. We can fix that. With the path still selected go to the Path menu and select Break Apart. This will allow us to edit and move things around.
To change our text to an outline, go to the Object menu and select Fill and Stroke. On the Fill tab, click on the X to remove the fill. Click on the Stroke paint tab, click on the square to the right of the X (this is for a flat solid color). You will see that we now have an outline of our text. Lastly, click on the Stroke style tab and enter 5 for the width:

Close the Fill and Stroke dialog box.
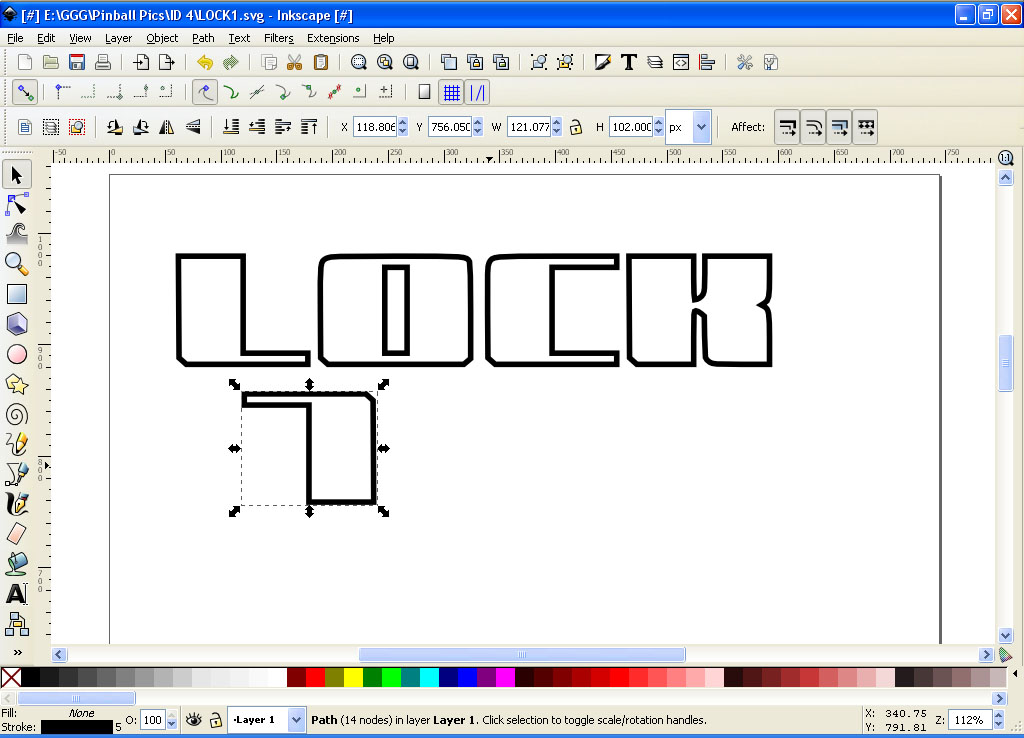
Delete the current object for the 1. Click on the L object and make a copy of it (CTRL-C, CTRL-V):

Go to the Object Menu and rotate it 90 degrees twice:

Now align the letters vertically. Note that the letter O consists of two objects. The outer one and the ininer one. You can group them together so they move as one by making a rectangle selection around them and then go to the Object Menu and select Group. Now they will move as one object. When you are done it should look something like this:

Save your file as LOCK1.
Now to the same for the LOCK2 and LOCK3. For the numbers 2 and 3, go ahead and stretch them to the same height as the rest of the text prior to moving them vertically:

When you are done you should have three separate files (LOCK1.svg, LOCK2.svg, and LOCK3.svg)
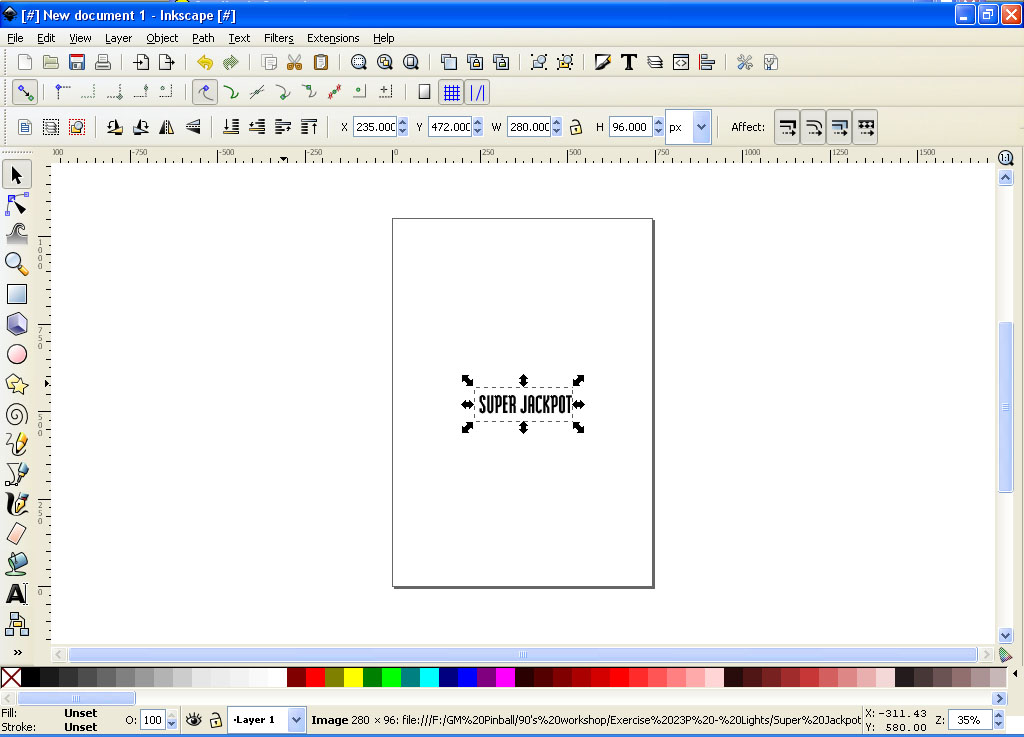
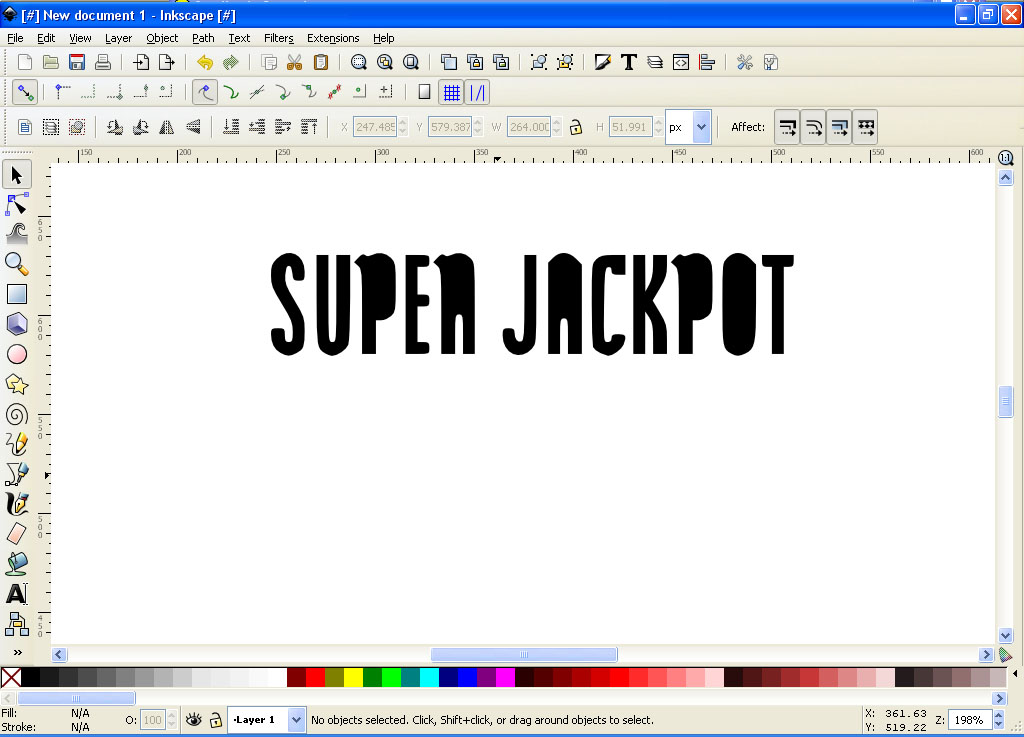
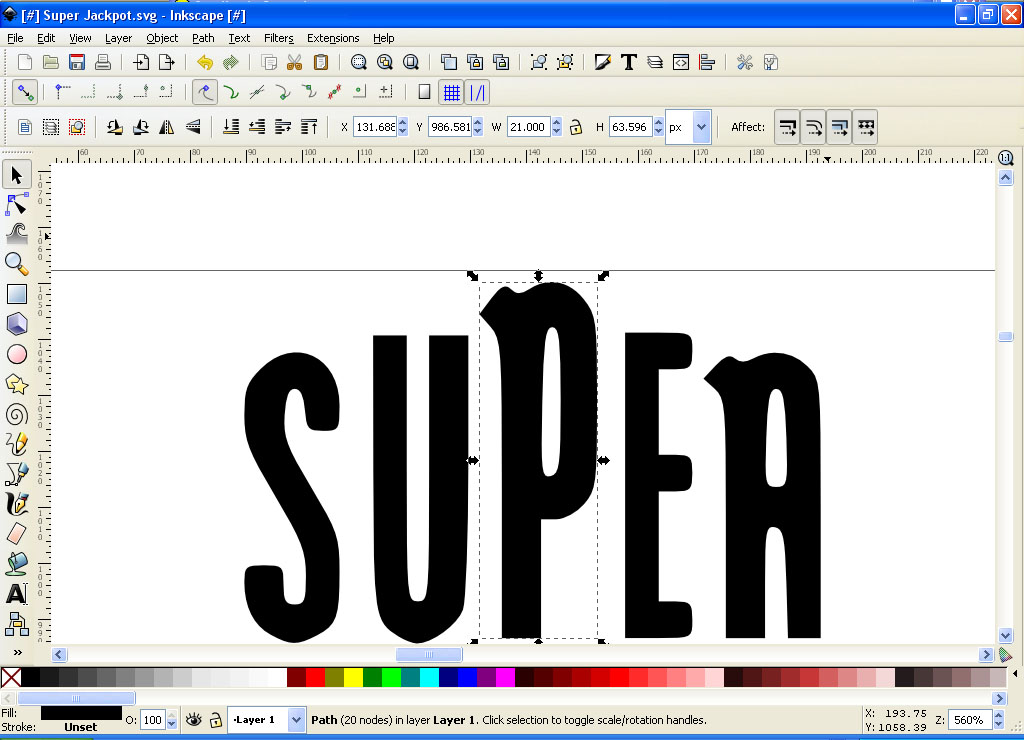
Well, after some experimenting importing our LOCK1, 2, and 3 images into The Gimp and scaling them down, I found out that the black outlines end up turning gray by the time we scale down to the right size for our playfield. To correct this, go back into Inkscape and for each of the three files, load them back in, hit CTRL-A to select everything, and scale down to around 16% (you will see your scale % at the bottom of the screen just to the right of the layers area). Make sure you hold down the CTRL key to scale proportional. Now set the line stroke width to 2 and re-save the file.
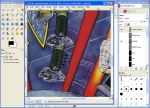
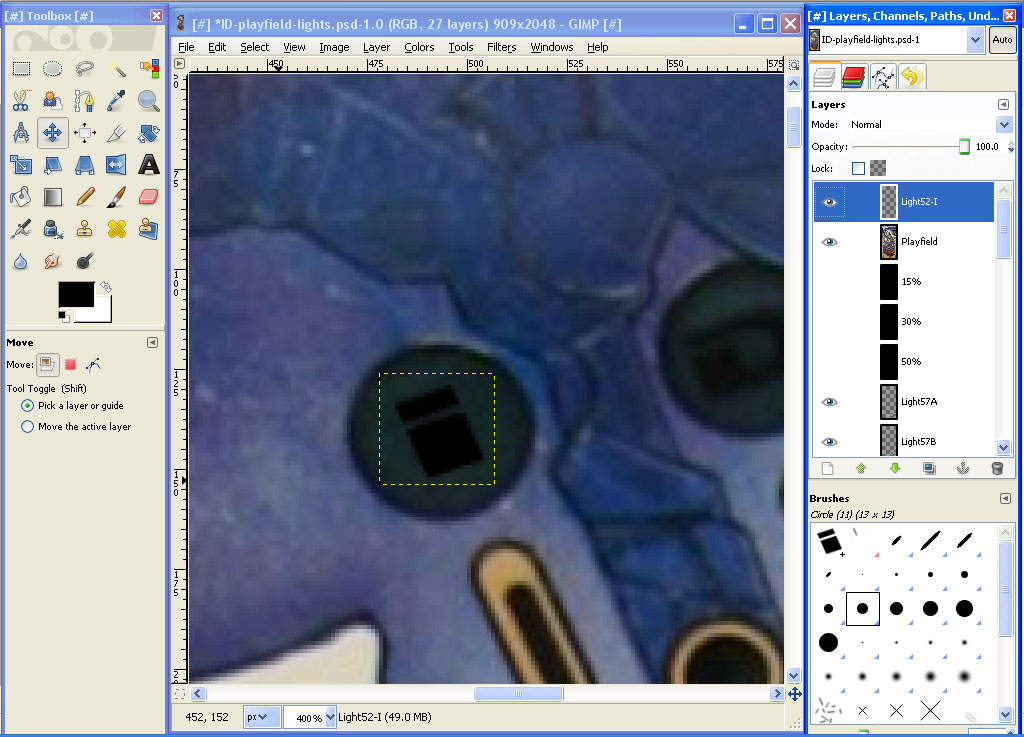
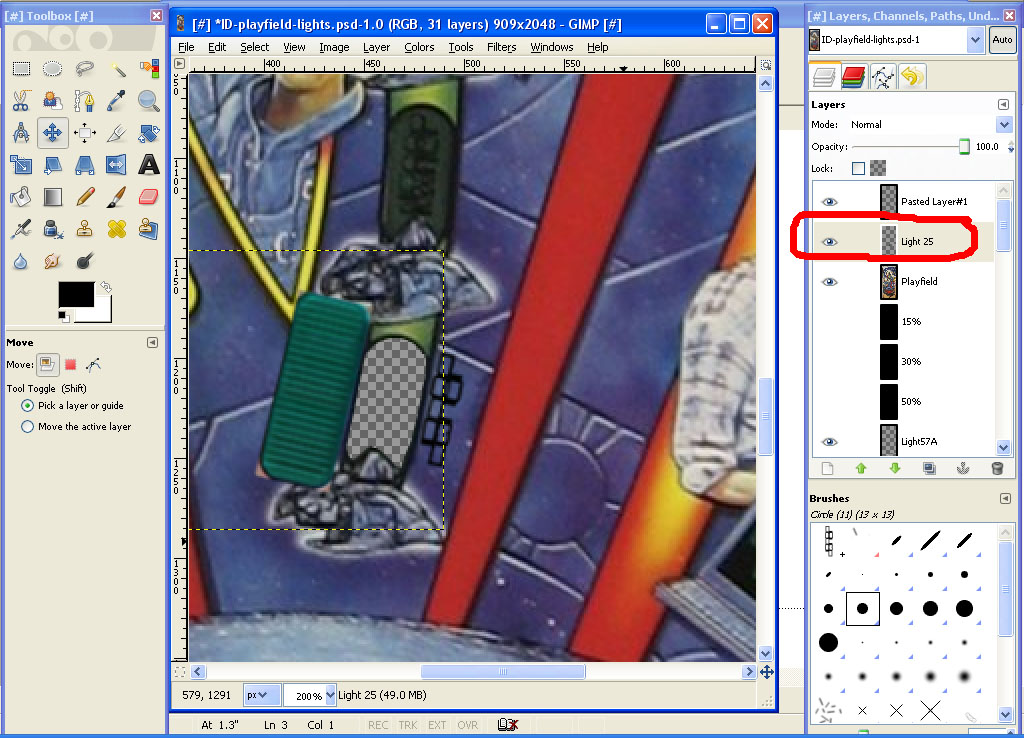
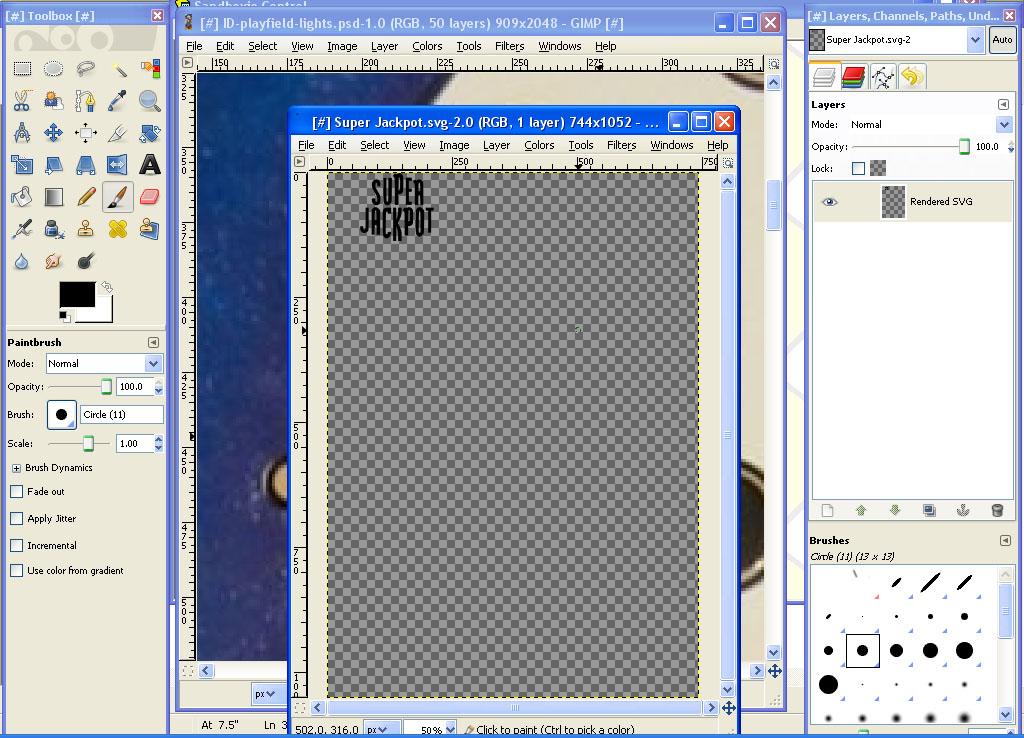
Start up The Gimp and load your playfield file in. Load in the LOCK1.svg file. Zoom in a bit on your LOCK1 image and make a rectangle selection around the text. Copy and paste it into our playfield image. Move it close to where it goes and zoom in:

Now scale it down to its approximately the same size as the existing text. Finally, rotate it to the proper rotation:
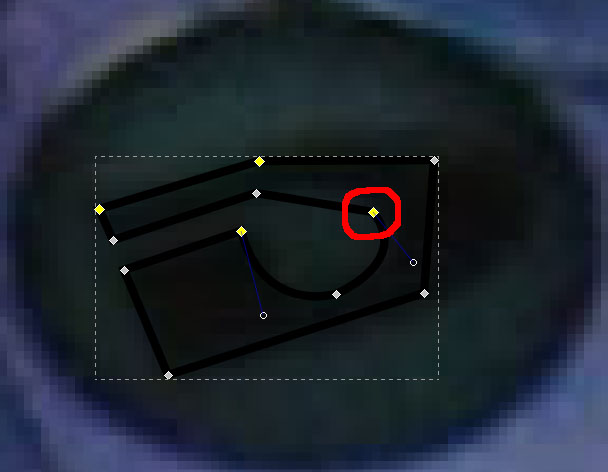
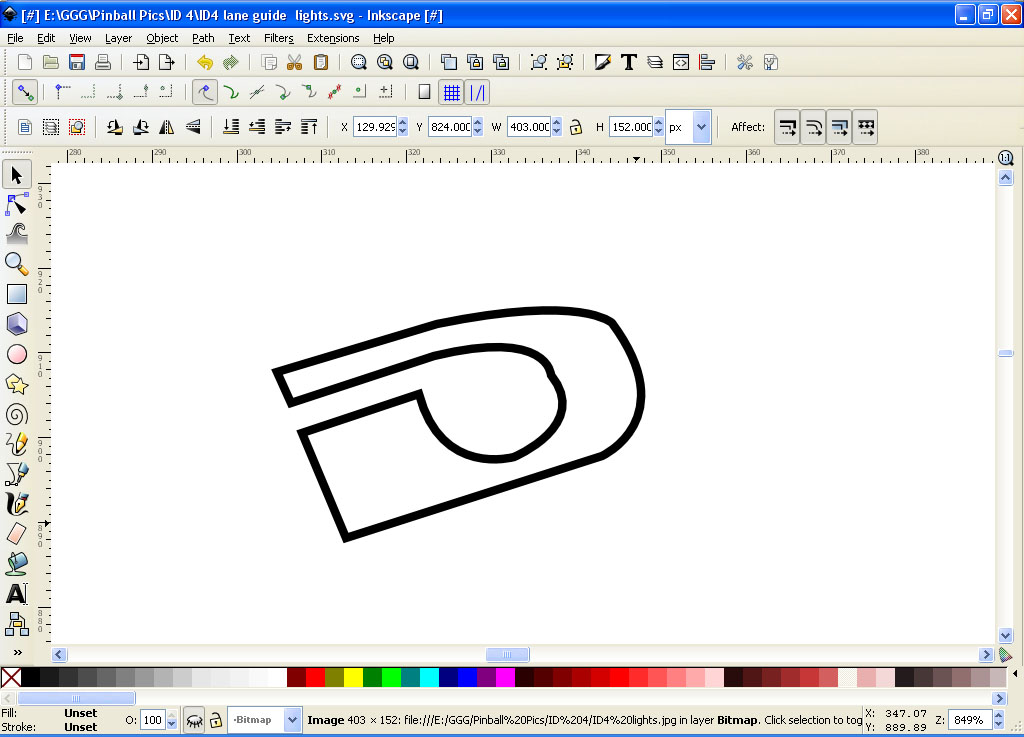
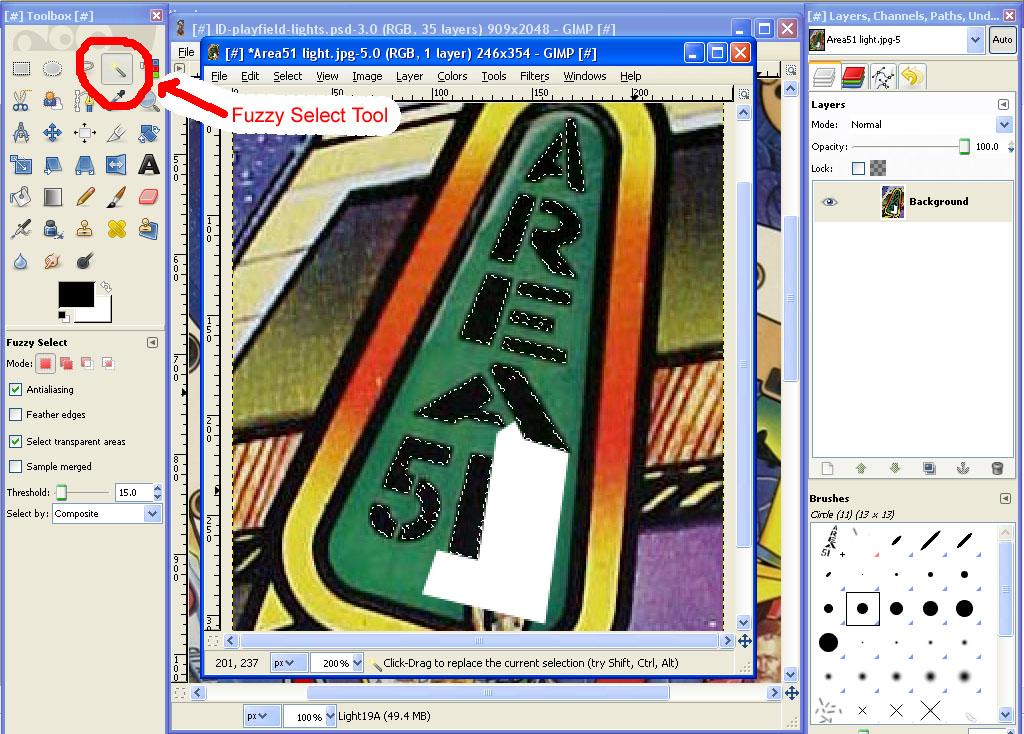
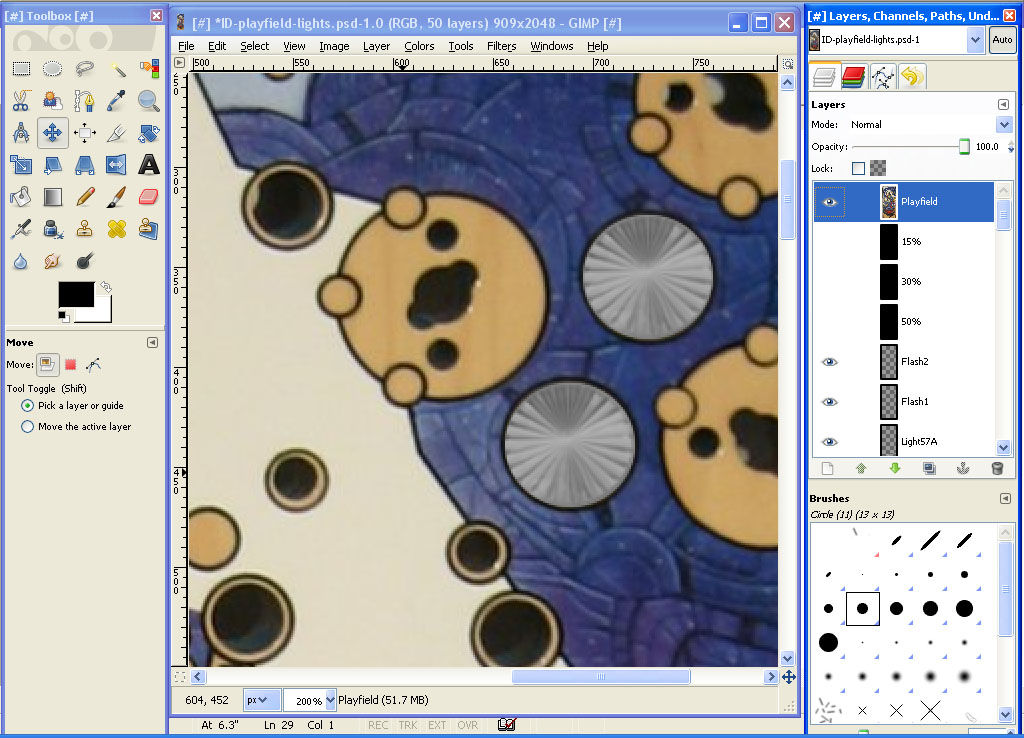
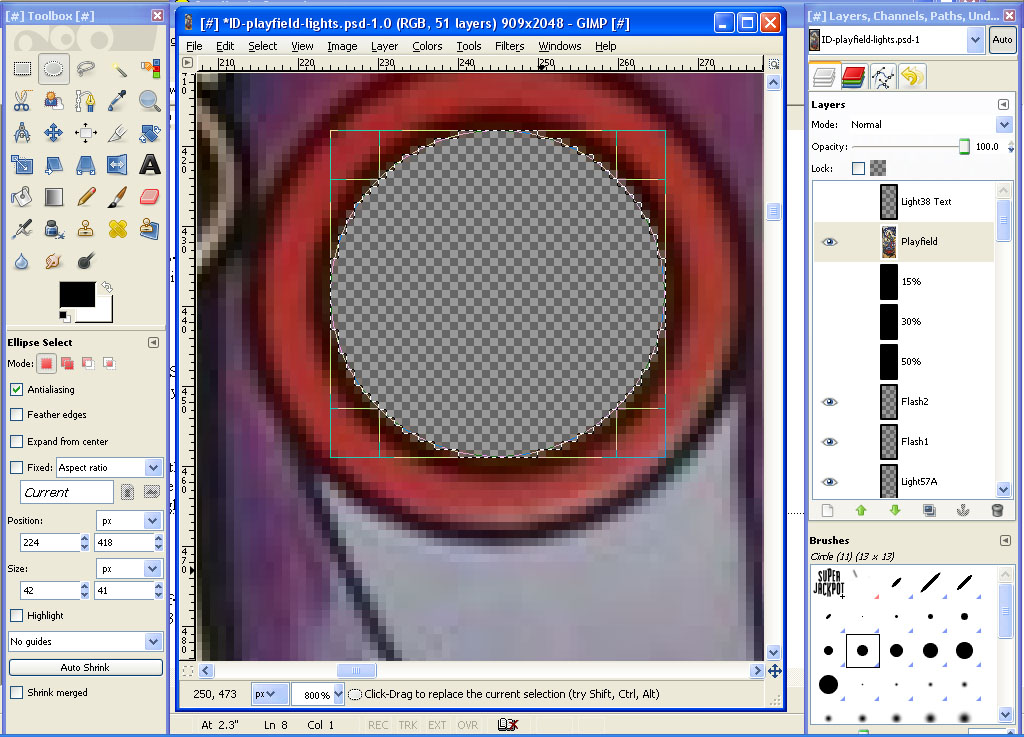
Now cut out the inside of the light insert first using the ellipse selection tool for the top curve, then the free select tool for the rest:

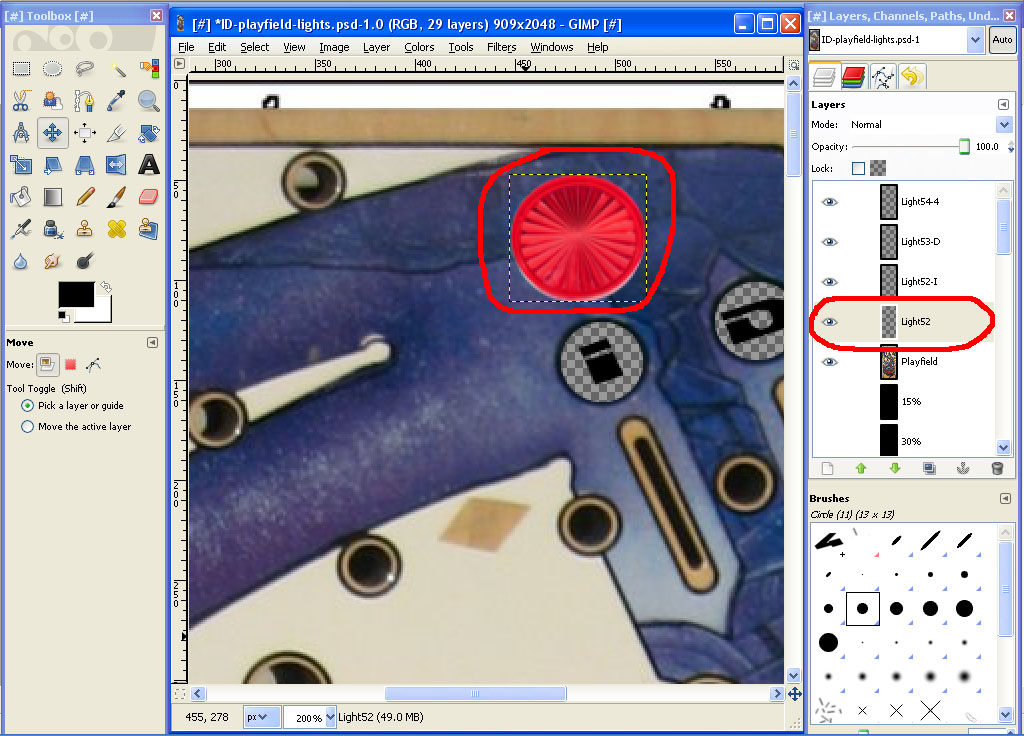
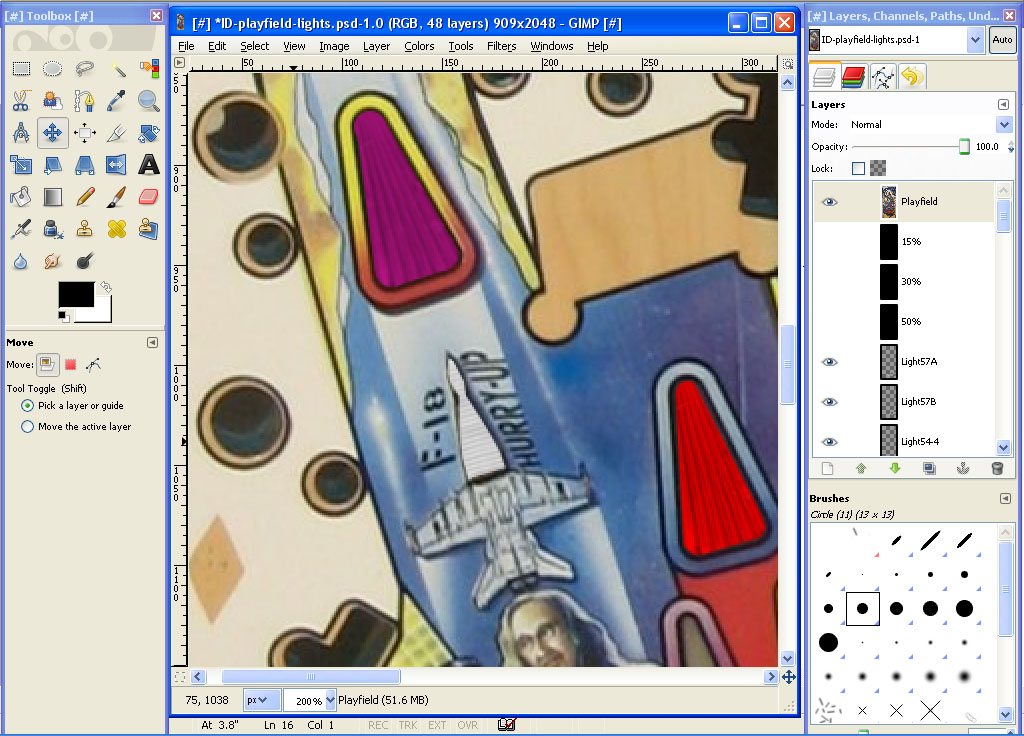
Well use a copy of the light insert we used for light 9/10. Make a duplicate of that layer, move it, scale it, and rotate it to match our cutout. Rename it Light 25:

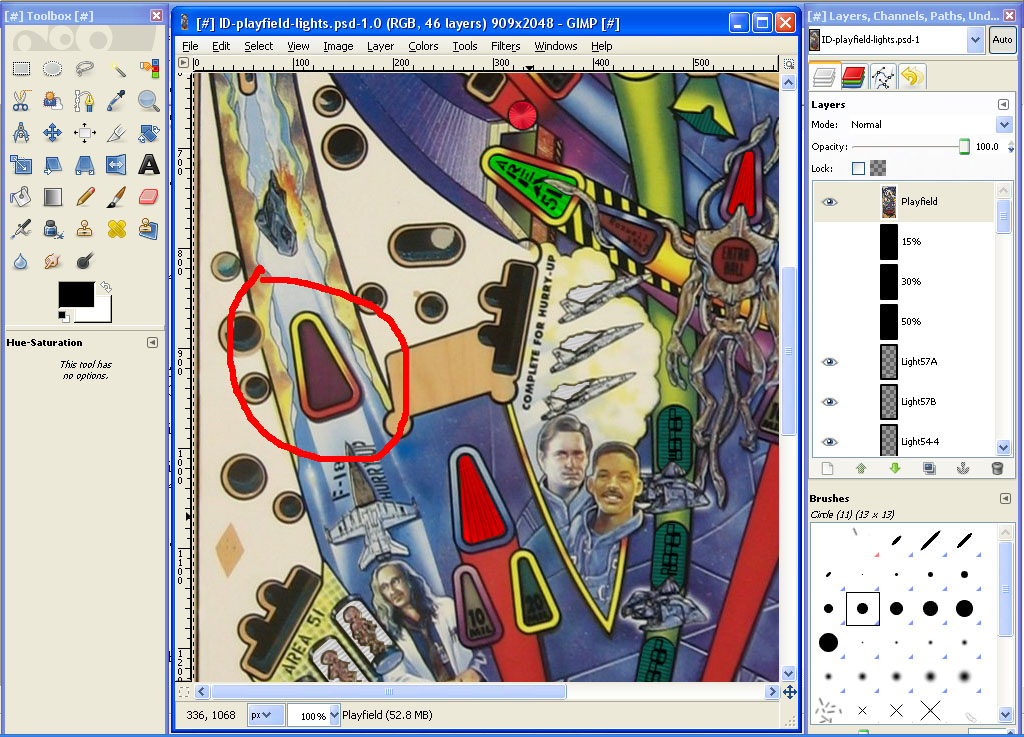
Now move it into position, move the text layer into position (rename the text layer to Light 25 text) and move both into sequential order in our layer list:

Repeat for the other two lights. When done, it should look like this:


 Contributor


 are all trademarks of VPFORUMS.