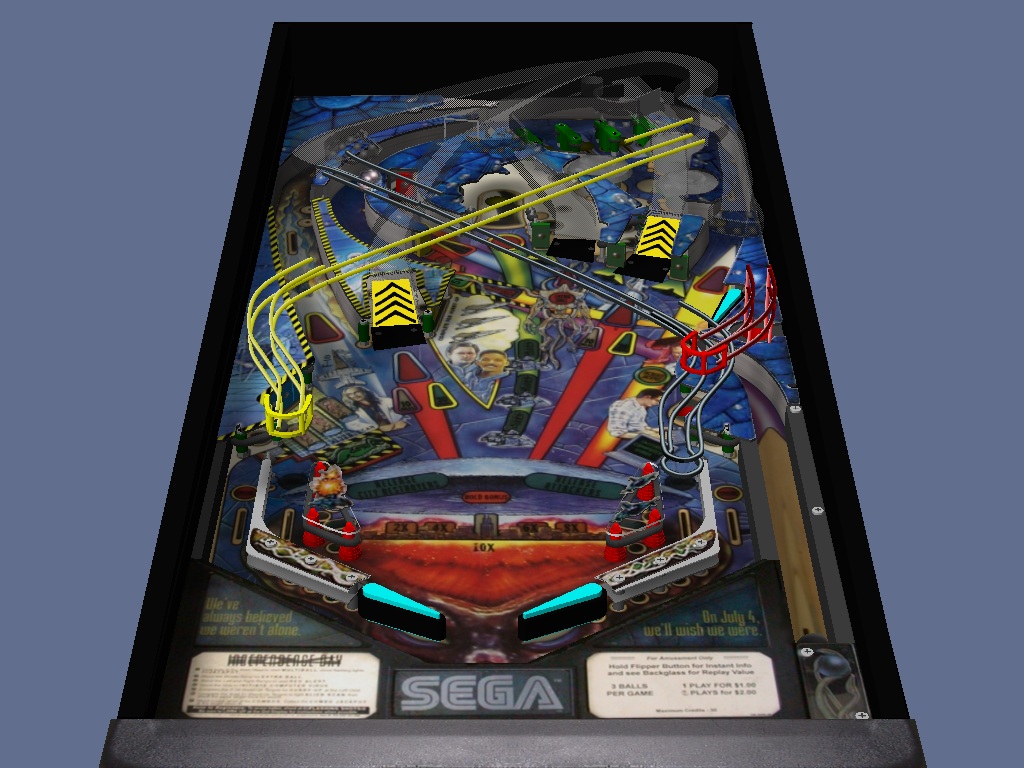
Part 4
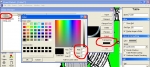
Lets add the ramp half rings and finish it up. If you havent already imported the HalvRing.bmp, go ahead and import it by going to the Table menu then selecting Image Manager. When you import the image, make sure you have the transparency set to 0 for Red, Blue, and Green.
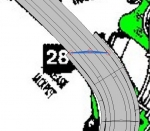
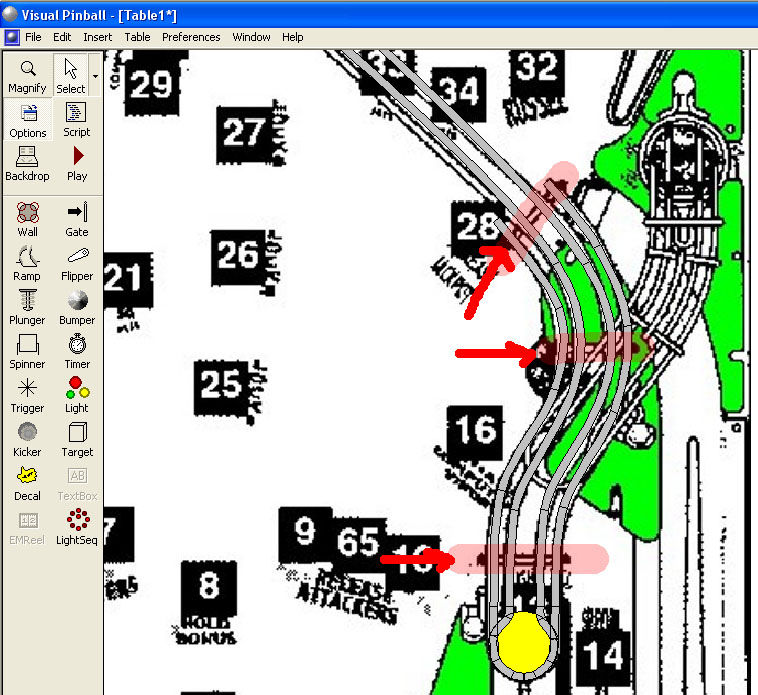
The bottom portion of our ramp has three half rings in the following locations:
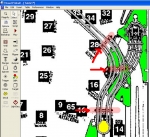
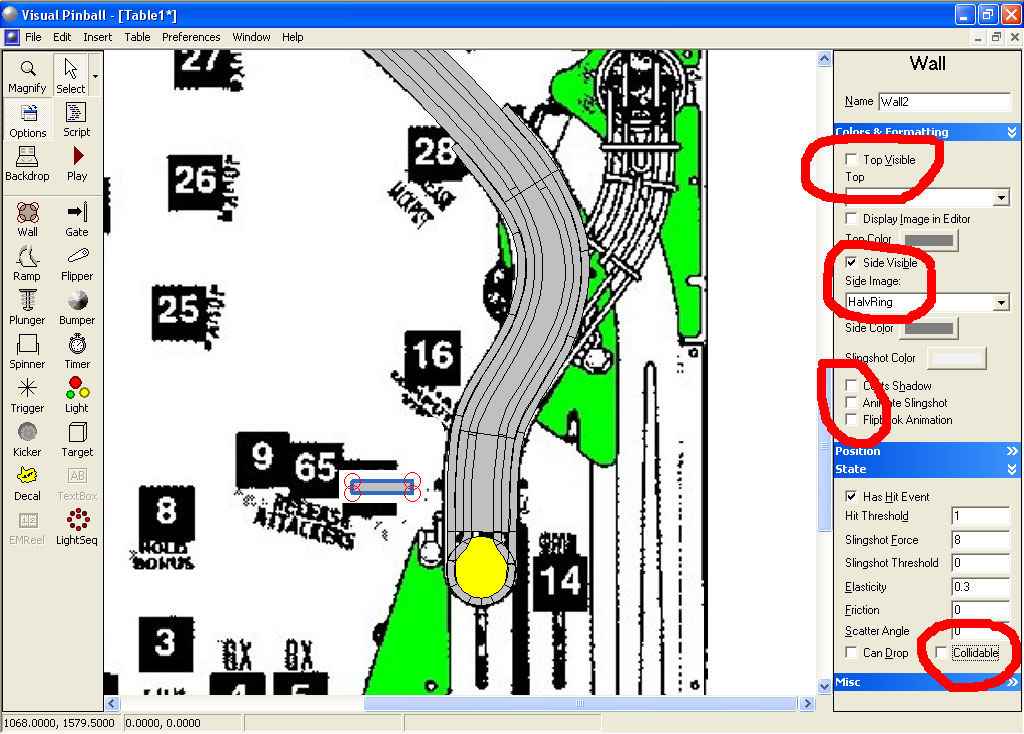
Add a target to the table near where the lower half ring goes. Un-check Top Visible, change the Side Image to HalvRing. Un-check Cast Shadows, Animate Slingshot, and Collidable. Set the bottom height to 60 and the top height to 100 (we use 60 for the value since our invisible floor ramp height at this point is 60. We use 100 for the top to make it 40 units high).
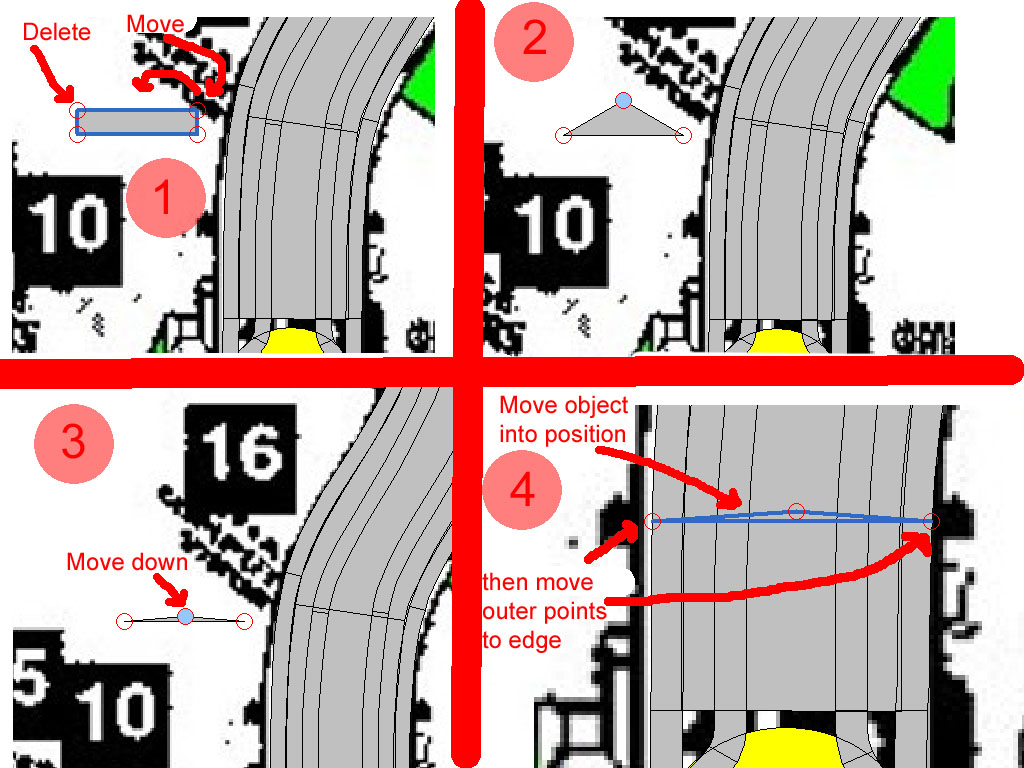
Now delete the upper left control point of our target object. Move the upper right point over to the center, then move it down close to the line between the left and right control points. Now move the whole object into position and move the left and right control points out to the edge of our invisible flat floor ramp. You will need to zoom in a couple times so that its easy to grab the object to move it.

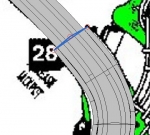
Now make a copy of our ring object, paste it, and move it up into its position. I dont think we need to change the bottom/top height or its rotation:
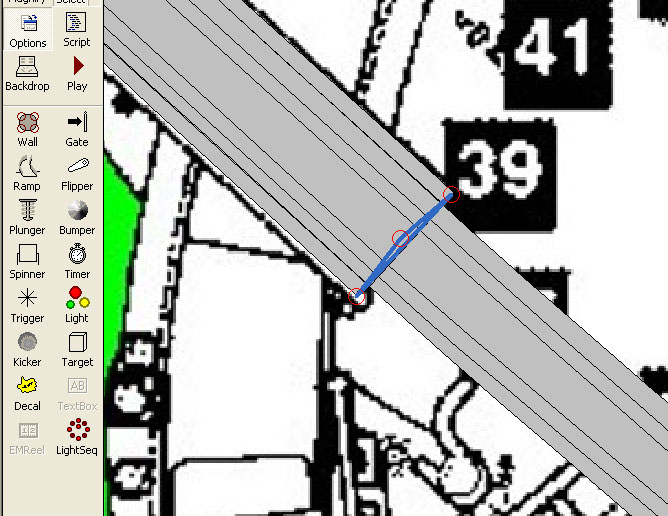
Now make a copy of this ring and move it up close to where the third ring goes:
Right click on the object and rotate it by -35 degrees then move it to the proper location. Change the bottom height to 85 and the top height to 125:
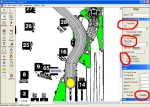
Thats it for the bottom part. Now for the top part there are also three rings that need to be added:
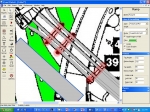
Make a copy of the last ring we added and translate it by X offset -400 and Y offset -300. This will put it in the approximate position we need it for the first ring of the upper part. Now rotate it by -12 and move it into position:
Change the bottom height to 118 (to match our invisible floor ramp height) and change the top height to 158 making our ring 40 units high.
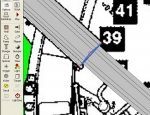
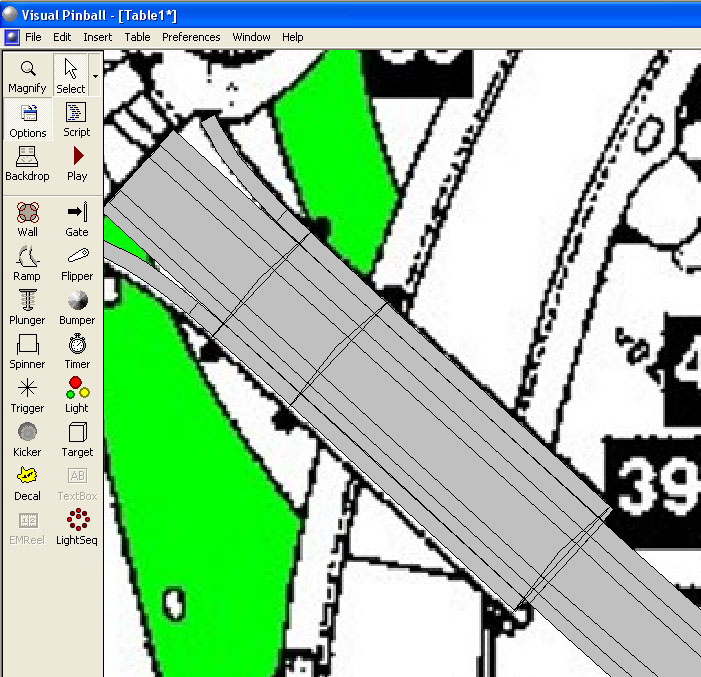
Make two copies of the ring and move them into position to complete the upper part. When done it should look like this:
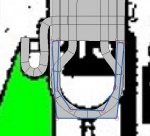
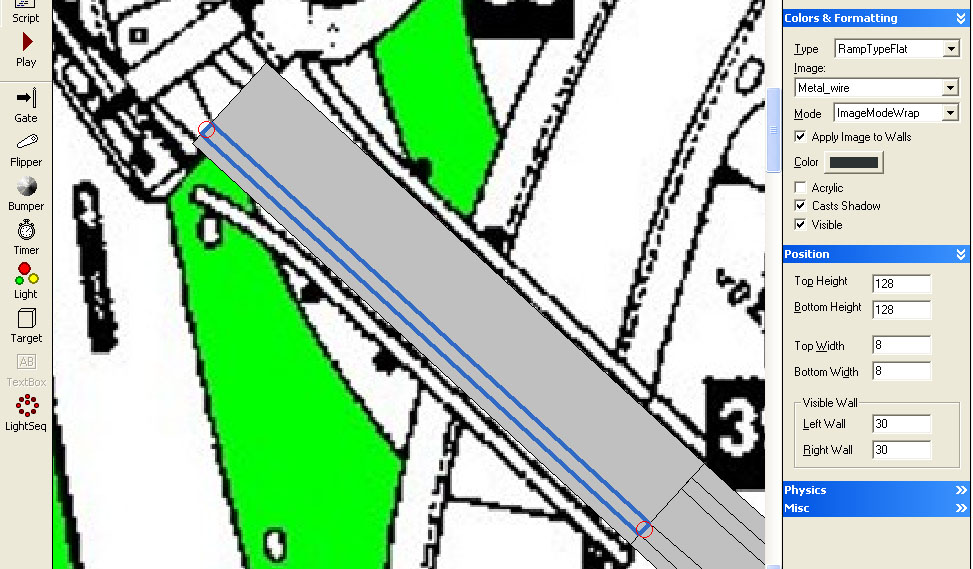
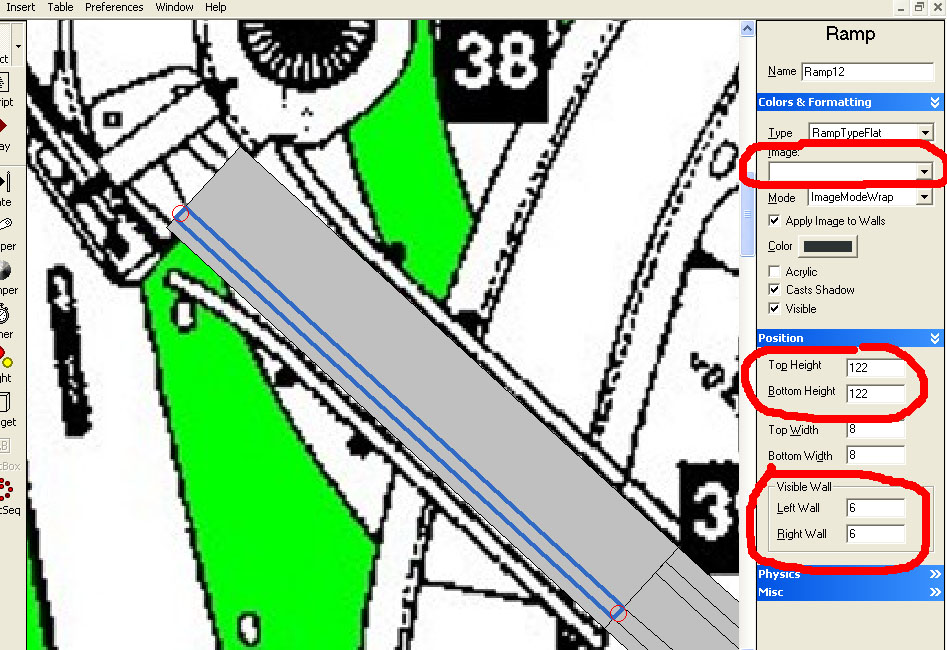
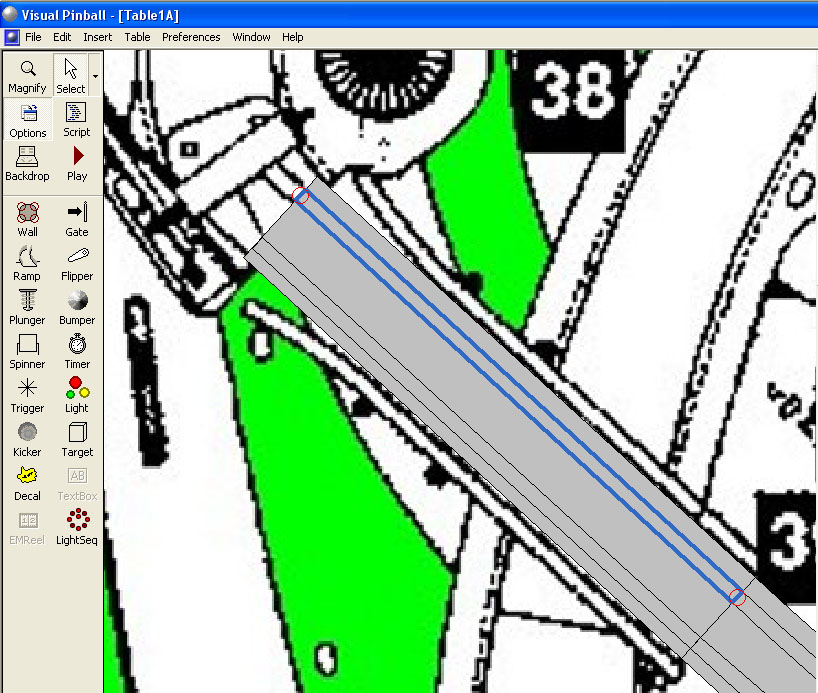
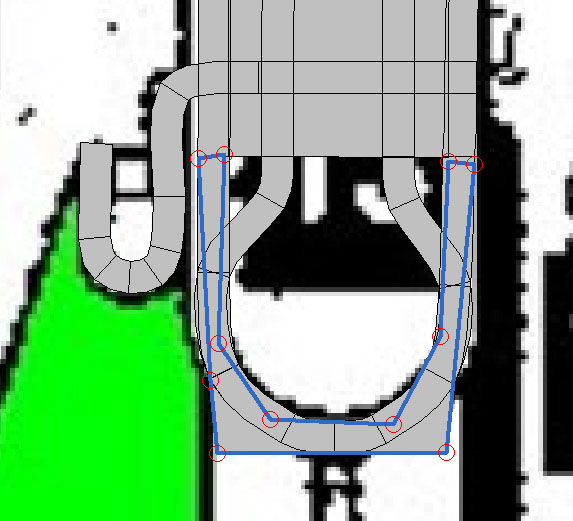
Lets add a bit more realism to the bottom where the ramp is attached to the right slingshot. Using what you learned above, add a ramp with top and bottom height of 60 that has the metal wire image and another ramp of top and bottom height 54 with no image but color black. Make it in the following shape:

Now we need to add an invisible wall with bottom height of 60 and top height of 110 and elasticity of 0. This wall is needed at the lower end of our ramp to stop the ball and let it drop back to the playfield. It doesnt have to look pretty since you will be turning the top and side visibility off. Just make sure that it is stays outside of the round opening at the end:
I think we are done with our ramp. Now click on the Select tool and make a rectangle around all the ramp objects. When done, hit CTRL-C to copy. Switch over to your ID table, or load it in if not already loaded. Make sure that you have imported the Metal Wire and HalvRing images and to set the transparency for the HalvRing image to black. Now hit CTRL-V to paste everything in.
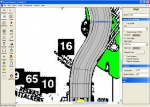
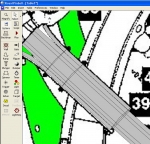
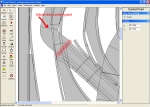
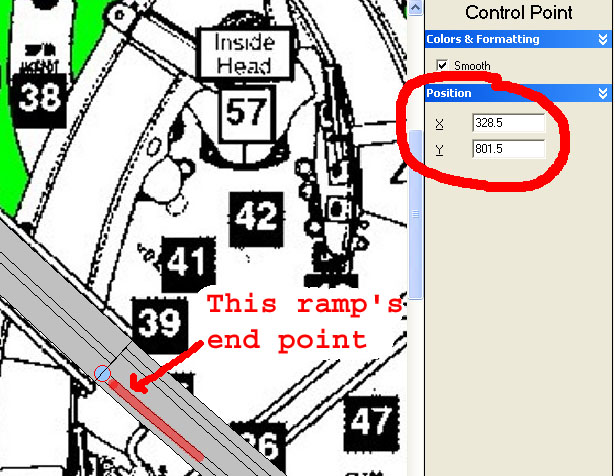
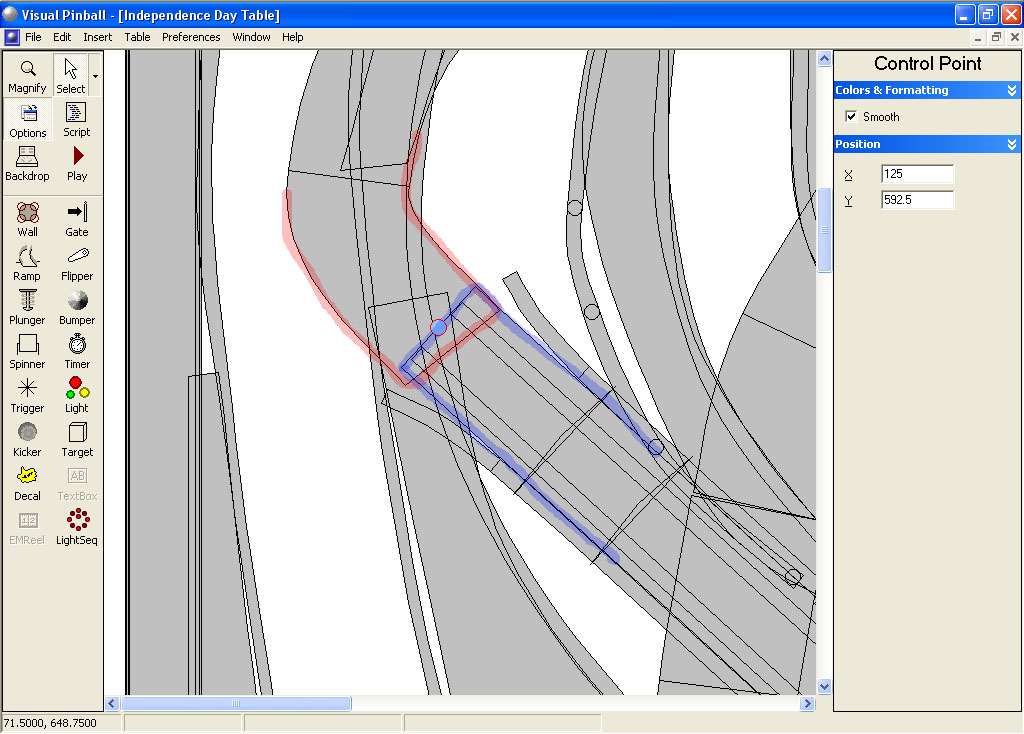
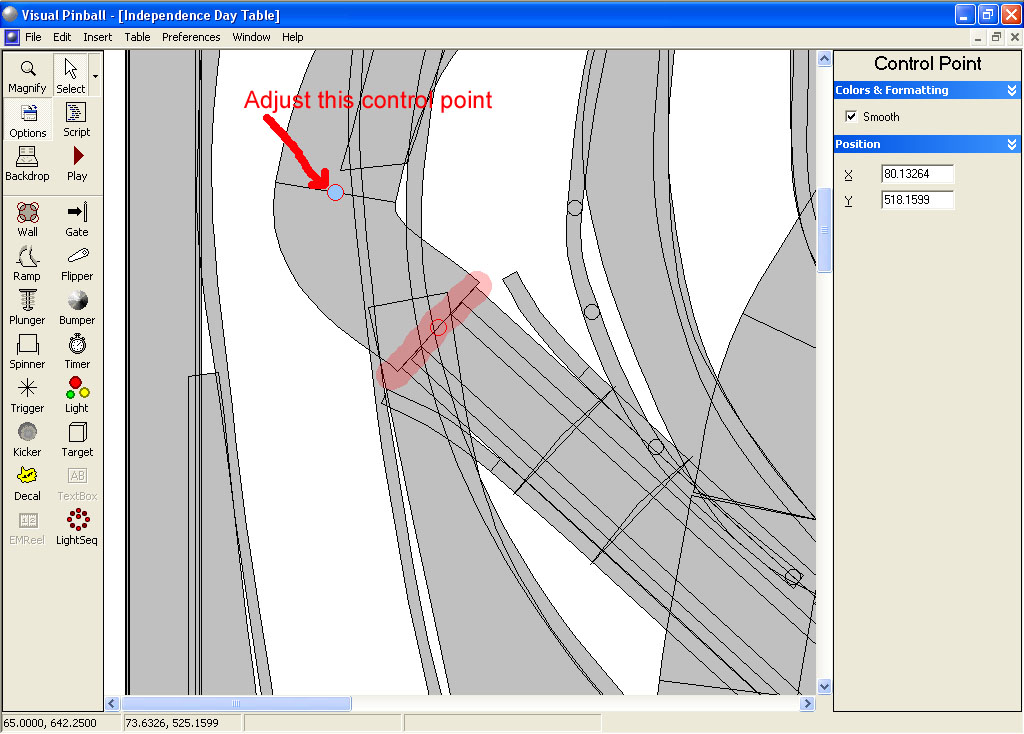
The upper end of our wire ramp and the end of the transparent ramp need to meet. They probably look like the following image. Click on the invisible floor ramp of our wire ramp and then click on the very end control point:

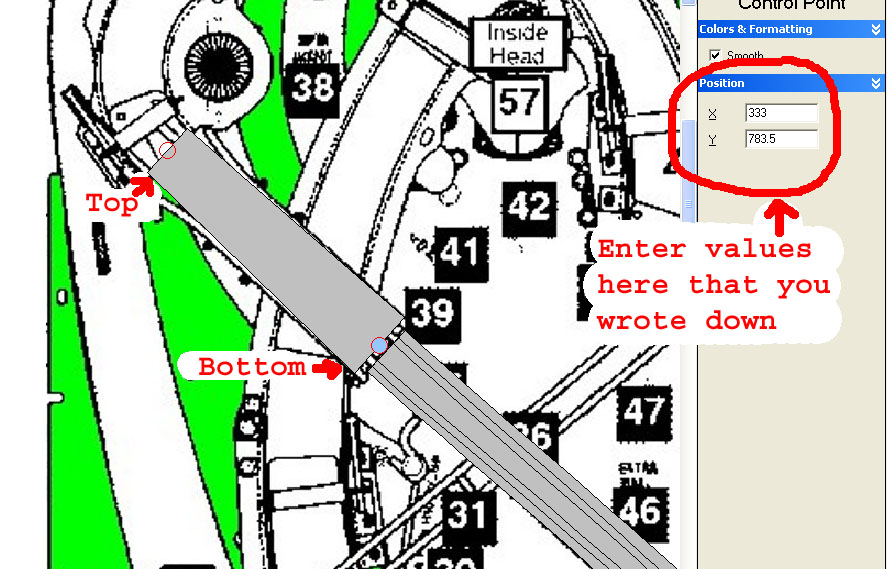
Write down the X and Y values then select the transparent ramp then click on its end control point and make it match the same X and Y values that you wrote down. You will then need to adjust the next control point up so that the end of the transparent ramp matches the same angle ad the end of the wire invisible floor ramp:
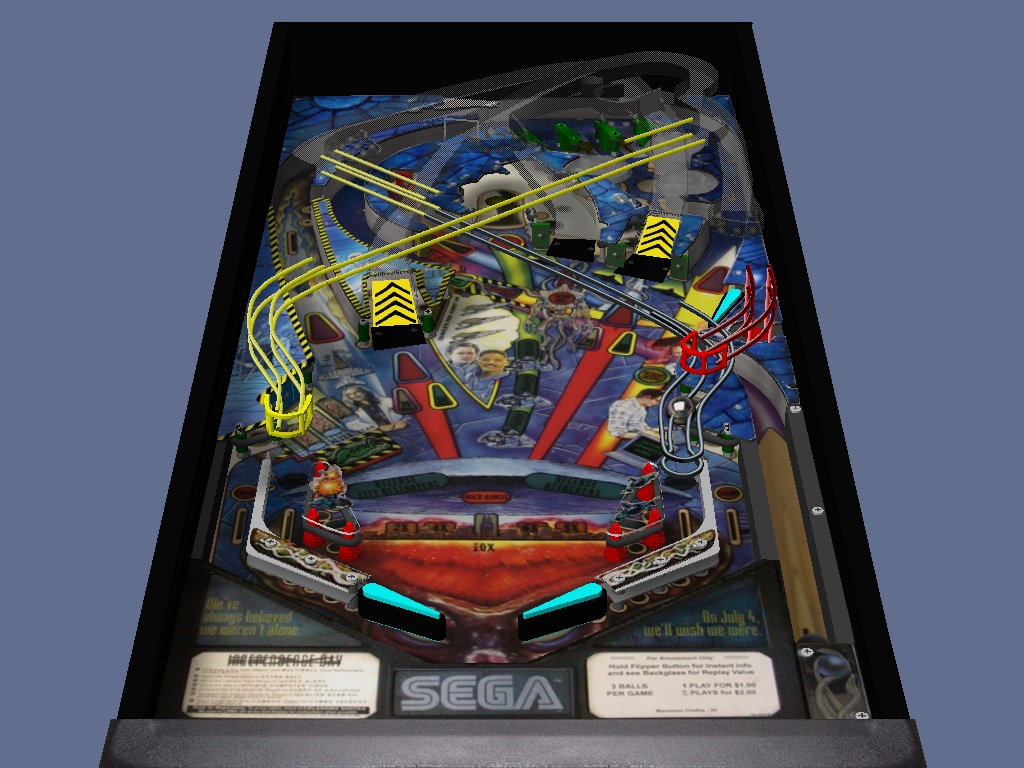
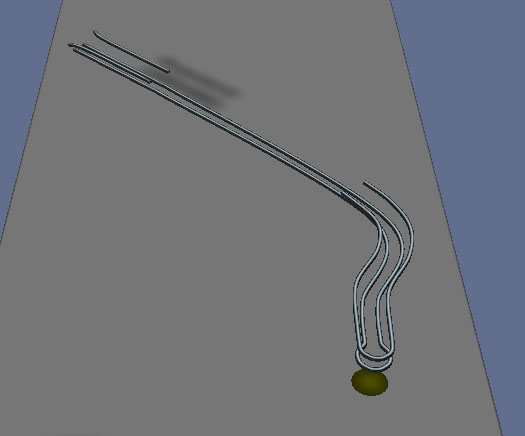
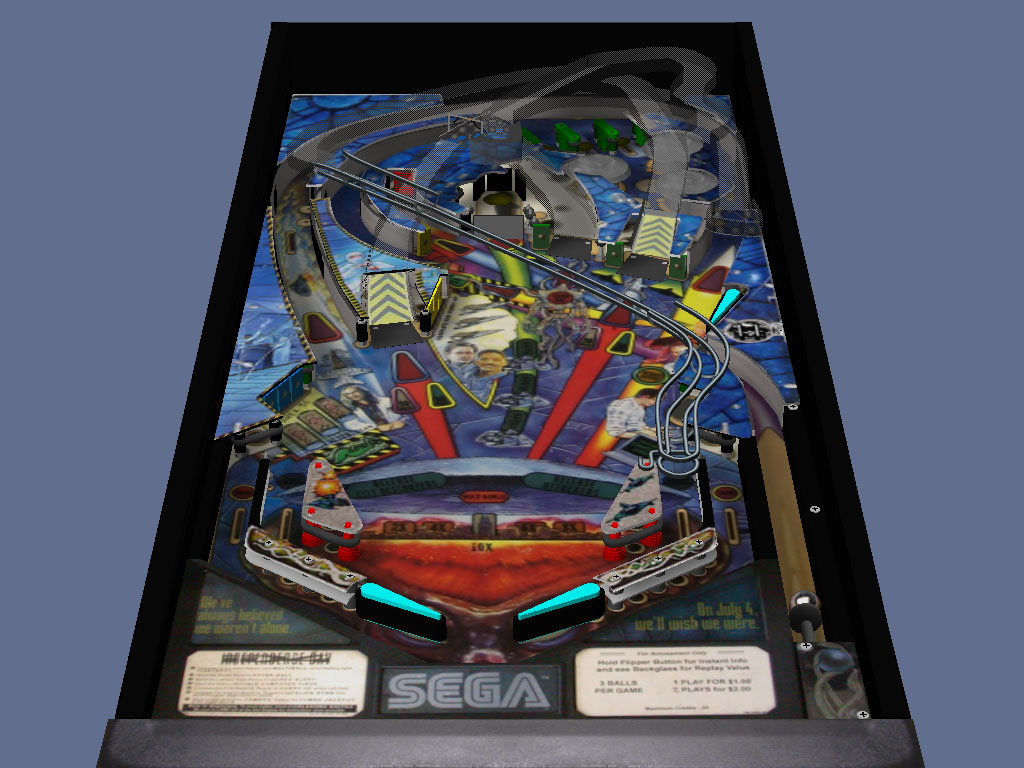
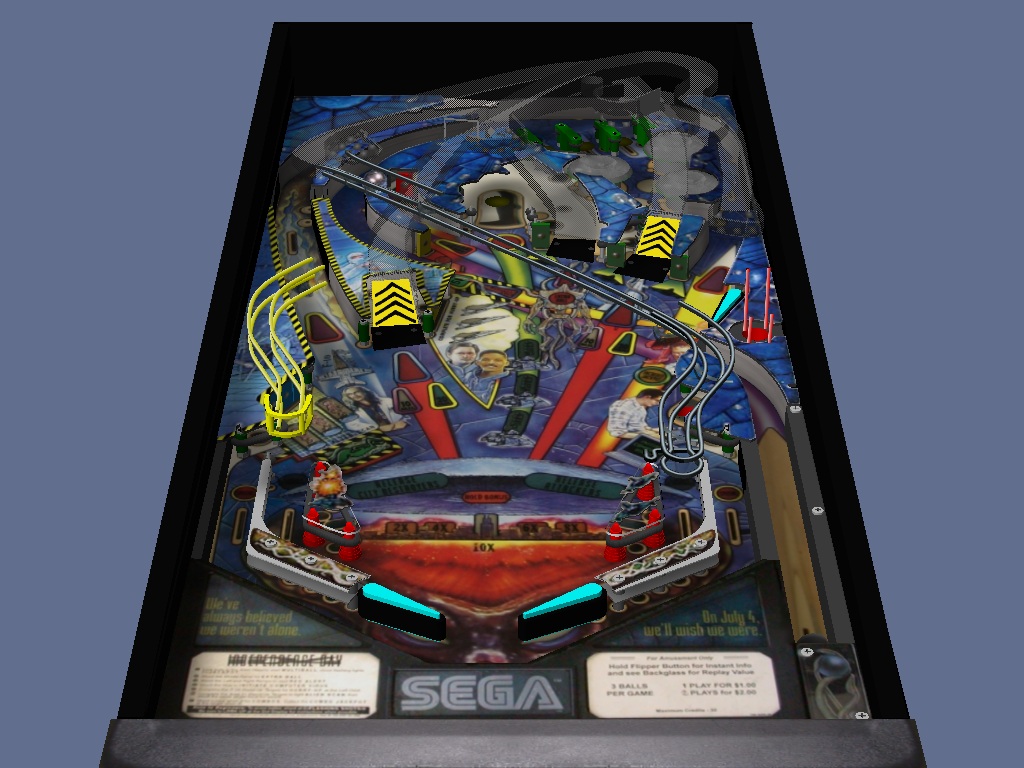
Your table should now look like this:


 Contributor
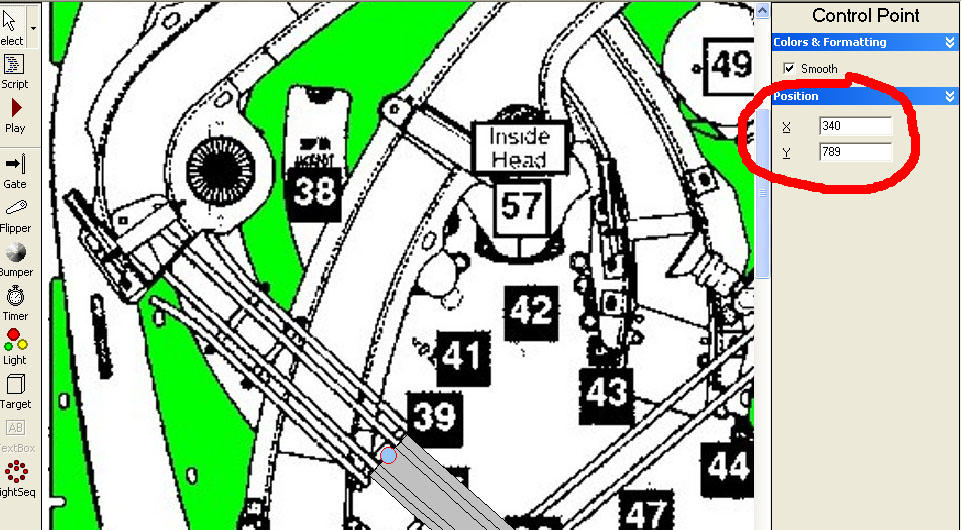


 are all trademarks of VPFORUMS.