Jump to content


Photo
* * * * * 1 votes

Williams Blackout 40/28/? - first time build


  • Please log in to reply
22 replies to this topic

#1 frodus

frodus

    Hobbyist

  • Members
  • PipPip
  • 49 posts

  • Flag: United States of America

  • Favorite Pinball: Tron LE

Posted 15 August 2014 - 06:14 AM

I figured I'd start a thread now that my project has officially started. I spent the last few months lurking and reading a lot before I committed.


Backstory:

I posted an ad on craigslist a month ago for an empty pinball cabinet. A local called me and said he had an empty Williams Phoenix machine (standard size) and would deliver to me for $100 and some change. He called me a few days later and said he had another cab in better shape, a 1980 Williams Blackout (also standard size). He came by and brought me both cabinets. He thought the project was cool and gave me both cabinets in case I needed anything.


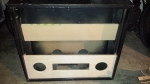
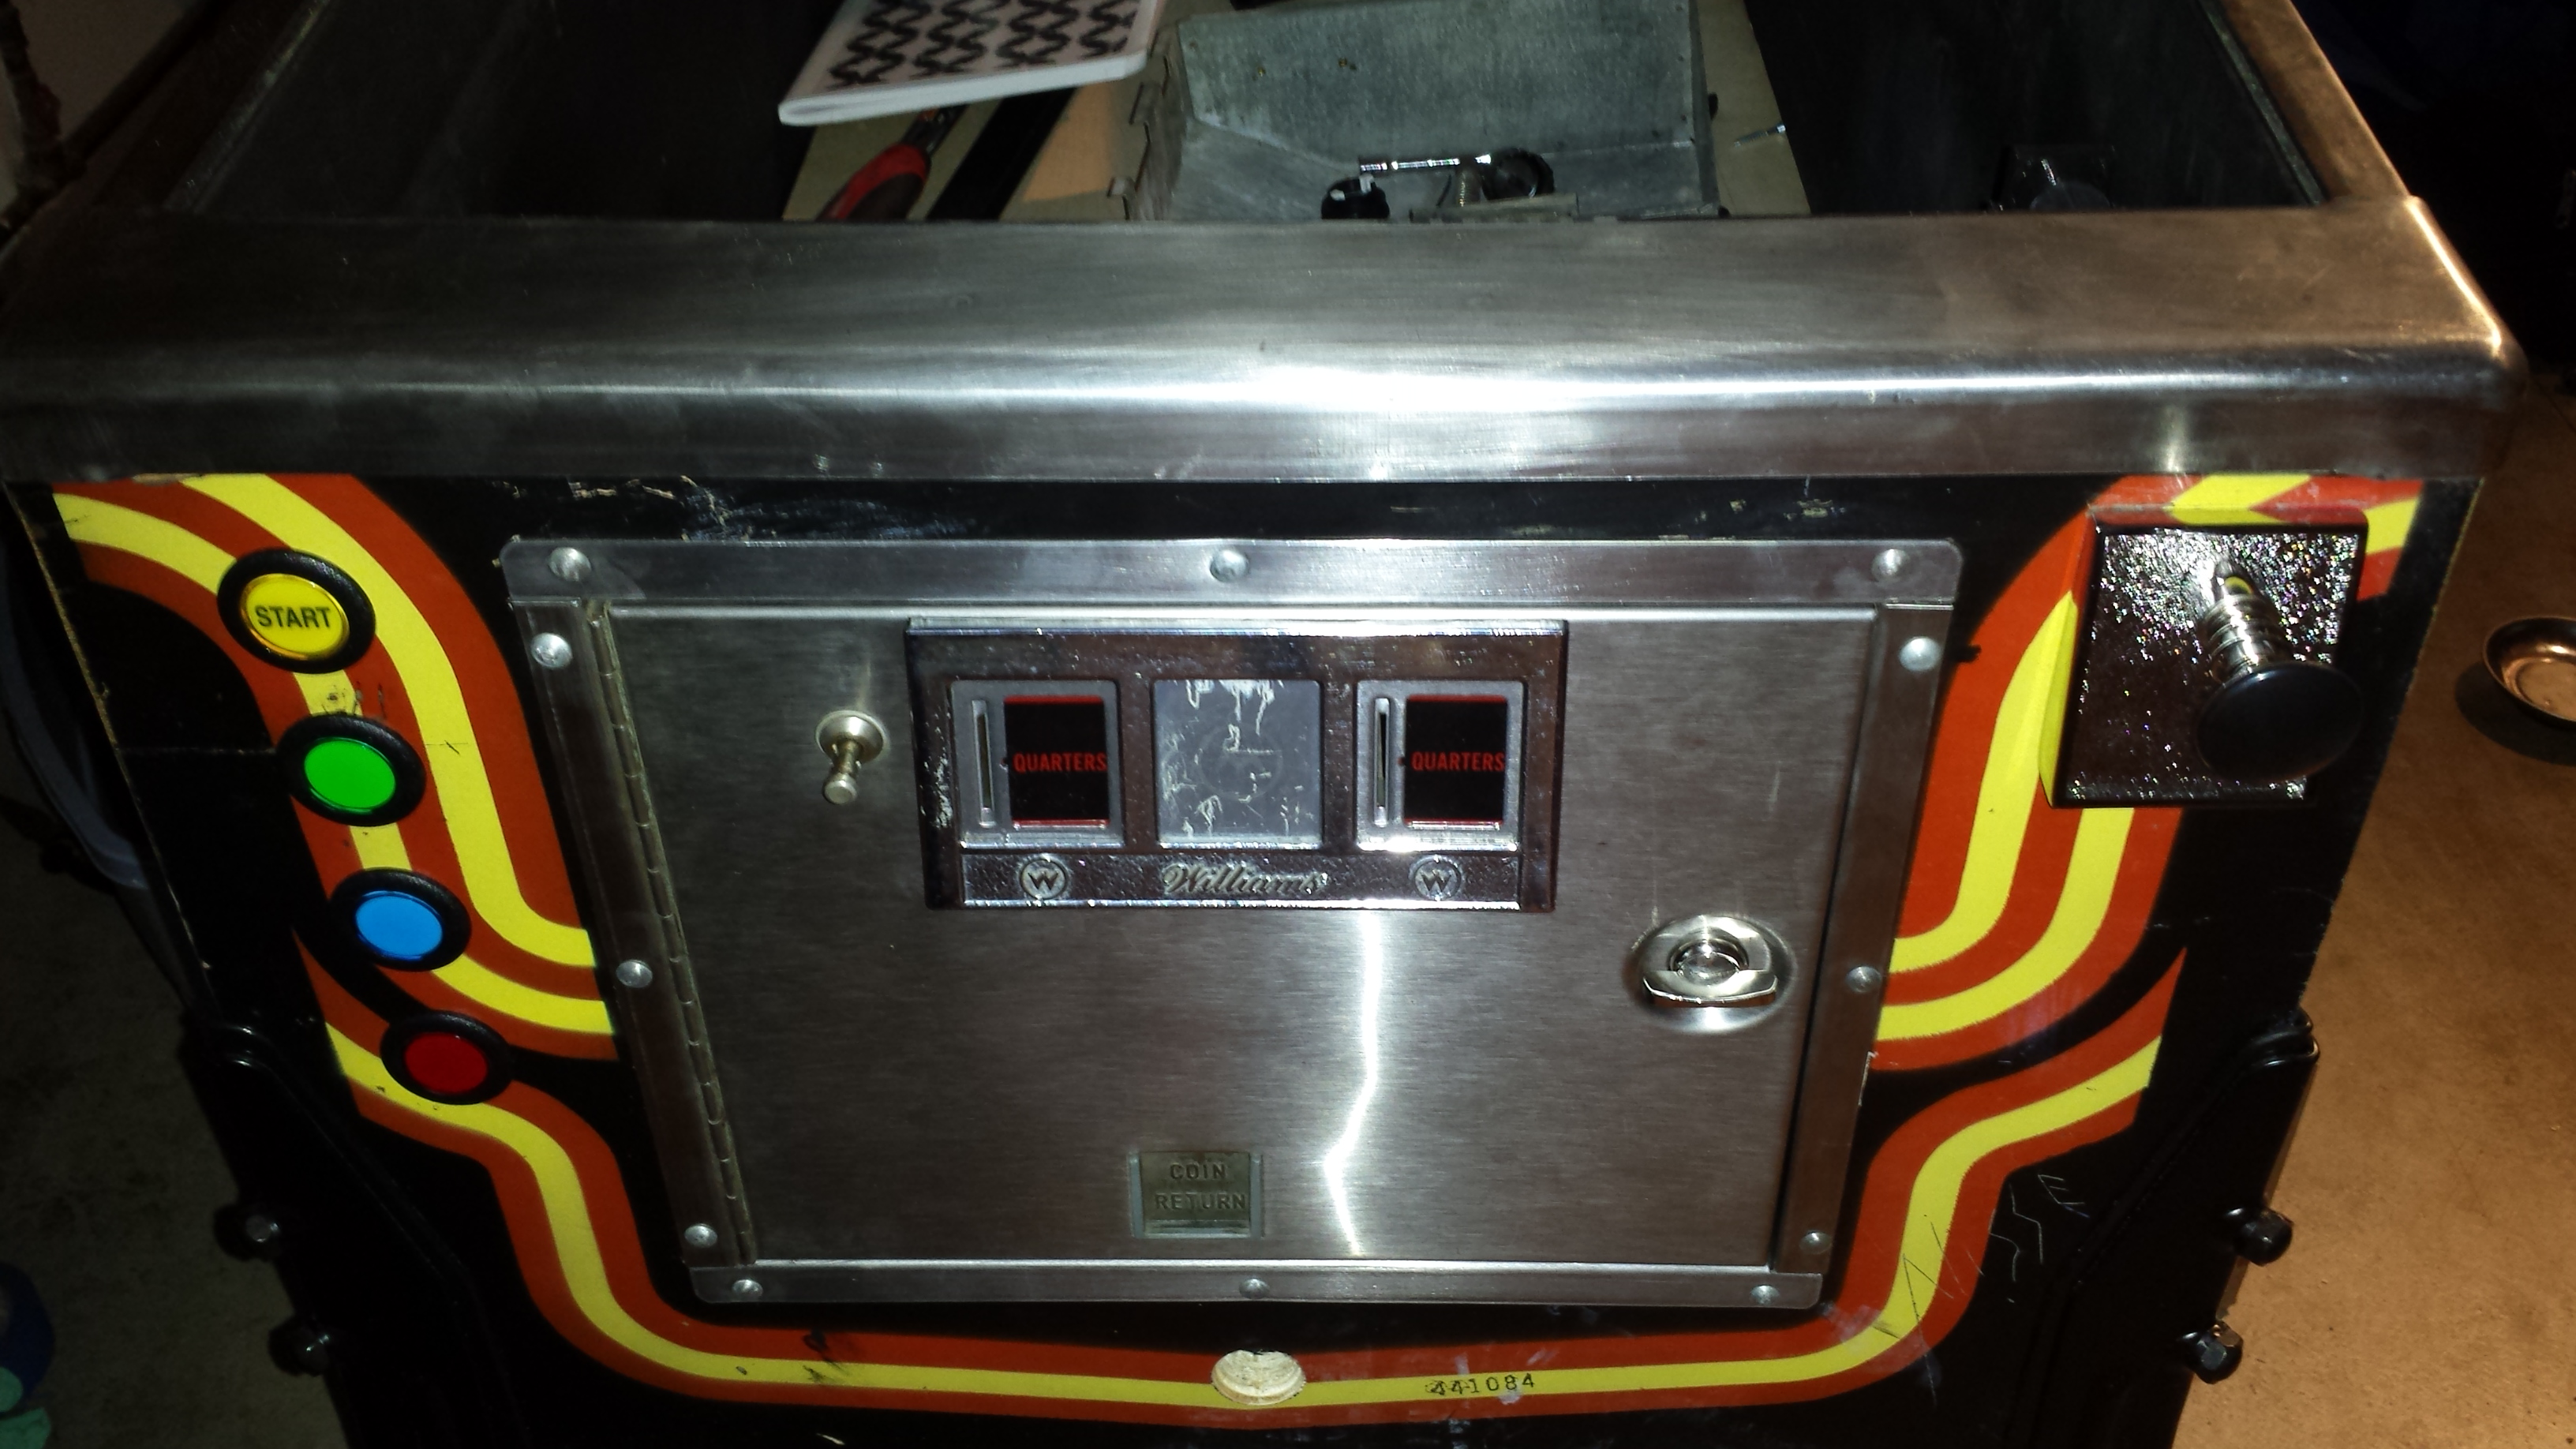
The Blackout cabinet was pretty complete minus the electronics, playfield and backglass. The Phoenix wasn't in very good condition and was missing the playfield glass, lockdown bar and legs. With two cabinets I have picked the parts off the worst cabinet and put together one good cabinet. I chose to use the Blackout cab because it was in much better physical shape, and I liked the retro black/red/orange paint. Both have coin doors and mechanical, knockers, buttons, backbox, side rails. The plan so far is to keep the Blackout cabinet as original. I'm going to make use of the coin mechanism, backglass lock, stock flipper locations.


Some pictures of the cabinet:

Attached File  20140805_191543.jpg   40.21KB   24 downloads Attached File  20140805_191617.jpg   32.38KB   21 downloads Attached File  20140814_204245.jpg   39.2KB   21 downloads Attached File  20140814_204303.jpg   48.54KB   22 downloads Attached File  20140814_204314.jpg   44.17KB   21 downloads


For the build, I'm planning on the following equipment:


Displays:

Playfield: Insignia NS-40D510NA15 LED HDTV, 1080p, 60hz, 176° horizontal and vertical viewing angles. This display ALMOST fits without decasing (20-5/8" wide). The Insignia logo at the bottom will need to be trimmed, otherwise it is a perfect fit. The playfield length will be approx 35-5/8".

Backglass: Insignia NS-28D310NA15 LED HDTV, 720p, 60hz, 160° horizontal and vertical viewing angles. I tried a 32" but it was just 1/8" too wide (and unfortunately the same price) and I didn't want to modify the cabinet. I chose the 28", which should be just fine. NOTE: the 28 and 32 inch Insignia LED TV's unfortunately cannot be decased because the enclosure holds in the display layers.

DMD: I haven't decided yet. I'm looking for 15" displays that will fit. 


Computer:

Processor: Intel i5-4690K, 3.5GHz (up to 3.9GHz), 4-core, 64bit processor. Found a great deal through a friend.

Motherboard: TBA. I just need something with at least 1 PCI-express 16 3.0 slot Z97 chipset. 

Video card: EVGA SuperClocked Signature 2 02G-P4-2661-KR GeForce GTX 660 2GB 192-bit. Found an open box at Fry's, and not only was it on sale, but there's a $30 rebate on it right now and only cost $140 after rebates. I plan on using this to drive the playfield, backglass and DMD display (if I use a 15").

RAM: 8gigs. Whatever has decent performance versus cost.

Drive: Looking at options for SSD, but if something happens, I can't play. Wondering if I can use my 1TB for tables, and a SSD for the OS? Will likely get a 120/128gig SSD.

Accessories: bluetooth trackpad/keyboard combo

I'll just use the onboard audio, as I think that'll be sufficient. Haven't decided on connectivity like ethernet or wifi.


Controls:

Virtuapin Digital Plunger kit V2

Ledwiz for outputs

All new buttons for flippers, start, navigation, etc.

I want to use the original coin door and have a free play hidden or enabled with a lock.

2 contactors for the flippers (will add contactors later if I feel I want them, but will build with them in mind)

LED flashers in the back of the playfield


Other:

One large fan for backglass

One large fan for the back of the cabinet, one in front to pull air through.

Custom wood bezel for the backglass with speaker holes

a couple of small speakers for the backbox and an amplifier. Haven't decided on sub yet.


Here are some pictures of the LED display fitment. You can see that the 40" fits width-wise, except for the insignia logo. I will decase this display since the bottom is too deep.

Attached File  20140814_205437.jpg   27.27KB   21 downloads Attached File  20140814_205737.jpg   36.33KB   20 downloads Attached File  20140814_210130.jpg   46.75KB   20 downloads


I've got the processor and plunger kit on order. Both of the Insignia TVs, EVGA video card and a power supply for the Ledwiz have already been obtained.


That's it for now


#2 MTPPC

MTPPC

    Enthusiast

  • Members
  • PipPipPip
  • 352 posts
  • Location:Big Sky, Montana USA

  • Flag: ---------

  • Favorite Pinball: Mata Hari .directB2S

Posted 15 August 2014 - 03:46 PM

How deep will your TV set? I'd probably consider hogging some of the cabinet sidewall out so you don't have to damage the TV, but maybe that hump on the TV will dremel right off.


I love that cabinet for a VP. Try to hide all your extra control buttons so it looks more like an authentic pin. At least that's what I've done a couple times.


I put a 32 in my backbox and then I didn't even cover it with glass: http://www.vpforums....285#entry214243


Edited by MTPPC, 15 August 2014 - 03:48 PM.


#3 frodus

frodus

    Hobbyist

  • Members
  • PipPip
  • 49 posts

  • Flag: United States of America

  • Favorite Pinball: Tron LE

Posted 15 August 2014 - 04:21 PM

The insignia logo is just a little thin strip that sticks out that will dremel right off.... but I'm still going to decase it. The back of the TV extends too deep beyond the rails. My buddy has a CNC and I want to make a custom frame for the TV to mount to so the whole thing can hinge up and the original prop can be used when working. I don't want to cut doors or anything into the cabinet.


I may do that with the buttons, not sure yet.


I was surprised, the 40" (39.5 viewable) fit really well! Even have a little between the edges where I could potentially put mirrors.


#4 frodus

frodus

    Hobbyist

  • Members
  • PipPip
  • 49 posts

  • Flag: United States of America

  • Favorite Pinball: Tron LE

Posted 20 September 2014 - 05:48 AM

So time for a little update. I've been busy and haven't posted much.
 
I got a few more parts:
- Gigabyte Z97X-UD3H motherboard
- Toshiba Q-series pro 128GB SSD
- 15" 4:3 monitor (almost exactly 10" tall) for $5 at a local surplus store
- Various microswitch buttons for menus, start, insert coin, alternate Launch button. $3 each at the local surplus store
- Logitech K400r wireless keyboard
- Cheap computer case to install the computer parts in. I completely gutted it down to just a frame. $10 at the surplus store.
- A friend gave me an old MAME cabinet he built with an iPac and a bunch of buttons and a joystick. Keeping for spares/etc.
 
On order:
- New black legs, cabinet protectors, leg levelers, bolts
- LED-Wiz
- New Coin entry plates (mine were old and one cracked)
- Backglass trim
- Coin door and Backglass locks
- 4 flipper buttons and leaf switches
 
The Virtuapin plunger V2 came in and I had trouble getting it to install. It seems like it won't work at all if the Intel USB 3.0 drivers are installed. I uninstalled them and it works. I'm fine, since I don't have anything that would use USB 3.0. Its very easy to use and so far works as advertised.
 
The computer is built and running smoothly. I've installed some of the software and all looks just fine. I'm trying not to rush through things and learn what I need to do and add more progressively. So far its super fast and I've been watching movies on it, trying to see 
 
I got the nVidia GTX 660 set up with my displays and it looks pretty nice on the 40" and 28" inch Insignia displays, as well as the 15" that I'll use for the DMD. The 28" LCD is right at 15.5" tall, and the 15" LCD is right at 10" tall decased, giving a total of 25.5" inside the backbox, which is right at 26". I test fit and it fits pretty much perfectly. I'll build a speaker panel about 10" tall and get some clear plastic to cover the backglass display. I cut off an aesthetic strip that was hanging on the bottom of the 40" LED display, and now its pretty much symmetric top and bottom and fits into the cabinet perfectly.
 
In the coming weeks, I'll be cleaning up the cabinet, mounting the buttons and displays and testing out some of the software. For the time being, I'm only using the LED-Wiz for lights on the buttons, a knocker (already have it) and maybe some LED lighting. I plan on adding contactors and more lighting at a later time. 
 
More pictures and such later.


#5 frodus

frodus

    Hobbyist

  • Members
  • PipPip
  • 49 posts

  • Flag: United States of America

  • Favorite Pinball: Tron LE

Posted 29 September 2014 - 08:09 PM

Spent most of Saturday with a friend doing the wood internals. We cut the speaker panel, Backglass LCD mount, Playfield LCD mount, equipment panel and some extra mounting pieces. 


I cut a 36" x 20.25" board that the Playfield monitor will mount to using the VESA mounts. I could have made a frame, but we had some MDF and just cut to size. Also cut some rails that will go along the sides and allow the Playfield to rest securely. 


Also, since the bottom of the cabinet is a really thin particulate board, I wanted to cut a board that would screw down to the two internal supports that goes across the inside. We cut a 39" x 20.25" board that will go from the back wall to the front support and give a nice base to mount computer, IO cards and power supplies.


Then we cut the Speaker panel with two 4" holes. The LCD I got for the DMD was exactly 10" tall by 12" wide. We cut the hole to be about the same aspect ratio as a real DMD, with a height of ~3.1". We routered it out and rounded the edges. It fits perfectly in the backbox.

20140928_234316%5B1%5D_t.jpg


Some pics of the buttons and plunger kit

20140919_221604%5B1%5D_t.jpg


20140919_221639%5B1%5D_t.jpg


Next is installing the mounts and speaker panel, doing some paint, and mounting some things in the cabinet. I have most of the parts I need to get it running, minus speakers and Amp.


Edited by frodus, 29 September 2014 - 08:22 PM.


#6 frodus

frodus

    Hobbyist

  • Members
  • PipPip
  • 49 posts

  • Flag: United States of America

  • Favorite Pinball: Tron LE

Posted 06 October 2014 - 08:57 PM

Speakers were ordered Friday. Mental note for future: DO NOT CUT HOLES BEFORE I GET SPEAKERS! I made that mistake and cut a 4" hole thinking that speakers are generally the same. They're not. Took me a week to search all the dimensions out there to find a compatible speaker for the panel.
 
Went camping this weekend but did get home early enough to do some work on the Cabinet. I took all the metal parts off late last week, and spent some time polishing them up with some buffing compound. I didn't take the side rails off, but pretty much everything else came off. I removed the original side rails and lightly sanded the insides. Then I took some flat black spray paint and went over the entire inside of the cabinet and back box. I just wanted a solid color, as the cabinet is a bit discolored. 
 
Test fit the bottom panel I cut as well as the computer. I'll be cutting the case apart a little so it fits better. Lots of wasted space, and a motherboard panel is way too expensive.
 
One thing I did was tried to keep the original back-glass locking mechanism. It keeps the original full height back glass locked in place. Even though I'm using a speaker panel, I can use the same locking setup. I also kept the original playfield prop bar and coin mechanisms (they work!). The metal is all in good shape and only a few items inside were corroded from sitting. Cleaned it all up and re-installed into the cabinet.
 
 
20140929_2013081.jpg

20140929_2028401.jpg

20141005_2111540.jpg

20141005_2112010.jpg

20141005_2112130.jpg

20141005_2112320.jpg 

20141005_2112400.jpg 

20141005_2113110.jpg
 
Next up is cutting button holes and then mounting the speaker panel and LCD displays.

Edited by frodus, 06 October 2014 - 09:16 PM.


#7 frodus

frodus

    Hobbyist

  • Members
  • PipPip
  • 49 posts

  • Flag: United States of America

  • Favorite Pinball: Tron LE

Posted 24 October 2014 - 08:03 PM

I've gotten pretty far along the last couple weeks.

I've done the following:
- Mounted BG monitor into the backbox
- Mounted speakers and DMD into the speaker panel and backbox
- Installed 8" subwoofer
- Mounted side rails for the PF/Mounting board to rest on
- Mounted 4 buttons (Start/Coin/Instructions/Exit) as well as the two flippers (Might do the Magnasave's later, we'll see)
- Mounted the VirtuaPin digital Plunger kit V2
- Mounted the computer, LEDWiz, VP Plunger board, power supplies, Lepai amp and plug strip to my base-board

Still need to:
- Get glass/Lexan cut for the backglass
- Install some fans (one 140mm fan for bottom, and two 100mm fans in the backbox)
- Wire the buttons, plunger, knocker and coin mechanism
- Configure the Pinballx, Visual Pinball and Pinball FX2 along with xpadder (so I can use the service buttons to raise/lower volume)
- Wire a relay off the computer PSU that will connect power to the power strip and turn the cab on/off when taking computer out of sleep
- Bring inside from the garage and start playing


20141011_135730.jpg

20141012_102040.jpg

20141011_174012.jpg

20141014_192547.jpg

20141014_192930.jpg

20141014_193727.jpg

(Sorry this one is blurry)
20141023_205710.jpg

#8 Nemo

Nemo

    Pinball Fan

  • Platinum Supporter
  • 1,283 posts
  • Location:Netherlands

  • Flag: Netherlands

  • Favorite Pinball: Monster Bash

Posted 26 October 2014 - 07:26 AM

Nice progress ! Great job, it's going to be a great experience, so on your "to do list" the last item is the MOST rewarding, although building it is just as much fun !


Btw, lexan/plexi is good for the backbox but i would opt glass for the playfield.


Edited by Nemo, 26 October 2014 - 07:27 AM.

Gone fishin', no really.......

My F14 Cab http://www.vpforums....showtopic=21820

My Coffee Table http://www.vpforums....topic=25407&hl=

My Jukebox WIP http://www.vpforums....topic=23825&hl=


#9 frodus

frodus

    Hobbyist

  • Members
  • PipPip
  • 49 posts

  • Flag: United States of America

  • Favorite Pinball: Tron LE

Posted 26 October 2014 - 11:16 PM

The cab came with playfield glass. Definitely using it. Trying to keep it as classic looking as I can.

#10 frodus

frodus

    Hobbyist

  • Members
  • PipPip
  • 49 posts

  • Flag: United States of America

  • Favorite Pinball: Tron LE

Posted 28 October 2014 - 03:54 AM

Just threw the computer panel into the cab to test sound and hooked up the BG and DMD displays. The sound is amazing! 


Fired up Pinball FX2 and played a quick game just on the backglass....... wow. Why didn't I see these cabinets people were building sooner, I'd have built one years ago!


I can't frickin' wait to get the buttons wired up so I can play.


#11 frodus

frodus

    Hobbyist

  • Members
  • PipPip
  • 49 posts

  • Flag: United States of America

  • Favorite Pinball: Tron LE

Posted 09 November 2014 - 06:22 AM

Finished the cabinet up today. Still need a few things before its 100%, but its working!


Need to wire the LEDs on the buttons to the LEDwiz, along with the Knocker. No contactors for now. 
 
I ended up running Pinballx, Nukelauncher and Pinball FX2 on Steam. Works pretty well. I'll be adding VP later, this was just to get it going quickly.


#12 frodus

frodus

    Hobbyist

  • Members
  • PipPip
  • 49 posts

  • Flag: United States of America

  • Favorite Pinball: Tron LE

Posted 11 November 2014 - 07:00 PM

So here’s a little how-to for my setup with a 40/28/15 display setup, Virtuapin Plunger kit V2, Pinballx, Nukelauncher, xpadder and x360ce. All were required to get things working properly on my machine running Windows 7 64.


First: I installed Pinballx for my front end. I stuck with the stock keyboard shortcuts, but changed my joystick inputs for select, instructions and right/left. LEAVE the quit and exit emulator BLANK, as these will be done using keyboard shortcuts.


Second: I set up xpadder, added one button (my exit button on the front of my cabinet, going into the VP Plunger kit V2), and mapped that to the escape key. This allows pinballx and nukelauncher to exit correctly. Under settings, make sure you set to autorun when windows starts.


Third, I installed and configured Nukelauncher. I basically just followed the directions, except the autogenerated game list was wrong. I had to manually enter in the games on FX2, set the football location and start location, and set the grid size. Once I did that, Nukelauncher launched the right game. I kept the keymapping stock. I installed the media pack I was provided when I donated money.


Fourth: To get the plunger and nudge working, you’ll need to emulated an xbox360 controller using a program called x360ce. Xpadder won’t work. Copy this program into your “Program Files (x86)/Steam/Steamapps/common/Pinball FX2” directory. I set my right and left bumpers to my right and left flipper buttons. My right trigger is set to “Inverted axis 3”, A is set to my select button, B is set to my view button, left stick axis x is set to Axis 1 of the plunger kit, and left stick axis y is set to axis 2 of the plunger kit. Leave d-pad as it is, and CLEAR out all entries for anything else. Next, in the advanced tab, I set the left thumb deadzone to 0, and the anti deadzone to 100%. I set the right trigger deadzone to 2%.


Fifth: Google search on how to change your DMD on Pinball to the third monitor. I won’t go over that here.


What this gets you:

Pinballx launches Pinball FX2 tables using the Virtuapin plunger kit buttons, escape is emulated with xpadder, x360ce emulates buttons/nudge/plunger working in Pinball FX2, and with the right media installed, the backglass stays on the backglass and media displays in pinballx correctly.


#13 frodus

frodus

    Hobbyist

  • Members
  • PipPip
  • 49 posts

  • Flag: United States of America

  • Favorite Pinball: Tron LE

Posted 11 November 2014 - 07:35 PM

Also... You'll need to go into pinball fx2 and set up the controller settings correctly for those mapped buttons from x360ce

#14 Carny_Priest

Carny_Priest

    Pinball Fan

  • Members
  • PipPipPipPip
  • 1,233 posts
  • Location:Austin, TX

  • Flag: United States of America

  • Favorite Pinball: EATPM

Posted 11 November 2014 - 08:51 PM

Thanks for the primer. I have to configure a similar setup.


#15 charlie14

charlie14

    Neophyte

  • Members
  • Pip
  • 7 posts

  • Flag: Sweden

  • Favorite Pinball: funhouse

Posted 12 November 2014 - 03:57 AM

nicely done!


#16 flomas

flomas

    Hobbyist

  • Members
  • PipPip
  • 15 posts

  • Flag: United States of America

  • Favorite Pinball: Gorgar

Posted 13 November 2014 - 10:40 PM

Awesome Build!! 

I've got just about everything working except for Plunger, Should x360ce start on it's own, I have it in the specified path as mentioned above and it sees my controller in the program and works, but it's not functioning in PBFX2

Also, Do you ever have a problem with your plunger kit not starting with windows occasionally?


Edited by flomas, 13 November 2014 - 10:42 PM.


#17 frodus

frodus

    Hobbyist

  • Members
  • PipPip
  • 49 posts

  • Flag: United States of America

  • Favorite Pinball: Tron LE

Posted 14 November 2014 - 05:11 PM

The x360ce generates dll file, which is used by the game automatically. Can you screenshot your x360ce setup?

#18 flomas

flomas

    Hobbyist

  • Members
  • PipPip
  • 15 posts

  • Flag: United States of America

  • Favorite Pinball: Gorgar

Posted 14 November 2014 - 09:20 PM

I think I need to wipe x360ce and start clean, I may have jacked something up, I only want to use x360ce for the plunger, I'm using xpadder for everything else and that's functioning fine. Here's some screenshots

Attached Files


#19 flomas

flomas

    Hobbyist

  • Members
  • PipPip
  • 15 posts

  • Flag: United States of America

  • Favorite Pinball: Gorgar

Posted 15 November 2014 - 07:16 AM

Dopey me, I think I got it, Was having some problems with the version I was using, Now it actually is lit Green and on.  :otvclap: . I'll post more once I'm done.


I think I need to post over in x360 forums, I'm getting mixed results with versions and when I do get it to work it's not stable also outputs a config error when launching, when it does detect the controller.


Frodus, Can I get a zipped up copy of your working x360ce please?


Edited by flomas, 16 November 2014 - 12:48 AM.


#20 Practicedummy

Practicedummy

    Multi-Level Madman

  • Platinum Supporter
  • 2,683 posts
  • Location:Indiana

  • Flag: United States of America

  • Favorite Pinball: I like multi-level pinball the most


  • Trophies:

Posted 16 November 2014 - 03:35 AM

A shame that it was a classic game that got gutted. Why couldn't it have been a crappy pinball game like X's And O's or Wheel Of Fortune, Or one of Stern's newer stuff? :D


Edited by Practicedummy, 16 November 2014 - 03:35 AM.

I could have been smart, but I never learned anything by being smart!