


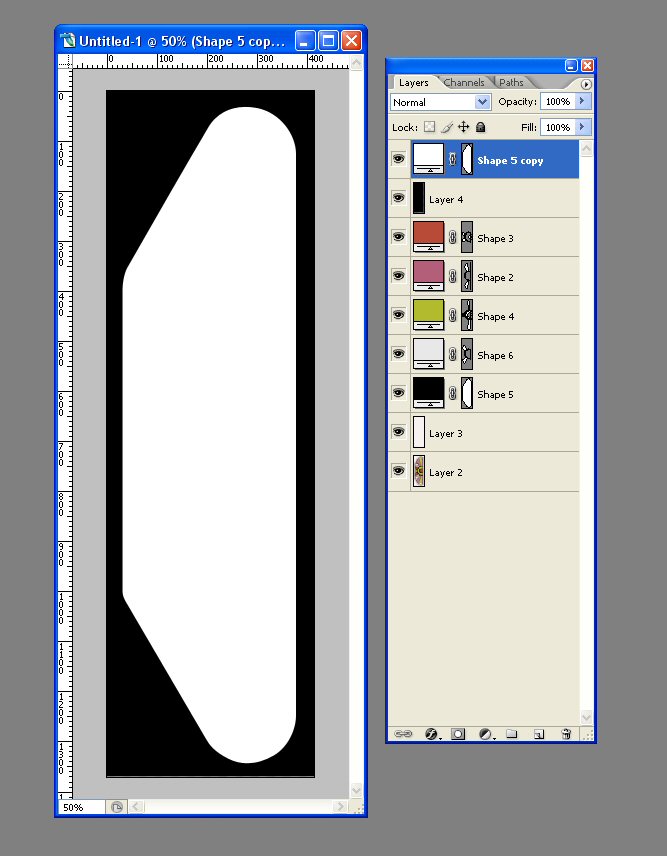
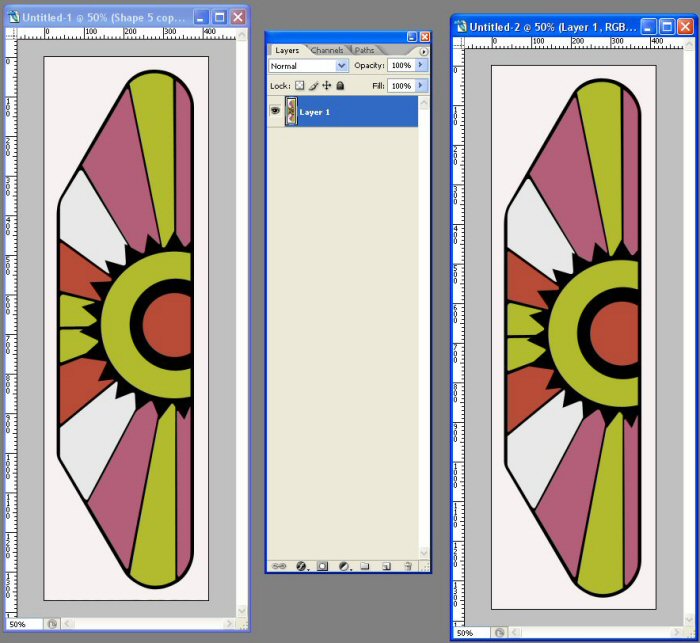
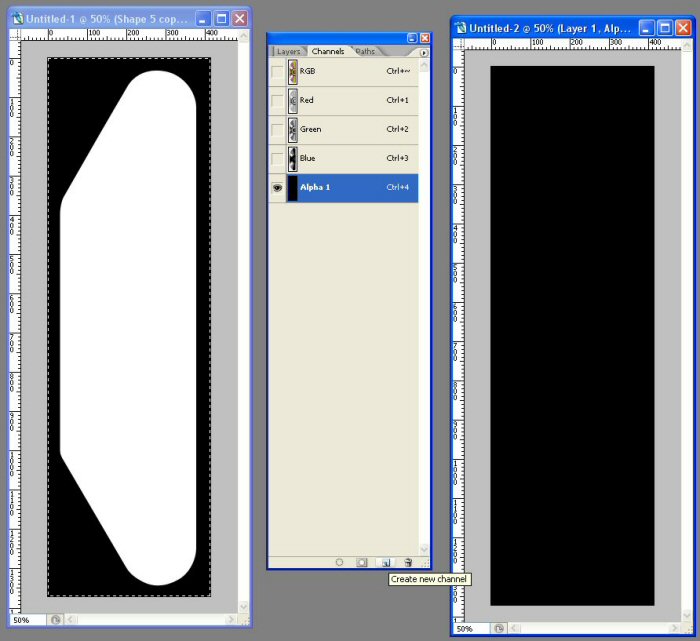
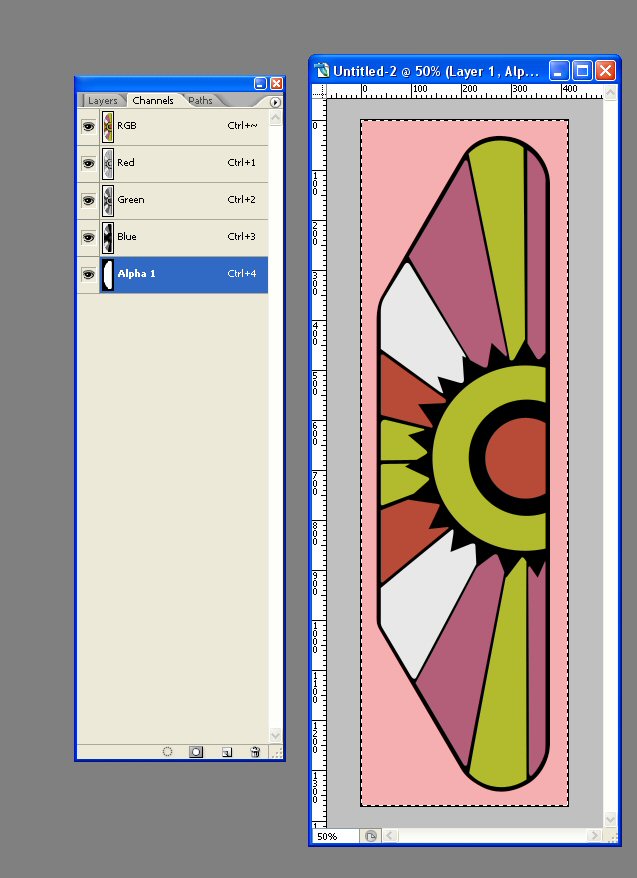
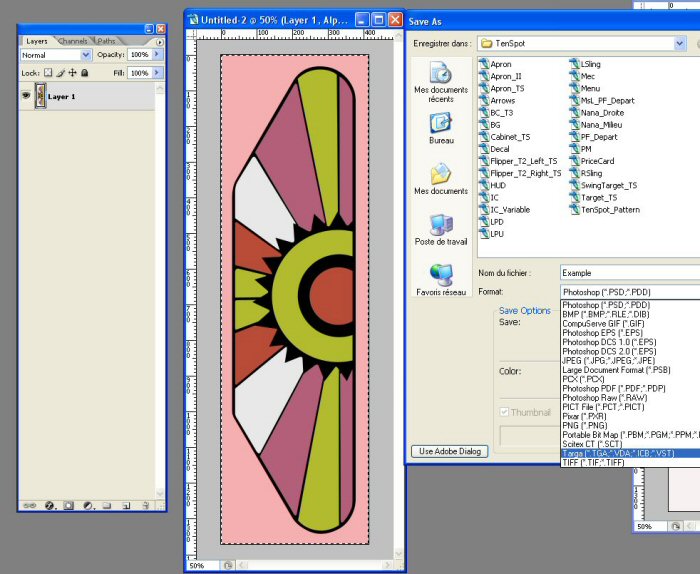
Hey guys, Haven't had much luck producing the clear border on my plastics ,I know it involves alpha channels and have loaded some of popottes plastics into photoshop to see how hes done them but I'm really stuck!!!!!. Could someone PLEASE!! tell me the steps to go through using photoshop cs4. Thanx guys - Platinum
- View New Content
-
Getting Started
-
Tutorials
Tutorial Categories
Tutorials Main Page Installation and Setup Downloadable TutorialsROM Adjustments
Number of Balls Adjustments Volume Adjustments
-
Visual Pinball Tables
VP 8 Desktop Tables
All VPM Recreations VP Recreations VP/VPM MODs VP Originals ROMsVP 9 Desktop Tables
All VPM Recreations VP Recreations VP/VPM MODs VP Originals ROMsVP9 Cabinet Tables
All Full Screen Cabinet Full Screen B2S Cabinet Spanned Cabinet Tables Media Packs ROMsVPX Tables
All VPinMAME Recreations VPX- - /VPinMAME - MOD Tables VPX Recreations VPX Originals Media Packs ROMs VR
-
Frontend Media & Backglass
Media Packs
Complete Media Packs Wheel Logos VideosBackglasses
dB2S Animated Backglasses UVP Animated Backglasses Topper Images
- Future Pinball Tables
-
Design Resources
Main Resources
Table Templates Playfield Images Image Library Sound Library Key CodesVP Guides
VP8 Guide - English VP8 Guide - Deutsch VP9 Guide - English VP9.1.x Guide - English VP Object Guide VPM DocumentationFuture Pinball Resources
Playfield Images 3D Model LibraryFuture Pinball Guides
FP Script Guide Big Draco Script Guide FP Table Design Guide FP DMD Guide
- Other Features
- Bug Tracker
- Image Gallery
- Blogs
-
More


 are all trademarks of VPFORUMS.