


It's probably a good presage... Yesterday I started to build my cabinet and it was " Zany's birthday " so what can I say; this project will probably be a beer festival everyday  Yep this will be another standard Williams widebody cab and of course I will try to use as much as possible info and tricks from all these good mentors that already posted their build here.
46" / 32" / 12.3"
- Cab
- Widebody based on the popular Williams plans by Mameman. ( 10 mm less longer ...Yeah I know I really suck when it's time to play with measuring tape )
- Two 4x8 sheets of Russian Birch Plywood
- Ultimate Wide Body kit from VirtuaPin.net
- Screens
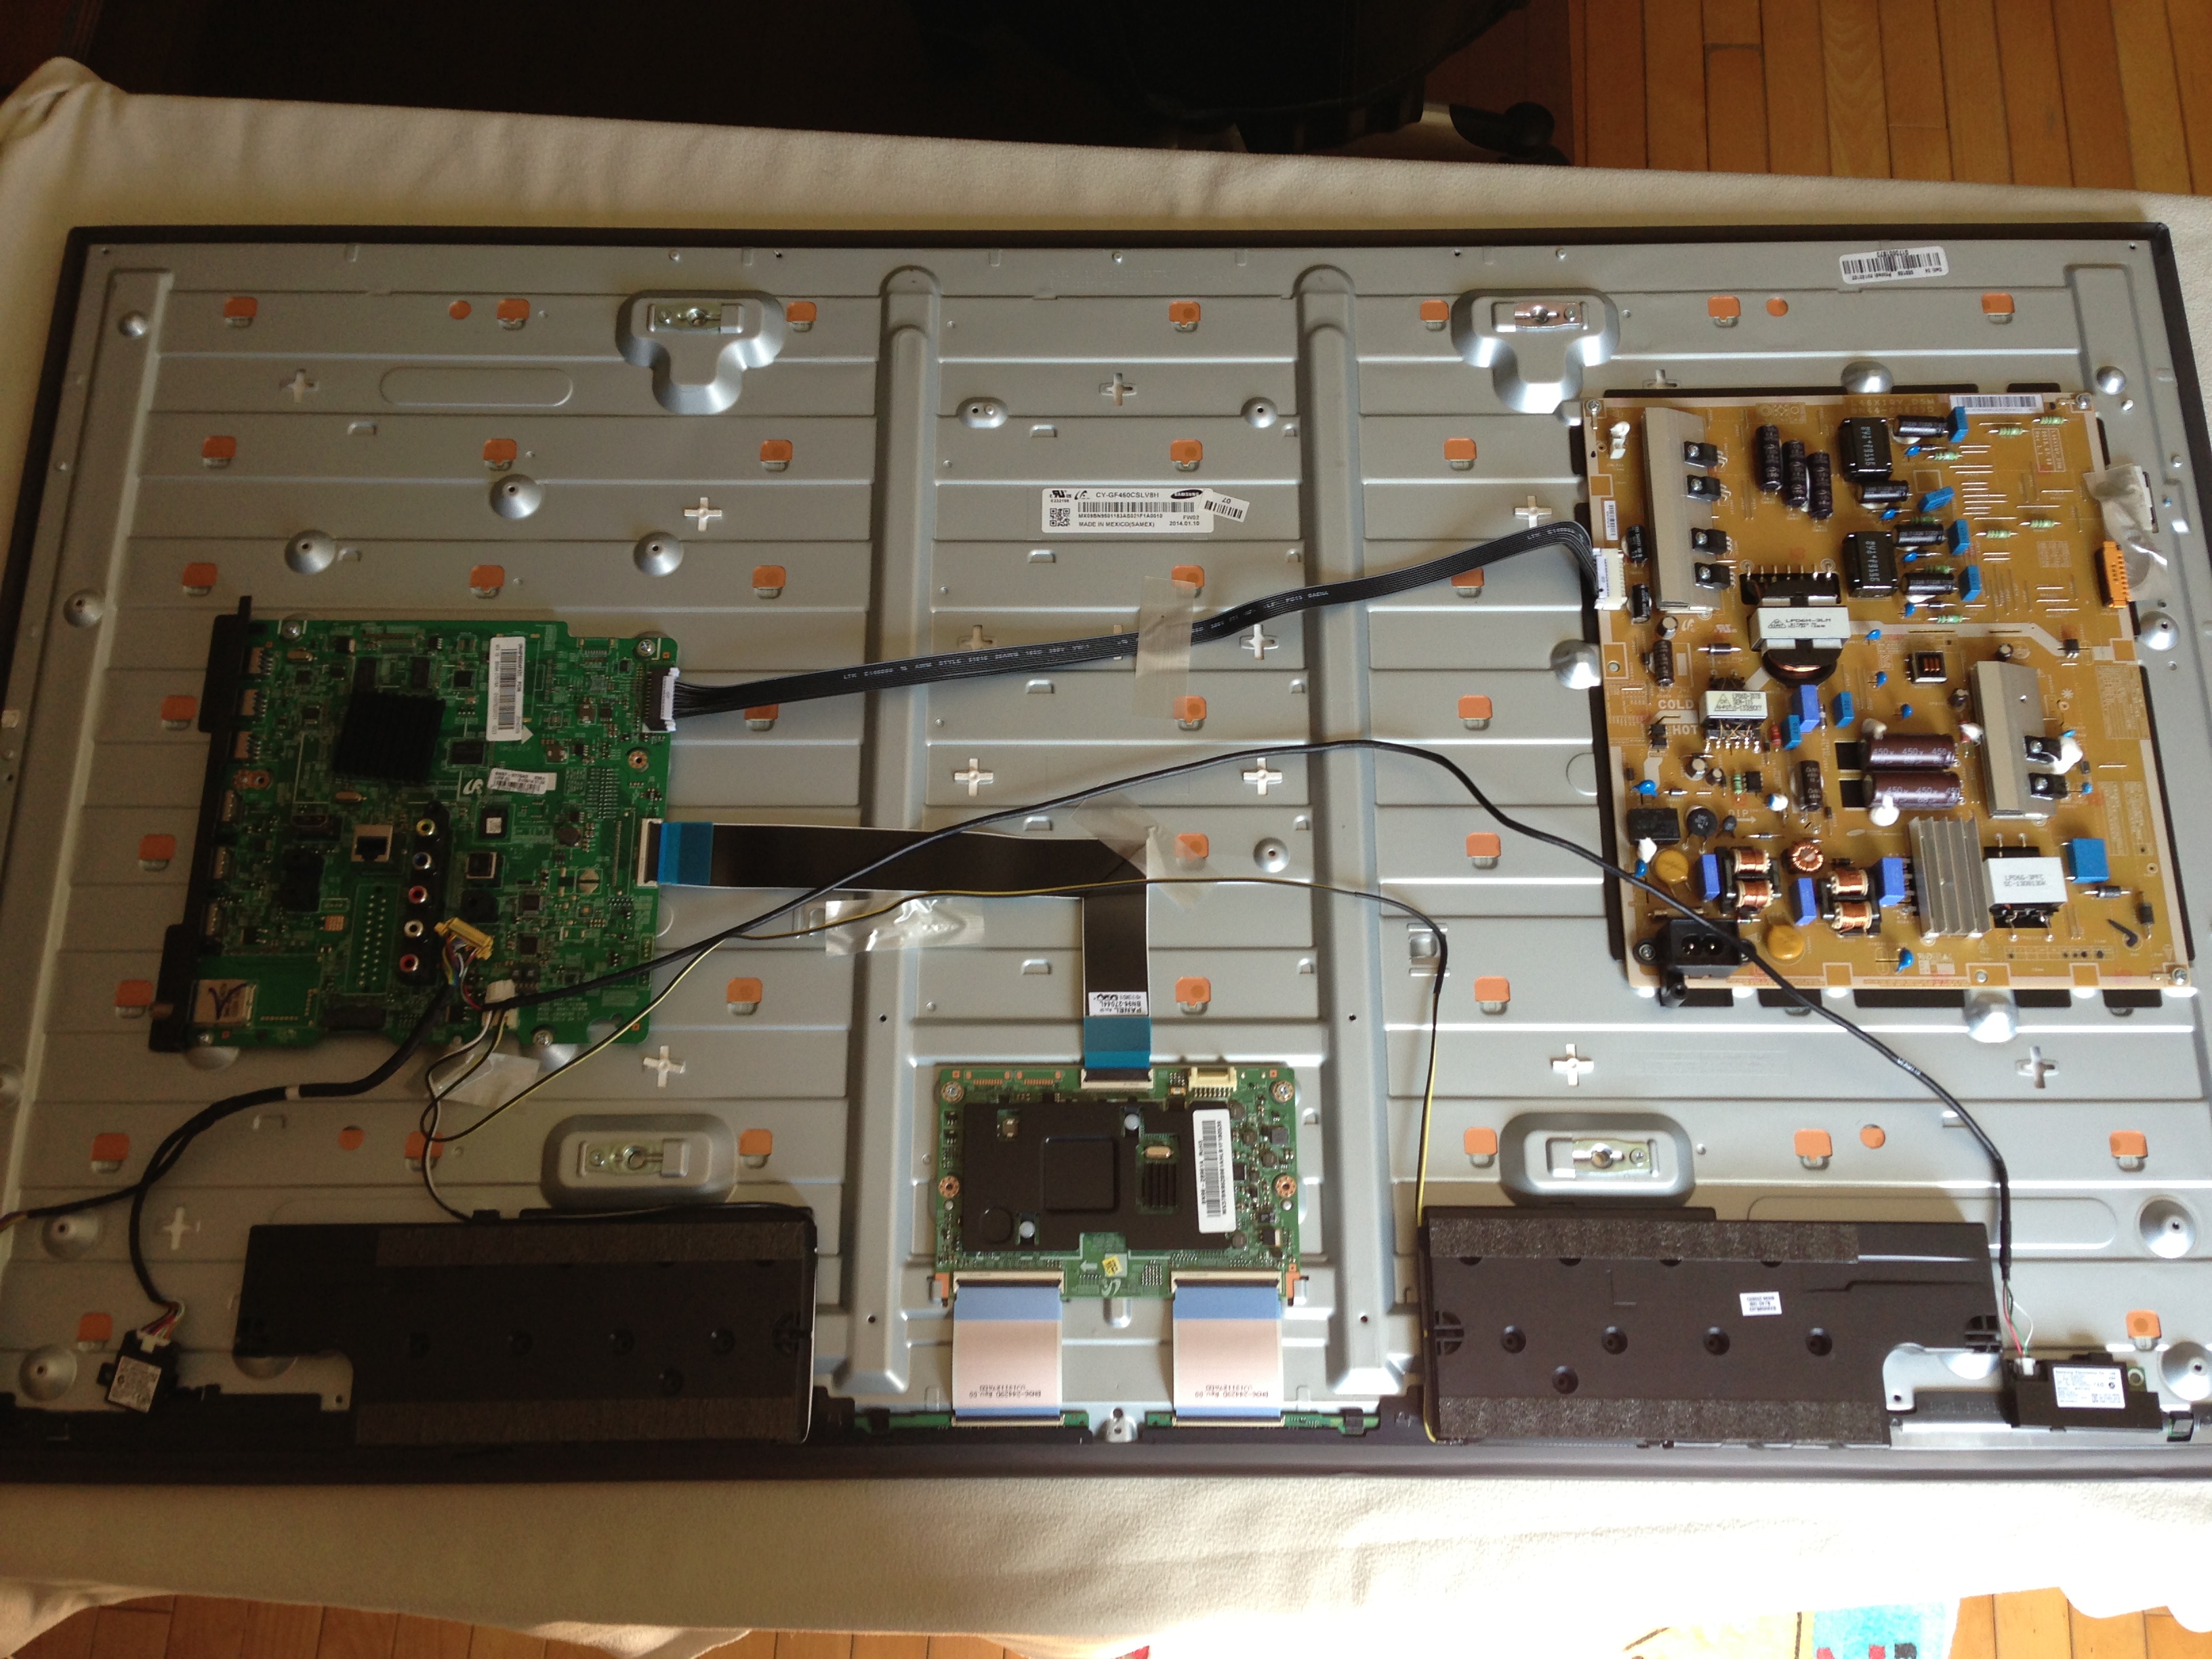
- 46" LED - Samsung UN46F6800
- 32" LED - Proscan
- 12.3inch LQ123K1LG03 1280*480 lcd panel (Finally opted for this screen as DMD) http://www.ebay.ca/itm/181460591337
- PC Specs
- Windows 7 64
- MSI Z97 MPOWER LGA 1150 Intel Z97 HDMI SATA 6Gb/s USB 3.0 ATX Intel Motherboard
- Intel Core i7-4790K Haswell Quad-Core 4.0GHz LGA 1150 Desktop Processor BX80646I74790K
- CORSAIR Hydro Series H75 CW-9060015-WW Water/Liquid CPU Cooler 120 MM
- EVGA SuperClocked GeForce GTX 760 2GB 256-bit GDDR5 PCIE 3.0 with ACX Cooler .
- G.SKILL Trident X Series 16GB (2 x 8GB) DDR3 2400 (PC3 19200) F3-2400C10D-16GTX
- 120GB SAMSUNG 840 EVO MZ-MTE120BW mSATA TLC Internal (SSD) for C: Windows
- 500GB SAMSUNG 840 EVO MZ-7TE500BW 2.5" TLC (SSD) for D: Pinball stuff
- CORSAIR HX850 850W
- Audio
- Logitech 2.1 Z623
- Controller Boards
- Ipac 2
- LEDwiz 32.
- SMT booster board.
- Feedback
- 10x SIEMENS 3RH1131-1BB40 contactors
- Lighting
- 5 RGB led bar
- Buttons
- Mix from Ultimate body kit and misc... Will see later to add light button to flipper.
I started a few weeks ago buying and removing the case of Samsung 46" to make sure that my choice was not a bad decision so far so good
So far in the last 2 days I'm almost done with the main box.


Happy Birthday again Zany!!!! Beer time, This one is for you.

And not to forget my fan club "MiMi" she's watching every step so if anything goes wrong please post your complain to her....1-888-dont-kill-my-dog LOL 

I know ... I know I'm better to drink beer then taking pictures, but i'll get use to it with more practice in the next 40 years...
2014-07-18:
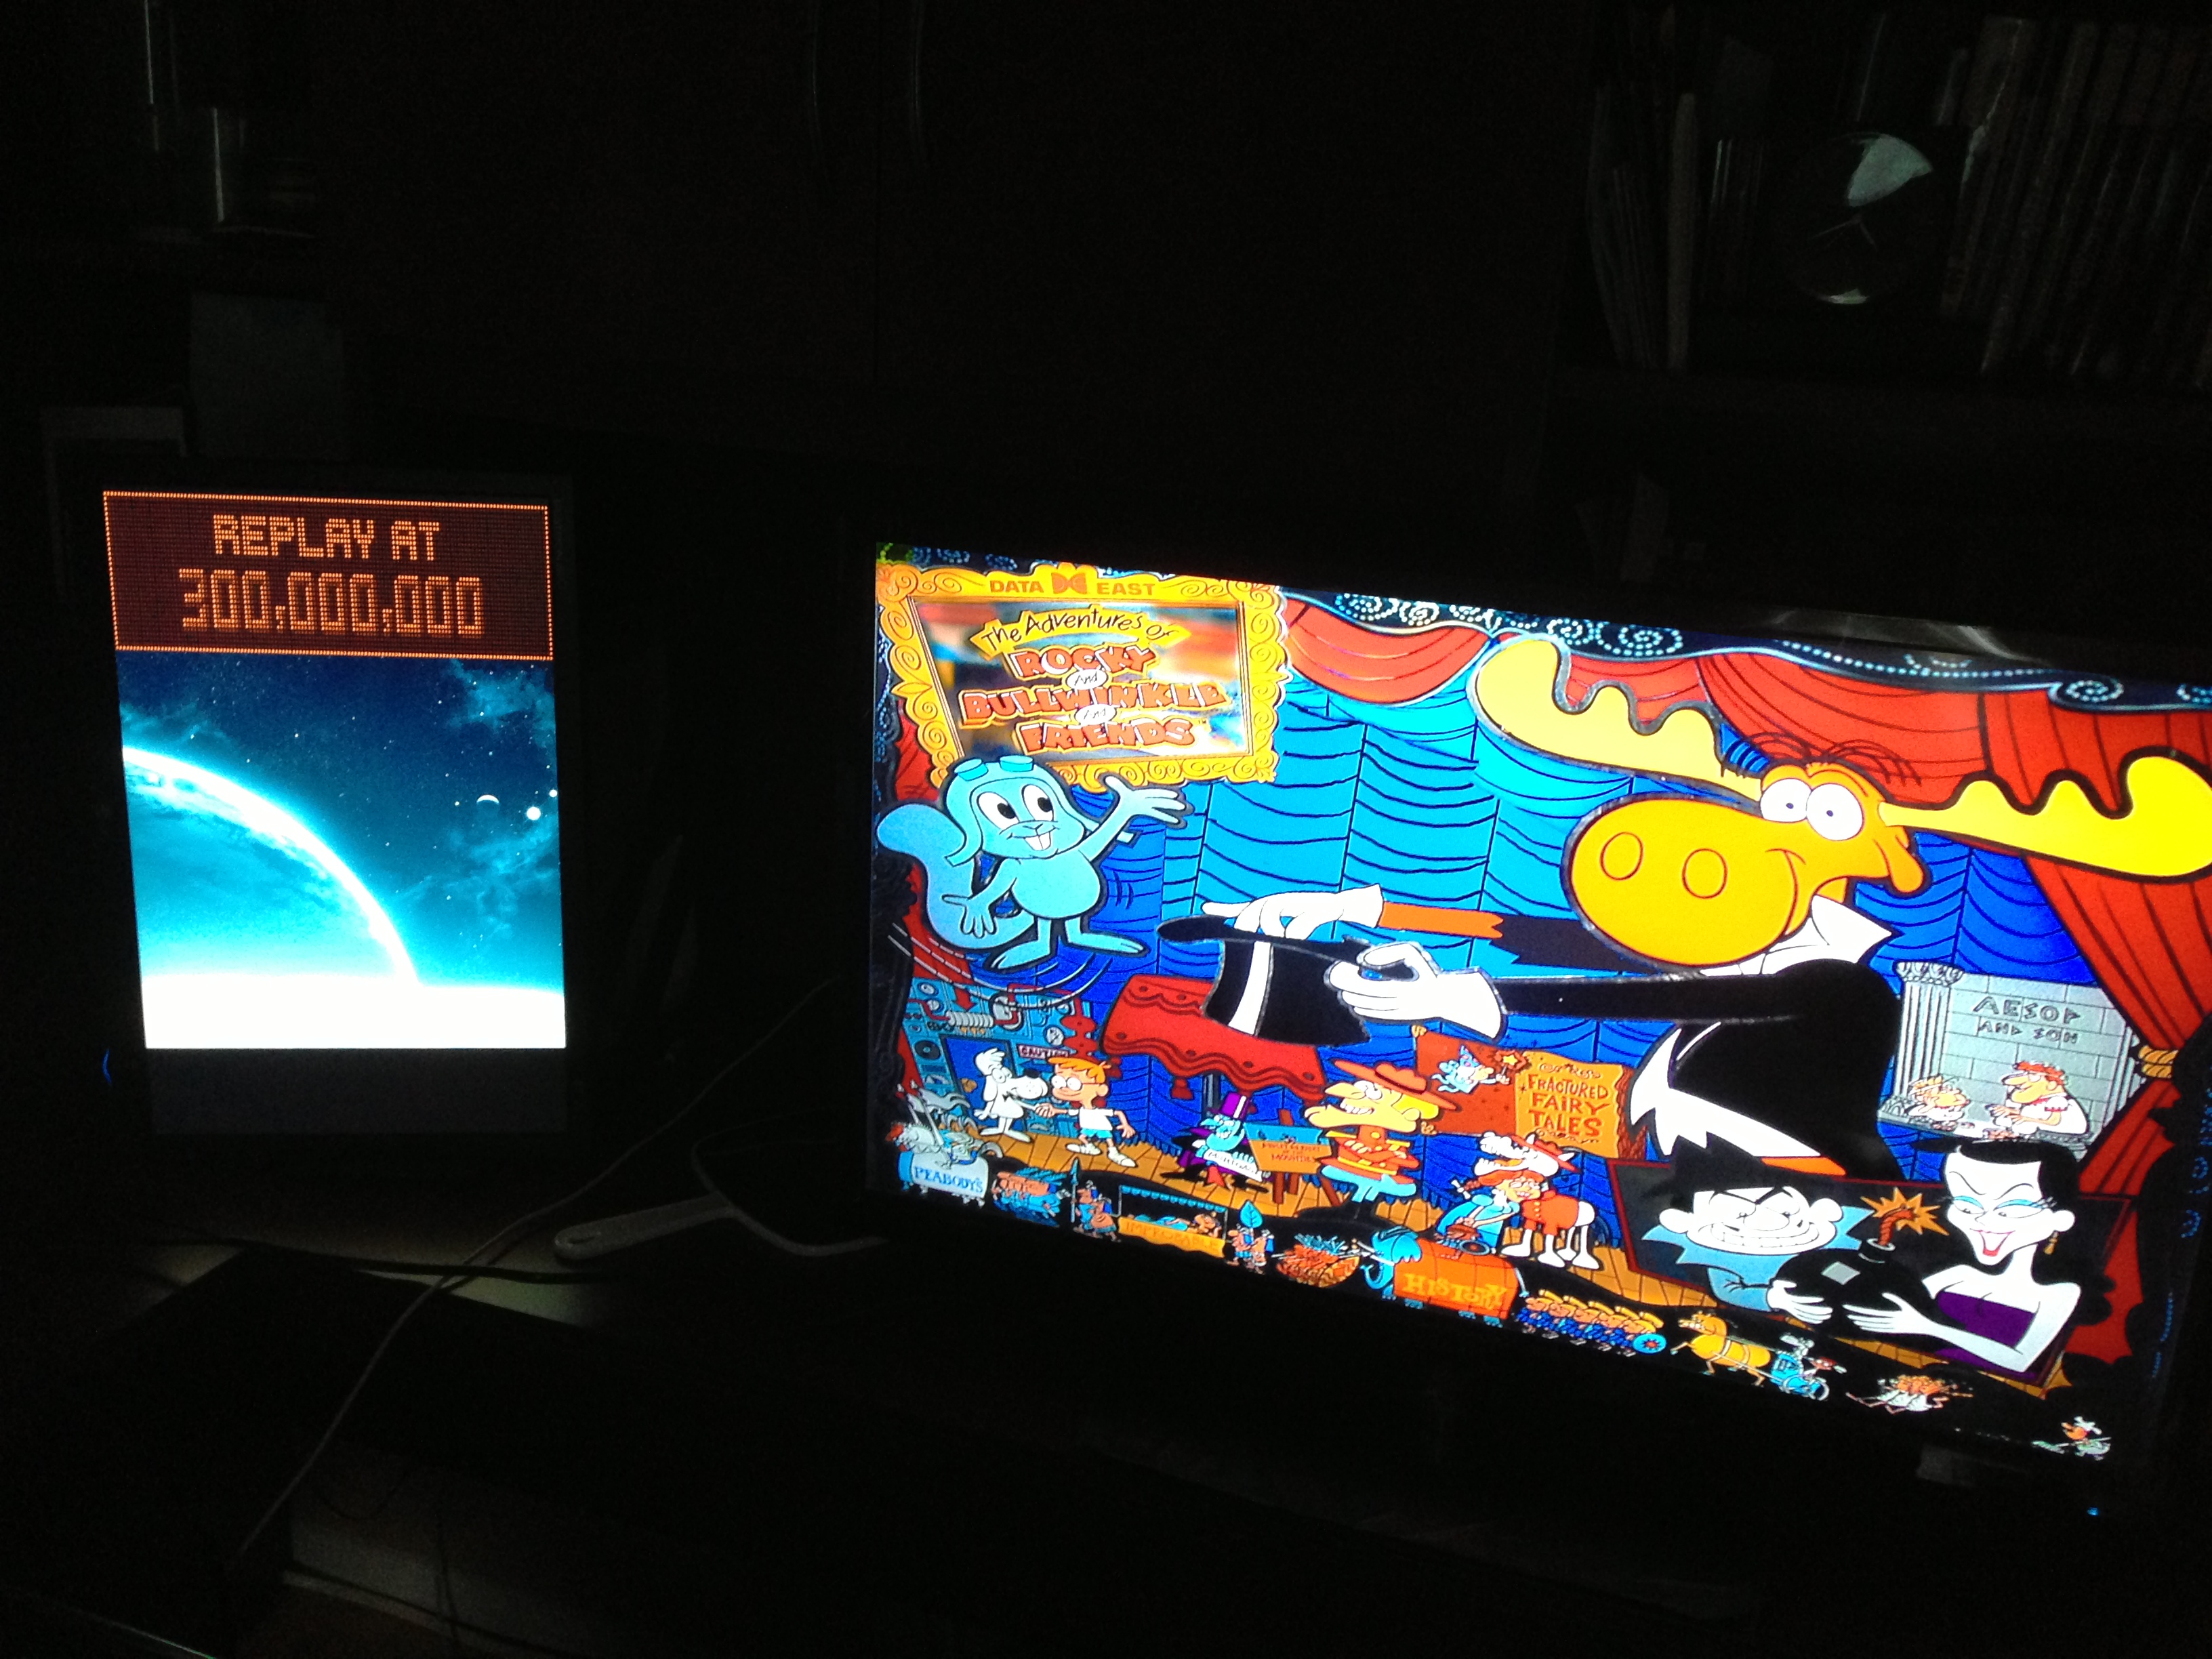
In the morning I did some test with back glass and dmd screen so far so good

For the rest of the day I started the cut of the back box and the preview assembly was not so bad. When you look at the picture, the frame give the illusion of back glass screen... hehe LOL
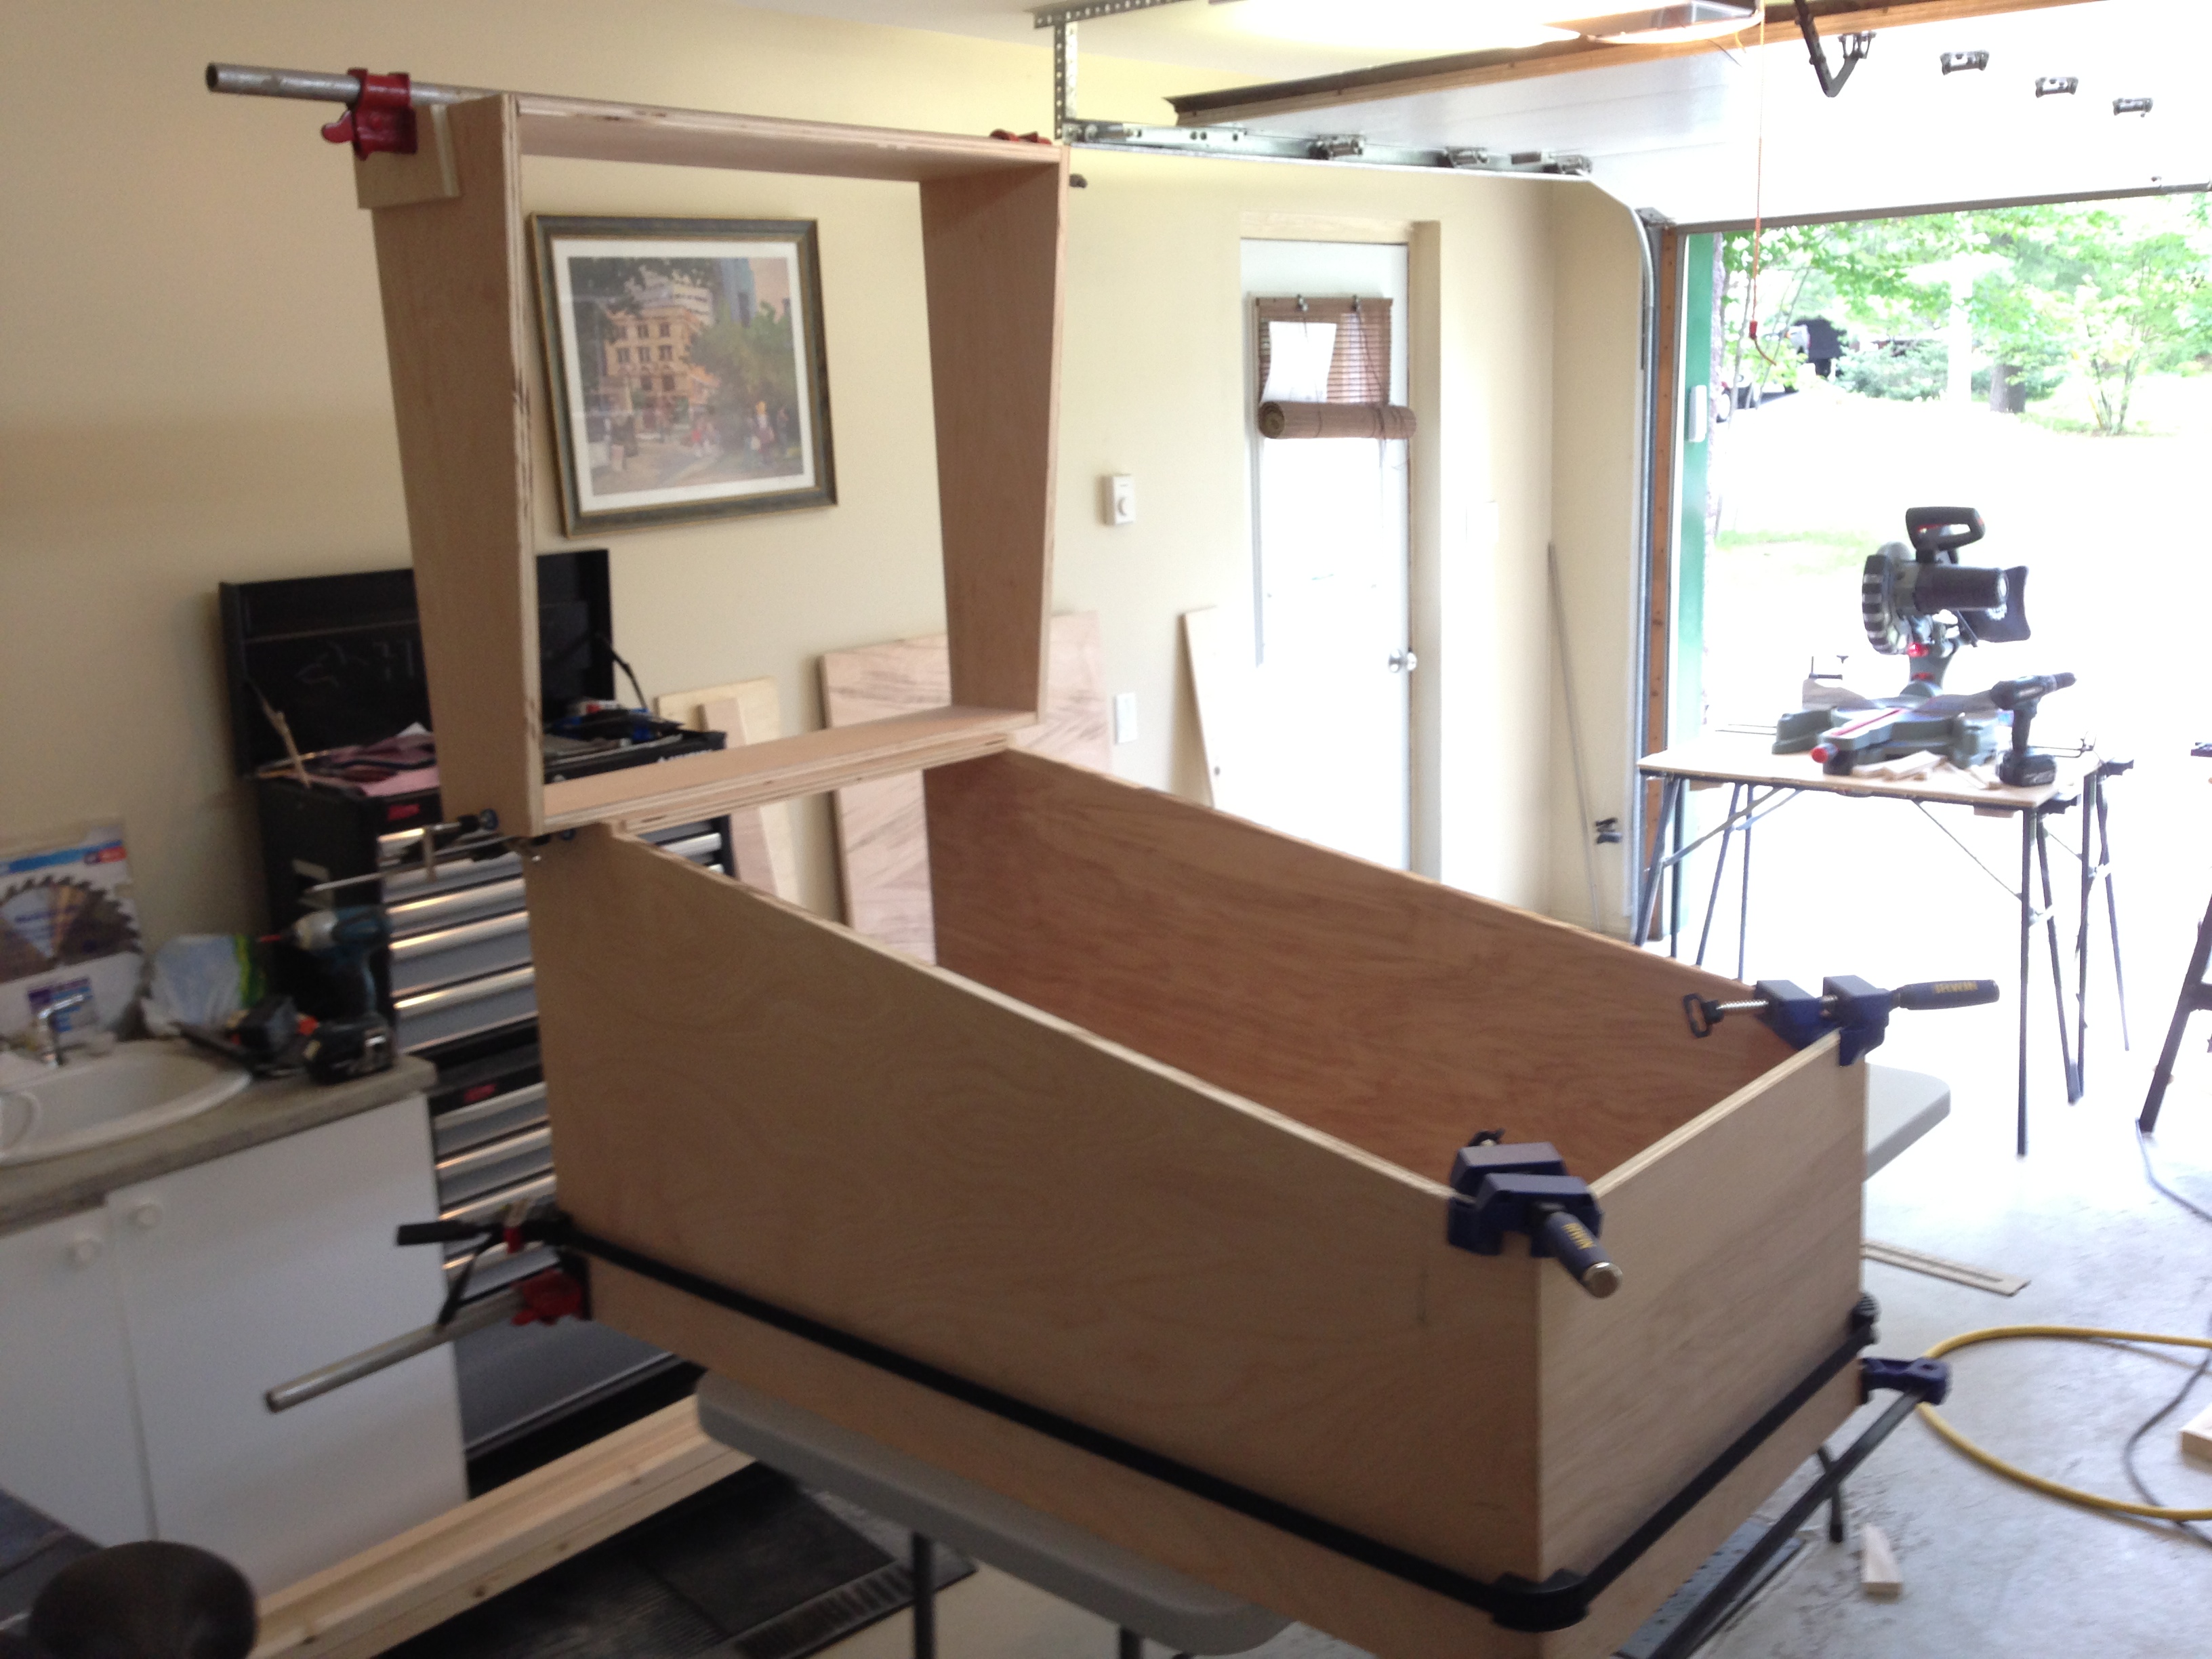
The use of router gives without any doubt the best looking intake hole. Will only have to polish a bit with sanding paper and the look will be perfect.

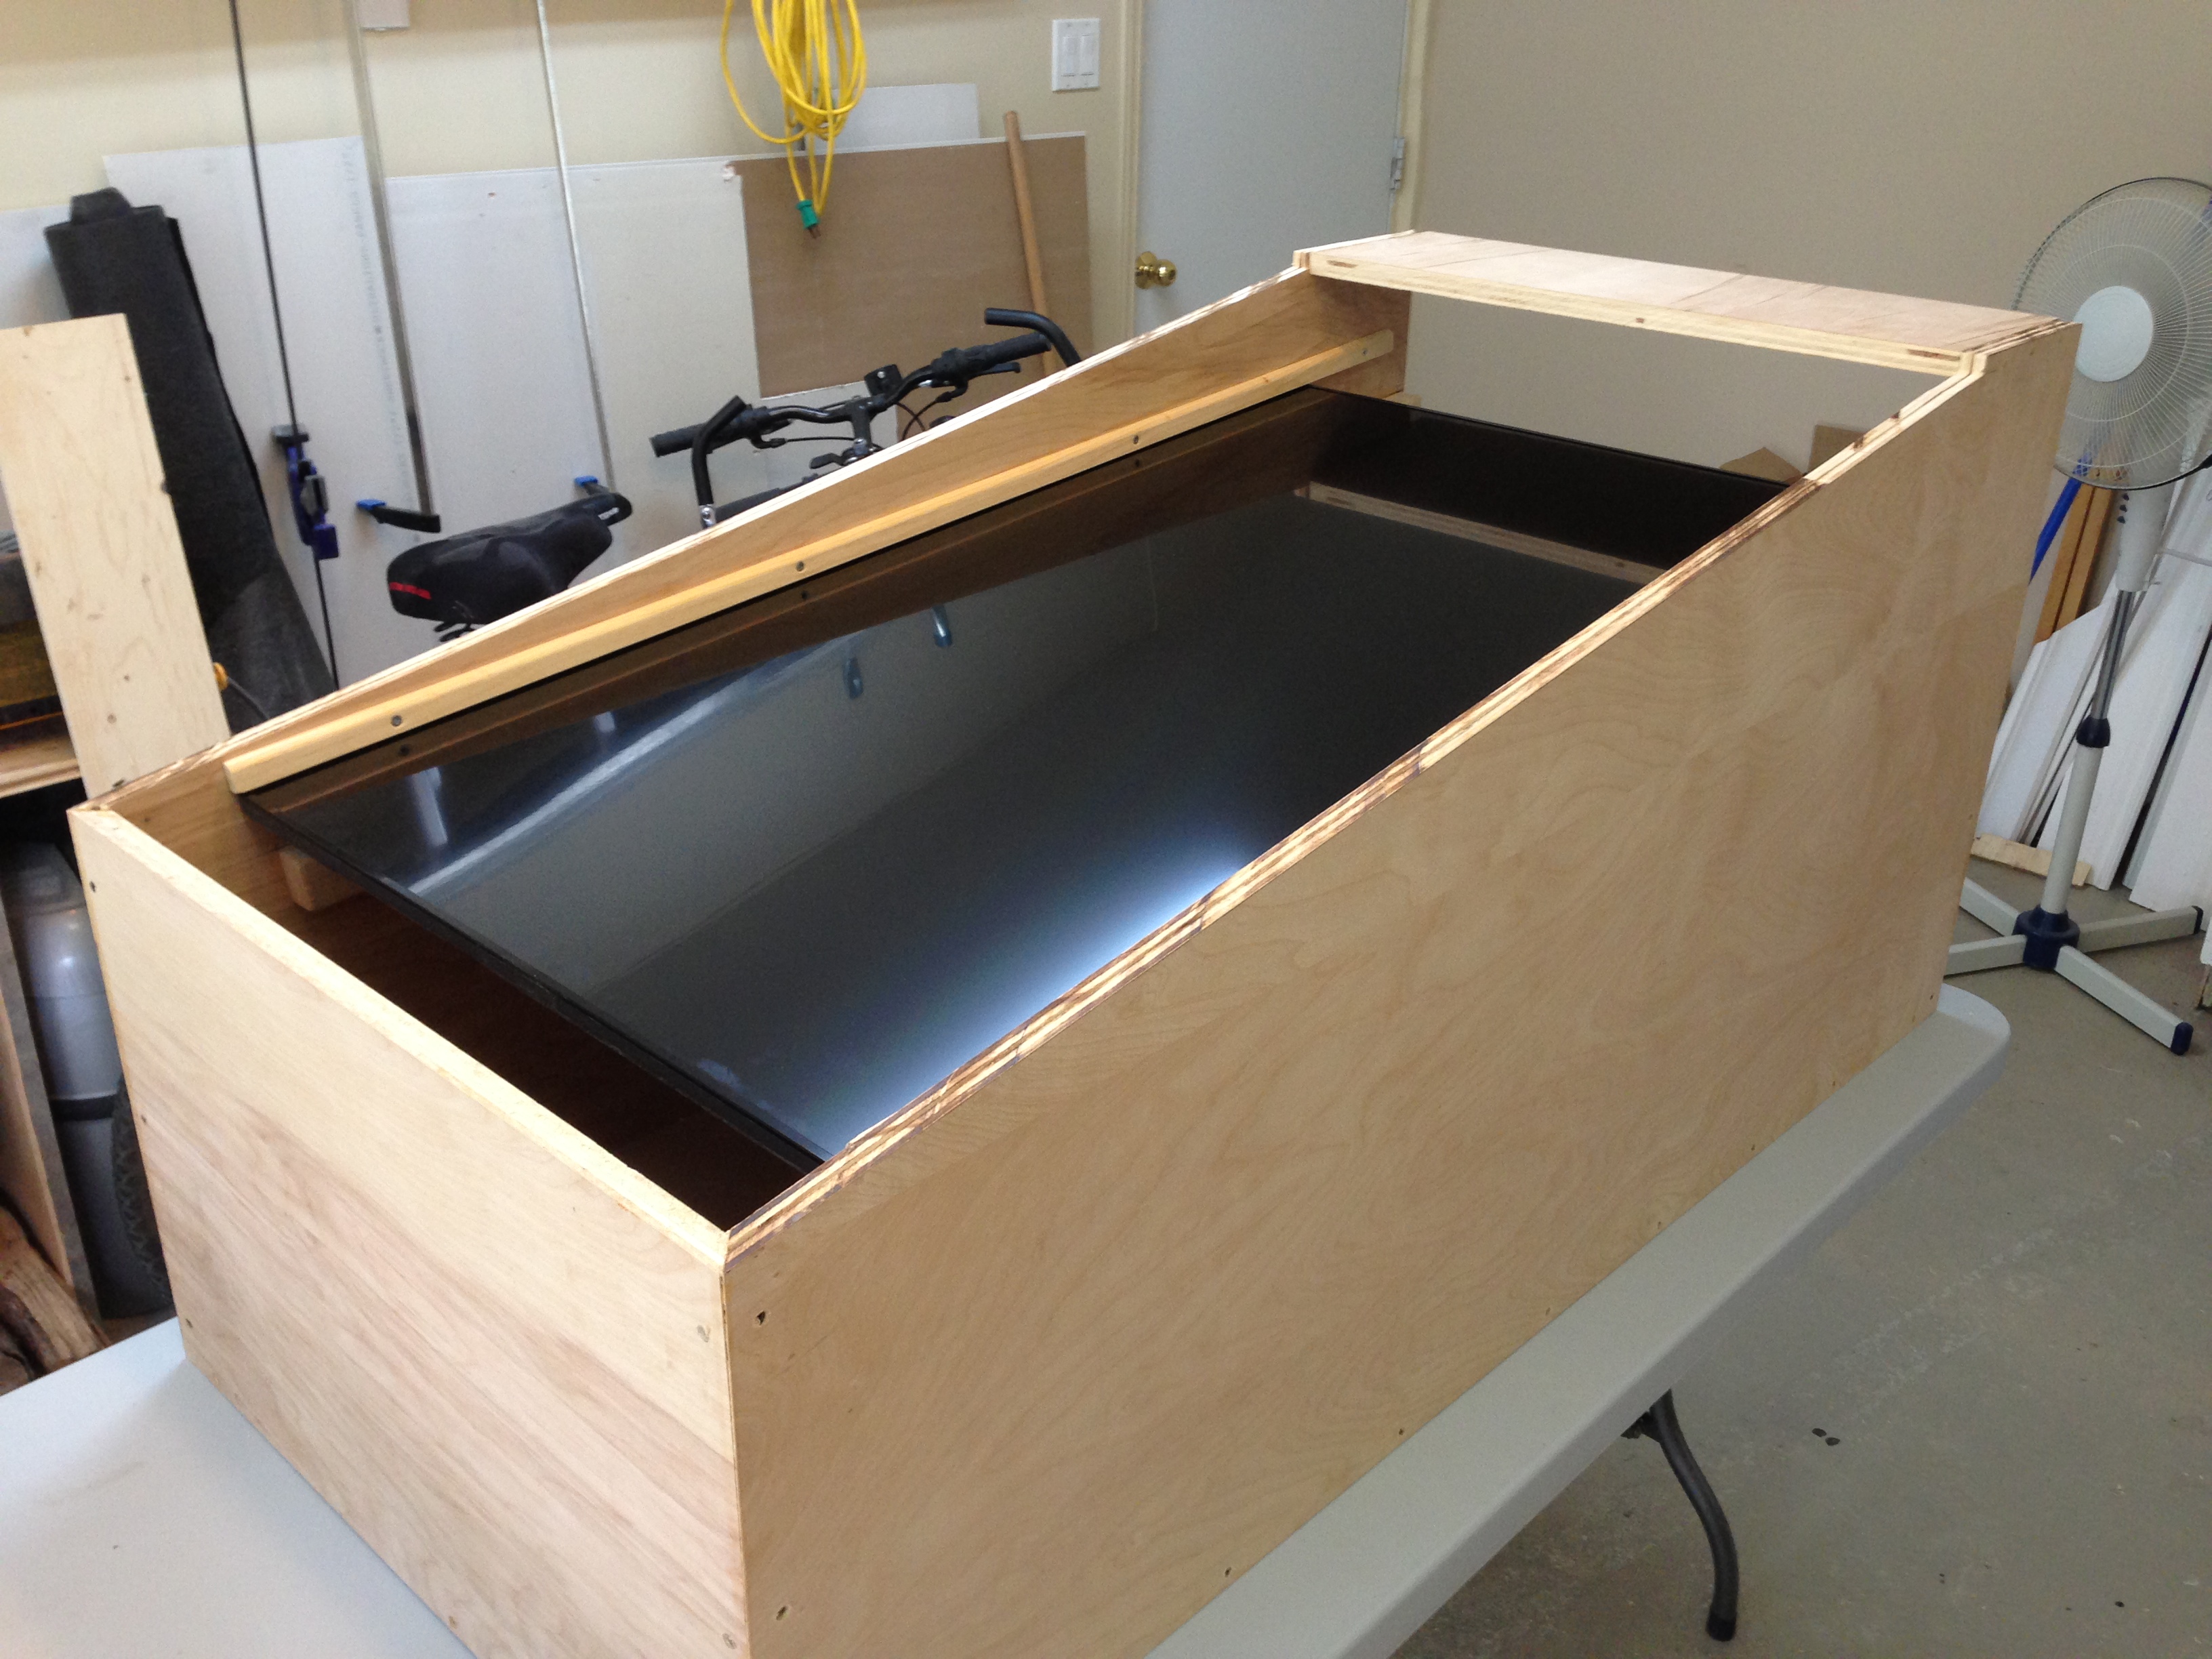
The back box is nearly done only need some extra piece of wood to attach monitor and for that I will need to figure out next time

So that's all for the week end .... Apparently I still have a wife to take care
Edited by gigalula, 27 January 2016 - 11:48 AM.


 Contributor


 are all trademarks of VPFORUMS.