QUOTE (MTPPC @ Jul 8 2012, 11:26 PM) <{POST_SNAPBACK}>
I used that light 1.5" angle from Lowe's and some trunk corners. If I had to do it again, there would be only one screw on each side of the rail over the coin door.
looking slick.


Enthusiast


Posted 09 July 2012 - 03:48 AM
Mini pin maker

I still cant believe that we have
Hobbyist


Posted 11 July 2012 - 10:18 PM
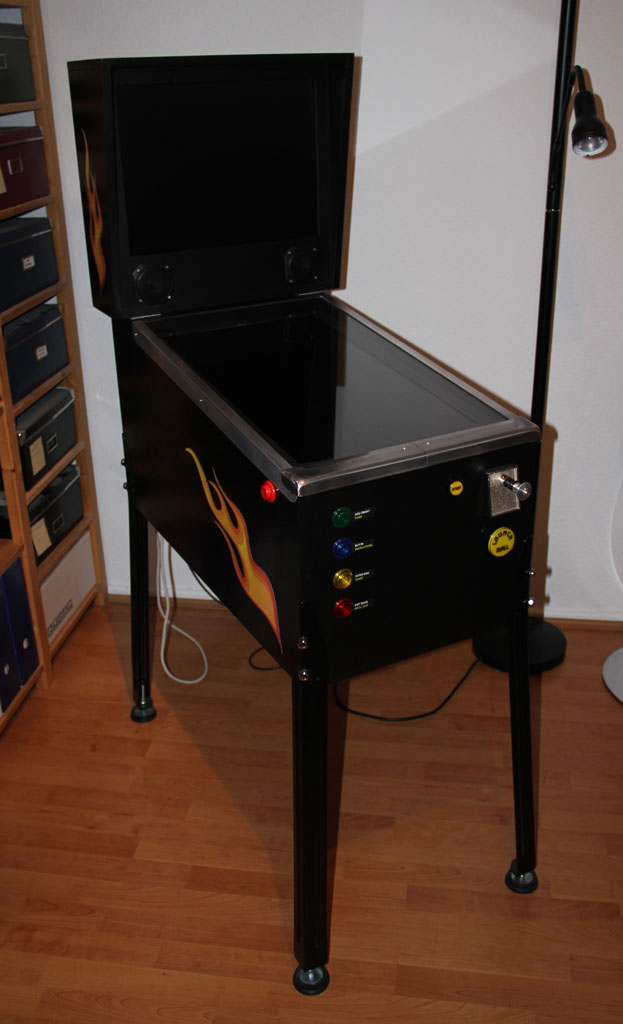
I took a few pictures of my newly painted and assembled cabinet.
As you can see I still have to think about cable management


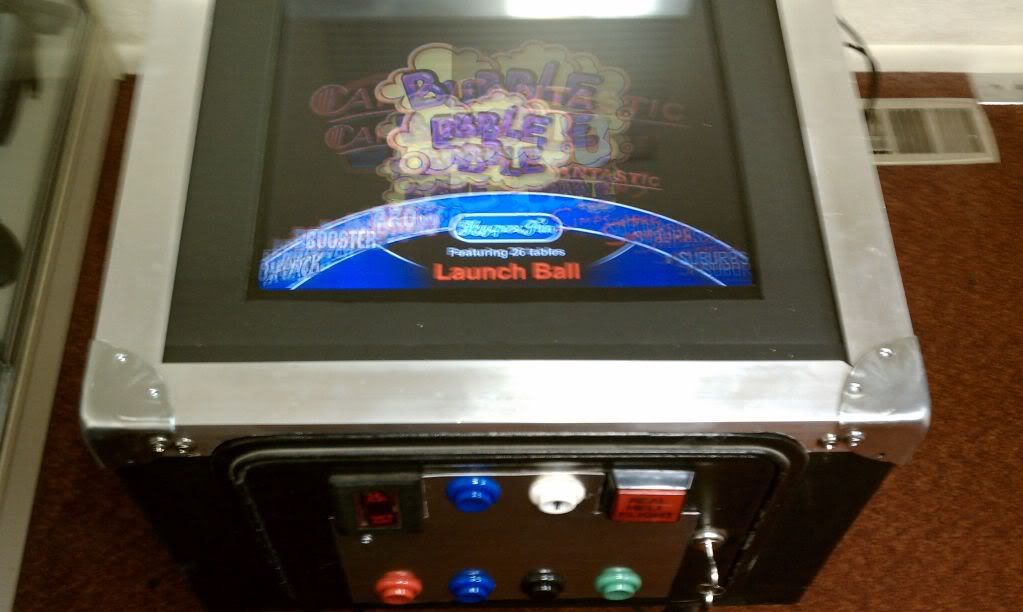
I attached the power button as well as an USB port and the volume control at the bottom of the cabinet. You can see cut-outs for air flow (now with inblowing fan) and the subwoofer as well. The LED lit fans are connected to a Scythe Kaze Q fan controller for easy adjustment of air flow. Start and launch button are now illuminated as well.


I made my siderails from common aluminum angles. I cut the corners with a jig saw and rounded the edge. I sanded the angles but I still have to polish them. I took some pictures of my first attempt of a lockdown bar as well. Unfortunately there's a gap between the angle and the cabinet front because I wasn't able to bend the angle. I'm not satisfied with the lockdowen bar so far.


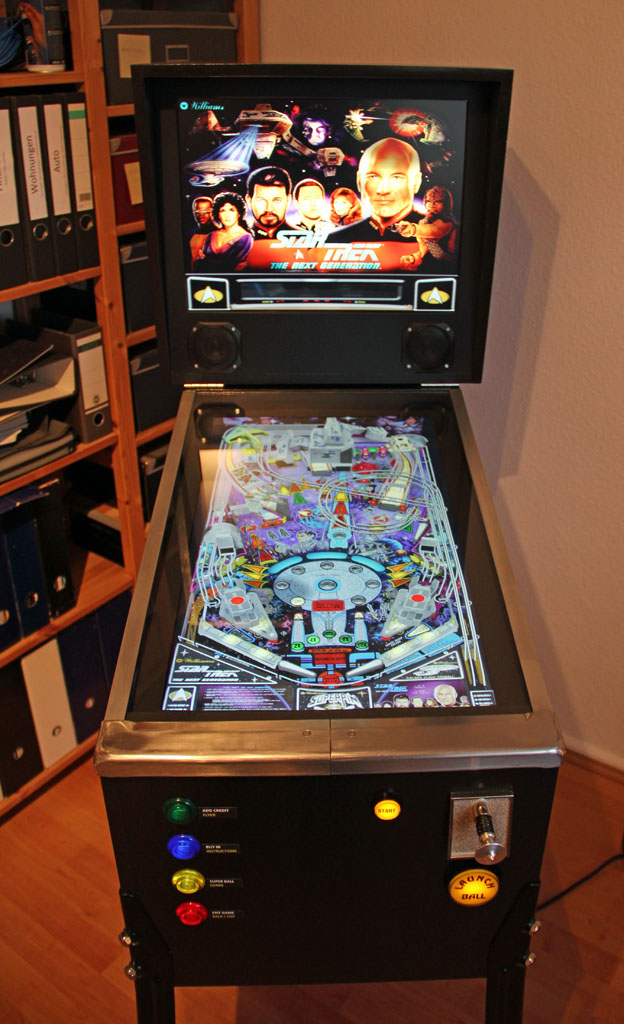
The backbox can be hinged down for tranportation. I'm thinking of placing a hyperpin logo between the speakers. Sadly I made a mistake constructing the backbox. The backglass monitor doesn't fit between the bars supporting the front bezel as planned. Maybe I have to redo the whole backbox 


From a distance and running hyperpin the cabinet looks almost finished 

I won't have much time during the next two weeks though. And there is so much left to do...
Edited by GordonSW, 27 August 2020 - 07:00 PM.
Hobbyist
Posted 07 October 2012 - 09:06 PM
Thanks. Im still not finished yet... but I've been working on it again over the last two weeks.
As I mentioned in an earlier post I kind of broke my backbox while mounting the monitor. So I repaired it and prepared it for panting again. And I built the missing door for the back of the backbox ;-)
My experiments with nudging are not finished. It works digitally, but I still want to get analog nudging to work using an old Microsoft Sidewinder Freestyle game pad.
I'm also working on an extension for the cab. I'm going to post some pictures soon...
I would say you can have as much fun with a cab this size as with a full sized one. So have fun building (and using) yours!

Edited by GordonSW, 27 August 2020 - 06:50 PM.
Neophyte

Posted 07 October 2012 - 10:04 PM


Community Forum Software by IP.Board
Licensed to: VPForums.org
 are all trademarks of VPFORUMS.